
Smart Cleaning Hacks: Who doesn’t love a sparkling clean home? But let’s be honest, the thought of spending hours scrubbing and tidying can be a major drag. I totally get it! That’s why I’m so excited to share some game-changing smart cleaning hacks that will revolutionize your cleaning routine.
For centuries, people have sought clever ways to maintain clean and healthy living spaces. From ancient civilizations using natural remedies to modern innovations in cleaning technology, the quest for efficiency and effectiveness has always been a priority. Think about it – our grandmothers had their own secret cleaning concoctions passed down through generations!
In today’s fast-paced world, time is precious. Nobody wants to spend their entire weekend battling dust bunnies and grime. These DIY cleaning tricks are designed to save you time, money, and energy, allowing you to enjoy a cleaner home without sacrificing your precious free time. Imagine having more time to relax, pursue your hobbies, or simply spend quality time with loved ones – all thanks to a few clever cleaning shortcuts! So, ditch the overwhelming cleaning schedule and get ready to discover some amazing DIY cleaning hacks that will make your life so much easier. Let’s dive in!
DIY Smart Cleaning Hacks: Making Your Life Easier!
Okay, let’s dive into some seriously clever cleaning hacks that I’ve personally tested and absolutely swear by. These aren’t your grandma’s cleaning tips (though, respect to grandma!), these are modern, efficient, and often use things you already have lying around the house. Get ready to revolutionize your cleaning routine!
Cleaning Your Microwave Like a Pro
Microwaves. We love them, but cleaning them? Not so much. That baked-on food splatter can be a real pain. But fear not! This hack is a game-changer.
What you’ll need:
* 1 cup of water
* 1 tablespoon of white vinegar or lemon juice
* Microwave-safe bowl
* Clean sponge or cloth
Step-by-step instructions:
1. Mix it up: In your microwave-safe bowl, combine the water and vinegar (or lemon juice). The vinegar/lemon helps to loosen the grime.
2. Microwave Magic: Place the bowl in the microwave and heat on high for 5-7 minutes. You want the water to boil and create steam.
3. Steam Clean: Leave the bowl in the microwave for another 2-3 minutes after it stops. This allows the steam to really work its magic. Don’t open the door yet!
4. Wipe Away: Carefully remove the bowl (it will be hot!). Then, use your sponge or cloth to easily wipe away the loosened food particles. You’ll be amazed at how easily everything comes off!
5. Final Touches: For any stubborn spots, you can dip your sponge in the remaining water/vinegar mixture and scrub gently.
Unclogging Drains Without Harsh Chemicals
Clogged drains are the bane of every homeowner’s existence. But before you reach for those harsh chemical drain cleaners, try this eco-friendly and effective method.
What you’ll need:
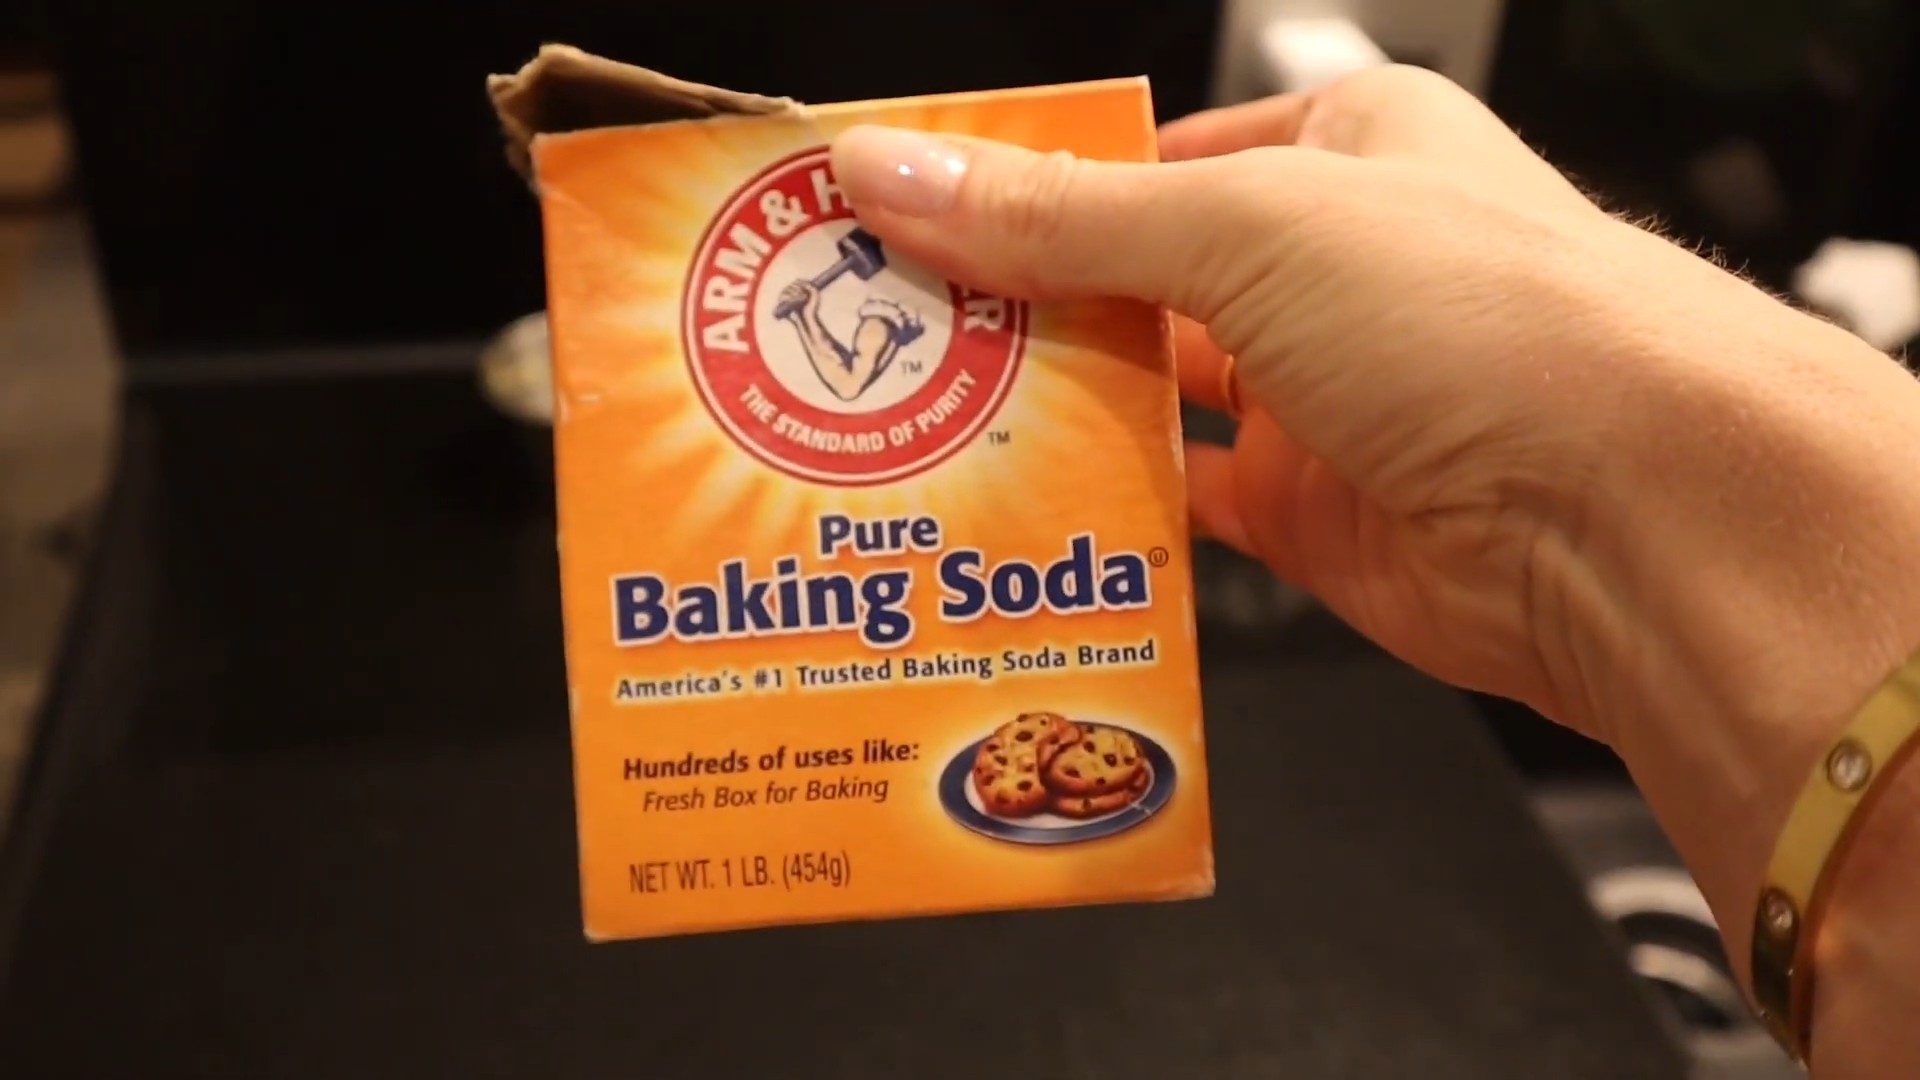
* 1 cup of baking soda
* 2 cups of boiling water
* 1 cup of white vinegar
* A sink stopper or plug
Step-by-step instructions:
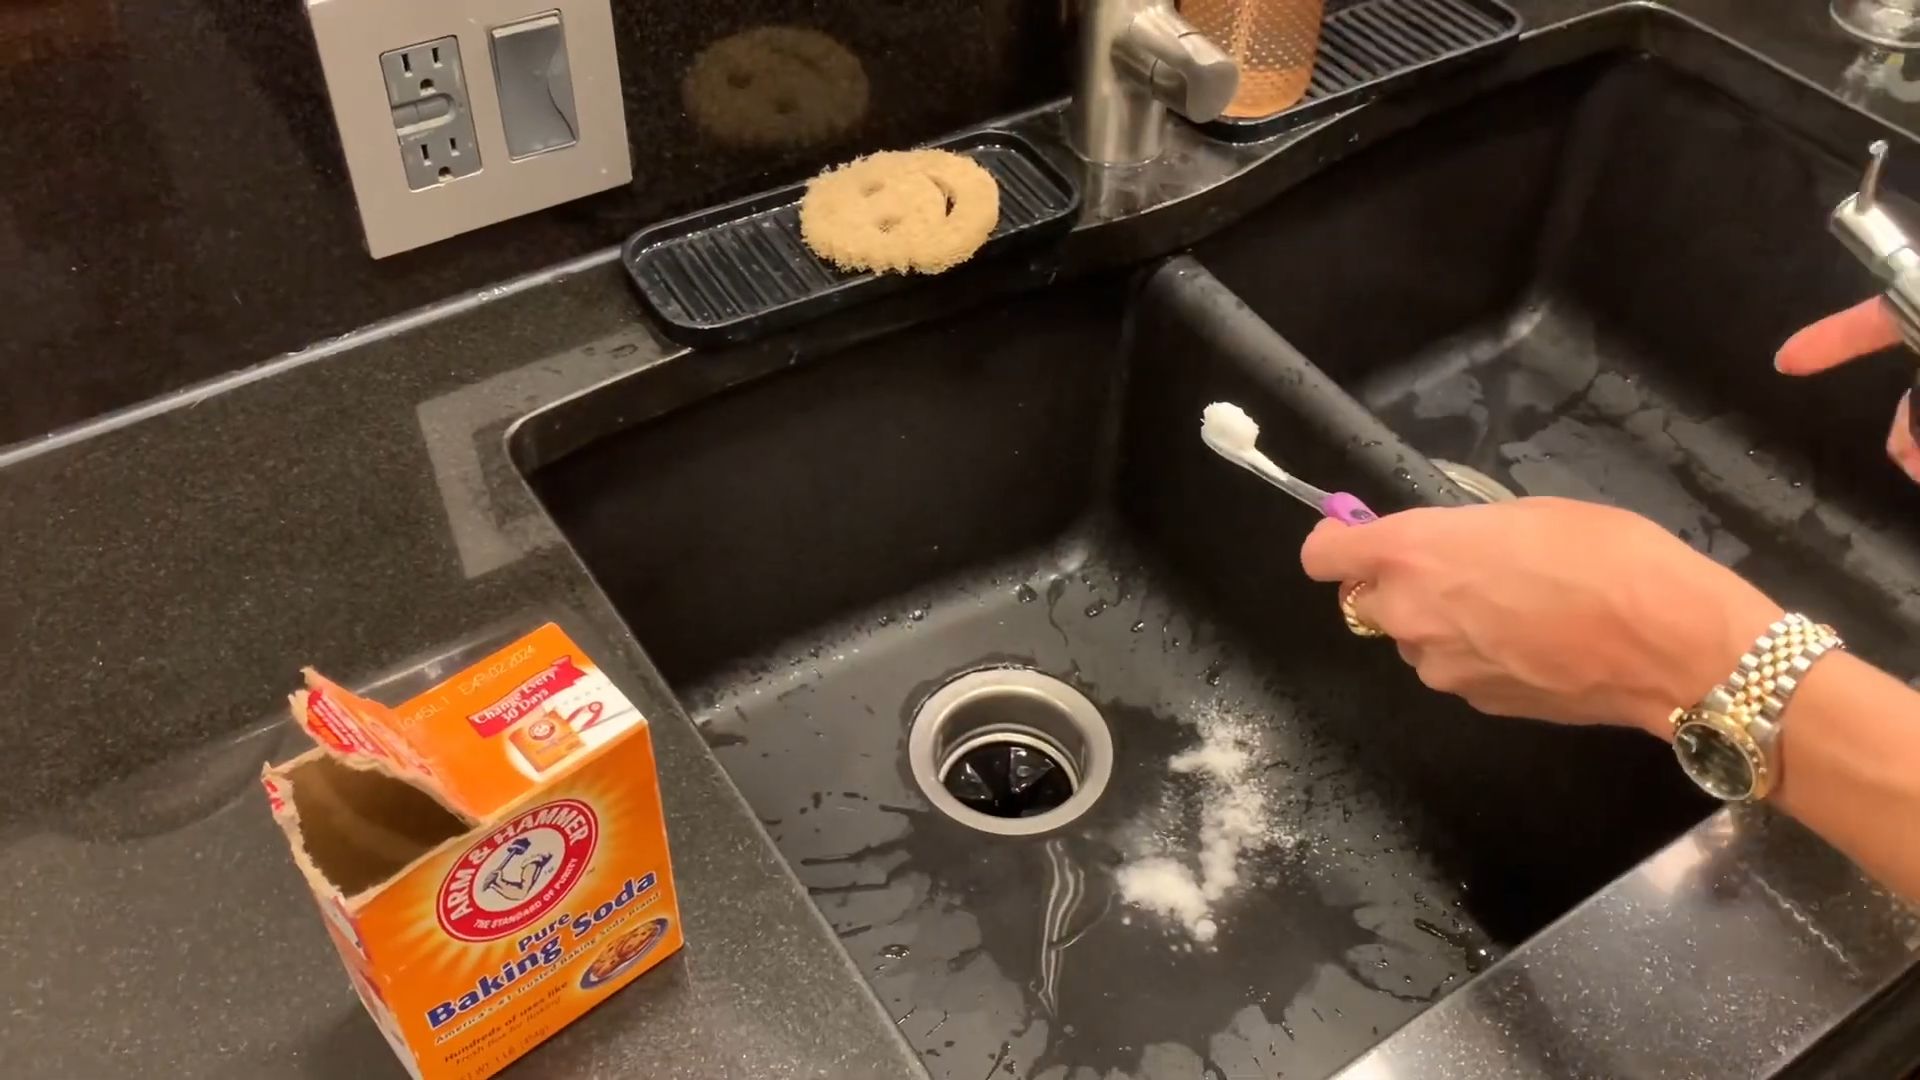
1. Baking Soda Blast: Pour the baking soda down the drain. Try to get as much of it down the drain as possible.
2. Vinegar Power: Next, pour the vinegar down the drain. You’ll hear a fizzing sound – that’s the magic happening!
3. Seal it Up: Immediately cover the drain with a sink stopper or plug. This will help contain the reaction and force it to work on the clog.
4. Wait it Out: Let the mixture sit for at least 30 minutes, or even better, overnight. The longer it sits, the more effective it will be.
5. Boiling Water Flush: After the waiting period, carefully pour the boiling water down the drain. This will help flush away the loosened clog.
6. Repeat if Necessary: If the drain is still slow, repeat the process. For really stubborn clogs, you might need to do this a couple of times.
Cleaning Your Showerhead for Better Water Pressure
Over time, showerheads can get clogged with mineral deposits, leading to weak water pressure. Here’s how to restore your showerhead to its former glory.
What you’ll need:
* White vinegar
* Plastic bag (a Ziploc bag works great)
* Rubber band or twist tie
* Old toothbrush
Step-by-step instructions:
1. Vinegar Bath: Fill the plastic bag with white vinegar. You’ll need enough vinegar to completely submerge the showerhead.
2. Secure the Bag: Carefully attach the bag to the showerhead, ensuring that the showerhead is fully immersed in the vinegar. Use a rubber band or twist tie to secure the bag tightly.
3. Soak Overnight: Let the showerhead soak in the vinegar overnight. This will allow the vinegar to dissolve the mineral deposits.
4. Scrub Away: In the morning, remove the bag and use an old toothbrush to scrub away any remaining mineral deposits. Pay close attention to the nozzles.
5. Flush it Out: Turn on the shower and let the water run for a few minutes to flush out any remaining vinegar and debris.
Freshening Up Your Mattress
Mattresses can harbor dust mites and odors. Here’s a simple way to freshen up your mattress and improve your sleep.
What you’ll need:
* Baking soda
* Essential oil (optional, lavender or eucalyptus are great choices)
* Vacuum cleaner with upholstery attachment
* Sifter or strainer
Step-by-step instructions:
1. Prepare the Baking Soda: In a bowl, mix baking soda with a few drops of your favorite essential oil (if using). The essential oil will add a pleasant scent. Microwaves. We love them, but cleaning them? Not so much. That baked-on food splatter can be a real pain. But fear not! This hack is a game-changer. What you’ll need: * 1 cup of water Step-by-step instructions: 1. Mix it up: In your microwave-safe bowl, combine the water and vinegar (or lemon juice). The vinegar/lemon helps to loosen the grime. Clogged drains are the bane of every homeowner’s existence. But before you reach for those harsh chemical drain cleaners, try this eco-friendly and effective method. What you’ll need: * 1 cup of baking soda Step-by-step instructions: 1. Baking Soda Blast: Pour the baking soda down the drain. Try to get as much of it down the drain as possible. Over time, showerheads can get clogged with mineral deposits, leading to weak water pressure. Here’s how to restore your showerhead to its former glory. What you’ll need: * White vinegar Step-by-step instructions: 1. Vinegar Bath: Fill the plastic bag with white vinegar. You’ll need enough vinegar to completely submerge the showerhead. Mattresses can harbor dust mites and odors. Here’s a simple way to freshen up your mattress and improve your sleep. What you’ll need: * Baking soda Step-by-step instructions: 1. Prepare the Baking Soda: In a bowl, mix baking soda with a few drops of your favorite essential oil (if using). The essential oil will add a pleasant scent. Cleaning a blender can be a hassle, especially after making smoothies or sauces. This hack makes it a breeze. What you’ll need: * Warm water Step-by-step instructions: 1. Rinse it Out: Immediately after using your blender, rinse out any remaining food particles with warm water. Those pesky water rings on your wood furniture can be frustrating. Here’s a simple trick to get rid of them. What you’ll need: * Hair dryer Step-by-step instructions: 1. Heat it Up: Set your hair dryer to a low or medium heat setting. Burnt food stuck to the bottom of your pots and pans? Don’t despair! This hack will save you a lot of scrubbing. What you’ll need: * Baking soda Step-by-step instructions: 1. Baking Soda Paste: Sprinkle a generous amount of baking soda over the burnt food in the pot or pan. Dirty grout can make your tiles look dingy. This natural cleaning solution will brighten your grout lines. What you’ll need: * Baking soda Step-by-step instructions: 1. Baking Soda Paste: Make a paste of baking soda and water. So, there you have it! This simple yet incredibly effective DIY cleaning trick is a game-changer for anyone looking to streamline their cleaning routine and achieve sparkling results without breaking the bank or relying on harsh chemicals. We’ve shown you how to harness the power of readily available ingredients to create a potent cleaning solution that tackles grime, eliminates odors, and leaves your home feeling fresh and revitalized. Why is this a must-try? Because it’s economical, eco-friendly, and, most importantly, it works! Think about all the money you spend on specialized cleaning products for different surfaces and purposes. This DIY solution simplifies everything, offering a versatile cleaner that can be used in the kitchen, bathroom, and beyond. Plus, you’re reducing your environmental footprint by minimizing plastic waste and avoiding potentially harmful chemicals found in commercial cleaners. But the beauty of this DIY approach lies in its adaptability. Feel free to experiment with variations to suit your specific needs and preferences. For a boost of disinfecting power, consider adding a few drops of tea tree oil or eucalyptus oil. If you prefer a citrusy scent, lemon or orange essential oils are excellent choices. For tougher stains, you can pre-treat the area with a paste made from baking soda and water before applying the DIY cleaner. You can also adjust the ratios of ingredients to create a stronger or milder solution, depending on the task at hand. For example, for cleaning heavily soiled ovens, you might want to increase the amount of baking soda in the mixture. For delicate surfaces, you might want to dilute the solution with more water. This smart cleaning hack is not just about saving money and being eco-conscious; it’s about taking control of your cleaning process and creating a healthier home environment for yourself and your family. It’s about knowing exactly what ingredients you’re using and avoiding the mystery chemicals often found in store-bought products. We are confident that once you try this DIY cleaning trick, you’ll be amazed by the results. It’s a simple, effective, and sustainable way to keep your home clean and fresh. So, ditch the expensive and potentially harmful commercial cleaners and embrace the power of DIY! We encourage you to give this DIY cleaning trick a try and share your experience with us. Let us know what variations you’ve tried, what surfaces you’ve used it on, and what results you’ve achieved. Your feedback is invaluable and helps us refine and improve our recipes and tips. Share your photos and stories on social media using #SmartCleaningHacks and inspire others to join the DIY cleaning revolution! We can’t wait to hear from you! A: This DIY cleaning solution is generally safe for use on a wide variety of surfaces, including countertops (granite, quartz, laminate), sinks (stainless steel, porcelain), tiles, bathtubs, showers, toilets, floors (hardwood, tile, laminate), appliances (exterior), and windows. However, it’s always a good idea to test the solution on a small, inconspicuous area first to ensure it doesn’t cause any discoloration or damage, especially on delicate or sensitive surfaces like wood furniture or painted walls. Avoid using it on porous surfaces like unsealed grout, as it may absorb the solution and cause staining. When in doubt, consult the manufacturer’s instructions for the specific surface you’re cleaning. A: Store the DIY cleaning solution in a clean, airtight spray bottle or container. Label the bottle clearly with the contents and the date it was made. Keep it in a cool, dark place away from direct sunlight and heat. The solution should be stable for several weeks, but it’s best to use it within a month for optimal effectiveness. If you notice any changes in color, odor, or consistency, discard the solution and make a fresh batch. A: While white vinegar is the most commonly recommended type of vinegar for cleaning due to its acidity and lack of color, you can experiment with other types of vinegar, such as apple cider vinegar. However, be aware that apple cider vinegar has a distinct odor that some people may find unpleasant. It also has a slight color that could potentially stain light-colored surfaces, so it’s even more important to test it in an inconspicuous area first. Avoid using balsamic vinegar, as its dark color and sugar content can leave a sticky residue. A: While the ingredients in this DIY cleaning solution are generally considered safe, it’s still important to exercise caution when using it around pets and children. Keep the solution out of their reach and avoid spraying it directly on them. If your pet or child accidentally ingests the solution, contact a veterinarian or poison control center immediately. As with any cleaning product, it’s always best to supervise children when they are helping with cleaning tasks. A: Yes, adding essential oils to this DIY cleaning solution can enhance its cleaning power and provide a pleasant scent. Some popular essential oils for cleaning include tea tree oil (antiseptic), lemon oil (degreasing), eucalyptus oil (disinfectant), lavender oil (relaxing), and peppermint oil (invigorating). Add a few drops of your chosen essential oil to the solution and shake well before each use. Be sure to use pure, high-quality essential oils for the best results. However, be mindful of potential allergies or sensitivities to certain essential oils, especially if you have pets or children. Some essential oils, such as tea tree oil, can be toxic to pets if ingested. A: For stubborn stains, pre-treat the area with a paste made from baking soda and water. Apply the paste to the stain, let it sit for 15-20 minutes, and then scrub gently with a brush or sponge. Rinse with water and then spray with the DIY cleaning solution. You can also try adding a small amount of hydrogen peroxide to the solution for extra stain-fighting power, but be sure to test it in an inconspicuous area first, as it can lighten some surfaces. For grease stains, try adding a few drops of dish soap to the solution. A: Yes, you can use this DIY cleaning solution to clean your oven. However, for heavily soiled ovens, you may need to increase the amount of baking soda in the mixture. First, remove any loose debris from the oven. Then, make a paste from baking soda and water and apply it to the interior surfaces of the oven, avoiding the heating elements. Let the paste sit overnight. The next day, spray the oven with the DIY cleaning solution and scrub with a sponge or brush. Rinse thoroughly with water. For stubborn baked-on food, you may need to repeat the process or use a specialized oven cleaner. A: It’s best to make a fresh batch of this DIY cleaning solution every month or so to ensure optimal effectiveness. Over time, the ingredients may lose their potency or the solution may become contaminated with bacteria. If you notice any changes in color, odor, or consistency, discard the solution and make a fresh batch.
2. Sprinkle it On: Using a sifter or strainer, evenly sprinkle the baking soda mixture over the entire surface of your mattress.
3. Wait Patiently: Let the baking soda sit on the mattress for at least 30 minutes, or even better, for a few hours. This will allow the baking soda to absorb odors and moisture.
4. Vacuum Thoroughly: Use your vacuum cleaner with the upholstery attachment to thoroughly vacuum the entire surface of the mattress. Make sure to get into all the nooks and crannies.
5.
* 1 tablespoon of white vinegar or lemon juice
* Microwave-safe bowl
* Clean sponge or cloth
2. Microwave Magic: Place the bowl in the microwave and heat on high for 5-7 minutes. You want the water to boil and create steam.
3. Steam Clean: Leave the bowl in the microwave for another 2-3 minutes after it stops. This allows the steam to really work its magic. Don’t open the door yet!
4. Wipe Away: Carefully remove the bowl (it will be hot!). Then, use your sponge or cloth to easily wipe away the loosened food particles. You’ll be amazed at how easily everything comes off!
5. Final Touches: For any stubborn spots, you can dip your sponge in the remaining water/vinegar mixture and scrub gently.Unclogging Drains Without Harsh Chemicals
* 2 cups of boiling water
* 1 cup of white vinegar
* A sink stopper or plug
2. Vinegar Power: Next, pour the vinegar down the drain. You’ll hear a fizzing sound – that’s the magic happening!
3. Seal it Up: Immediately cover the drain with a sink stopper or plug. This will help contain the reaction and force it to work on the clog.
4. Wait it Out: Let the mixture sit for at least 30 minutes, or even better, overnight. The longer it sits, the more effective it will be.
5. Boiling Water Flush: After the waiting period, carefully pour the boiling water down the drain. This will help flush away the loosened clog.
6. Repeat if Necessary: If the drain is still slow, repeat the process. For really stubborn clogs, you might need to do this a couple of times.Cleaning Your Showerhead for Better Water Pressure
* Plastic bag (a Ziploc bag works great)
* Rubber band or twist tie
* Old toothbrush
2. Secure the Bag: Carefully attach the bag to the showerhead, ensuring that the showerhead is fully immersed in the vinegar. Use a rubber band or twist tie to secure the bag tightly.
3. Soak Overnight: Let the showerhead soak in the vinegar overnight. This will allow the vinegar to dissolve the mineral deposits.
4. Scrub Away: In the morning, remove the bag and use an old toothbrush to scrub away any remaining mineral deposits. Pay close attention to the nozzles.
5. Flush it Out: Turn on the shower and let the water run for a few minutes to flush out any remaining vinegar and debris.Freshening Up Your Mattress
* Essential oil (optional, lavender or eucalyptus are great choices)
* Vacuum cleaner with upholstery attachment
* Sifter or strainer
2. Sprinkle it On: Using a sifter or strainer, evenly sprinkle the baking soda mixture over the entire surface of your mattress.
3. Wait Patiently: Let the baking soda sit on the mattress for at least 30 minutes, or even better, for a few hours. This will allow the baking soda to absorb odors and moisture.
4. Vacuum Thoroughly: Use your vacuum cleaner with the upholstery attachment to thoroughly vacuum the entire surface of the mattress. Make sure to get into all the nooks and crannies.
5. Flip and Repeat: Flip the mattress and repeat the process on the other side.Cleaning Your Blender Quickly and Easily
* Dish soap
2. Soap and Water: Fill the blender jar about halfway with warm water and add a squirt of dish soap.
3. Blend it Up: Secure the lid and blend on high speed for about 30-60 seconds.
4. Rinse Again: Pour out the soapy water and rinse the blender jar thoroughly with warm water.
5. Air Dry: Allow the blender jar to air dry completely before storing.Removing Water Stains from Wood Furniture
* Soft cloth
2. Blow it Away: Hold the hair dryer a few inches away from the water stain and move it back and forth over the stain.
3. Wipe it Down: As the water stain begins to fade, gently wipe the area with a soft cloth.
4. Repeat if Necessary: If the water stain is stubborn, repeat the process. Be careful not to overheat the wood.Cleaning Burnt Food from Pots and Pans
* Water
* Dish soap
* Scrubbing pad or sponge
2. Add Water: Add enough water to cover the burnt food.
3. Simmer it Down: Bring the water to a simmer over medium heat.
4. Let it Simmer: Let the mixture simmer for about 10-15 minutes, stirring occasionally.
5. Cool and Scrub: Remove the pot or pan from the heat and let it cool slightly. Then, use a scrubbing pad or sponge to scrub away the loosened burnt food.
6. Wash as Usual: Wash the pot or pan with dish soap and water as usual.Cleaning Grout with Baking Soda and Vinegar
* White vinegar
* Old toothbrush
* Spray bottle
2. Apply to Grout: Apply the paste to the grout lines.
3. Vinegar Power: Fill a spray bottle with white vinegar and spray it onto the baking soda paste.
4. Fizzing Action: Let the mixture fizz for a few minutes.
5. 
Conclusion
Frequently Asked Questions (FAQ)
Q: What surfaces can I use this DIY cleaning solution on?
Q: How do I store the DIY cleaning solution?
Q: Can I use different types of vinegar in this recipe?
Q: Is this DIY cleaning solution safe for pets and children?
Q: Can I add essential oils to this DIY cleaning solution?
Q: How do I clean stubborn stains with this DIY cleaning solution?
Q: Can I use this DIY cleaning solution to clean my oven?
Q: How often should I make a fresh batch of this DIY cleaning solution?


Leave a Comment