
Vinegar cleaning hacks – who knew this humble kitchen staple could be your secret weapon to a sparkling clean home? I’m always on the lookout for budget-friendly and eco-conscious ways to keep my space tidy, and let me tell you, vinegar has become my go-to solution! For centuries, vinegar has been used for its cleaning and disinfecting properties, dating back to ancient civilizations who recognized its power long before fancy cleaning products lined store shelves.
But why should you embrace these vinegar cleaning hacks? Well, in today’s world, we’re all striving for a healthier lifestyle, and that includes reducing our exposure to harsh chemicals. Many commercial cleaners contain ingredients that can be irritating or even harmful. Vinegar, on the other hand, is a natural and readily available alternative. Plus, let’s be honest, who doesn’t love saving money? These DIY tricks will help you ditch expensive cleaners and achieve amazing results with a simple bottle of vinegar. I’m excited to share my favorite vinegar cleaning hacks that will transform your cleaning routine and leave your home fresh and sparkling!
Unlocking the Cleaning Power of Vinegar: Your Ultimate DIY Guide
Hey there, fellow cleaning enthusiasts! I’m so excited to share my favorite vinegar cleaning hacks with you. Vinegar is truly a magical substance – cheap, readily available, and incredibly versatile. Forget those harsh chemicals; let’s harness the natural cleaning power of vinegar!
General Vinegar Cleaning Tips
Before we dive into specific projects, let’s cover some essential vinegar basics:
* Dilution is Key: Always dilute vinegar with water. A 1:1 ratio (equal parts vinegar and water) is a great starting point for most cleaning tasks. For tougher jobs, you can increase the vinegar concentration, but always test on an inconspicuous area first.
* White Distilled Vinegar is Your Best Friend: While other types of vinegar exist, white distilled vinegar is the cleaning champion. It’s clear, odorless (once it dries!), and specifically formulated for cleaning purposes.
* Avoid Certain Surfaces: Vinegar is acidic, so avoid using it on natural stone surfaces like marble or granite, as it can etch and damage them. Also, be cautious with waxed wood, cast iron, and electronics.
* Vinegar Smell: Yes, vinegar has a distinct smell. But don’t worry, it dissipates quickly! You can also add a few drops of your favorite essential oil to the vinegar solution to mask the scent. Lemon, lavender, and eucalyptus are great choices.
* Always Test First: Before applying any vinegar solution to a large area, test it on a small, hidden spot to ensure it doesn’t damage or discolor the surface.
Cleaning Your Microwave with Vinegar
Microwaves can get incredibly grimy, and nobody wants to spend ages scrubbing. This vinegar trick makes it a breeze!
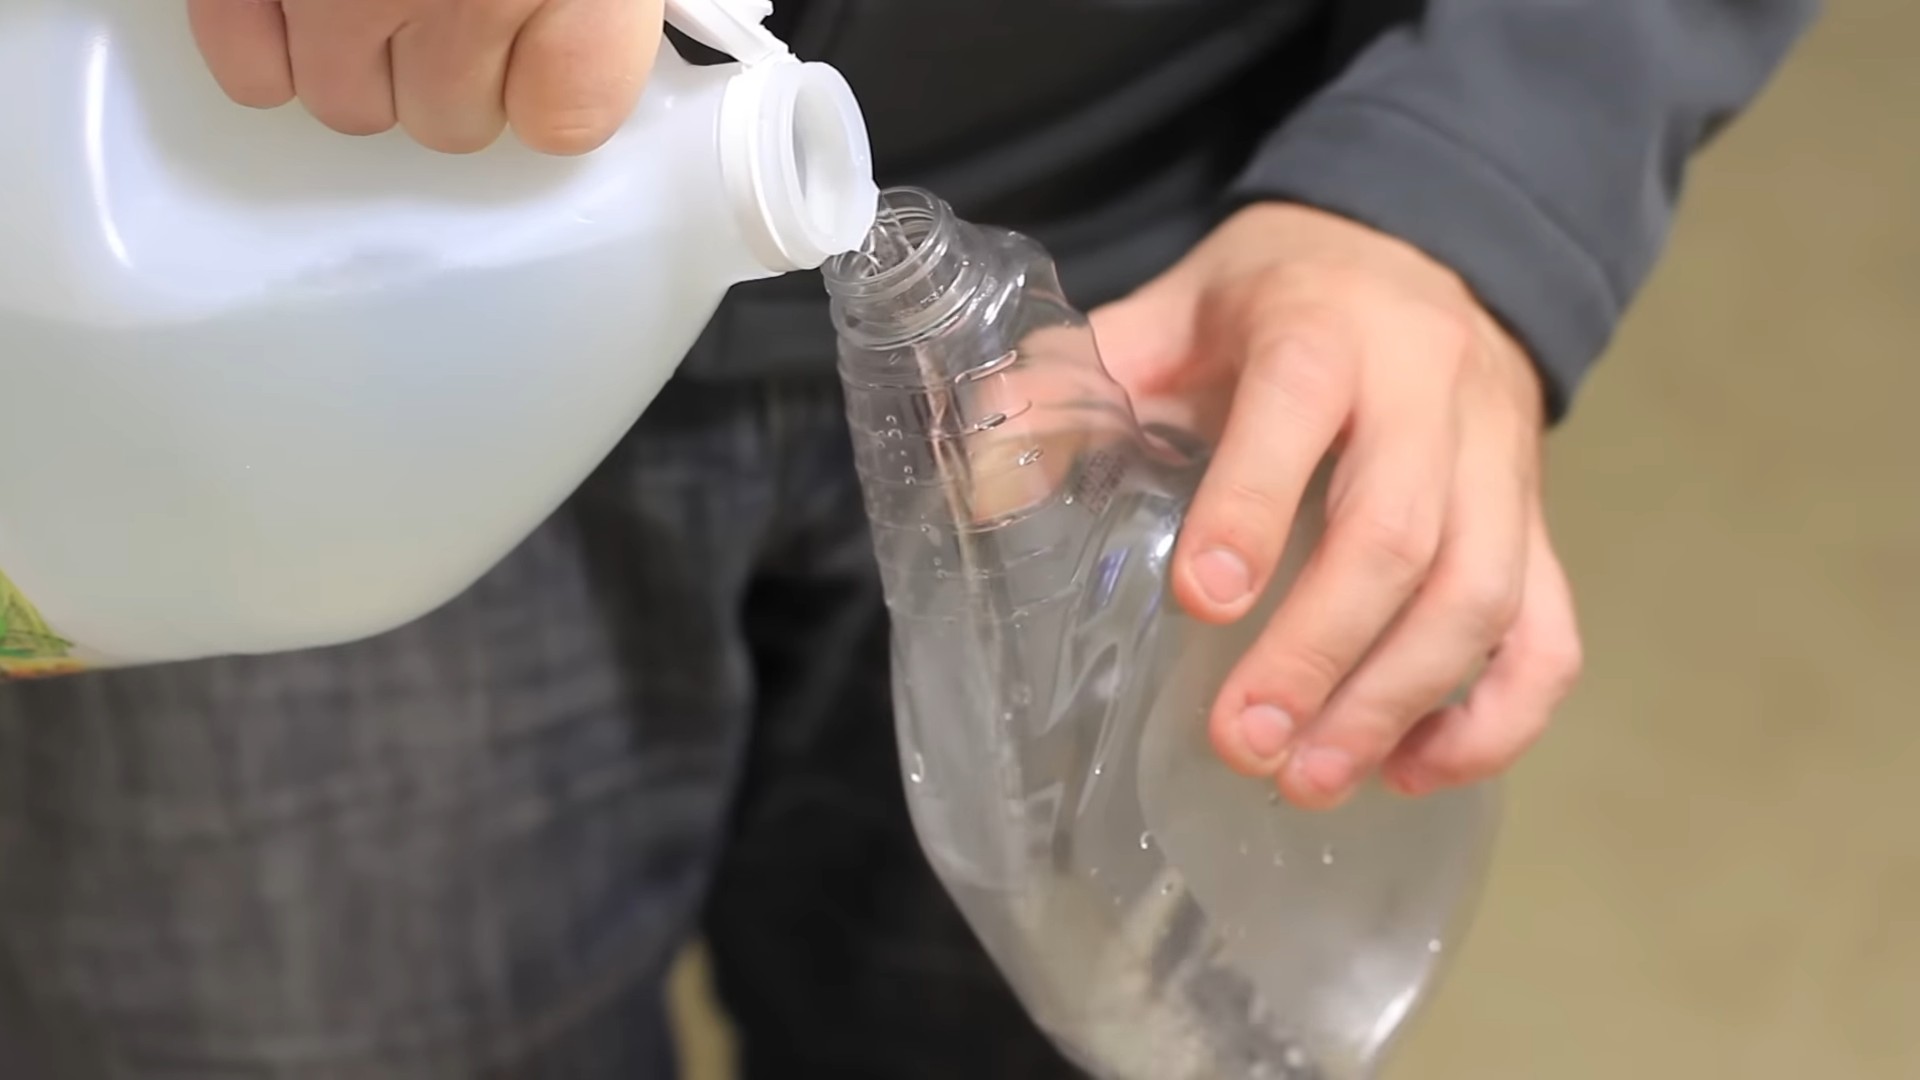
1. Prepare the Vinegar Solution: In a microwave-safe bowl, combine 1 cup of water and 2 tablespoons of white distilled vinegar.
2. Microwave the Solution: Place the bowl in the microwave and heat it on high for 5-7 minutes. The water will boil and create steam, loosening the grime inside.
3. Let it Sit: Leave the microwave door closed for another 2-3 minutes to allow the steam to work its magic.
4. Wipe Clean: Carefully remove the bowl (it will be hot!). Use a clean cloth or sponge to wipe down the interior of the microwave. The loosened grime should come off easily. For stubborn spots, you can dip the cloth in the vinegar solution.
5. Clean the Turntable: Remove the turntable and wash it with warm, soapy water. You can also wipe it down with a vinegar solution.
6. Dry and Enjoy: Dry the microwave interior and turntable with a clean cloth. Your microwave should now be sparkling clean and smelling fresh!
Deodorizing and Cleaning Your Dishwasher with Vinegar
Dishwashers can harbor odors and buildup over time. Vinegar to the rescue!
1. Empty the Dishwasher: Make sure your dishwasher is completely empty.
2. Vinegar in a Cup: Place a dishwasher-safe cup or bowl filled with 1 cup of white distilled vinegar on the top rack of the dishwasher.
3. Run a Hot Cycle: Run the dishwasher on a hot cycle. You can use the normal cycle or a sanitizing cycle.
4. That’s It!: The vinegar will help to deodorize the dishwasher, remove mineral deposits, and leave it sparkling clean. I usually do this once a month to keep my dishwasher in tip-top shape.
Cleaning Your Coffee Maker with Vinegar
Coffee makers can accumulate mineral deposits that affect the taste of your coffee. Vinegar is a fantastic descaler!
1. Prepare the Vinegar Solution: Fill the water reservoir of your coffee maker with a 1:1 solution of white distilled vinegar and water.
2. Run a Brewing Cycle: Start a brewing cycle as you normally would. Allow the entire solution to run through the coffee maker.
3. Rinse with Water: After the vinegar solution has run through, fill the water reservoir with fresh water and run two or three brewing cycles to rinse away any remaining vinegar.
4. Enjoy Fresh Coffee: Your coffee maker is now descaled and ready to brew delicious coffee! I recommend doing this every 1-3 months, depending on how often you use your coffee maker and the hardness of your water.
Cleaning Windows and Mirrors with Vinegar
Say goodbye to streaks and hello to sparkling windows and mirrors!
1. Prepare the Vinegar Solution: In a spray bottle, combine equal parts white distilled vinegar and water. You can add a few drops of your favorite essential oil for a pleasant scent.
2. Spray the Surface: Lightly spray the vinegar solution onto the window or mirror.
3. Wipe Clean: Use a clean microfiber cloth to wipe the surface. For best results, use a dry microfiber cloth for the final wipe.
4. Enjoy the Shine: Your windows and mirrors will be streak-free and sparkling clean!
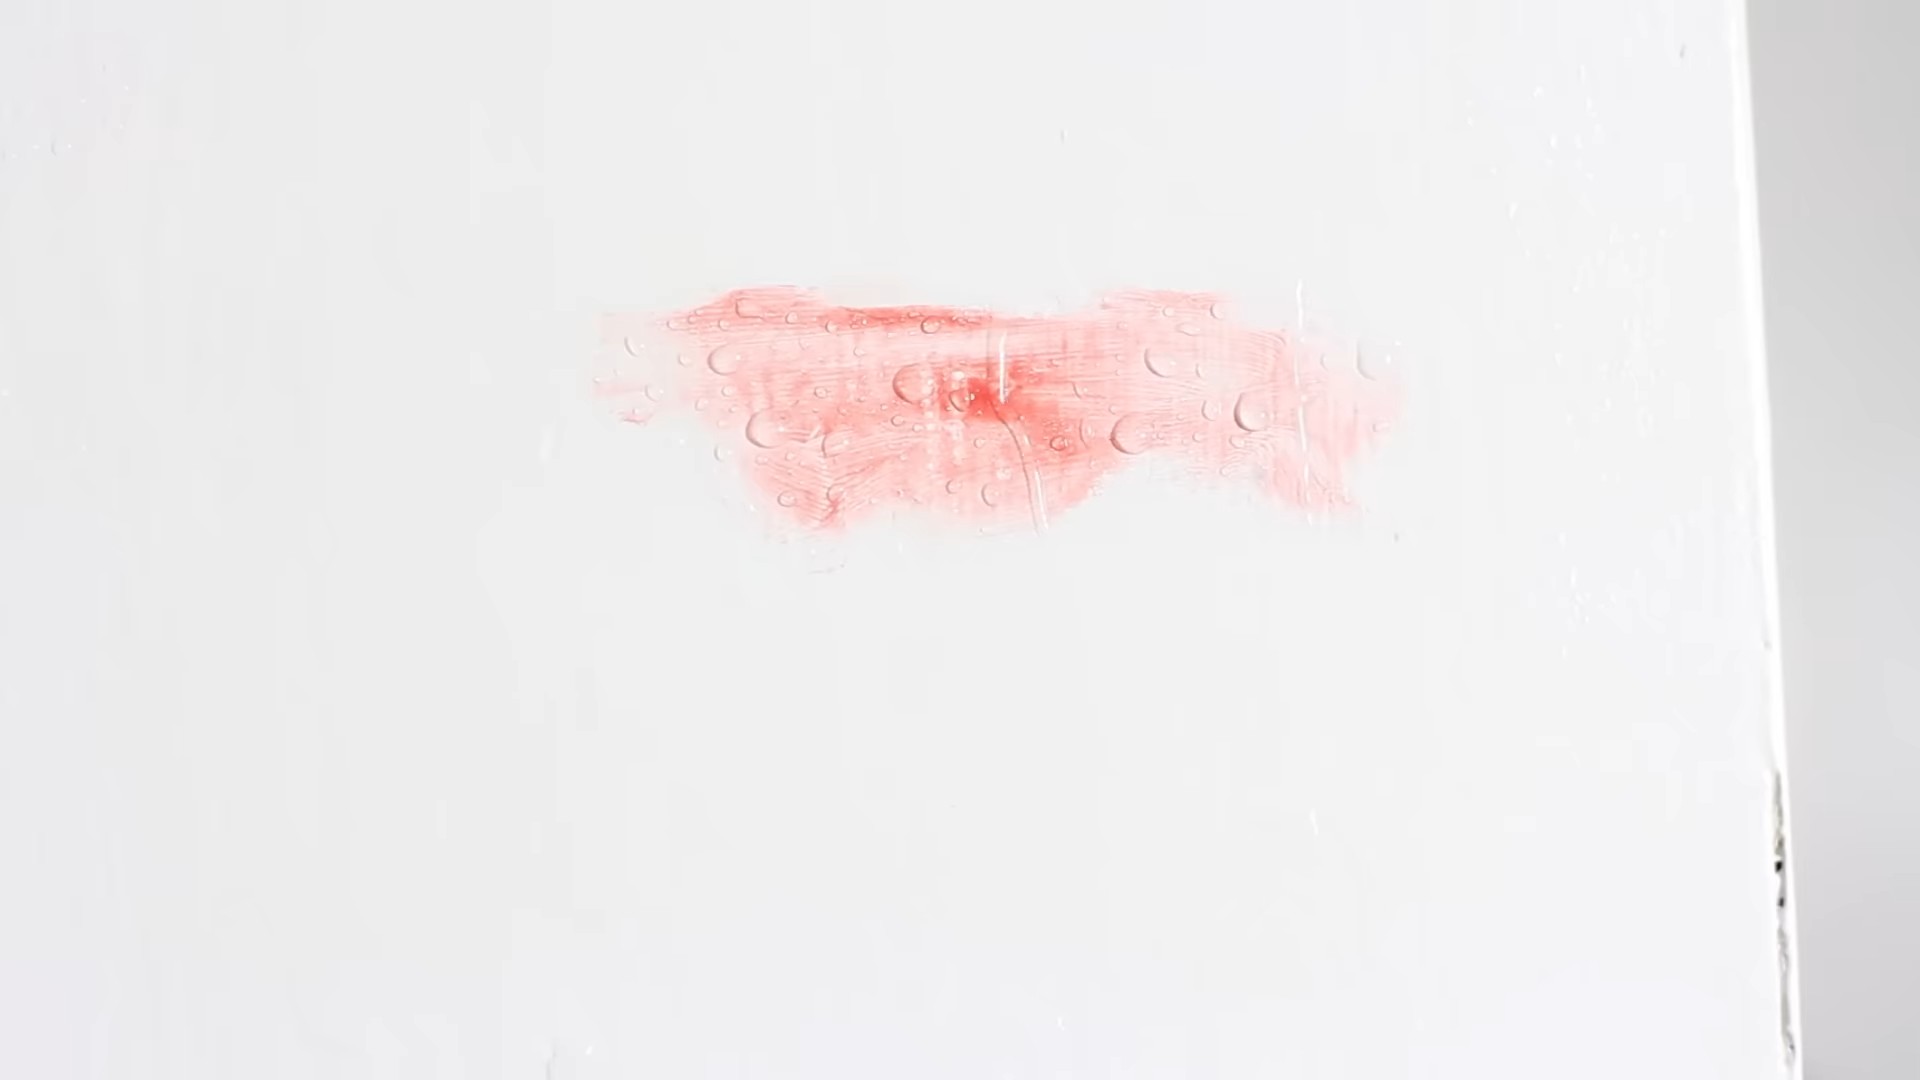
Removing Hard Water Stains with Vinegar
Hard water stains can be a real pain, especially in bathrooms. Vinegar can help dissolve those stubborn mineral deposits.
1. Identify the Stains: Locate the hard water stains on faucets, showerheads, shower doors, or toilets.
2. Soak a Cloth or Paper Towel: Soak a clean cloth or paper towel in white distilled vinegar.
3. Apply to the Stains: Place the soaked cloth or paper towel directly on the hard water stains.
4. Let it Sit: Allow the vinegar to sit on the stains for at least 30 minutes, or even longer for tougher stains. You can even leave it overnight.
5. Scrub and Rinse: After soaking, scrub the area with a non-abrasive sponge or brush. Rinse thoroughly with water.
6. Repeat if Necessary: For stubborn stains, you may need to repeat the process.
7. Dry and Admire: Dry the surface with a clean cloth. The hard water stains should be gone, leaving your fixtures sparkling!
Cleaning Showerheads with Vinegar
Showerheads can get clogged with mineral deposits, affecting water pressure. This vinegar trick will restore your showerhead to its former glory.
1. Prepare the Vinegar Solution: Fill a plastic bag with white distilled vinegar.
2. Attach the Bag to the Showerhead: Secure the bag around the showerhead using a rubber band or twist tie, ensuring that the showerhead is completely submerged in the vinegar.
3. Let it Soak: Allow the showerhead to soak in the vinegar for at least 30 minutes, or preferably overnight.
4. Remove the Bag: Carefully remove the bag and discard the vinegar.
5. Rinse and Wipe: Run the shower for a few minutes to flush out any remaining vinegar and mineral deposits. Wipe the showerhead with a clean cloth.
6. Enjoy Improved Water Pressure: Your showerhead should now be free of mineral deposits and providing a much better shower experience!
Cleaning Your Toilet with Vinegar
Vinegar can help clean and deodorize your toilet bowl.
1. Pour Vinegar into the Bowl: Pour 1-2 cups of white distilled vinegar into the toilet bowl.
2. Let it Sit: Allow the vinegar to sit in the bowl for at least 30 minutes, or preferably overnight.
3. Scrub and Flush: Scrub the toilet bowl with a toilet brush, paying attention to any stains or buildup. Flush the toilet.
4. For Stubborn Stains: For stubborn stains, you can try making a paste of baking soda and vinegar and applying it to the stains before scrubbing.
Removing Stickers and Adhesive Residue with Vinegar
Struggling to remove a stubborn sticker or adhesive residue? Vinegar can help!
1. Soak the Area: Soak a cloth or paper towel in white distilled vinegar.
2. Apply to the Sticker or Residue: Place the soaked cloth or paper towel directly on the sticker or adhesive residue.
3. Let it Sit: Allow the vinegar to sit for several minutes to soften the adhesive.
4. Peel or Wipe Away: Gently peel away the sticker or wipe away the adhesive residue with the cloth. You may need to use a scraper or credit card to help remove stubborn residue.
5. Clean and Dry: Clean the area with a clean cloth and dry it thoroughly.
Cleaning Cutting Boards with Vinegar
Cutting boards can harbor bacteria, so it’s important to clean them properly. Vinegar is a great natural disinfectant.
1. Rinse the Cutting Board: Rinse the cutting board with warm water.
2. Spray with Vinegar: Spray the cutting board with white distilled vinegar.
3. Let it Sit: Allow the vinegar to sit for a few minutes to disinfect the surface.
4. Wipe Clean: Wipe the cutting board clean with a clean cloth or sponge.
5. Rinse and Dry: Rinse the cutting board
Conclusion
So, there you have it! Unlocking the power of vinegar for a sparkling clean home is not just a cost-effective alternative to harsh chemicals; it’s a revelation. We’ve explored several incredible vinegar cleaning hacks, each designed to tackle specific cleaning challenges with ease and efficiency. From banishing stubborn hard water stains in your bathroom to revitalizing your dingy laundry, the versatility of vinegar is truly remarkable.
But why is this DIY approach a must-try? Beyond the obvious financial benefits – saving you money on expensive, brand-name cleaners – it’s about embracing a more sustainable and healthier lifestyle. Commercial cleaning products often contain volatile organic compounds (VOCs) that can irritate your lungs and contribute to indoor air pollution. Vinegar, on the other hand, is a natural, biodegradable substance that poses minimal risk to your health and the environment.
Imagine a home free from the lingering scent of artificial fragrances, replaced instead with the fresh, clean aroma of a space sanitized with the power of nature. Think of the peace of mind knowing that you’re not exposing your family or pets to potentially harmful chemicals. This is the promise of vinegar cleaning.
And the best part? You can easily customize these hacks to suit your specific needs and preferences. For instance, if you find the scent of plain white vinegar too strong, infuse it with citrus peels (lemon, orange, grapefruit) for a more pleasant aroma. Simply soak the peels in vinegar for a few weeks, then strain and use as usual. You can also add a few drops of your favorite essential oils, such as lavender, tea tree, or eucalyptus, for added fragrance and antibacterial properties.
For tougher cleaning jobs, like removing mildew or mold, consider using a stronger concentration of vinegar or combining it with baking soda for a powerful scrubbing action. Remember to always test any cleaning solution in an inconspicuous area first to ensure it doesn’t damage the surface.
We’ve covered a lot of ground, but the possibilities with vinegar cleaning hacks are truly endless. From cleaning your coffee maker to deodorizing your garbage disposal, this humble ingredient can tackle almost any cleaning task you throw its way.
Now, it’s your turn to experience the magic of vinegar for yourself. We encourage you to try these DIY tricks and discover the transformative power of this natural cleaner. Don’t be afraid to experiment, adapt, and find what works best for you and your home.
And most importantly, we want to hear about your experiences! Share your successes, your challenges, and your own unique vinegar cleaning hacks in the comments below. Let’s build a community of eco-conscious cleaners who are passionate about creating healthy and sustainable homes. Together, we can unlock the full potential of vinegar and revolutionize the way we clean. So, grab a bottle of vinegar and get ready to experience the difference!
Frequently Asked Questions (FAQs)
Is vinegar safe to use on all surfaces?
No, vinegar is not safe to use on all surfaces. Avoid using vinegar on natural stone surfaces like marble, granite, and limestone, as the acidity can etch and damage them. It’s also best to avoid using vinegar on waxed furniture, as it can strip the wax finish. Always test vinegar in an inconspicuous area before applying it to a larger surface. Other surfaces to avoid include aluminum, cast iron, and electronics screens.
What type of vinegar is best for cleaning?
Plain white distilled vinegar is the best type of vinegar for cleaning. It has a higher acidity level than other types of vinegar, making it more effective at disinfecting and removing dirt and grime. Avoid using flavored vinegars, such as apple cider vinegar or balsamic vinegar, as they may contain sugars or other ingredients that can leave a sticky residue.
Can I mix vinegar with bleach?
Never mix vinegar with bleach! This combination creates toxic chlorine gas, which can be extremely harmful and even fatal. Always use vinegar and bleach separately, and rinse surfaces thoroughly after using either product.
How do I get rid of the vinegar smell after cleaning?
The vinegar smell typically dissipates within a few hours. To speed up the process, you can open windows and doors to ventilate the area. You can also add a few drops of essential oils, such as lavender or lemon, to your cleaning solution to mask the vinegar scent. Another option is to boil a pot of water with citrus peels or cinnamon sticks to freshen the air.
Can vinegar kill mold?
Yes, vinegar can kill mold, but it’s most effective on surface mold. For more severe mold infestations, you may need to use a stronger solution or consult a professional mold remediation service. To kill mold with vinegar, spray undiluted white vinegar onto the affected area and let it sit for an hour. Then, scrub the area with a brush and rinse with water. Be sure to dry the area thoroughly to prevent mold from returning.
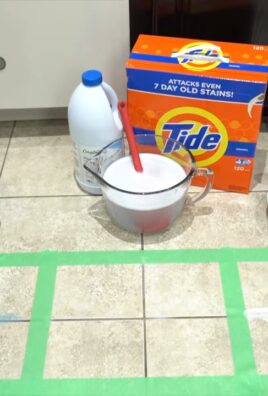
How can I use vinegar to clean my washing machine?
To clean your washing machine with vinegar, add 2 cups of white vinegar to the detergent dispenser and run a hot water cycle. This will help to remove detergent buildup, mineral deposits, and odors. You can also clean the rubber seal around the door with a vinegar solution to prevent mold and mildew growth. Repeat this process every month to keep your washing machine clean and fresh.
Is vinegar effective at disinfecting?
Vinegar has some disinfecting properties, but it’s not as effective as commercial disinfectants like bleach or hydrogen peroxide. Vinegar can kill some bacteria and viruses, but it may not be effective against all types of pathogens. For general cleaning and sanitizing, vinegar is a good option. However, for situations where thorough disinfection is required, such as cleaning up after illness, it’s best to use a stronger disinfectant.
Can I use vinegar to clean my coffee maker?
Yes, you can use vinegar to clean your coffee maker. Fill the water reservoir with equal parts white vinegar and water. Run the coffee maker through a full brewing cycle. Then, run two cycles with plain water to rinse out any remaining vinegar. This will help to remove mineral buildup and improve the taste of your coffee.
How do I clean my microwave with vinegar?
To clean your microwave with vinegar, combine 1 cup of water and 2 tablespoons of white vinegar in a microwave-safe bowl. Microwave on high for 5 minutes. Let the bowl sit in the microwave for another 5 minutes to allow the steam to loosen any stuck-on food particles. Then, carefully remove the bowl and wipe down the inside of the microwave with a clean cloth.
What are some other creative uses for vinegar cleaning hacks?
Vinegar can be used to clean showerheads (soak in vinegar overnight), remove stickers and adhesive residue, clean windows and mirrors (mix with water in a spray bottle), unclog drains (combine with baking soda), and even remove wrinkles from clothes (spray lightly with a vinegar solution). The possibilities are endless!

Leave a Comment