
Toilet Grout Cleaning Shortcuts: Are you tired of battling stubborn stains and grime in your bathroom? I know I am! That’s why I’m so excited to share these game-changing DIY toilet grout cleaning shortcuts that will leave your bathroom sparkling without endless scrubbing.
Grout, that porous material between your tiles, has been a staple in homes for centuries, dating back to ancient civilizations who used similar compounds to bind stones and create lasting structures. While its durability is impressive, its susceptibility to mold, mildew, and discoloration is a constant headache for homeowners. Let’s face it, nobody enjoys spending hours on their hands and knees, armed with a toothbrush and harsh chemicals, trying to restore their grout to its former glory.
That’s where these toilet grout cleaning shortcuts come in! In this article, I’ll reveal simple, effective, and budget-friendly methods to tackle even the most stubborn grout stains. From using common household ingredients to employing clever techniques, you’ll discover how to achieve professional-level results with minimal effort. Say goodbye to grimy grout and hello to a fresh, clean bathroom you can be proud of. Trust me, these toilet grout cleaning shortcuts are a must-have in your cleaning arsenal!
Toilet Grout Cleaning Shortcuts: Sparkling Clean in No Time!
Okay, let’s be honest, cleaning grout around the toilet is nobody’s favorite chore. It’s grimy, it’s often stained, and it’s just plain unpleasant. But fear not! I’ve compiled a few tried-and-true shortcuts to get that grout sparkling clean without spending hours on your hands and knees. These methods are effective, relatively easy, and use ingredients you probably already have at home. Let’s dive in!
Understanding the Enemy: Toilet Grout Stains
Before we launch into the cleaning process, it’s helpful to understand what we’re up against. Toilet grout stains are usually a combination of:
* Mold and Mildew: Thriving in the damp environment.
* Hard Water Deposits: Leaving a chalky residue.
* Soap Scum: A sticky film that attracts dirt.
* Urine Splatter: Yes, it happens!
Knowing this helps us choose the right cleaning agents to tackle each problem effectively.
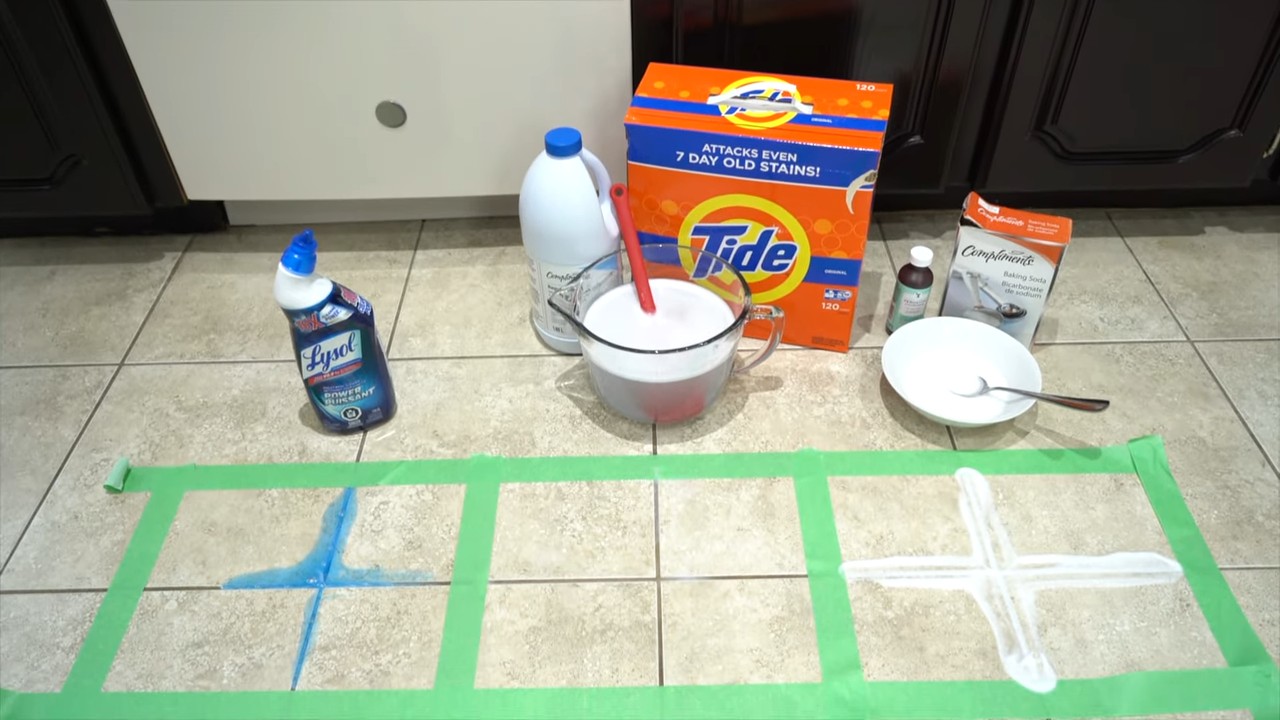
Method 1: The Baking Soda and Vinegar Power Duo
This is a classic for a reason! Baking soda is a mild abrasive and deodorizer, while vinegar is a natural disinfectant and helps dissolve hard water stains.
What You’ll Need:
* Baking Soda
* White Vinegar
* Spray Bottle
* Old Toothbrush or Grout Brush
* Paper Towels or Cleaning Cloth
Step-by-Step Instructions:
1. Prepare the Area: Lightly dampen the grout lines with water. This helps the baking soda stick better.
2. Apply the Baking Soda: Generously sprinkle baking soda over the stained grout lines. Don’t be shy!
3. Vinegar Time! Pour white vinegar into a spray bottle. Gently spray the vinegar onto the baking soda-covered grout. You’ll see it fizz – that’s the magic happening!
4. Let it Sit: Allow the baking soda and vinegar mixture to sit for at least 15-20 minutes. For tougher stains, you can let it sit for up to an hour. The longer it sits, the more time it has to break down the grime.
5. Scrub-a-dub-dub: Using an old toothbrush or grout brush, scrub the grout lines vigorously. Focus on areas with heavy staining. You should see the stains starting to lift.
6. Rinse and Repeat (if necessary): Rinse the area thoroughly with clean water. If the stains are still visible, repeat the process. Sometimes, stubborn stains need a second round.
7. Dry it Off: Wipe the area dry with paper towels or a cleaning cloth. This helps prevent water spots and further mold growth.
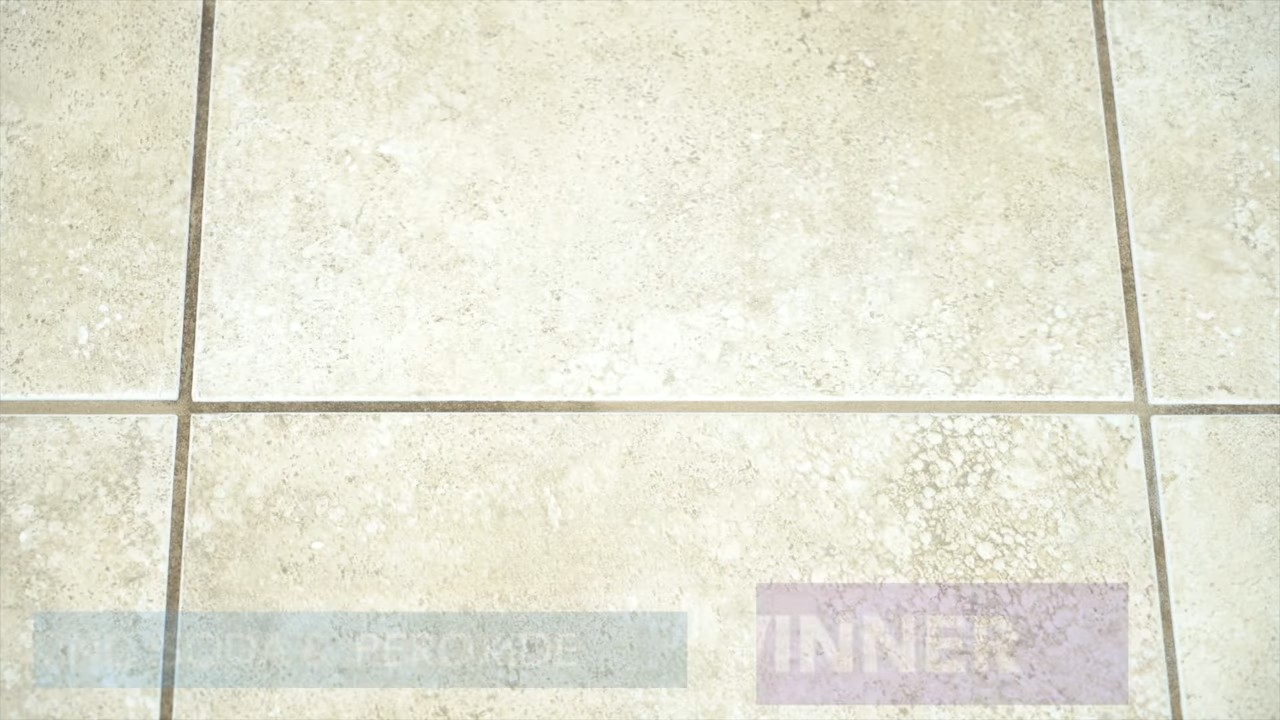
Method 2: The Hydrogen Peroxide and Baking Soda Paste
This method is great for tackling mold and mildew stains. Hydrogen peroxide is a mild bleach and disinfectant, making it effective at killing mold spores.
What You’ll Need:
* Baking Soda
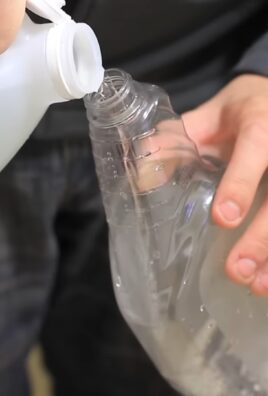
* Hydrogen Peroxide (3% solution)
* Small Bowl
* Old Toothbrush or Grout Brush
* Paper Towels or Cleaning Cloth
Step-by-Step Instructions:
1. Create the Paste: In a small bowl, mix baking soda and hydrogen peroxide to form a thick paste. The consistency should be similar to toothpaste.
2. Apply the Paste: Using your fingers or a small spatula, apply the paste directly to the stained grout lines. Make sure to cover the entire area.
3. Let it Sit: Allow the paste to sit for at least 30 minutes. For heavily stained grout, you can let it sit for up to an hour.
4. Scrub-a-dub-dub: Using an old toothbrush or grout brush, scrub the grout lines vigorously. The paste should help lift the stains.
5. Rinse and Repeat (if necessary): Rinse the area thoroughly with clean water. If the stains are still visible, repeat the process.
6. Dry it Off: Wipe the area dry with paper towels or a cleaning cloth.
Method 3: The Bleach Pen Power-Up
For seriously stubborn stains, especially mold and mildew, a bleach pen can be a lifesaver. However, use this method with caution and ensure proper ventilation.
What You’ll Need:
* Bleach Pen (specifically designed for grout)
* Old Toothbrush or Grout Brush (optional)
* Gloves
* Eye Protection
* Paper Towels or Cleaning Cloth
Important Safety Precautions:
* Ventilation is Key: Open a window or turn on the bathroom fan to ensure proper ventilation.
* Wear Protection: Always wear gloves and eye protection when working with bleach.
* Avoid Mixing: Never mix bleach with other cleaning products, especially ammonia, as this can create dangerous fumes.
Step-by-Step Instructions:
1. Apply the Bleach: Carefully apply the bleach pen directly to the stained grout lines. Follow the instructions on the bleach pen packaging.
2. Let it Sit: Allow the bleach to sit for the recommended time on the packaging, usually 5-10 minutes. Do not leave it on for longer than recommended, as it can damage the grout.
3. Scrub (Optional): If the stains are particularly stubborn, you can gently scrub the grout lines with an old toothbrush or grout brush.
4. Rinse Thoroughly: Rinse the area thoroughly with clean water. Make sure to remove all traces of bleach.
5. Dry it Off: Wipe the area dry with paper towels or a cleaning cloth.
Method 4: The Magic Eraser Marvel
Sometimes, a simple solution is all you need. Magic Erasers are abrasive sponges that can effectively remove surface stains and grime from grout.
What You’ll Need:
* Magic Eraser
* Water
* Paper Towels or Cleaning Cloth
Step-by-Step Instructions:
1. Wet the Magic Eraser: Dampen the Magic Eraser with water.
2. Gently Scrub: Gently scrub the grout lines with the Magic Eraser. Use a back-and-forth motion.
3. Rinse and Repeat (if necessary): Rinse the area with clean water. If the stains are still visible, repeat the process.
4. Dry it Off: Wipe the area dry with paper towels or a cleaning cloth.
Tips for Preventing Future Grout Stains
Cleaning is great, but preventing stains in the first place is even better! Here are a few tips to keep your toilet grout looking its best:
* Wipe Up Splashes Immediately: Don’t let spills and splashes sit on the grout. Wipe them up as soon as possible.
* Improve Ventilation: Run the bathroom fan during and after showers to reduce moisture and prevent mold growth.
* Seal the Grout: Apply a grout sealer to protect the grout from stains and water damage. You can find grout sealers at most hardware stores. Reapply every 6-12 months, or as directed by the product instructions.
* Regular Cleaning: Incorporate grout cleaning into your regular bathroom cleaning routine. A quick scrub with a mild cleaner once a week can prevent stains from building up.
* Consider Colored Grout: When re-grouting, consider using a darker colored grout. It will hide stains better than white grout.
Choosing the Right Method for You
The best method for cleaning your toilet grout depends on the severity of the stains and your personal preferences.
* For Light Stains: Start with the baking soda and vinegar method or the Magic Eraser.
* For Mold and Mildew: Try the hydrogen peroxide and baking soda paste or the bleach pen (with proper safety precautions).
* For Stubborn Stains: You may need to combine methods or repeat the process multiple times.
Remember to always test any cleaning solution in an inconspicuous area first to ensure it doesn’t damage the grout or surrounding tiles.
Cleaning toilet grout doesn’t have to be a dreaded chore. With these shortcuts and a little elbow grease, you can achieve sparkling clean grout in no time! Good luck, and happy cleaning!
Conclusion
So, there you have it! This simple yet incredibly effective DIY toilet grout cleaning shortcut is more than just a cleaning hack; it’s a game-changer for anyone who wants a sparkling clean bathroom without spending hours scrubbing or resorting to harsh chemicals. We’ve shown you how to tackle that stubborn grout grime with ingredients you likely already have in your pantry. The beauty of this method lies in its simplicity, affordability, and effectiveness.
Why is this a must-try? Because it saves you time, money, and effort. Imagine reclaiming your weekends from endless cleaning chores. Think of the satisfaction of seeing your toilet grout transformed from dingy to dazzling with minimal fuss. And consider the peace of mind knowing you’re using a gentler, more environmentally friendly approach to cleaning.
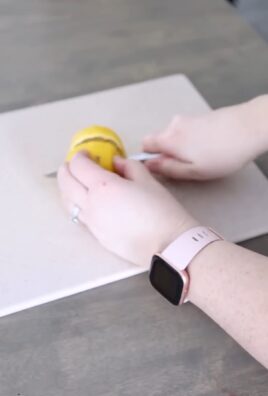
But don’t just take our word for it. We encourage you to experiment and personalize this DIY toilet grout cleaning shortcut to suit your specific needs and preferences. For instance, if you have particularly stubborn stains, you might try letting the paste sit for a longer period, perhaps even overnight, before scrubbing. Alternatively, for a refreshing scent, add a few drops of your favorite essential oil, like lemon or tea tree, to the cleaning mixture. Remember to test any new additions in an inconspicuous area first to ensure they don’t damage the grout or surrounding surfaces.
Another variation you could explore is using a different type of brush. While an old toothbrush is perfect for detailed work, a grout brush with a longer handle can be more comfortable for larger areas. You could also try using a steam cleaner after applying the paste to help loosen the grime and make it even easier to scrub away.
We’re confident that once you try this DIY toilet grout cleaning shortcut, you’ll be amazed by the results. It’s a practical, efficient, and eco-conscious way to maintain a clean and healthy bathroom.
Now, we want to hear from you! Give this method a try and share your experiences with us. Did it work as well for you as it did for us? Did you discover any helpful variations or tips? Let us know in the comments below! Your feedback will not only help us improve this guide but also inspire others to embrace the power of DIY cleaning. Together, we can conquer even the most challenging cleaning tasks and create sparkling clean homes without breaking the bank or harming the environment. So, grab your ingredients, put on your gloves, and get ready to transform your toilet grout! We can’t wait to see your before-and-after photos and hear your success stories. Happy cleaning!
Frequently Asked Questions
What exactly is grout and why does it get so dirty?
Grout is a dense material used to fill the gaps between tiles. It’s typically made from a mixture of cement, water, and sometimes sand. Its porous nature makes it susceptible to absorbing spills, dirt, and mildew, leading to discoloration and staining over time. The toilet area, in particular, is prone to moisture and bacteria growth, which exacerbates the problem.
What are the benefits of using a DIY toilet grout cleaning shortcut compared to commercial cleaners?
DIY cleaning methods often offer several advantages over commercial cleaners. They are typically more affordable, using readily available ingredients you likely already have at home. They are also generally safer for your health and the environment, as they avoid harsh chemicals and fumes. Furthermore, DIY solutions can be just as effective, if not more so, at tackling specific cleaning challenges like dirty toilet grout.
What ingredients do I need for this DIY toilet grout cleaning shortcut?
The specific ingredients will vary depending on the recipe you choose, but common options include baking soda, vinegar, hydrogen peroxide, dish soap, and lemon juice. The article will detail the exact proportions and instructions for each method.
Is this DIY method safe for all types of grout and tiles?
While most DIY grout cleaning methods are generally safe, it’s always a good idea to test the solution in an inconspicuous area first, especially if you have colored grout or delicate tiles. Some acidic ingredients, like vinegar or lemon juice, may potentially damage certain types of stone tiles if left on for too long.
How often should I clean my toilet grout?
The frequency of cleaning depends on how heavily used the toilet is and how quickly the grout becomes dirty. As a general rule, cleaning your toilet grout every 1-2 weeks can help prevent buildup and keep it looking its best. More frequent cleaning may be necessary in high-traffic bathrooms.
What kind of brush should I use to scrub the grout?
An old toothbrush is an excellent choice for cleaning grout, as its small size and stiff bristles allow you to reach into the narrow spaces between tiles. You can also use a grout brush, which is specifically designed for this purpose and often has a longer handle for added comfort.
How long should I let the cleaning solution sit on the grout before scrubbing?
The amount of time you let the cleaning solution sit on the grout will depend on the severity of the staining. For light stains, 5-10 minutes may be sufficient. For more stubborn stains, you may need to let the solution sit for 30 minutes or even longer.
What if the grout is still dirty after scrubbing?
If the grout is still dirty after scrubbing, you can try repeating the cleaning process. You may also need to use a stronger cleaning solution or let the solution sit on the grout for a longer period. In some cases, you may need to resort to a commercial grout cleaner or consider re-grouting the tiles.
Can I use this method on other areas of my bathroom, such as shower grout?
Yes, this DIY toilet grout cleaning shortcut can be used on other areas of your bathroom, such as shower grout, as long as you test the solution in an inconspicuous area first to ensure it doesn’t damage the tiles or grout.
How can I prevent my toilet grout from getting dirty in the future?
There are several things you can do to prevent your toilet grout from getting dirty in the future. These include:
* Wiping up spills and messes immediately.
* Ventilating your bathroom properly to prevent moisture buildup.
* Sealing your grout to make it less porous and resistant to staining.
* Cleaning your grout regularly to prevent dirt and grime from accumulating.
What if I have mold or mildew growing in my toilet grout?
If you have mold or mildew growing in your toilet grout, you’ll need to use a cleaning solution that specifically targets these organisms. A mixture of bleach and water (1 part bleach to 10 parts water) is a common and effective solution. Be sure to ventilate the area well and wear gloves and eye protection when working with bleach.
Is there a natural alternative to bleach for removing mold and mildew?
Yes, tea tree oil is a natural antifungal and antibacterial agent that can be used to remove mold and mildew. Mix a few drops of tea tree oil with water in a spray bottle and spray the affected area. Let it sit for a few minutes, then scrub with a brush and rinse with water.
What should I do if I accidentally get the cleaning solution in my eyes?
If you accidentally get the cleaning solution in your eyes, rinse them immediately with plenty of water for at least 15 minutes. If irritation persists, seek medical attention.
Can I use a power washer to clean my toilet grout?
While a power washer can be effective for cleaning outdoor surfaces, it’s generally not recommended for cleaning toilet grout. The high pressure can damage the grout and tiles, and it can also cause water to spray everywhere.
Where can I share my experience and see what others have tried?
You can share your experience and see what others have tried in the comments section of this article. We encourage you to share your before-and-after photos and any helpful tips or variations you’ve discovered.

Leave a Comment