
Squeegee cleaning hacks are about to revolutionize your cleaning routine! Are you tired of streaks, smudges, and spending hours trying to get your windows, mirrors, and shower doors sparkling clean? I know I was! For generations, people have struggled with achieving that perfect, spotless shine. From using old newspapers (a trick passed down through my own family!) to expensive cleaning solutions, the quest for streak-free surfaces has been a long and often frustrating one.
But what if I told you that the humble squeegee, often relegated to just window cleaning, is actually a multi-purpose cleaning superhero waiting to be unleashed? This DIY article is packed with ingenious squeegee cleaning hacks that will not only save you time and money but also deliver professional-quality results. We’ll explore unconventional uses for your squeegee, from banishing pet hair from carpets to effortlessly wiping down countertops.
In today’s busy world, who has time to spend hours scrubbing? These hacks are designed to be quick, easy, and effective, giving you more time to enjoy your sparkling clean home. So, grab your squeegee, and let’s dive into the world of cleaning magic!
Squeegee Cleaning Hacks: Beyond the Shower Door!
Hey there, fellow DIY enthusiasts! I’m always on the lookout for clever ways to make cleaning easier and more efficient. And you know what? The humble squeegee is a cleaning superhero in disguise! Forget just using it in the shower; this little tool can tackle so much more. I’m going to share some of my favorite squeegee cleaning hacks that will seriously change your cleaning game. Get ready to be amazed!
Squeegee Basics: Choosing the Right Tool
Before we dive into the hacks, let’s talk squeegees. Not all squeegees are created equal, and choosing the right one can make a big difference.
* Shower Squeegees: These are usually wider and designed for large, flat surfaces. They’re perfect for, well, showers, but also great for windows and mirrors.
* Window Squeegees: These often come with a longer handle and sometimes have a sponge or scrubber attached. They’re ideal for reaching high windows and dealing with stubborn grime.
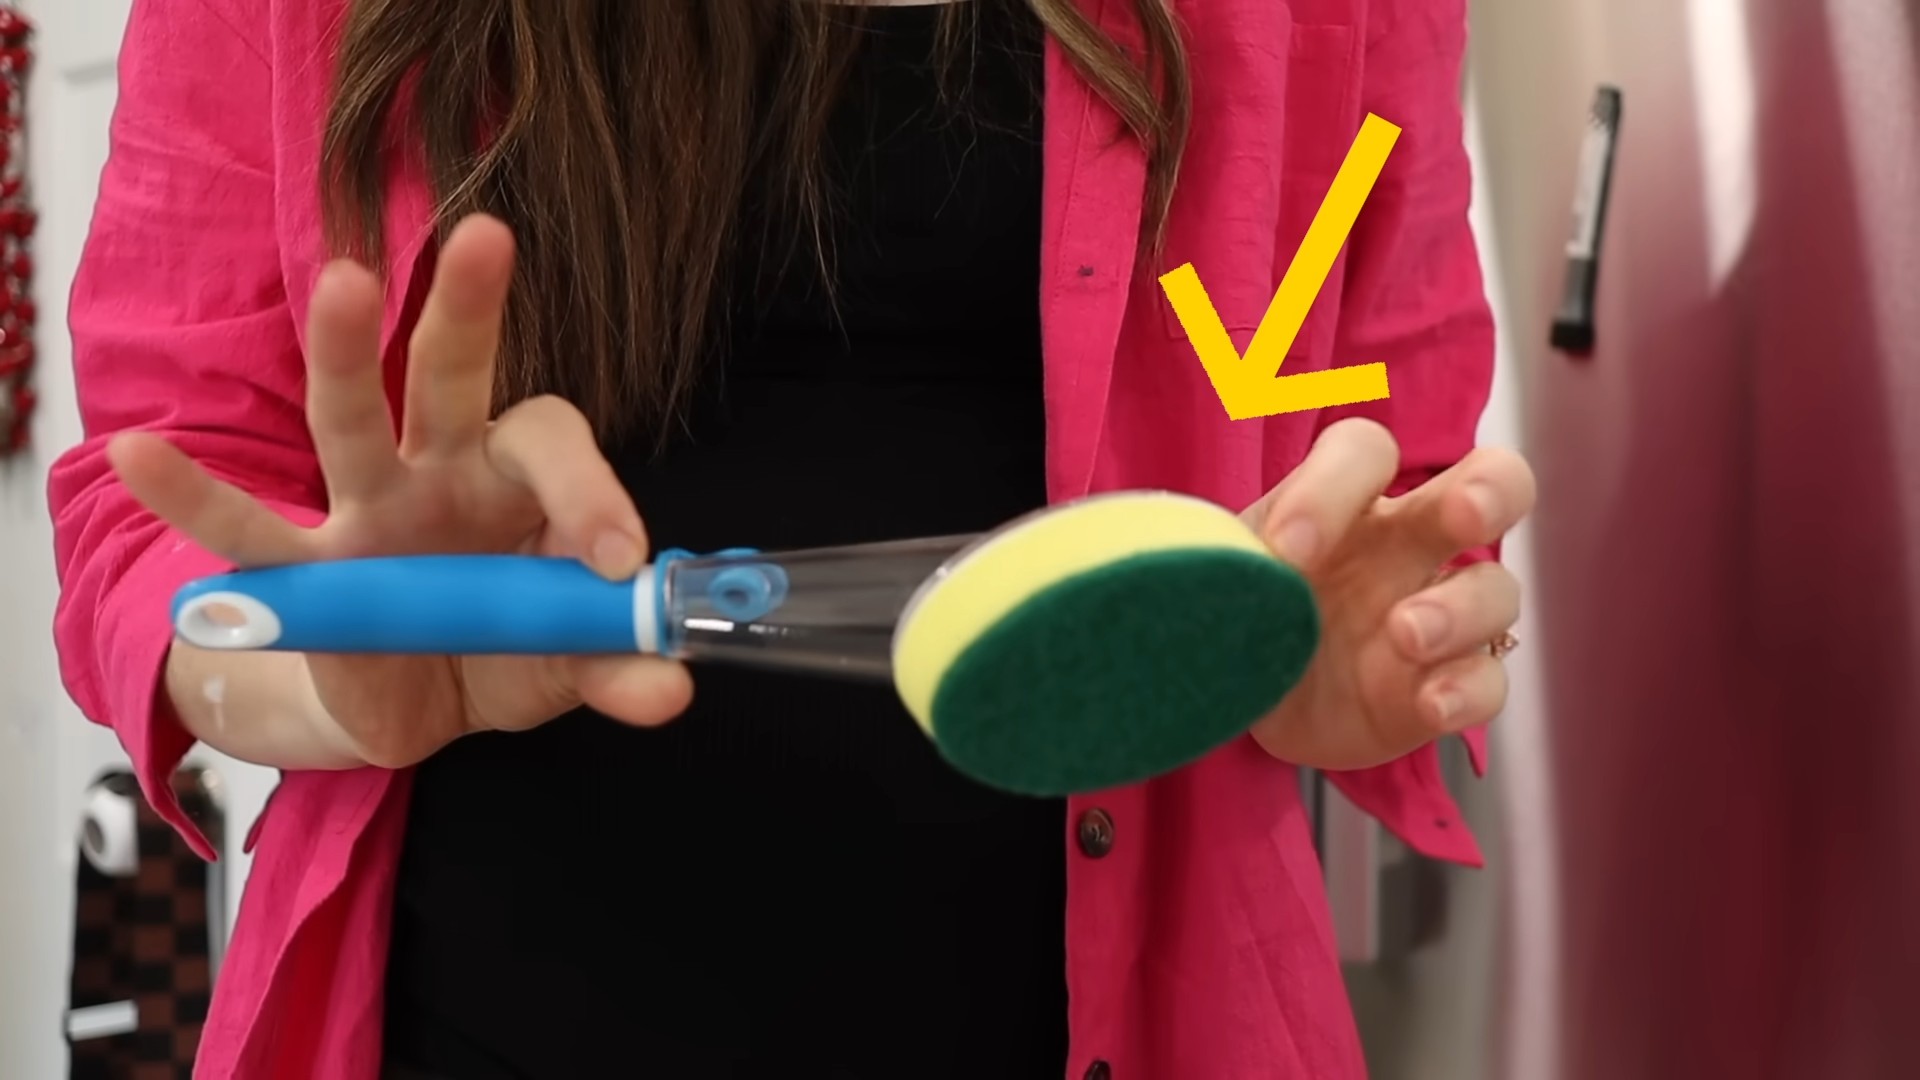
* Small Handheld Squeegees: These are compact and versatile, perfect for smaller areas like car windows, countertops, and even cleaning up spills.
* Blade Material: Look for squeegees with a flexible, high-quality rubber blade. This will ensure a streak-free finish and prevent scratching.
Hack #1: Sparkling Clean Windows (Inside and Out!)
Okay, let’s start with the classic – windows! But I’m not just talking about a quick wipe-down. I’m talking about achieving that crystal-clear, streak-free shine that makes your windows practically disappear.
What you’ll need:
* A squeegee (window squeegee or shower squeegee works best)
* A bucket of warm water
* A few drops of dish soap (I prefer a gentle, non-abrasive one)
* A spray bottle (optional, but helpful)
* A microfiber cloth or two
Step-by-step instructions:
1. Prepare your cleaning solution: Fill your bucket with warm water and add a few drops of dish soap. Don’t overdo it with the soap; too much can leave a residue. If you prefer, you can mix the solution in a spray bottle.
2. Wet the window: Dip a microfiber cloth into the soapy water and thoroughly wet the window surface. You can also spray the window with your solution. Make sure the entire surface is covered.
3. Squeegee from top to bottom: Starting at the top corner of the window, overlap each stroke slightly. Apply even pressure and maintain a consistent angle. I like to angle the squeegee slightly downwards to help the water run off.
4. Wipe the blade after each stroke: Use a clean, dry microfiber cloth to wipe the squeegee blade after each stroke. This prevents streaks and ensures a clean finish.
5. Overlap and repeat: Continue squeegeeing down the window, overlapping each stroke by about an inch.
6. Clean the edges: Use a clean microfiber cloth to wipe any remaining water or streaks from the edges of the window.
7. Dry the window frame: Wipe down the window frame with a clean, dry cloth to prevent water spots.
Pro Tip: For stubborn dirt or grime, pre-treat the window with a glass cleaner or a paste made from baking soda and water. Let it sit for a few minutes before squeegeeing.
Hack #2: Streak-Free Mirrors (Goodbye, Smudges!)
Mirrors are notorious for showing every smudge and fingerprint. But with a squeegee, you can achieve a flawless, streak-free reflection in no time.
What you’ll need:
* A squeegee (small handheld or shower squeegee)
* A spray bottle filled with glass cleaner (or a mixture of equal parts water and white vinegar)
* A microfiber cloth
Step-by-step instructions:
1. Spray the mirror: Lightly spray the mirror with your glass cleaner or vinegar solution. Don’t over-saturate the surface.
2. Squeegee from top to bottom: Starting at the top corner, squeegee down the mirror in smooth, overlapping strokes.
3. Wipe the blade: Wipe the squeegee blade with a clean microfiber cloth after each stroke.
4. Clean the edges: Use a clean microfiber cloth to wipe any remaining cleaner or streaks from the edges of the mirror.
Pro Tip: For a natural and eco-friendly mirror cleaner, use a mixture of equal parts water and white vinegar. The vinegar smell will dissipate quickly.
Hack #3: Spotless Shower Doors (Sayonara, Soap Scum!)
This is where the squeegee truly shines! Using a squeegee after each shower can dramatically reduce soap scum buildup and keep your shower doors looking sparkling clean.
What you’ll need:
* A shower squeegee
Step-by-step instructions:
1. Squeegee after each shower: After each shower, simply squeegee the shower doors from top to bottom.
2. Overlap strokes: Overlap each stroke slightly to ensure you’re removing all the water.
3. Focus on corners and edges: Pay extra attention to the corners and edges, where soap scum tends to accumulate.
Pro Tip: For a deeper clean, occasionally spray your shower doors with a shower cleaner or a mixture of equal parts water and white vinegar. Let it sit for a few minutes before squeegeeing.
Hack #4: Cleaning Car Windows (Inside and Out!)
Car windows can get grimy from road dust, fingerprints, and even pet slobber. A squeegee can help you achieve crystal-clear visibility for safer driving.
What you’ll need:
* A small handheld squeegee
* A bucket of warm water
* A few drops of dish soap
* A microfiber cloth
Step-by-step instructions:
1. Prepare your cleaning solution: Fill your bucket with warm water and add a few drops of dish soap.
2. Wet the window: Dip a microfiber cloth into the soapy water and thoroughly wet the car window.
3. Squeegee from top to bottom: Starting at the top corner of the window, squeegee down the window in smooth, overlapping strokes.
4. Wipe the blade: Wipe the squeegee blade with a clean microfiber cloth after each stroke.
5. Clean the edges: Use a clean microfiber cloth to wipe any remaining water or streaks from the edges of the window.
6. Repeat on the inside: Repeat the process on the inside of the car windows.
Pro Tip: For stubborn bug splatters, pre-treat the window with a bug and tar remover before squeegeeing.
Hack #5: Spill Cleanup on Countertops and Floors
Accidents happen! But a squeegee can be a lifesaver when it comes to cleaning up spills quickly and efficiently.
What you’ll need:
* A small handheld squeegee
* Paper towels or a microfiber cloth
Step-by-step instructions:
1. Contain the spill: Use paper towels or a microfiber cloth to soak up as much of the spill as possible.
2. Squeegee the remaining liquid: Use the squeegee to push the remaining liquid towards a drain or into a container.
3. Wipe clean: Wipe the surface clean with a damp cloth.
Pro Tip: For sticky spills, like juice or syrup, use a squeegee to scrape up the residue before wiping clean.
Hack #6: Removing Pet Hair from Upholstery
Pet owners, rejoice! A squeegee can be surprisingly effective at removing pet hair from upholstery.
What you’ll need:
* A small handheld squeegee
Step-by-step instructions:
1. Run the squeegee over the upholstery: Hold the squeegee at a slight angle and run it over the surface of the upholstery. The rubber blade will grab the pet hair and pull it together.
2. Collect the hair: Use your hand or a vacuum cleaner to collect the accumulated pet hair.
3. Repeat as needed: Repeat the process until you’ve removed as much pet hair as possible.
Pro Tip: For best results, use a squeegee with a soft rubber blade to avoid damaging the upholstery.
Hack #7: Cleaning Tile Floors (Especially Grout!)
While a mop is great for general cleaning, a squeegee can be a game-changer for cleaning tile floors, especially the grout lines.
What you’ll need:
* A squeegee (shower squeegee or window squeegee)
* A bucket of warm water
* Tile
Conclusion
So, there you have it! Transforming your cleaning routine with these simple squeegee cleaning hacks is not just about saving money; it’s about achieving a level of clean that store-bought solutions often miss. It’s about taking control of your cleaning process and tailoring it to your specific needs and preferences. The beauty of these DIY methods lies in their versatility and adaptability.
Why is this a must-try? Because it’s effective, economical, and environmentally conscious. You’re reducing your reliance on harsh chemicals, minimizing plastic waste, and maximizing the lifespan of your squeegee – a win-win-win situation! Plus, the satisfaction of creating your own cleaning solutions and seeing them work wonders is incredibly rewarding.
Don’t limit yourself to the suggestions we’ve provided. Experiment with different essential oils to create custom scents that invigorate your senses while you clean. Try adding a touch of white vinegar for extra grime-fighting power. Consider using different types of cloths or sponges in conjunction with your squeegee for various surfaces. The possibilities are endless!
For example, if you’re tackling stubborn soap scum in your shower, pre-treating the area with a baking soda paste before using your squeegee can significantly enhance the cleaning process. Or, if you’re cleaning windows on a particularly sunny day, add a small amount of glycerin to your cleaning solution to prevent streaks from drying too quickly.
Remember, the key to success with these squeegee cleaning hacks is consistency. Make it a habit to squeegee your shower walls after each use to prevent the build-up of mildew and soap scum. Regularly clean your windows and mirrors to maintain their sparkle and shine. And don’t forget to clean your squeegee itself after each use to prevent the spread of dirt and grime.
We’re confident that once you experience the effectiveness and simplicity of these DIY methods, you’ll never go back to relying solely on store-bought cleaners. So, grab your squeegee, gather your ingredients, and get ready to transform your cleaning routine.
We encourage you to try these squeegee cleaning hacks and share your experiences with us! Let us know which variations worked best for you, what challenges you encountered, and any tips or tricks you discovered along the way. Your feedback will not only help us improve our recommendations but also inspire other readers to embrace the power of DIY cleaning. Share your photos and stories on social media using #SqueegeeCleanHacks – we can’t wait to see your sparkling results!
Frequently Asked Questions (FAQ)
What type of squeegee is best for these cleaning hacks?
The best type of squeegee depends on the surface you’re cleaning. For shower doors and walls, a standard shower squeegee with a flexible blade is ideal. For windows and mirrors, a professional-grade window squeegee with a replaceable rubber blade will provide the best results. Smaller, handheld squeegees are great for cleaning car windows or tight spaces. Consider investing in a few different types of squeegees to cover all your cleaning needs. The most important thing is to ensure the rubber blade is in good condition and free from nicks or tears. A damaged blade will leave streaks and won’t effectively remove water and cleaning solution.
Can I use these cleaning solutions on all surfaces?
While most of the suggested cleaning solutions are gentle and safe for a variety of surfaces, it’s always a good idea to test them in an inconspicuous area first. Avoid using vinegar-based solutions on natural stone surfaces like marble or granite, as the acidity can damage them. For delicate surfaces like painted walls or antique mirrors, use a diluted solution and a soft cloth to avoid scratching or discoloration. Always read the manufacturer’s instructions for your surfaces before using any cleaning product, DIY or store-bought.
How often should I clean my squeegee?
Ideally, you should clean your squeegee after each use to prevent the build-up of dirt, grime, and bacteria. Simply rinse the blade and handle with warm water and dry them thoroughly. For a more thorough cleaning, you can use a mild soap and water solution. Periodically inspect the rubber blade for damage and replace it as needed. A clean and well-maintained squeegee will provide the best cleaning results and last longer.
What if I don’t have all the ingredients for the DIY cleaning solutions?
Don’t worry! The beauty of DIY cleaning is that you can often substitute ingredients based on what you have on hand. For example, if you don’t have rubbing alcohol, you can use vodka as a substitute. If you don’t have essential oils, you can simply omit them or use a few drops of your favorite fragrance oil. The key is to experiment and find what works best for you. However, always be mindful of the potential interactions between different ingredients and avoid mixing chemicals that could be harmful.
How do I prevent streaks when using a squeegee?
Streaks are a common problem when using a squeegee, but they can be easily prevented with a few simple techniques. First, make sure your squeegee blade is clean and in good condition. Second, use a consistent overlapping motion when squeegeeing, overlapping each stroke by about an inch. Third, wipe the blade clean after each stroke with a clean, dry cloth. Fourth, avoid squeegeeing in direct sunlight, as the solution can dry too quickly and leave streaks. Finally, consider adding a small amount of glycerin to your cleaning solution to prevent streaks from drying too quickly.
Can I use these squeegee cleaning hacks on my car windows?
Yes, you can absolutely use these squeegee cleaning hacks on your car windows! In fact, using a squeegee is a great way to achieve streak-free car windows. Just be sure to use a soft, lint-free cloth to wipe the blade after each stroke to avoid scratching the glass. You can also use a dedicated car window cleaning solution for best results. Remember to clean both the inside and outside of your car windows for optimal visibility.
Are these DIY cleaning solutions safe for my pets and children?
While these DIY cleaning solutions are generally safer than harsh chemical cleaners, it’s still important to take precautions to protect your pets and children. Keep all cleaning solutions out of reach of children and pets. When cleaning, ensure the area is well-ventilated. If your pet or child accidentally ingests a cleaning solution, contact your veterinarian or poison control center immediately. Consider using pet-safe and child-safe ingredients like vinegar and baking soda whenever possible.
How do I store my DIY cleaning solutions?
Store your DIY cleaning solutions in clean, airtight containers labeled with the contents and date. Keep them in a cool, dark place away from direct sunlight and heat. Avoid using metal containers, as some ingredients can react with metal. It’s also a good idea to keep your cleaning solutions out of reach of children and pets. Discard any solutions that show signs of spoilage or discoloration.

Leave a Comment