
Soil Free Microgreens: Imagine harvesting a vibrant, nutrient-packed salad right from your kitchen counter, without ever getting your hands dirty! Sounds like something out of a futuristic movie, right? Well, it’s not! Growing microgreens without soil is not only possible, it’s surprisingly easy and incredibly rewarding.
For centuries, humans have cultivated the earth, relying on soil as the foundation for our food. But innovative techniques like hydroponics and soilless gardening are changing the game. While the history of microgreens themselves is relatively recent, their popularity has exploded as people seek healthier, more sustainable food options. I think it’s a fantastic way to connect with nature, even if you live in a small apartment.
Why should you ditch the dirt and embrace soil free microgreens? Well, for starters, it eliminates the mess and potential for soilborne diseases. Plus, it’s perfect for those with limited space or who simply want a cleaner, more controlled growing environment. I’ve found that growing microgreens this way is a fantastic way to add fresh, flavorful greens to my meals year-round, regardless of the weather outside. So, if you’re ready to unlock the secrets to effortless, indoor gardening, keep reading! I’m going to share my favorite DIY tricks and hacks for cultivating a thriving microgreen garden, completely soil-free.
Growing Microgreens Without Soil: A Simple DIY Guide
Hey there, fellow gardening enthusiasts! Ever wanted to grow your own fresh, nutrient-packed microgreens but were put off by the mess and hassle of soil? Well, I’m here to tell you that you absolutely can grow delicious microgreens without any soil at all! It’s easier than you think, and I’m going to walk you through the whole process step-by-step. Get ready to enjoy vibrant, flavorful greens in just a matter of days!
What You’ll Need
Before we dive in, let’s gather our supplies. The beauty of this method is that you probably already have most of these items lying around:
* Seeds: Choose your favorite microgreen seeds! Some popular options include broccoli, radish, sunflower, pea shoots, kale, and mustard. Make sure you’re using seeds specifically intended for sprouting or microgreens, as they haven’t been treated with chemicals.
* Growing Trays: You’ll need two trays – one with drainage holes and one without. The tray with holes will hold your seeds, and the solid tray will act as a reservoir for water. You can use plastic trays, repurposed takeout containers (cleaned thoroughly, of course!), or even baking dishes.
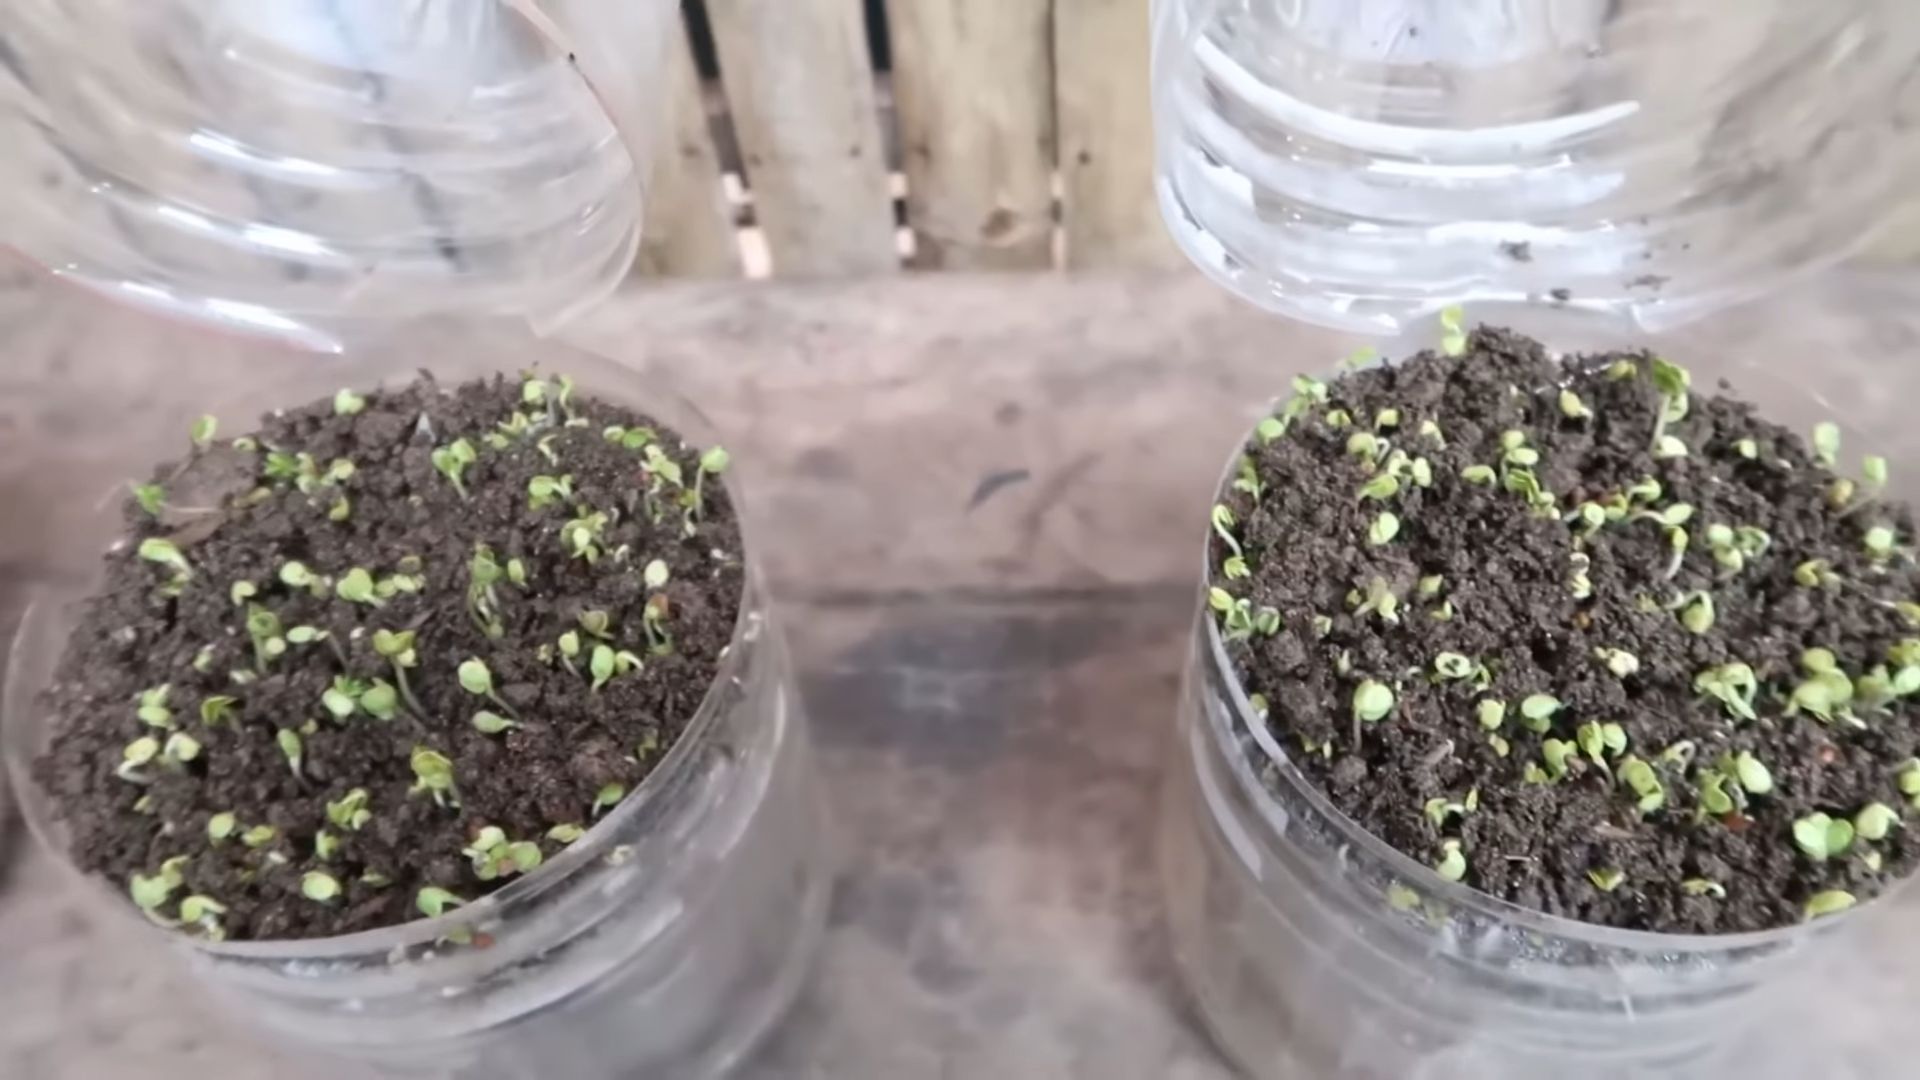
* Growing Medium: Instead of soil, we’ll be using a non-soil medium. Great options include:
* Hemp Mats: These are my personal favorite! They’re absorbent, biodegradable, and provide excellent support for the roots.
* Coconut Coir Mats: Similar to hemp mats, coconut coir is a sustainable and effective growing medium.
* Paper Towels: A readily available and inexpensive option. Just make sure to use unbleached paper towels.
* Burlap: Another natural and biodegradable choice.
* Spray Bottle: For misting your seeds and keeping them moist.
* Water: Filtered water is best, but tap water works too.
* Weight (Optional): A small weight, like a book or a brick wrapped in plastic, can help with germination and even growth.
* Light Source: Microgreens need light to thrive. A sunny windowsill is great, but a grow light will give you more consistent results, especially during the darker months.
Step-by-Step Instructions
Alright, let’s get our hands dirty (well, not really, since we’re avoiding soil!). Here’s how to grow microgreens without soil:
1. Prepare Your Growing Medium:
* Hemp or Coconut Coir Mats: Cut the mat to fit snugly inside your tray with drainage holes. Soak the mat thoroughly in water until it’s fully saturated. Gently squeeze out any excess water, but leave it damp.
* Paper Towels: Layer 3-4 sheets of paper towels in the tray. Moisten them thoroughly with water, ensuring they’re evenly damp but not soggy.
* Burlap: Cut the burlap to fit the tray. Soak it in water until saturated, then squeeze out the excess.
2. Sow Your Seeds:
* Sprinkle your seeds evenly over the prepared growing medium. Don’t overcrowd them! You want them close enough together to form a dense mat, but not so close that they’re competing for space and resources. Refer to the seed packet for recommended seeding density.
3. Mist the Seeds:
* Gently mist the seeds with water using your spray bottle. This will help them stay moist and initiate the germination process.
4. Weighting (Optional but Recommended):
* Place a small weight on top of the seeds. This helps them make good contact with the growing medium and encourages even germination. It also helps the microgreens develop stronger stems. Leave the weight on for 2-3 days, or until the seeds have sprouted and started to push against the weight.
5. Cover and Darken:
* Cover the tray with a lid or another tray to create a dark, humid environment. This mimics the conditions underground and encourages germination. Place the tray in a dark, cool place.
6. Monitor and Mist:
* Check the seeds daily. Make sure the growing medium stays moist. If it starts to dry out, mist it with water.
7. Introduce Light:
* Once the seeds have sprouted (usually after 2-4 days), remove the weight and the cover. Move the tray to a location with bright, indirect light, such as a sunny windowsill or under a grow light.
8. Watering:
* Now that your microgreens are growing, it’s important to keep them consistently moist. Instead of misting, you can now water them from the bottom. Pour water into the solid tray (the reservoir) and let the growing medium absorb the water through the drainage holes. Be careful not to overwater, as this can lead to mold growth.
9. Harvesting:
* Your microgreens will be ready to harvest in about 7-14 days, depending on the variety. They’re ready when they have developed their first set of true leaves (the leaves that appear after the initial cotyledons, or seed leaves).
* To harvest, simply use scissors or a sharp knife to cut the microgreens just above the growing medium.
10. Enjoy!
* Rinse your harvested microgreens and enjoy them in salads, sandwiches, smoothies, or as a garnish for your favorite dishes.
Troubleshooting Tips
Even with the simplest methods, you might encounter a few hiccups along the way. Here are some common issues and how to address them:
* Mold Growth: Mold can be a problem if the growing environment is too humid or if the seeds are overcrowded. To prevent mold, ensure good air circulation, avoid overwatering, and don’t sow the seeds too densely. If you see mold, you can try spraying the affected area with a diluted hydrogen peroxide solution (1 part hydrogen peroxide to 10 parts water).
* Uneven Germination: Uneven germination can be caused by inconsistent moisture levels or uneven seed distribution. Make sure to keep the growing medium consistently moist and sow the seeds as evenly as possible.
* Leggy Growth: Leggy microgreens are tall and spindly, usually due to insufficient light. Move your tray to a brighter location or use a grow light.
* Slow Growth: Slow growth can be caused by a variety of factors, including low temperatures, insufficient light, or poor seed quality. Make sure your microgreens are getting enough light and warmth, and use high-quality seeds.
Choosing the Right Seeds
Selecting the right seeds is crucial for successful microgreen growing. Here’s a breakdown of some popular choices and their unique characteristics:
* Broccoli: A classic microgreen with a mild, slightly peppery flavor. It’s packed with nutrients and easy to grow.
* Radish: Radish microgreens have a spicy, zesty flavor that adds a kick to any dish. They germinate quickly and are ready to harvest in just a few days.
* Sunflower: Sunflower microgreens have a nutty, slightly sweet flavor and a crunchy texture. They’re a bit more challenging to grow than some other varieties, but the reward is well worth the effort.
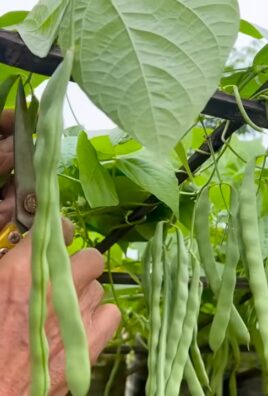
* Pea Shoots: Pea shoots are tender and sweet, with a distinct pea flavor. They’re a bit larger than other microgreens and can be used in salads, stir-fries, or as a garnish.
* Kale: Kale microgreens have a mild, earthy flavor and are packed with vitamins and minerals.
* Mustard: Mustard microgreens have a bold, peppery flavor that adds a zing to any dish.
Experimenting with Different Mediums
While I’ve outlined a few popular soil-free mediums, don’t be afraid to experiment and find what works best for you. You can try different types of paper towels, different brands of hemp mats, or even explore other options like perlite or vermiculite. The key is to find a medium that retains moisture well, provides good support for the roots, and is free of contaminants.
Harvesting and Storage Tips
Proper harvesting and storage are essential for preserving the freshness and flavor of your microgreens. Here are a few tips:
* Harvest in the Morning: Harvest your microgreens in the morning, after the dew has dried but before the sun gets too hot. This is when they’re at their peak flavor and freshness.
* Rinse Gently: Rinse your harvested microgreens gently under cool water to remove any debris.
* Dry Thoroughly: Dry the microgreens thoroughly before storing them. You can use a salad spinner or pat them dry with paper towels.
* Store in the Refrigerator: Store the dried microgreens in an airtight container in the refrigerator. They should last for up to a week.
Why Grow Microgreens Without Soil?
You might be wondering, why bother growing microgreens without soil?
Conclusion
So, there you have it! Cultivating your own soil-free microgreens is not just a trendy kitchen experiment; it’s a gateway to a world of fresh, nutrient-packed flavor right at your fingertips. We’ve explored a simple, accessible method that bypasses the need for traditional soil, opening up microgreen cultivation to even those with limited space or gardening experience.
Why is this DIY trick a must-try? Because it empowers you to take control of your food source, ensuring you have access to the freshest possible ingredients, free from harmful pesticides and herbicides. Imagine adding a vibrant burst of radish microgreens to your salad, a peppery kick of arugula to your sandwich, or a delicate sweetness of sunflower shoots to your smoothie – all grown by you, in your own home, without a speck of soil!
Beyond the health benefits and convenience, growing soil-free microgreens is incredibly rewarding. Watching those tiny seeds sprout and transform into edible greens in a matter of days is a truly magical experience. It’s a fantastic way to connect with nature, even in the heart of the city.
But the beauty of this method lies in its adaptability. Feel free to experiment with different types of seeds. Broccoli, kale, peas, and even wheatgrass are all excellent candidates for soil-free microgreen cultivation. You can also adjust the lighting conditions to influence the flavor and color of your greens. For example, slightly less light can result in more tender and sweeter microgreens.
Consider using different growing mediums as well. While we focused on paper towels, you can also explore alternatives like hemp mats, coconut coir, or even reusable microgreen trays designed specifically for soil-free growing. Each medium offers its own unique advantages in terms of water retention and aeration.
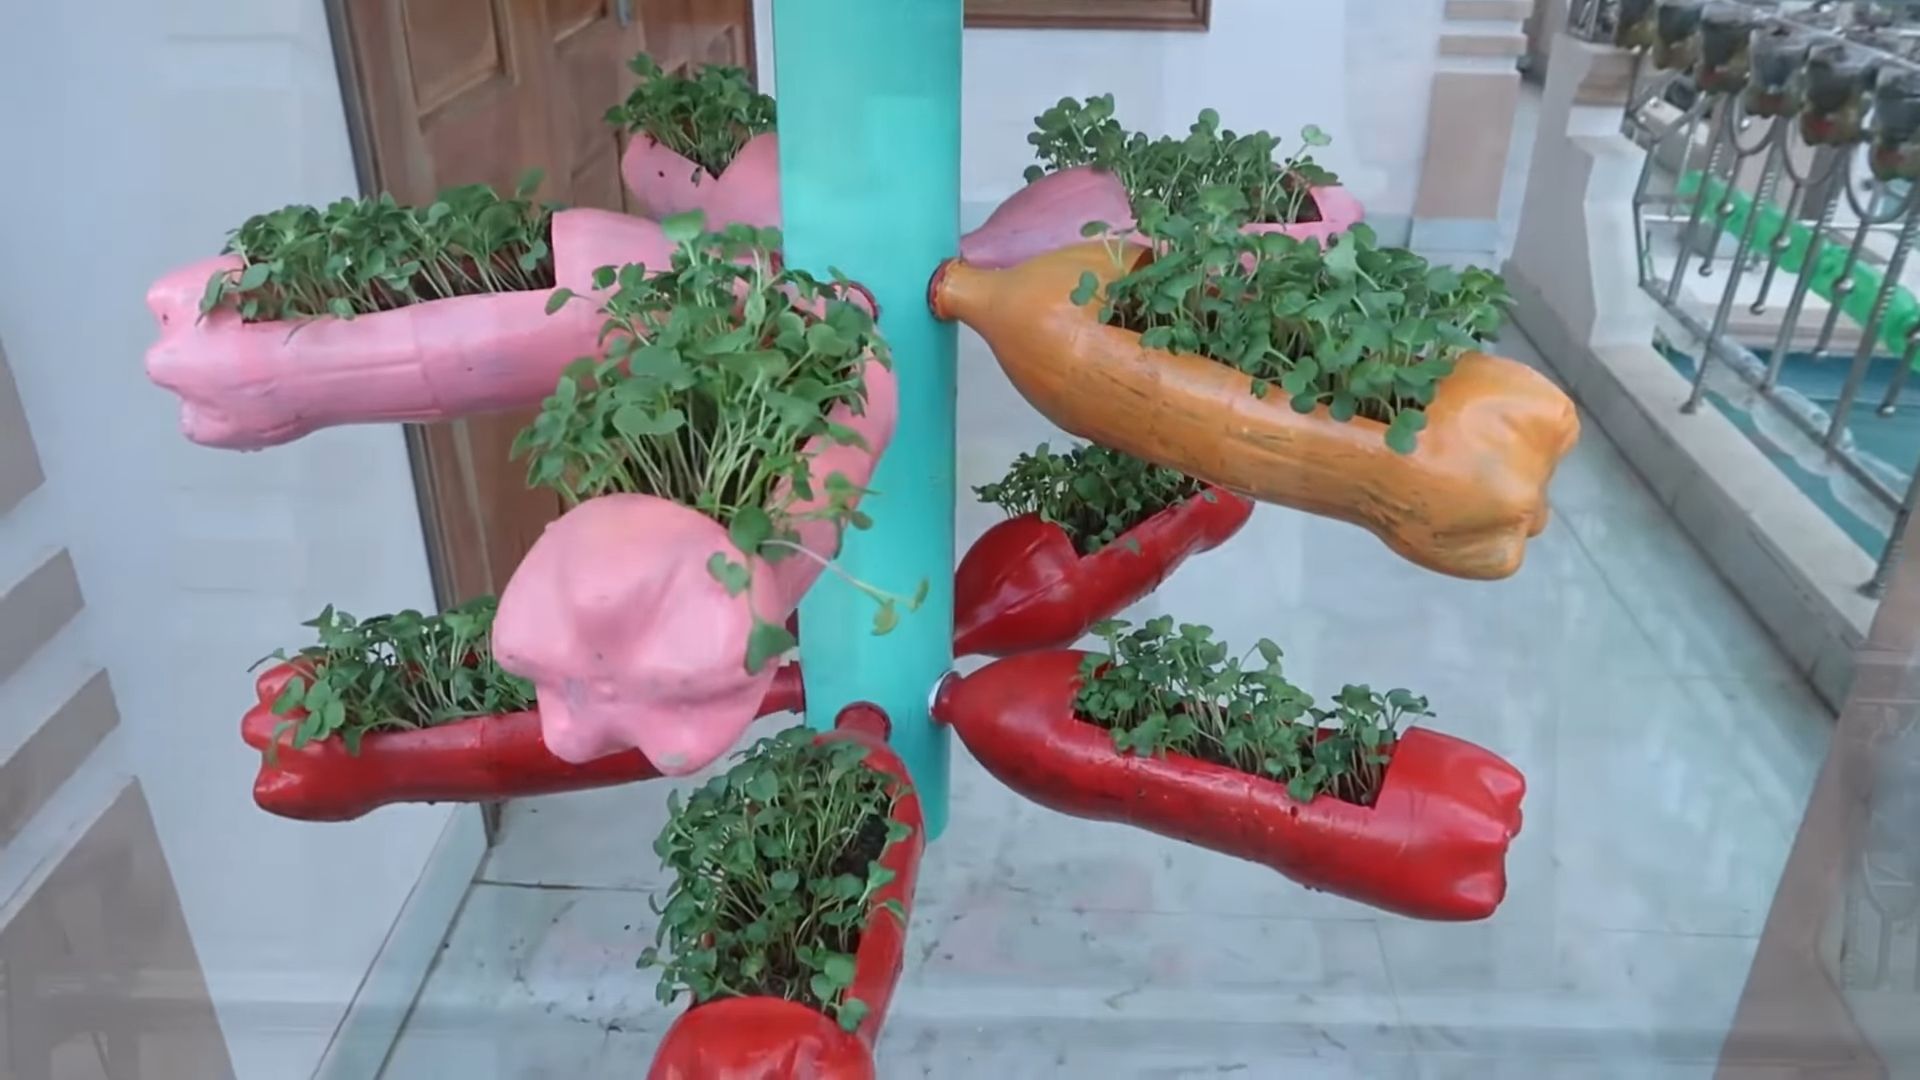
Don’t be afraid to get creative with your setup! Repurpose old containers, create a tiered growing system to maximize space, or even build a simple DIY greenhouse to provide optimal growing conditions. The possibilities are endless!
We strongly encourage you to give this soil-free microgreens method a try. It’s a fun, easy, and incredibly rewarding way to add fresh, healthy greens to your diet. And most importantly, we want to hear about your experiences! Share your photos, tips, and variations in the comments below. Let’s build a community of soil-free microgreen enthusiasts and inspire others to embrace the joy of growing their own food. What are you waiting for? Get those seeds soaking and start your microgreen journey today!
Frequently Asked Questions (FAQ)
What exactly are microgreens?
Microgreens are essentially baby plants, harvested just after the cotyledon leaves (the first leaves to emerge from the seed) have fully developed and before the true leaves appear. They are typically harvested within 7-21 days of germination, depending on the variety. Despite their small size, microgreens are packed with nutrients, often containing higher concentrations of vitamins, minerals, and antioxidants than their mature counterparts. They offer a concentrated burst of flavor and texture, making them a versatile addition to a wide range of dishes.
Why grow microgreens without soil?
Growing microgreens without soil offers several advantages. Firstly, it eliminates the mess and potential for soilborne diseases that can affect traditional gardening. This makes it a cleaner and more convenient option, especially for indoor growing. Secondly, soil-free methods often result in faster germination and growth rates, as the seeds have direct access to moisture and nutrients. Thirdly, it’s a great option for those with limited space or who live in urban environments where access to soil is restricted. Finally, it reduces the risk of pests and weeds, making the growing process simpler and more manageable.
What kind of seeds can I use for soil-free microgreens?
The best seeds for soil-free microgreens are those that germinate easily and produce flavorful, nutrient-rich greens. Some popular choices include:
* **Brassicas:** Broccoli, kale, cabbage, radish, arugula, mustard greens
* **Legumes:** Peas, lentils, chickpeas
* **Cereals:** Wheatgrass, barley, oats
* **Amaranthaceae:** Amaranth, quinoa
* **Asteraceae:** Sunflower, lettuce
* **Apiaceae:** Carrot, celery, cilantro
It’s important to use seeds that are specifically intended for sprouting or microgreens, as these are typically untreated and free from harmful chemicals. Avoid using seeds that have been treated with fungicides or other coatings.
How often should I water my soil-free microgreens?
Maintaining consistent moisture is crucial for successful soil-free microgreen cultivation. You should water your microgreens at least once a day, and possibly twice a day depending on the humidity and temperature of your growing environment. The goal is to keep the growing medium consistently moist but not waterlogged. Overwatering can lead to mold growth, while underwatering can cause the seeds to dry out and fail to germinate. A spray bottle is ideal for gently misting the microgreens without disturbing the delicate seedlings.
How much light do soil-free microgreens need?
Microgreens need adequate light to thrive. While they don’t require intense sunlight, they do need at least 4-6 hours of indirect sunlight per day. If you don’t have access to sufficient natural light, you can supplement with artificial lighting, such as fluorescent grow lights or LED grow lights. Position the lights about 6-12 inches above the microgreens to provide optimal illumination. Insufficient light can result in leggy, pale microgreens that are less flavorful and nutritious.
How do I prevent mold growth in my soil-free microgreens?
Mold growth is a common concern when growing microgreens without soil, but it can be prevented with proper care. Here are some tips:
* **Use clean containers and growing mediums:** Sterilize your containers and use fresh, clean paper towels or other growing mediums.
* **Ensure good air circulation:** Provide adequate ventilation to prevent moisture buildup. A small fan can help improve air circulation.
* **Avoid overwatering:** Water only when necessary and ensure that the growing medium is not waterlogged.
* **Remove any mold immediately:** If you spot any mold, carefully remove the affected area and discard it. You can also try spraying the microgreens with a diluted hydrogen peroxide solution (1 part hydrogen peroxide to 10 parts water).
* **Use a diluted vinegar solution:** Spraying the microgreens with a diluted vinegar solution (1 tablespoon of vinegar per cup of water) can also help prevent mold growth.
When are my soil-free microgreens ready to harvest?
Microgreens are typically ready to harvest when the cotyledon leaves are fully developed and before the true leaves appear. This usually takes between 7-21 days, depending on the variety. The microgreens should be about 1-3 inches tall. To harvest, simply snip the stems just above the growing medium using scissors or a sharp knife.
How do I store harvested microgreens?
Harvested microgreens are best stored in the refrigerator in a sealed container lined with a paper towel. The paper towel will help absorb excess moisture and prevent the microgreens from becoming soggy. Microgreens can typically be stored for up to a week, but they are best consumed as soon as possible for optimal flavor and nutrition.
Can I reuse the growing medium?
It’s generally not recommended to reuse the growing medium for soil-free microgreens, as it can harbor bacteria and mold spores. It’s best to start with fresh, clean materials for each batch of microgreens.
What if my seeds don’t germinate?
If your seeds don’t germinate, there could be several reasons:
* **Poor quality seeds:** Use fresh, high-quality seeds from a reputable source.
* **Incorrect watering:** Ensure that the growing medium is consistently moist but not waterlogged.
* **Insufficient light:** Provide adequate light for germination.
* **Temperature:** Maintain a suitable temperature for germination (usually between 65-75°F).
* **Seed density:** Avoid overcrowding the seeds, as this can inhibit germination.
By addressing these factors, you can improve your chances of successful germination.


Leave a Comment