
Shaving Foam Cleaning Tips: Who knew that the secret to a sparkling clean home could be hiding in your bathroom cabinet? I know, it sounds crazy, right? But trust me, this isn’t your grandpa’s shaving routine – it’s a revolutionary cleaning hack that’s about to change your life!
While shaving foam has been around for ages, primarily used for, well, shaving, its cleaning potential is a relatively recent discovery. Think of it as a modern twist on old-fashioned cleaning solutions, a testament to our ever-evolving quest for easier and more effective ways to keep our homes looking their best. For generations, people have relied on harsh chemicals and elbow grease to tackle tough stains and grime. But what if I told you there’s a gentler, more versatile solution readily available?
That’s where shaving foam cleaning tips come in. In today’s busy world, who has time to spend hours scrubbing? We all crave shortcuts that deliver exceptional results. This DIY guide will unlock the surprising cleaning power of shaving foam, revealing how it can tackle everything from stubborn carpet stains to grimy bathroom mirrors. I’m going to show you how to save time, money, and effort while achieving a spotless home. Get ready to ditch those expensive cleaning products and embrace the foamy revolution!
Shaving Foam: Your Unexpected Cleaning Superhero!
Okay, so you’ve got a can of shaving foam sitting in your bathroom, right? Maybe it’s your partner’s, maybe it’s yours, maybe it’s just… there. Well, guess what? That unassuming can of foamy goodness is about to become your new favorite cleaning tool! I’m serious! Shaving foam isn’t just for shaving; it’s a surprisingly effective and versatile cleaner. I’ve been using it for years, and I’m constantly amazed at what it can do. Let me share some of my favorite shaving foam cleaning hacks with you.
Why Shaving Foam Works (It’s Not Just Magic!)
Before we dive into the how-to, let’s quickly touch on why shaving foam is such a cleaning whiz. The key is its composition. Most shaving foams contain:
* Soaps and Surfactants: These help to lift dirt and grime from surfaces. Think of them as tiny little magnets pulling the yuck away.
* Humectants: These ingredients attract and retain moisture, which helps to loosen stubborn stains.
* Emollients: These soften and condition surfaces, leaving them looking refreshed.
Basically, it’s a gentle but effective cleaning cocktail! And the best part? It’s usually cheaper than dedicated cleaning products.
Cleaning Mirrors and Glass to a Streak-Free Shine
Tired of streaks on your mirrors and windows? Shaving foam is your answer! This is one of my go-to tricks.
What You’ll Need:
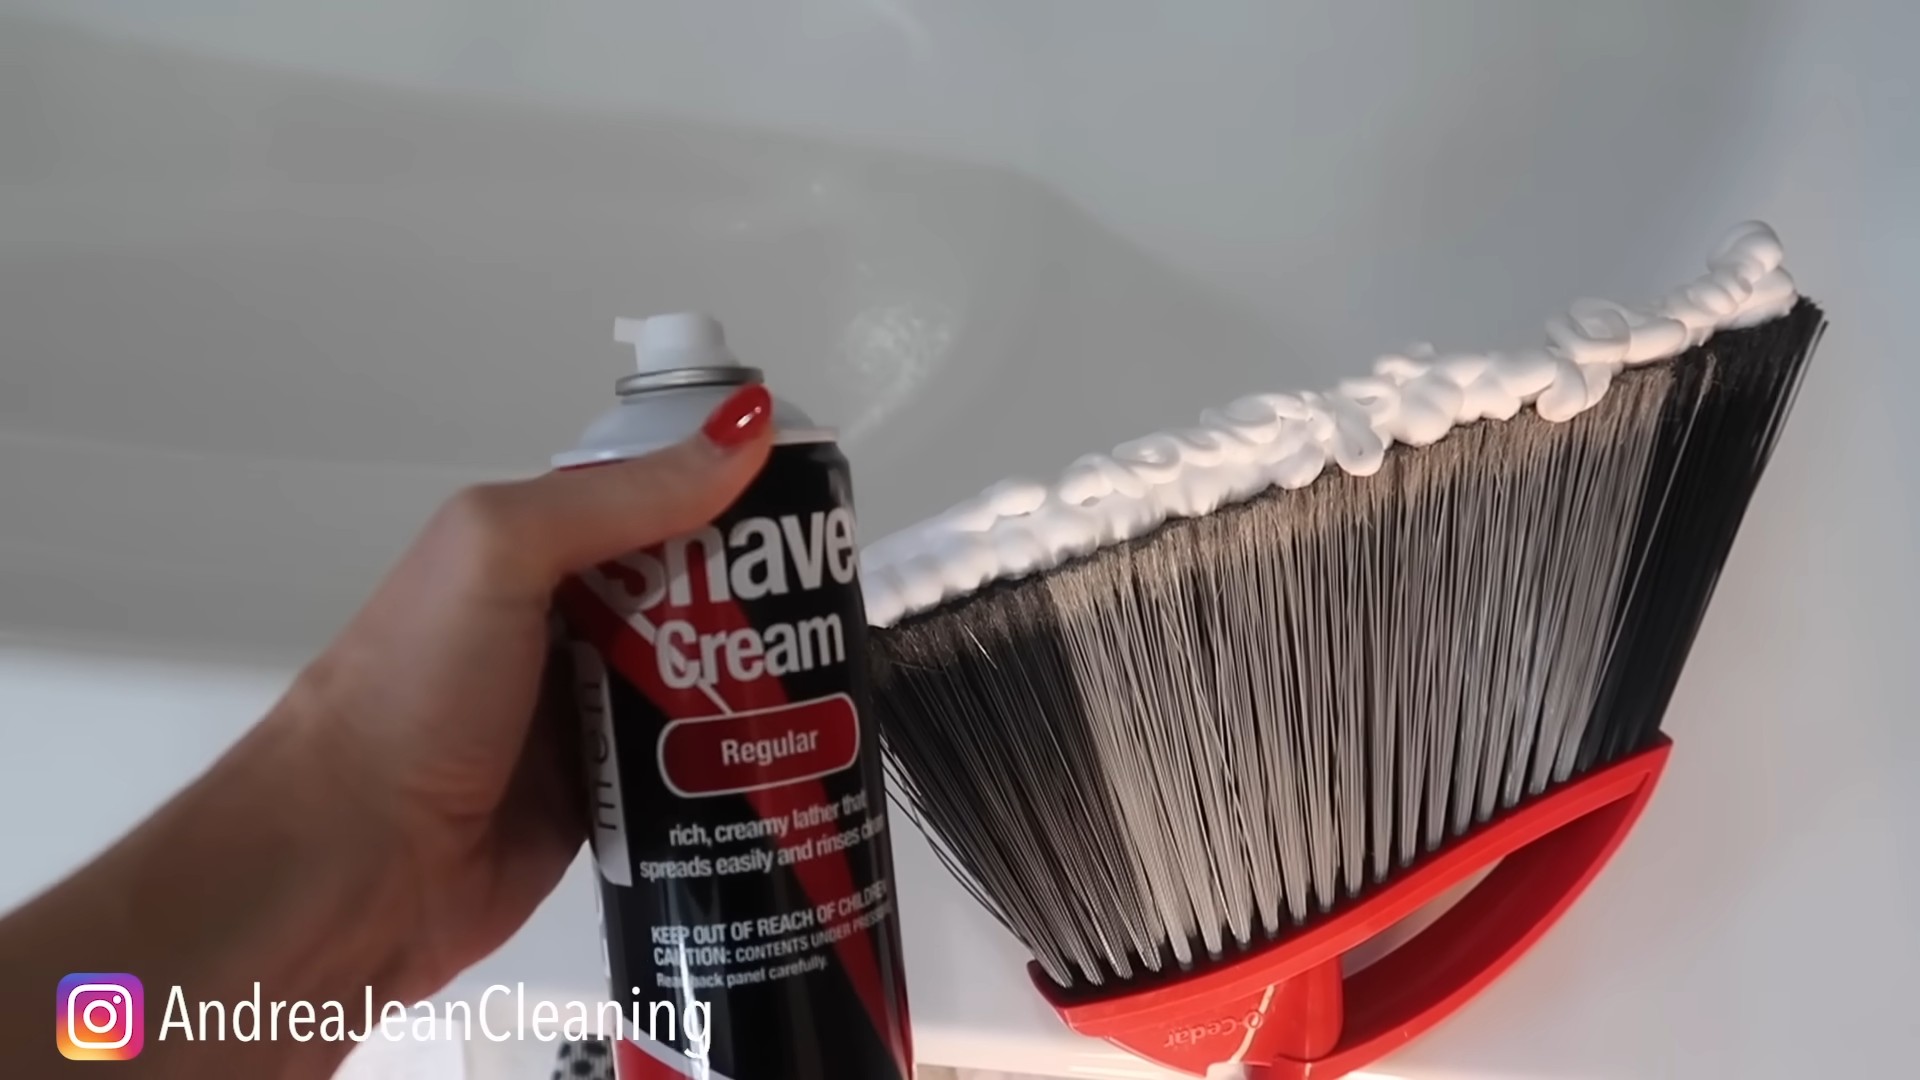
* Shaving foam (any kind will do, but I prefer the foamy kind, not gel)
* A clean, lint-free cloth (microfiber is best)
* Water (optional)
Step-by-Step Instructions:
1. Apply the Shaving Foam: Squirt a small amount of shaving foam directly onto the mirror or glass surface. You don’t need a ton; a thin layer is all you need. Think of it like applying sunscreen – a little goes a long way.
2. Spread it Around: Using your fingers or a clean cloth, spread the shaving foam evenly over the entire surface. Make sure you cover every inch!
3. Let it Sit (Briefly): Allow the shaving foam to sit for a minute or two. This gives the surfactants time to work their magic and loosen any dirt or grime.
4. Wipe it Clean: Using a clean, lint-free cloth, wipe away the shaving foam. Use circular motions to ensure you’re removing all the residue.
5. Buff to a Shine: If you notice any streaks, use a dry, clean section of your cloth to buff the surface to a sparkling shine. You can also lightly dampen the cloth with water for a final polish.
Pro Tip: This works wonders on bathroom mirrors that tend to fog up after a shower. The shaving foam creates a barrier that prevents condensation from forming.
Removing Stubborn Stains from Carpets and Upholstery
Spilled coffee on your carpet? Don’t panic! Shaving foam can come to the rescue. This is a lifesaver for pet owners like me!
What You’ll Need:
* Shaving foam (again, the foamy kind is best)
* A clean, damp cloth
* A vacuum cleaner
Step-by-Step Instructions:
1. Act Fast! The sooner you treat the stain, the better your chances of removing it completely.
2. Apply the Shaving Foam: Apply a generous amount of shaving foam directly onto the stain. Make sure you completely cover the affected area.
3. Let it Soak: Allow the shaving foam to soak into the stain for at least 15-20 minutes. For tougher stains, you can let it sit for up to an hour.
4. Blot, Don’t Rub: Using a clean, damp cloth, gently blot the stain. Avoid rubbing, as this can spread the stain and damage the fibers. Work from the outside of the stain inwards.
5. Repeat if Necessary: If the stain is still visible, repeat steps 3 and 4 until it’s gone.
6. Rinse (Optional): If you’re concerned about residue, you can lightly rinse the area with clean water. Be sure to blot up any excess water with a clean cloth.
7. Vacuum: Once the area is completely dry, vacuum it thoroughly to restore the carpet or upholstery’s texture.
Important Note: Always test the shaving foam on an inconspicuous area of the carpet or upholstery first to ensure it doesn’t cause any discoloration or damage.
Cleaning Jewelry and Making it Sparkle
Want to give your jewelry a quick and easy clean? Shaving foam is a surprisingly effective jewelry cleaner!
What You’ll Need:
* Shaving foam
* A soft-bristled toothbrush (an old toothbrush works great)
* Warm water
* A clean, soft cloth
Step-by-Step Instructions:
1. Apply the Shaving Foam: Squirt a small amount of shaving foam onto your jewelry.
2. Gently Scrub: Using a soft-bristled toothbrush, gently scrub the jewelry, paying attention to any nooks and crannies where dirt and grime may accumulate.
3. Rinse Thoroughly: Rinse the jewelry thoroughly with warm water to remove all traces of shaving foam.
4. Dry and Buff: Pat the jewelry dry with a clean, soft cloth. Then, buff it gently to restore its shine.
Caution: This method is generally safe for most jewelry, but avoid using it on delicate stones like pearls or opals, as the shaving foam could potentially damage them.
Cleaning Stainless Steel Appliances
Fingerprints and smudges on your stainless steel appliances driving you crazy? Shaving foam to the rescue!
What You’ll Need:
* Shaving foam
* A clean, soft cloth (microfiber is best)
Step-by-Step Instructions:
1. Apply the Shaving Foam: Apply a small amount of shaving foam directly onto the stainless steel surface.
2. Spread it Around: Using a clean, soft cloth, spread the shaving foam evenly over the surface.
3. Wipe it Clean: Wipe away the shaving foam, following the grain of the stainless steel.
4. Buff to a Shine: Use a dry, clean section of your cloth to buff the surface to a sparkling shine.
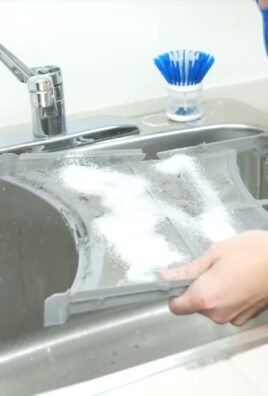
Pro Tip: This also works great on stainless steel sinks!
Preventing Bathroom Mirror Fog
As I mentioned earlier, shaving cream is amazing for preventing bathroom mirrors from fogging up. This is a game-changer, especially during those hot showers!
What You’ll Need:
* Shaving foam
* A clean, lint-free cloth
Step-by-Step Instructions:
1. Apply a Thin Layer: Apply a thin layer of shaving foam to the entire surface of the mirror.
2. Wipe Clean: Use a clean, lint-free cloth to wipe away the shaving foam completely. Make sure there’s no visible residue.
3. Enjoy Fog-Free Showers: That’s it! Your mirror should now be fog-free for several showers. You’ll need to reapply every few weeks, depending on how often you shower.
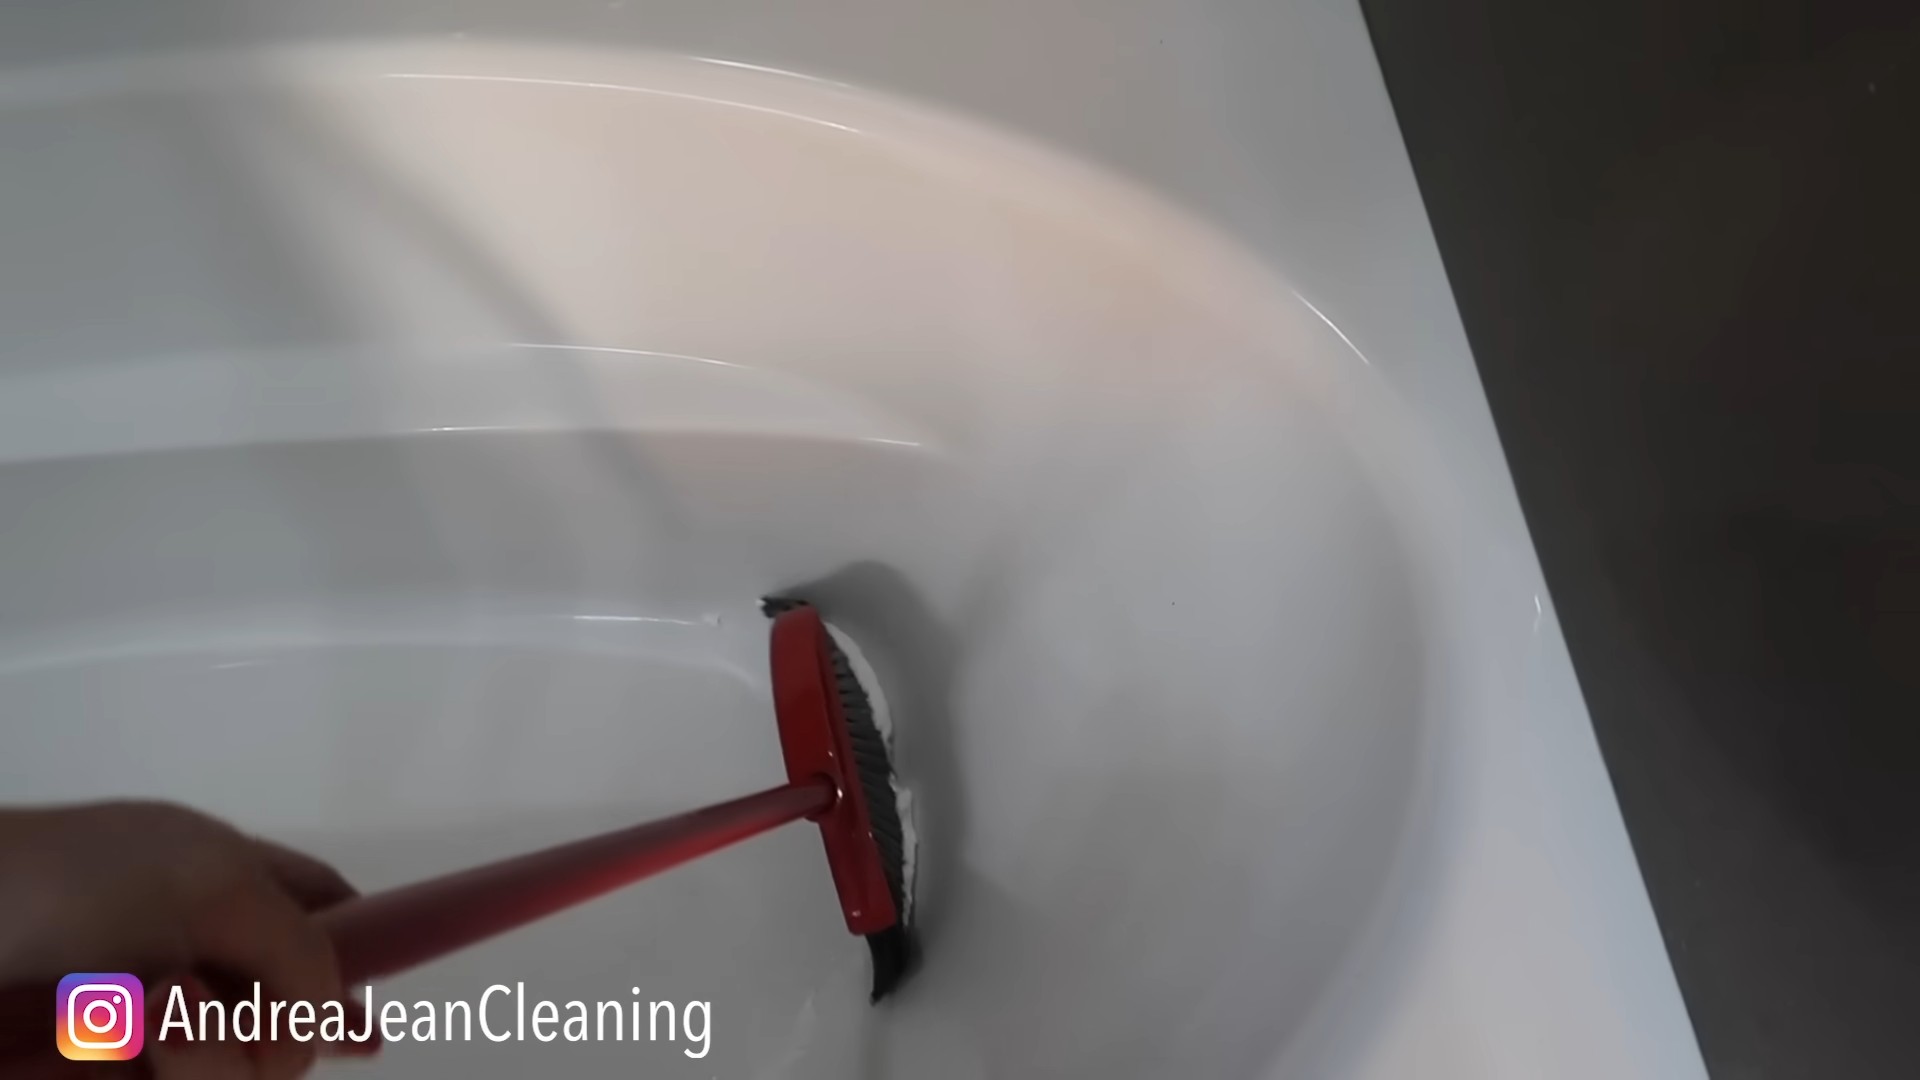
Cleaning Bathroom Fixtures (Chrome and Porcelain)
Shaving foam can also be used to clean chrome and porcelain bathroom fixtures, leaving them sparkling and free of water spots.
What You’ll Need:
* Shaving foam
* A clean, damp cloth
* A dry cloth
Step-by-Step Instructions:
1. Apply the Shaving Foam: Apply a small amount of shaving foam to the fixture.
2. Wipe it Down: Use a clean, damp cloth to wipe down the fixture, removing dirt and grime.
3. Rinse (If Necessary): If there’s any residue, rinse the fixture with water.
4. Dry and Buff: Dry the fixture with a clean, dry cloth and buff to a shine.
Removing Paint Splatters from Skin
Accidentally got paint on your skin while tackling a DIY project? Shaving foam can help!
What You’ll Need:
* Shaving foam
* A clean cloth
Step-by-Step Instructions:
1. Apply Shaving Foam: Apply a generous amount of shaving foam to the affected area.
2. Let it Sit: Allow the shaving foam to sit for a few minutes to soften the paint.
3. Wipe Away: Gently wipe away the shaving foam and paint with a clean cloth.
4. Wash with Soap and Water: Wash the area with soap and water to remove any remaining residue.
Cleaning Leather Shoes
Believe it or
Conclusion
So, there you have it! Shaving foam isn’t just for a smooth shave; it’s a surprisingly versatile and effective cleaning agent that can tackle a multitude of household messes. From banishing stubborn stains on carpets and upholstery to restoring the sparkle to your bathroom fixtures, this simple DIY trick offers a cost-effective and readily available solution to common cleaning challenges.
Why is this a must-try? Because it’s easy, affordable, and often more effective than harsh chemical cleaners. Think about it: you likely already have a can of shaving foam under your sink. Instead of reaching for expensive specialty cleaners, you can grab that can and start tackling those problem areas right away. The gentle yet powerful formula of shaving foam works wonders on a variety of surfaces, lifting dirt and grime without damaging delicate materials.
But the benefits don’t stop there. Shaving foam is also a fantastic deodorizer. Its fresh scent can help eliminate unpleasant odors from carpets, upholstery, and even shoes. Plus, it’s safe to use around children and pets, making it a worry-free cleaning option for families.
Looking for variations? Consider adding a few drops of essential oil to your shaving foam for an extra boost of fragrance. Lavender, lemon, or tea tree oil can add a refreshing scent and even provide additional cleaning benefits. For tougher stains, let the shaving foam sit for a longer period before wiping it away. You can also use a soft-bristled brush to gently scrub the area for enhanced cleaning power.
Another great variation is to use shaving foam to clean your mirrors and windows. It prevents fogging and leaves a streak-free shine. Simply apply a thin layer, let it sit for a minute or two, and then wipe it away with a clean, dry cloth. You’ll be amazed at the results!
We’re confident that once you try these shaving foam cleaning tips, you’ll be hooked. It’s a game-changer for anyone looking for a simple, effective, and affordable way to keep their home clean and fresh.
So, what are you waiting for? Grab that can of shaving foam and start experimenting! We encourage you to try these DIY cleaning tricks and share your experiences with us. Let us know what surfaces you’ve cleaned, what variations you’ve tried, and what results you’ve achieved. Your feedback will help us refine these tips and share even more helpful cleaning hacks with our readers. Don’t forget to share your before-and-after photos on social media using #ShavingFoamCleaning – we can’t wait to see your sparkling results! This simple **shaving foam cleaning** method is a true testament to the power of everyday household items.
Frequently Asked Questions (FAQs)
What kind of shaving foam should I use?
Generally, any type of shaving foam will work for cleaning purposes. However, plain, white shaving foam is usually the best option. Avoid using colored or heavily scented shaving foams, as they may stain or leave a residue on certain surfaces. Also, gel shaving creams are not as effective as foam for cleaning. Look for a basic, inexpensive shaving foam for optimal results.
Is shaving foam safe to use on all surfaces?
While shaving foam is generally safe for most surfaces, it’s always a good idea to test it in an inconspicuous area first, especially on delicate materials like leather or silk. Avoid using shaving foam on electronic devices or surfaces that are sensitive to moisture. For painted surfaces, test a small area to ensure that the shaving foam doesn’t damage the paint. If you’re unsure, consult the manufacturer’s instructions for the surface you’re cleaning.
How long should I leave the shaving foam on a stain?
The amount of time you leave the shaving foam on a stain will depend on the severity of the stain and the type of surface you’re cleaning. For light stains, a few minutes may be sufficient. For tougher stains, you may need to leave the shaving foam on for up to 30 minutes or even longer. Check the area periodically to ensure that the shaving foam isn’t damaging the surface.
Can I use shaving foam to clean my car?
Yes, shaving foam can be used to clean certain parts of your car. It’s particularly effective for cleaning upholstery, carpets, and even removing bugs from the front of your car. However, avoid using shaving foam on the car’s exterior paint, as it may damage the finish. Always test a small, inconspicuous area first to ensure that the shaving foam is safe to use.
Will shaving foam damage my carpets or upholstery?
Shaving foam is generally safe for carpets and upholstery, but it’s always a good idea to test it in an inconspicuous area first. Avoid using excessive amounts of shaving foam, as it can be difficult to remove completely. After cleaning, be sure to thoroughly rinse the area with clean water and blot it dry with a clean cloth.
Does shaving foam really remove stains?
Yes, shaving foam can be surprisingly effective at removing a variety of stains, including food stains, grease stains, and even some ink stains. The key is to act quickly and apply the shaving foam to the stain as soon as possible. The foaming action helps to lift the stain from the surface, making it easier to remove.
Can I use shaving foam to clean my jewelry?
Yes, you can use shaving foam to clean certain types of jewelry, particularly those made of metal. Apply a small amount of shaving foam to the jewelry, gently rub it with a soft cloth, and then rinse it thoroughly with clean water. Be sure to dry the jewelry completely before storing it. Avoid using shaving foam on delicate gemstones or pearls, as it may damage them.
Is shaving foam safe to use around children and pets?
Yes, shaving foam is generally safe to use around children and pets, as it doesn’t contain harsh chemicals. However, it’s always a good idea to keep children and pets away from the area while you’re cleaning and to ensure that they don’t ingest the shaving foam.
What other household items can I use for cleaning?
Besides shaving foam, there are many other household items that can be used for cleaning, including vinegar, baking soda, lemon juice, and hydrogen peroxide. These items are often more affordable and environmentally friendly than commercial cleaning products.
Where can I find more cleaning tips and tricks?
You can find more cleaning tips and tricks online, in magazines, and in books. There are also many helpful videos on YouTube and other video-sharing platforms. Be sure to research any cleaning method thoroughly before trying it, and always test it in an inconspicuous area first.
Leave a Comment