
Rooftop Corn Growing Concrete: Sounds like a wild idea, right? Well, get ready to unleash your inner urban farmer because I’m about to show you how to cultivate a thriving corn patch right on your concrete rooftop! Forget sprawling acres; we’re talking about maximizing every inch of your available space to bring the taste of summer sunshine directly to your table.
Growing corn has been a cornerstone of civilizations for millennia, from the ancient Mayans who revered it as a sacred gift to the Native American tribes who developed ingenious methods of cultivation. While traditionally grown in vast fields, the spirit of innovation allows us to adapt this ancient practice to modern urban environments.
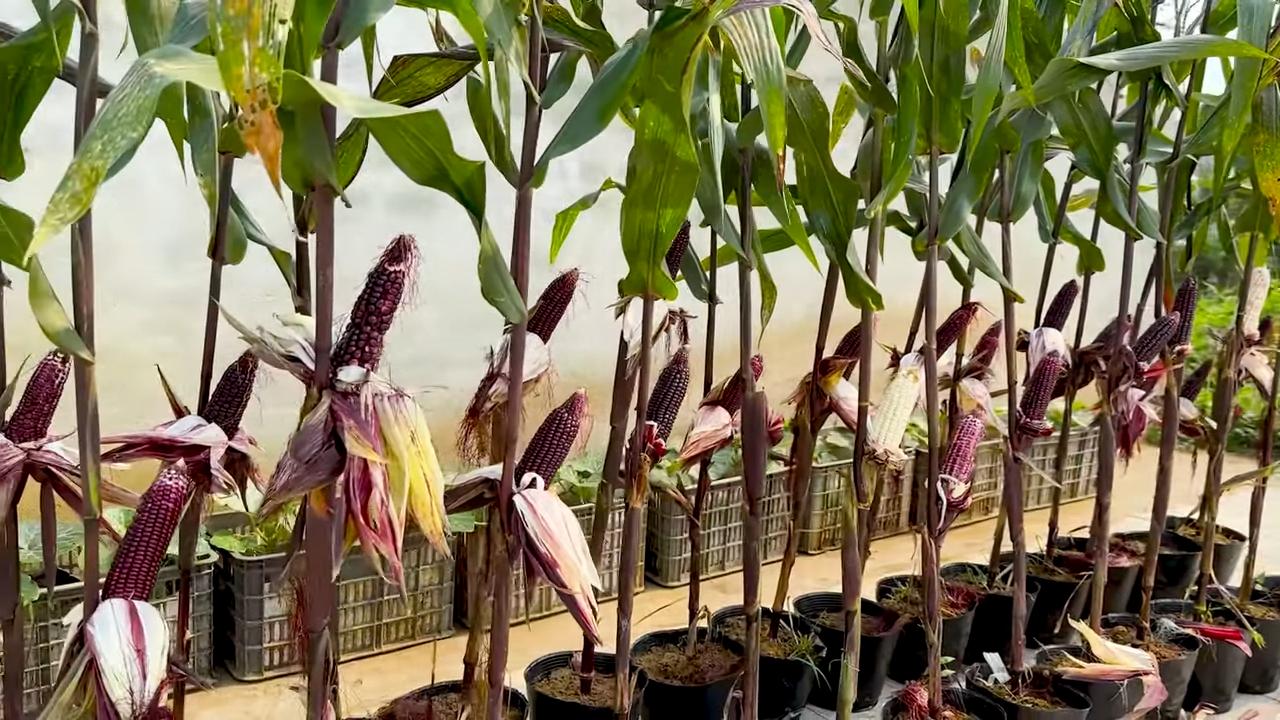
Why should you consider rooftop corn growing concrete? Because fresh, homegrown corn is simply unbeatable! Store-bought corn often lacks the sweetness and vibrant flavor of freshly picked ears. Plus, imagine the satisfaction of harvesting your own crop, knowing exactly where it came from and how it was grown. This DIY project is perfect for anyone looking to add a touch of green to their urban landscape, reduce their carbon footprint, and enjoy the unparalleled taste of homegrown goodness. Let’s get started and transform your rooftop into a cornucopia of deliciousness!
DIY Rooftop Corn Growing in Concrete Containers: A Bountiful Harvest Above!
Hey there, fellow gardening enthusiasts! Ever dreamed of having a mini cornfield right on your rooftop? Well, I’m here to tell you it’s totally achievable, even if you’re working with limited space. We’re going to build sturdy, long-lasting concrete containers perfect for growing corn, and I’ll walk you through every step of the process. Get ready for some serious rooftop farming fun!
Why Concrete Containers for Corn?
Before we dive in, let’s talk about why concrete is an awesome choice for growing corn on a rooftop:
* Durability: Concrete containers are incredibly strong and can withstand the elements for years. No flimsy plastic pots here!
* Temperature Regulation: Concrete helps to moderate soil temperature, keeping it cooler in the summer and warmer in the winter. This is especially important on rooftops where temperatures can fluctuate dramatically.
* Stability: These containers are heavy, which is a good thing! They’ll stay put even in strong winds, preventing your precious corn stalks from toppling over.
* Aesthetics: Let’s be honest, concrete containers can look pretty darn cool. You can customize them with paint, stencils, or even add decorative aggregates to the mix.
* Size: Corn needs space! Concrete allows us to build large, deep containers that provide ample room for root development.
Materials You’ll Need
Alright, let’s gather our supplies. Here’s what you’ll need to build your rooftop corn-growing concrete containers:
* Cement Mix: I recommend using a high-quality concrete mix specifically designed for outdoor use. The amount you need will depend on the size of your containers. I’ll provide calculations later.
* Sand: This is a crucial ingredient for a strong concrete mix.
* Gravel: Adds bulk and improves drainage.
* Water: Clean, potable water for mixing the concrete.
* Forming Materials: Plywood, melamine board, or even sturdy cardboard can be used to create the forms for your containers. I prefer plywood for its durability.
* Rebar or Wire Mesh: Reinforces the concrete and prevents cracking.
* Release Agent: Cooking oil or a commercial release agent to prevent the concrete from sticking to the forms.
* Mixing Tools: A wheelbarrow or large mixing tub, a shovel, and a hoe. A concrete mixer is a lifesaver if you’re making multiple containers.
* Safety Gear: Gloves, safety glasses, and a dust mask are essential when working with concrete.
* Measuring Tools: A tape measure, level, and square.
* Fasteners: Screws or nails to hold the forms together.
* Drill: For screwing the forms together.
* Caulk (Optional): To seal the seams of the forms and prevent leaks.
* Corn Seeds: Choose a variety that’s well-suited to your climate and growing conditions.
* Potting Mix: A high-quality potting mix for filling the containers.
* Drainage Material: Gravel or broken pottery shards for the bottom of the containers.
Calculating Concrete Needs
This is important! You don’t want to run out of concrete halfway through. Here’s how to estimate how much you’ll need. Let’s assume we’re building a rectangular container that is 4 feet long, 2 feet wide, and 2 feet tall, with walls that are 4 inches thick.
1. **Calculate the Volume of the Walls:**
* First, find the *outer* dimensions of the container: 4 ft x 2 ft x 2 ft.
* Then, find the *inner* dimensions. Since the walls are 4 inches (0.33 ft) thick, subtract twice the wall thickness from the length and width: (4 – 0.66) ft x (2 – 0.66) ft x 2 ft = 3.34 ft x 1.34 ft x 2 ft.
* Calculate the volume of the *entire* outer box: 4 ft x 2 ft x 2 ft = 16 cubic feet.
* Calculate the volume of the *inner* space: 3.34 ft x 1.34 ft x 2 ft = 8.96 cubic feet.
* Subtract the inner volume from the outer volume to get the volume of the walls: 16 cubic feet – 8.96 cubic feet = 7.04 cubic feet.
2. **Account for the Bottom:**
* The bottom is 4 ft x 2 ft x 4 inches (0.33 ft) = 2.64 cubic feet.
3. **Total Concrete Volume:**
* Add the volume of the walls and the bottom: 7.04 cubic feet + 2.64 cubic feet = 9.68 cubic feet.
4. **Add Extra for Waste:**
* Always add a little extra to account for spills and uneven mixing. I usually add about 10%, so 9.68 cubic feet x 0.10 = 0.97 cubic feet.
* Total concrete needed: 9.68 cubic feet + 0.97 cubic feet = 10.65 cubic feet.
5. **Calculate the Number of Bags:**
* Most concrete mixes are sold in bags that specify how much volume they yield. For example, an 80-pound bag might yield 0.6 cubic feet of concrete.
* Divide the total concrete needed by the yield per bag: 10.65 cubic feet / 0.6 cubic feet/bag = 17.75 bags.
* Round up to the nearest whole bag: You’ll need 18 bags of concrete mix.
Remember to adjust these calculations based on the actual dimensions of *your* desired container and the yield of *your* chosen concrete mix.
Building the Concrete Container: Step-by-Step
Okay, let’s get our hands dirty! Here’s how to build your concrete container:
Phase 1: Constructing the Forms
1. Cut the Plywood: Cut the plywood into the required sizes for the sides, bottom, and inner form (which will create the hollow space inside the container). Remember to subtract the thickness of the plywood when calculating the dimensions of the inner form. For our example container, you’ll need:
* Two pieces for the long sides: 4 ft x 2 ft
* Two pieces for the short sides: 2 ft x 2 ft
* One piece for the bottom: 4 ft x 2 ft
* Inner form long sides: 3.34 ft x 1.66 ft
* Inner form short sides: 1.34 ft x 1.66 ft
2. Assemble the Outer Form: Screw or nail the side pieces to the bottom piece to create the outer form. Make sure the corners are square.
3. Assemble the Inner Form: Assemble the inner form in the same way.
4. Apply Release Agent: Generously coat the inside of the outer form and the outside of the inner form with cooking oil or a commercial release agent. This will make it much easier to remove the forms later.
5. Position the Inner Form: Place the inner form inside the outer form, centering it carefully. The space between the inner and outer forms will be the thickness of the concrete walls.
6. Secure the Inner Form: Use spacers (small pieces of wood or metal) to keep the inner form centered and prevent it from shifting during the concrete pour. You can also screw the inner form to the outer form through the spacers, but be sure to remove the screws before the concrete sets completely.
Phase 2: Mixing and Pouring the Concrete
1. Prepare the Mixing Area: Set up your wheelbarrow or mixing tub in a well-ventilated area.
2. Mix the Concrete: Follow the instructions on the concrete mix bag. Typically, you’ll start by adding the dry ingredients (cement, sand, and gravel) to the mixing container, then gradually add water while mixing with a shovel or hoe. The concrete should have a thick, oatmeal-like consistency.
3. Pour the Concrete: Carefully pour the concrete into the space between the inner and outer forms. Fill it in layers, tamping down each layer with a piece of wood or a trowel to remove air pockets.
4. Add Reinforcement: Once you’ve poured a few inches of concrete, lay in a layer of rebar or wire mesh. This will add strength to the container and prevent cracking. Continue pouring concrete until the forms are filled to the top.
5. Level the Surface: Use a trowel to smooth and level the top
Conclusion
So, there you have it! Transforming your rooftop into a thriving cornfield using concrete planters is not just a whimsical dream; it’s an achievable reality. We’ve walked you through the process, highlighting the benefits and addressing potential challenges. But why should you actually embark on this slightly unconventional gardening adventure?
First and foremost, growing your own corn, especially in an urban environment, offers an unparalleled sense of accomplishment. Imagine the satisfaction of harvesting plump, juicy ears of corn that you nurtured from seed to table, all while enjoying the panoramic views from your rooftop oasis. This isn’t just about food; it’s about connecting with nature, understanding the growing process, and reducing your reliance on commercially produced goods.
Secondly, rooftop gardening, and specifically growing corn in concrete planters, is an incredibly efficient use of space. If you’re living in a city with limited or no yard space, your rooftop becomes a valuable extension of your living area. Concrete planters, while initially requiring some effort to construct or purchase, offer durability and stability, ensuring your corn plants have a secure and long-lasting home. They also retain heat well, which can be beneficial for corn growth, especially in cooler climates.
Furthermore, this DIY project is a fantastic way to personalize your outdoor space. You can customize the size, shape, and design of your concrete planters to perfectly complement your rooftop aesthetic. Paint them vibrant colors, add mosaic tiles, or even incorporate drainage systems that double as decorative water features. The possibilities are endless!
But the benefits don’t stop there. Growing corn on your rooftop can also contribute to a healthier environment. Plants absorb carbon dioxide and release oxygen, helping to improve air quality. They also provide habitat for beneficial insects and pollinators, contributing to biodiversity in your urban ecosystem.
Now, let’s talk about variations. While we’ve focused on corn, you can easily adapt this concrete planter method to grow other vegetables, herbs, and even flowers. Consider companion planting, such as growing beans or squash alongside your corn, to maximize space and improve soil health. You could also experiment with different varieties of corn, from sweet corn to popcorn, to add variety to your harvest.
For those looking for a more aesthetically pleasing approach, consider incorporating climbing plants around the base of your concrete planters. This will soften the harsh lines of the concrete and create a more natural and inviting atmosphere. You could also add a layer of mulch to the top of the soil to help retain moisture and suppress weeds.
Don’t be afraid to experiment! Gardening is a learning process, and there’s no one-size-fits-all approach. Try different soil mixes, watering techniques, and fertilization methods to see what works best for your specific rooftop environment.
We understand that the prospect of building concrete planters and growing corn on your rooftop might seem daunting at first. But we assure you, with a little planning and effort, it’s a rewarding and fulfilling experience. The key is to start small, be patient, and don’t be afraid to ask for help.
So, what are you waiting for? Grab your tools, gather your supplies, and get ready to transform your rooftop into a corn-growing paradise. We encourage you to try this rooftop corn growing concrete method and share your experiences with us. We’d love to see your photos, hear your stories, and learn from your successes (and even your failures!). Together, we can create a community of urban gardeners who are passionate about growing their own food and making the most of their limited space. Share your journey on social media using #RooftopCornConcrete and let’s inspire others to join the movement!
Frequently Asked Questions (FAQ)
What type of concrete should I use for my planters?
The best type of concrete for your rooftop corn growing concrete planters is a mix designed for outdoor use. Look for a concrete mix that is resistant to cracking and weathering. A fiber-reinforced concrete mix is also a good option, as it will add extra strength and durability to your planters. Avoid using quick-setting concrete, as it can be difficult to work with and may not be as strong as regular concrete. Remember to follow the manufacturer’s instructions carefully when mixing and pouring the concrete.
How do I ensure proper drainage in my concrete planters?
Proper drainage is crucial for the health of your corn plants. Without adequate drainage, the roots can become waterlogged and rot. To ensure proper drainage, start by adding a layer of gravel or broken pottery to the bottom of your planters. This will help to create a space for excess water to drain away from the roots. You should also drill drainage holes in the bottom of your planters. The size and number of holes will depend on the size of your planters, but as a general rule, you should aim for at least one hole per square foot of surface area. Consider adding a layer of landscape fabric between the gravel and the soil to prevent the soil from clogging the drainage holes.
What type of soil is best for growing corn in concrete planters?
Corn is a heavy feeder, meaning it requires a lot of nutrients to grow properly. Therefore, it’s important to use a rich, well-draining soil mix. A good option is to combine equal parts of compost, potting soil, and perlite or vermiculite. Compost will provide essential nutrients, potting soil will provide a good base for the roots to grow, and perlite or vermiculite will improve drainage and aeration. Avoid using garden soil, as it can be too heavy and compacted for container gardening. You can also add a slow-release fertilizer to the soil mix to provide a steady supply of nutrients throughout the growing season.
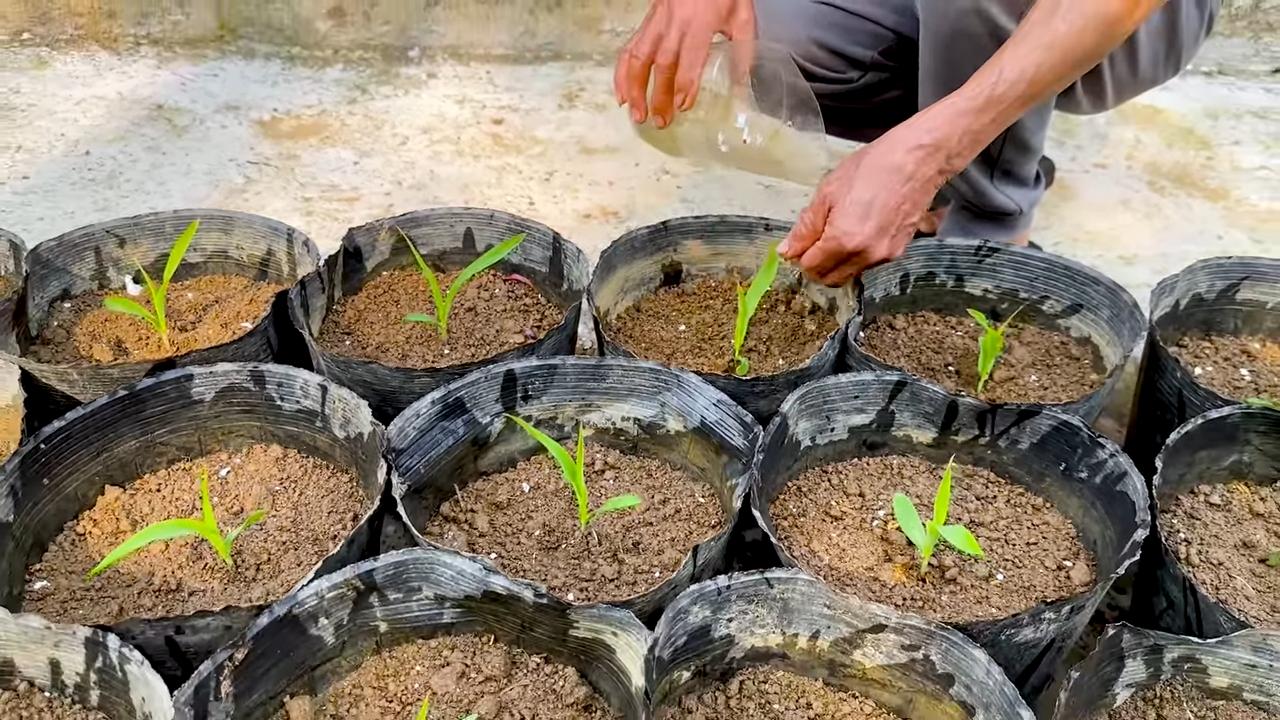
How often should I water my corn plants in concrete planters?
The watering frequency will depend on several factors, including the weather, the size of your planters, and the type of soil you’re using. As a general rule, you should water your corn plants when the top inch of soil feels dry to the touch. Water deeply, until the water drains out of the drainage holes. Avoid overwatering, as this can lead to root rot. During hot, dry weather, you may need to water your plants more frequently. Concrete planters can retain heat, so be sure to check the soil moisture regularly, especially during the hottest part of the day.
How much sunlight do corn plants need?
Corn plants need at least 6-8 hours of direct sunlight per day to thrive. Choose a location on your rooftop that receives plenty of sunlight throughout the day. If your rooftop is partially shaded, you may need to supplement with artificial lighting. You can use grow lights to provide the necessary light for your corn plants. Be sure to position the lights close enough to the plants to provide adequate illumination, but not so close that they burn the leaves.
What are some common pests and diseases that affect corn plants, and how can I prevent them?
Some common pests that affect corn plants include aphids, corn earworms, and spider mites. To prevent these pests, you can use organic pest control methods, such as introducing beneficial insects, spraying with neem oil, or using insecticidal soap. Common diseases that affect corn plants include rust, smut, and leaf blight. To prevent these diseases, you can choose disease-resistant varieties of corn, practice good sanitation, and avoid overwatering. Be sure to remove any infected leaves or plants promptly to prevent the spread of disease.
Can I grow different varieties of corn in the same concrete planter?
While it’s technically possible to grow different varieties of corn in the same concrete planter, it’s generally not recommended. Corn is wind-pollinated, meaning that the pollen from one variety can fertilize the ears of another variety. This can result in cross-pollination, which can affect the taste and texture of the corn. If you want to grow different varieties of corn, it’s best to plant them in separate planters or to stagger the planting times so that they don’t pollinate at the same time.
How do I know when my corn is ready to harvest?
The time it takes for corn to mature will depend on the variety you’re growing, but as a general rule, it takes about 60-100 days from planting to harvest. There are several signs that indicate your corn is ready to harvest. The silks on the end of the ear will turn brown and dry. The ear will feel plump and full when you squeeze it. And the kernels will be milky when you puncture them with your fingernail. To harvest the corn, simply twist the ear off the stalk.
What can I do with my concrete planters during the winter months?
If you live in a climate with cold winters, you’ll need to protect your concrete planters from freezing temperatures. Concrete can crack and crumble when exposed to freezing and thawing cycles. One option is to move your planters to a sheltered location, such as a garage or shed. If you can’t move your planters, you can wrap them in burlap or bubble wrap to insulate them. You can also fill the planters with mulch or leaves to help protect the soil from freezing.


Leave a Comment