
Restore Frying Pan: Is your trusty frying pan looking a little worse for wear? Don’t toss it just yet! I know the feeling – that favorite pan that’s seen countless breakfasts, lunches, and dinners, now coated in stubborn, burnt-on residue. It’s tempting to just buy a new one, but before you do, let me share some amazing DIY tricks to bring it back to life.
For generations, resourceful cooks have passed down secrets for maintaining their cookware. From using simple household ingredients to employing clever techniques, restoring a frying pan was a necessity, not just a choice. In many cultures, a well-cared-for pan was a symbol of a thriving home and a testament to the cook’s skill.
These days, with busy lives and readily available replacements, we often forget the value of restoration. But learning how to restore frying pan not only saves you money, but it’s also a sustainable practice that reduces waste. Plus, there’s a certain satisfaction in bringing something old back to its former glory. So, ditch the harsh chemicals and expensive cleaners! I’m going to show you some easy, effective, and eco-friendly methods to revive your beloved frying pan and get it back to performing its best. Let’s get started!
Revive Your Beloved Frying Pan: A DIY Restoration Guide
Hey there, fellow home cooks! Is your favorite frying pan looking a little worse for wear? Don’t toss it just yet! I’m going to walk you through a simple, effective DIY method to restore your pan and bring back its non-stick glory (or at least significantly improve it!). This guide focuses on removing built-up grease and carbon deposits, which are often the culprits behind a pan’s declining performance.
What You’ll Need
Before we dive in, let’s gather our supplies. You probably have most of these items already!
* Baking Soda
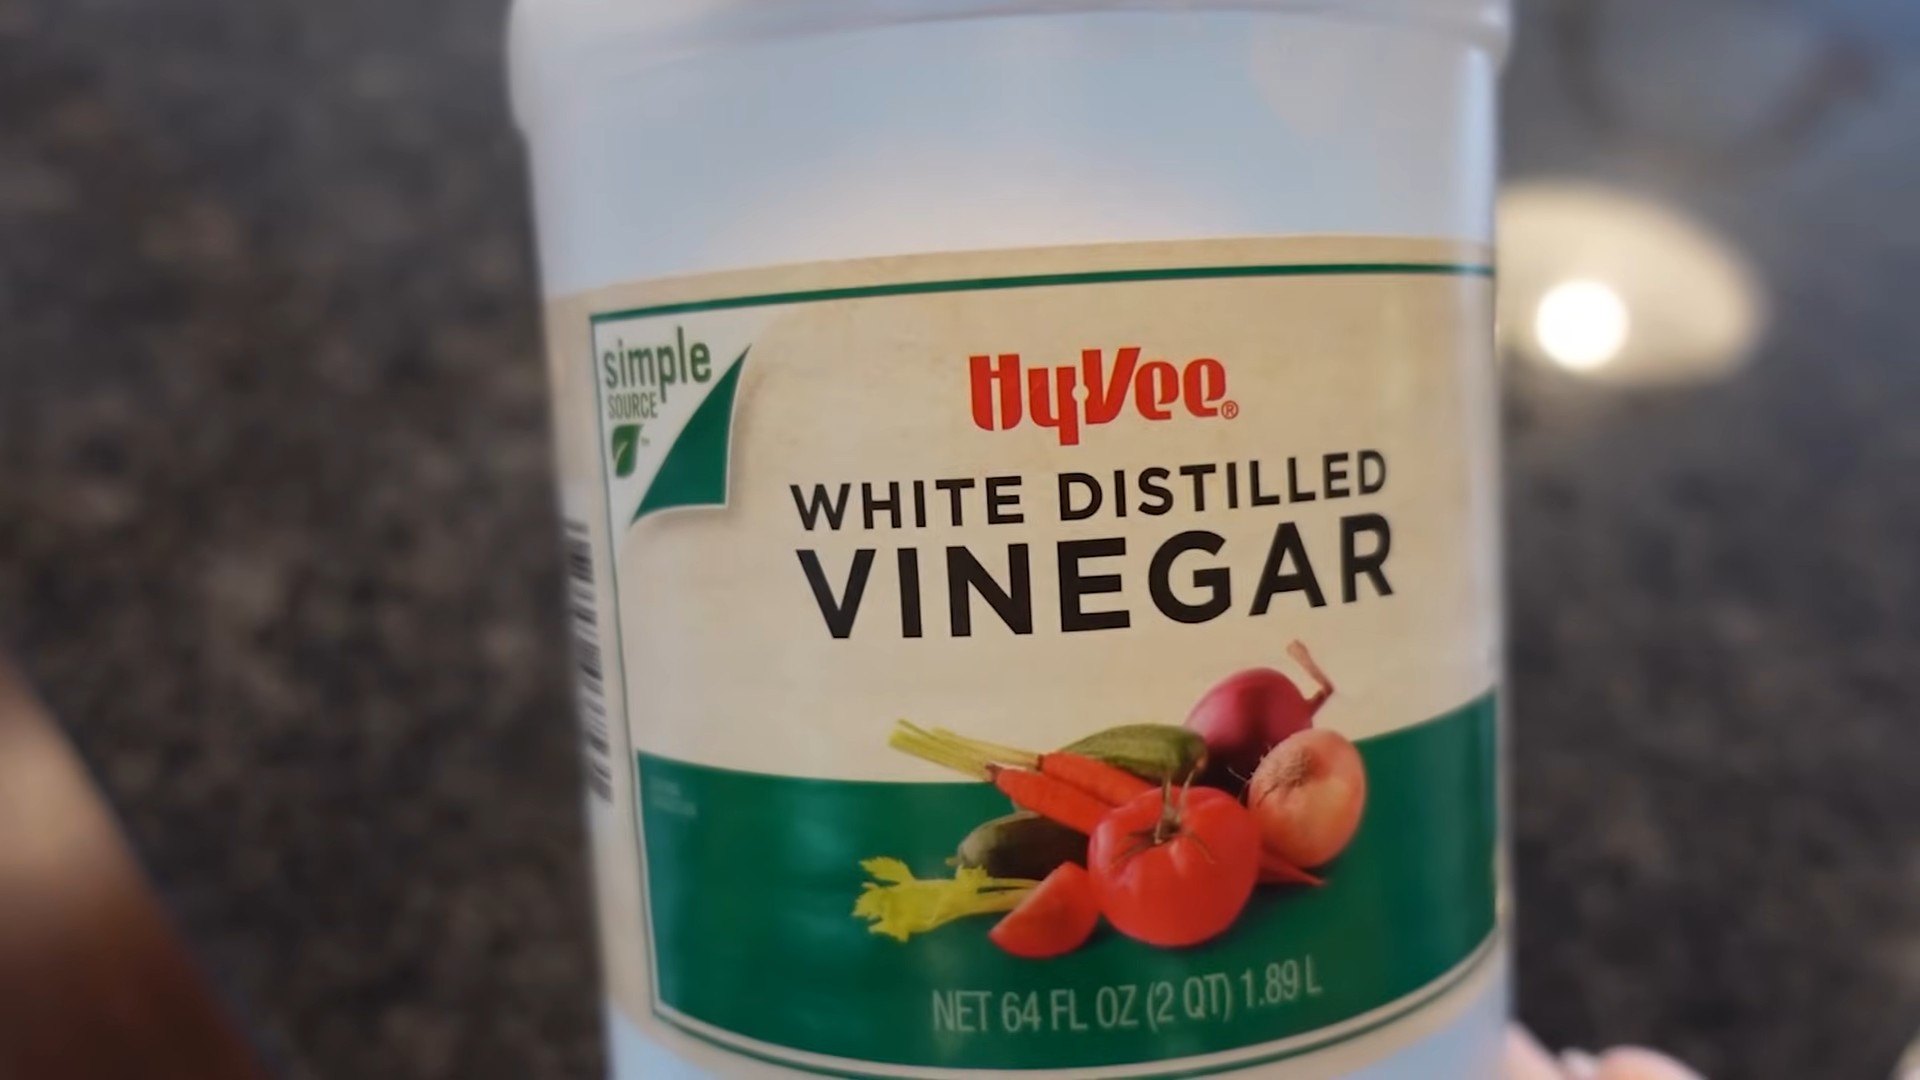
* White Vinegar
* Dish Soap
* Water
* Scrubbing Sponge (non-abrasive for non-stick, abrasive for stainless steel or cast iron)
* Steel Wool (for stainless steel or cast iron ONLY)
* Paper Towels or a Clean Cloth
* Rubber Gloves (optional, but recommended)
* Large Pot or Sink (big enough to submerge the pan)
* Tongs (optional, but helpful)
* Vegetable Oil (for seasoning, if applicable)
Understanding Your Pan Type
Before we start scrubbing, it’s crucial to know what kind of pan you’re dealing with. This will determine the best cleaning approach and prevent damage.
* **Non-Stick Pans:** These are the most delicate. Avoid abrasive cleaners and tools like steel wool, which can scratch the non-stick coating.
* **Stainless Steel Pans:** These are more durable and can handle tougher scrubbing. Steel wool is generally safe to use, but always test in an inconspicuous area first.
* **Cast Iron Pans:** These require a slightly different approach, focusing on removing rust and re-seasoning.
* **Ceramic Pans:** Similar to non-stick, treat these gently. Avoid harsh chemicals and abrasive scrubbers.
The Deep Clean: Removing Stubborn Buildup
This is where the magic happens! We’ll use a combination of baking soda and vinegar to loosen and lift those stubborn deposits.
Step 1: Initial Soak
1. Fill your sink or large pot with hot, soapy water. Add a generous squirt of dish soap.
2. Submerge your frying pan in the soapy water. Let it soak for at least 30 minutes. This will help loosen some of the surface grime. For really tough buildup, you can let it soak for a few hours or even overnight. I’ve found that a longer soak makes the next steps much easier.
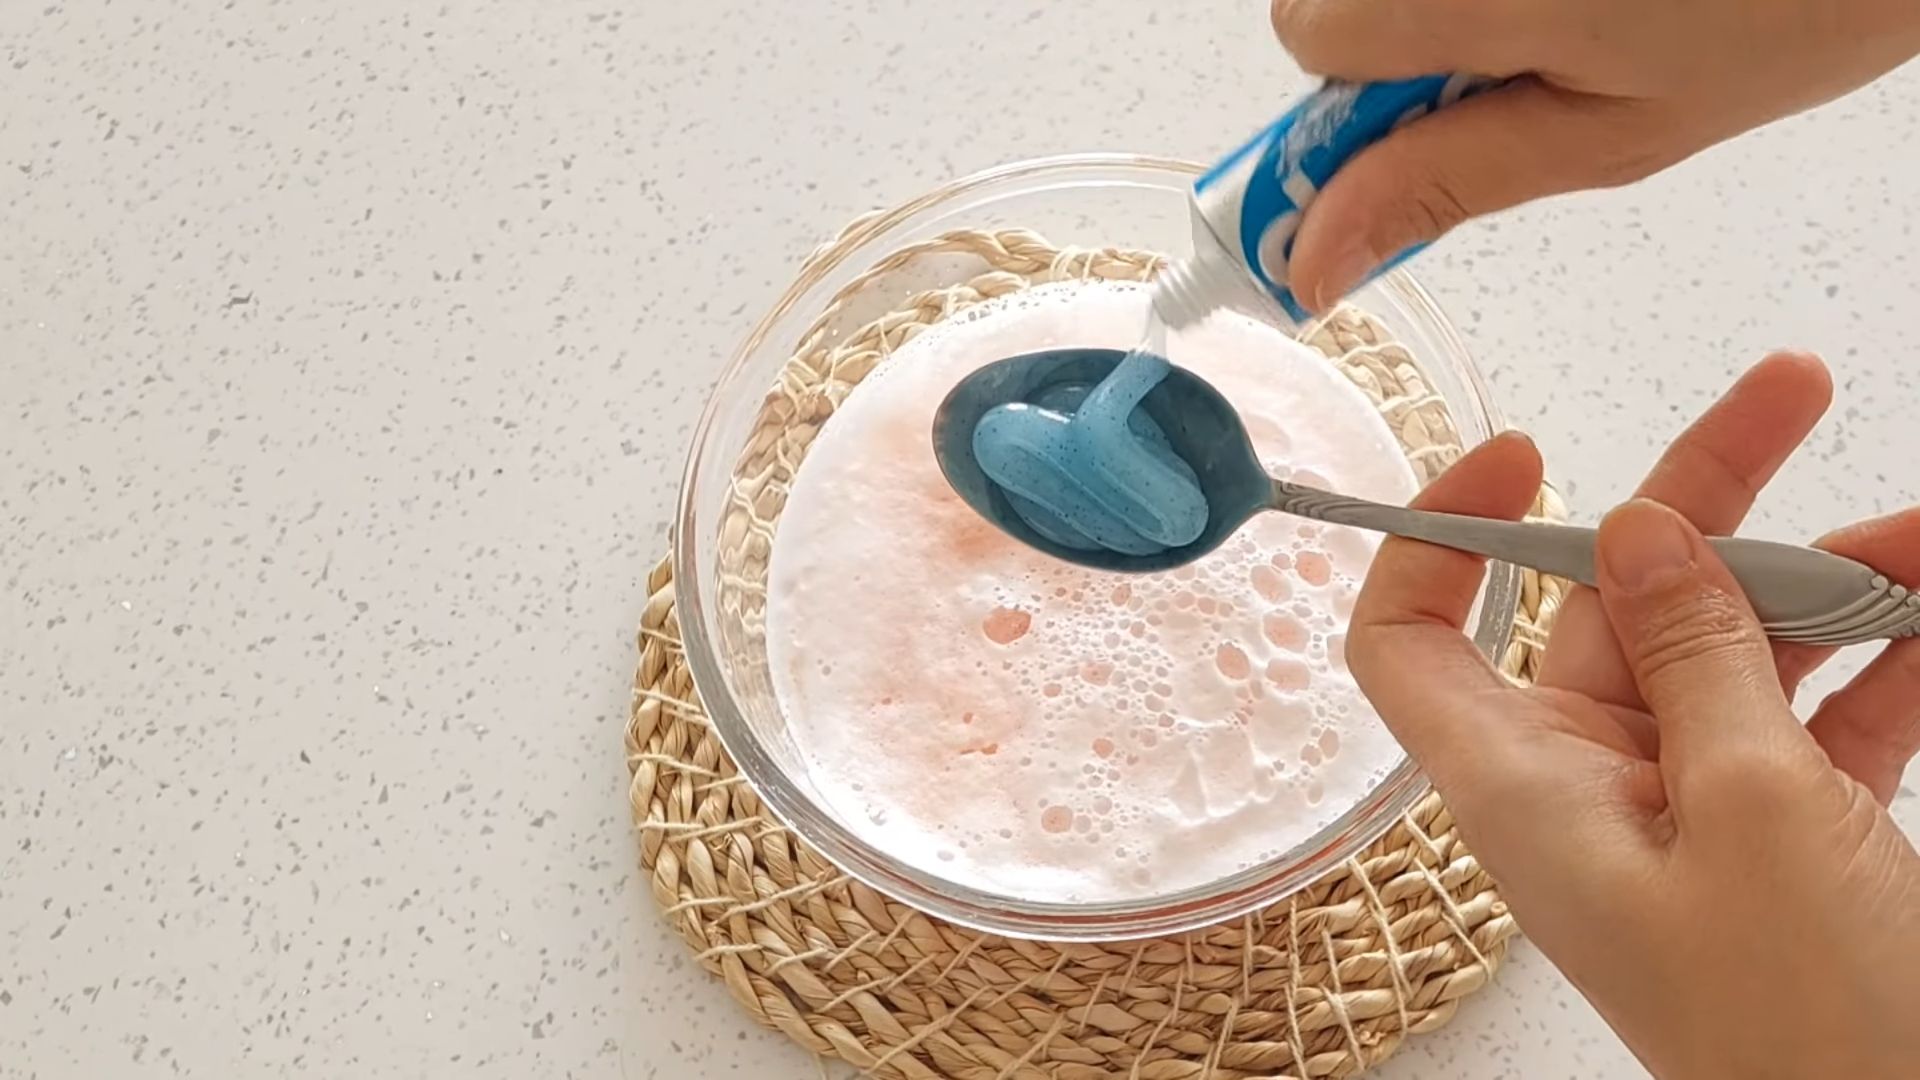
Step 2: Baking Soda Paste
1. Drain the soapy water and rinse the pan thoroughly.
2. In a small bowl, mix baking soda with a little water to form a thick paste. The consistency should be similar to toothpaste.
3. Apply the baking soda paste generously to the affected areas of the pan, especially where you see burnt-on food or grease.
Step 3: Vinegar Power
1. Pour white vinegar over the baking soda paste. You’ll see a fizzing reaction – that’s a good thing! It means the baking soda and vinegar are working together to break down the grime.
2. Let the mixture sit for about 15-20 minutes. The fizzing will subside as the reaction completes.
Step 4: Scrubbing Time
1. Using your chosen scrubbing tool (non-abrasive sponge for non-stick/ceramic, abrasive sponge or steel wool for stainless steel/cast iron), start scrubbing the pan. Apply firm, even pressure.
2. For non-stick pans, be gentle! Focus on circular motions and avoid excessive force. You might need to repeat the baking soda/vinegar treatment if the buildup is particularly stubborn.
3. For stainless steel or cast iron, you can be a bit more aggressive with the scrubbing. Steel wool can be very effective at removing tough stains and rust.
4. Pay close attention to the corners and edges of the pan, where grease tends to accumulate.
Step 5: Rinse and Repeat (If Necessary)
1. Rinse the pan thoroughly with hot water to remove all traces of baking soda, vinegar, and loosened debris.
2. Inspect the pan carefully. If you still see stubborn buildup, repeat steps 2-4. Sometimes, it takes a few rounds to get the pan completely clean.
Dealing with Burnt Food on the Outside
Sometimes, the outside of the pan gets just as much abuse as the inside. Here’s how to tackle those burnt-on messes:
Hey there, fellow home cooks! Is your favorite frying pan looking a little worse for wear? Don’t toss it just yet! I’m going to walk you through a simple, effective DIY method to restore your pan and bring back its non-stick glory (or at least significantly improve it!). This guide focuses on removing built-up grease and carbon deposits, which are often the culprits behind a pan’s declining performance.
What You’ll Need
Before we dive in, let’s gather our supplies. You probably have most of these items already!
* Baking Soda
* White Vinegar
* Dish Soap
* Water
* Scrubbing Sponge (non-abrasive for non-stick, abrasive for stainless steel or cast iron)
* Steel Wool (for stainless steel or cast iron ONLY)
* Paper Towels or a Clean Cloth
* Rubber Gloves (optional, but recommended)
* Large Pot or Sink (big enough to submerge the pan)
* Tongs (optional, but helpful)
* Vegetable Oil (for seasoning, if applicable)
Understanding Your Pan Type
Before we start scrubbing, it’s crucial to know what kind of pan you’re dealing with. This will determine the best cleaning approach and prevent damage.
* **Non-Stick Pans:** These are the most delicate. Avoid abrasive cleaners and tools like steel wool, which can scratch the non-stick coating.
* **Stainless Steel Pans:** These are more durable and can handle tougher scrubbing. Steel wool is generally safe to use, but always test in an inconspicuous area first.
* **Cast Iron Pans:** These require a slightly different approach, focusing on removing rust and re-seasoning.
* **Ceramic Pans:** Similar to non-stick, treat these gently. Avoid harsh chemicals and abrasive scrubbers.
The Deep Clean: Removing Stubborn Buildup
This is where the magic happens! We’ll use a combination of baking soda and vinegar to loosen and lift those stubborn deposits.
Step 1: Initial Soak
1. Fill your sink or large pot with hot, soapy water. Add a generous squirt of dish soap.
2. Submerge your frying pan in the soapy water. Let it soak for at least 30 minutes. This will help loosen some of the surface grime. For really tough buildup, you can let it soak for a few hours or even overnight. I’ve found that a longer soak makes the next steps much easier.
Step 2: Baking Soda Paste
1. Drain the soapy water and rinse the pan thoroughly.
2. In a small bowl, mix baking soda with a little water to form a thick paste. The consistency should be similar to toothpaste.
3. Apply the baking soda paste generously to the affected areas of the pan, especially where you see burnt-on food or grease.
Step 3: Vinegar Power
1. Pour white vinegar over the baking soda paste. You’ll see a fizzing reaction – that’s a good thing! It means the baking soda and vinegar are working together to break down the grime.
2. Let the mixture sit for about 15-20 minutes. The fizzing will subside as the reaction completes.
Step 4: Scrubbing Time
1. Using your chosen scrubbing tool (non-abrasive sponge for non-stick/ceramic, abrasive sponge or steel wool for stainless steel/cast iron), start scrubbing the pan. Apply firm, even pressure.
2. For non-stick pans, be gentle! Focus on circular motions and avoid excessive force. You might need to repeat the baking soda/vinegar treatment if the buildup is particularly stubborn.
3. For stainless steel or cast iron, you can be a bit more aggressive with the scrubbing. Steel wool can be very effective at removing tough stains and rust.
4. Pay close attention to the corners and edges of the pan, where grease tends to accumulate.
Step 5: Rinse and Repeat (If Necessary)
1. Rinse the pan thoroughly with hot water to remove all traces of baking soda, vinegar, and loosened debris.
2. Inspect the pan carefully. If you still see stubborn buildup, repeat steps 2-4. Sometimes, it takes a few rounds to get the pan completely clean.
Dealing with Burnt Food on the Outside
Sometimes, the outside of the pan gets just as much abuse as the inside. Here’s how to tackle those burnt-on messes:
Step 1: The Boiling Method
1. Fill a large pot with enough water to completely submerge the bottom of the pan (the part with the burnt food).
2. Add 1 cup of white vinegar and 1/2 cup of baking soda to the water.
3. Bring the water to a boil.
4. Carefully place the pan in the boiling water, ensuring the burnt areas are submerged.
5. Let the pan simmer in the boiling water for about 30 minutes.
6. Remove the pan from the pot (use tongs!) and let it cool slightly.
Step 2: Scrubbing the Exterior
1. While the pan is still warm, use your chosen scrubbing tool to scrub the burnt areas. The boiling water and vinegar/baking soda mixture should have loosened the grime significantly.
2. Rinse the pan thoroughly with hot water.
3. If necessary, repeat the boiling and scrubbing process.
Special Considerations for Cast Iron Pans
Cast iron pans require a slightly different approach because they are prone to rusting.
Step 1: Removing Rust (If Present)
1. If your cast iron pan has rust, use steel wool to scrub it away. Apply firm pressure and focus on removing all traces of rust.
2. Rinse the pan thoroughly with hot water.
Step 2: Drying Thoroughly
1. It’s crucial to dry cast iron pans immediately after washing to prevent rust from forming. Use a clean cloth to dry the pan thoroughly, inside and out.
2. You can also place the pan in a warm oven (around 200°F) for about 15-20 minutes to ensure it’s completely dry.
Step 3: Re-Seasoning Your Cast Iron Pan
Re-seasoning is essential for maintaining the non-stick properties of a cast iron pan and preventing rust.
1. Apply a thin layer of vegetable oil (or other high-heat oil like canola or grapeseed oil) to the entire pan, inside and out. Use a paper towel to wipe away any excess oil. You want a very thin, even coat.
2. Place the pan upside down in a preheated oven at 350-400°F (depending on your oil’s smoke point).
3. Bake the pan for 1 hour.
4. Turn off the oven and let the pan cool completely inside the oven. This allows the oil to polymerize and create a durable, non-stick surface.
5. Repeat the seasoning process 2-3 times for optimal results.
Final Touches and Maintenance
Once you’ve restored your frying pan, here are a few tips to keep it in good condition:
* **Wash your pans after each use.** Don’t let food residue sit for extended periods.
* **Use the appropriate cooking utensils.** Avoid metal utensils on non-stick pans, as they can scratch the coating.
* **Store your pans properly.** Avoid stacking them directly on top of each other, as this can cause scratches. Use pan protectors or hang them on a rack.
* **For non-stick pans, avoid overheating.** High heat can damage the non-stick coating.
* **Re-season cast iron pans regularly.** This will help maintain their non-stick properties and prevent rust.
Troubleshooting
* **Stubborn Stains:** If you’re having trouble removing stubborn stains, try using a paste of baking soda and hydrogen peroxide. Let it sit for a few minutes before scrubbing.
* **Burnt Food:** For heavily burnt food, try adding a few tablespoons of salt to the baking soda and vinegar mixture.
* **Rust on Cast Iron:** If the rust is severe, you may need to use a rust remover specifically designed for cast iron. Follow the manufacturer’s instructions carefully.
I hope this guide helps you revive your beloved frying pan! With a little elbow grease and the right techniques, you can extend the life of your cookware and enjoy cooking with them for years to come. Happy cooking!
Conclusion
So, there you have it! Reviving a seemingly hopeless frying pan doesn’t require a trip to the store or a hefty investment in new cookware. This simple, effective DIY trick to restore frying pan surfaces is a game-changer for any home cook. We’ve walked you through the process, highlighting how easy it is to remove stubborn buildup and bring back that non-stick magic.
Why is this a must-try? Because it saves you money, reduces waste, and extends the life of your favorite kitchen companion. Think about it: instead of tossing out a perfectly good pan because of a few burnt spots or a sticky surface, you can breathe new life into it with ingredients you likely already have in your pantry. That’s a win-win!
But the beauty of this method lies in its adaptability. While we’ve outlined a specific approach, feel free to experiment with variations to suit your needs and the specific condition of your pan. For instance, if you’re dealing with particularly stubborn residue, you might consider letting the baking soda paste sit for a longer period, perhaps even overnight. Or, if you prefer a more abrasive approach, a gentle scrub with a non-scratch scouring pad after the boiling process can work wonders.
Another variation involves the type of acid used. While vinegar is a readily available and effective option, you could also try lemon juice for a slightly different scent and cleaning power. The citric acid in lemon juice can be particularly effective at breaking down grease and grime. Just remember to always exercise caution and avoid using harsh chemicals or abrasive materials that could damage the pan’s surface.
Beyond the basic cleaning process, consider preventative measures to keep your frying pan in top condition. Avoid overheating the pan, use appropriate cooking oils, and always clean it thoroughly after each use. These simple habits can significantly extend the lifespan of your cookware and prevent the need for frequent deep cleaning.
We are confident that this DIY trick will become a staple in your kitchen cleaning routine. It’s a simple, effective, and eco-friendly way to keep your frying pans performing at their best. Don’t just take our word for it, though. We encourage you to try this method for yourself and witness the transformation firsthand.
Once you’ve experienced the satisfaction of restoring your frying pan to its former glory, we’d love to hear about your experience! Share your before-and-after photos, tips, and variations in the comments section below. Let’s create a community of resourceful home cooks who are passionate about extending the life of their cookware and saving money in the process. Your insights could help others discover the magic of this simple DIY solution. So go ahead, give it a try, and let us know how it goes! We can’t wait to hear your success stories.
Frequently Asked Questions (FAQ)
Q: What types of frying pans can I restore using this method?
A: This DIY trick is generally safe and effective for restoring most types of frying pans, including stainless steel, non-stick, and cast iron (with some modifications). However, it’s crucial to consider the specific material of your pan and adjust the method accordingly. For example, while boiling water and baking soda is generally safe for stainless steel and non-stick pans, it’s essential to avoid prolonged soaking for cast iron to prevent rusting. For cast iron, a gentler approach with salt and oil scrubbing is often preferred. Always consult the manufacturer’s instructions for your specific pan before attempting any cleaning method. If you are unsure, test a small, inconspicuous area first.
Q: How often should I restore my frying pan using this method?
A: The frequency of cleaning depends on how often you use your frying pan and the types of food you cook. If you notice a significant buildup of residue, sticking food, or discoloration, it’s a good indication that it’s time for a deep clean. As a general guideline, you might consider restoring your frying pan every few months, or more frequently if you cook with it daily. Regular cleaning after each use, however, is the best way to prevent the need for frequent deep cleaning.
Q: Can I use this method on other cookware, like pots and baking sheets?
A: Absolutely! This DIY trick is not limited to frying pans. The same principles can be applied to restore pots, baking sheets, and other cookware that have accumulated stubborn residue. The key is to adjust the amount of ingredients and the size of the container to accommodate the item you’re cleaning. For larger items like baking sheets, you might need to use a larger pot or even the bathtub, ensuring proper ventilation and safety precautions.
Q: What if the residue is extremely stubborn and doesn’t come off easily?
A: If you’re dealing with extremely stubborn residue, there are a few things you can try. First, increase the concentration of baking soda in the water. Second, extend the boiling time to allow the baking soda to penetrate the residue more effectively. Third, after boiling, try gently scrubbing the pan with a non-scratch scouring pad or a paste made of baking soda and water. For particularly tough spots, you can also try using a specialized cookware cleaner, but always follow the manufacturer’s instructions and test it in an inconspicuous area first. As a last resort, consider using a product specifically designed to remove burnt-on food, but be aware that these products can be harsh and may require extra caution.
Q: Is it safe to use this method on non-stick frying pans? Will it damage the coating?
A: Yes, this method is generally safe for non-stick frying pans, but it’s crucial to be gentle and avoid abrasive materials. The boiling water and baking soda help to loosen the residue without scratching the non-stick coating. However, avoid using harsh scouring pads or abrasive cleaners, as these can damage the coating and reduce its effectiveness. After cleaning, it’s a good idea to season the non-stick pan with a light coating of oil to help maintain its non-stick properties. If you notice any signs of damage to the non-stick coating, discontinue use and consider replacing the pan.
Q: Can I use dish soap in addition to baking soda and vinegar?
A: While baking soda and vinegar are effective on their own, adding a small amount of dish soap can help to cut through grease and grime more effectively. However, be mindful of the type of dish soap you use. Avoid using dish soaps that contain harsh chemicals or abrasives, as these can damage the pan’s surface. A mild, gentle dish soap is generally the best option. Add a small squirt of dish soap to the boiling water along with the baking soda and vinegar.
Q: What are some preventative measures I can take to avoid needing to restore my frying pan so often?
A: Prevention is always better than cure! Here are some tips to keep your frying pan in good condition and minimize the need for deep cleaning:
* Avoid Overheating: Overheating can cause food to burn and stick to the pan. Use medium heat for most cooking tasks.
* Use Appropriate Cooking Oils: Certain oils are better suited for high-heat cooking than others. Choose oils with a high smoke point, such as avocado oil or canola oil.
* Clean After Each Use: Wash your frying pan thoroughly after each use with warm, soapy water. Avoid using abrasive cleaners or scouring pads.
* Don’t Use Metal Utensils: Metal utensils can scratch the surface of your frying pan, especially non-stick pans. Use wooden or silicone utensils instead.
* Proper Storage: Store your frying pan in a safe place where it won’t be scratched or damaged by other cookware.
Q: What if my frying pan is warped? Can this method fix that?
A: Unfortunately, this method is designed to clean and restore the surface of your frying pan, not to fix warping. Warping is usually caused by extreme temperature changes or uneven heating, and it’s often difficult to reverse. While cleaning the pan might make it look better, it won’t correct the warping. If your frying pan is significantly warped, it may be time to replace it. Using a warped pan can lead to uneven cooking and potential safety hazards.

Leave a Comment