
Regrow Celery From Scrap: Imagine never having to buy celery again! Sounds too good to be true? Well, get ready to be amazed because I’m about to share a super simple, incredibly rewarding DIY trick that will let you do just that. For generations, resourceful gardeners have been finding ways to extend the life of their vegetables, and this method of regrowing celery is a fantastic example of that ingenuity.
Celery, with its crisp stalks and refreshing flavor, is a staple in so many dishes, from soups and salads to healthy snacks. But let’s be honest, we often only use a few stalks and the rest ends up wilting in the fridge. That’s where this DIY hack comes in! Not only will you be saving money, but you’ll also be reducing food waste and experiencing the joy of nurturing new life from something you would have otherwise thrown away.
This isn’t just about saving a few bucks; it’s about connecting with nature and understanding the resilience of plants. Plus, it’s a fantastic project for kids, teaching them about sustainability and the magic of gardening. So, are you ready to learn how to regrow celery from scrap and have a never-ending supply of this crunchy veggie? Let’s get started!
Regrow Celery From Scrap: A Kitchen Gardening Adventure!
Hey there, fellow food lovers and green thumbs! Ever find yourself tossing out the base of your celery stalk, feeling a pang of guilt about the waste? Well, stop right there! I’m going to show you how to turn that seemingly useless scrap into a brand new celery plant. It’s easier than you think, and it’s a fantastic way to reduce waste and enjoy fresh celery right from your own kitchen. Let’s get started!
What You’ll Need
Before we dive in, let’s gather our supplies. This is a pretty low-key project, so you probably already have most of what you need:
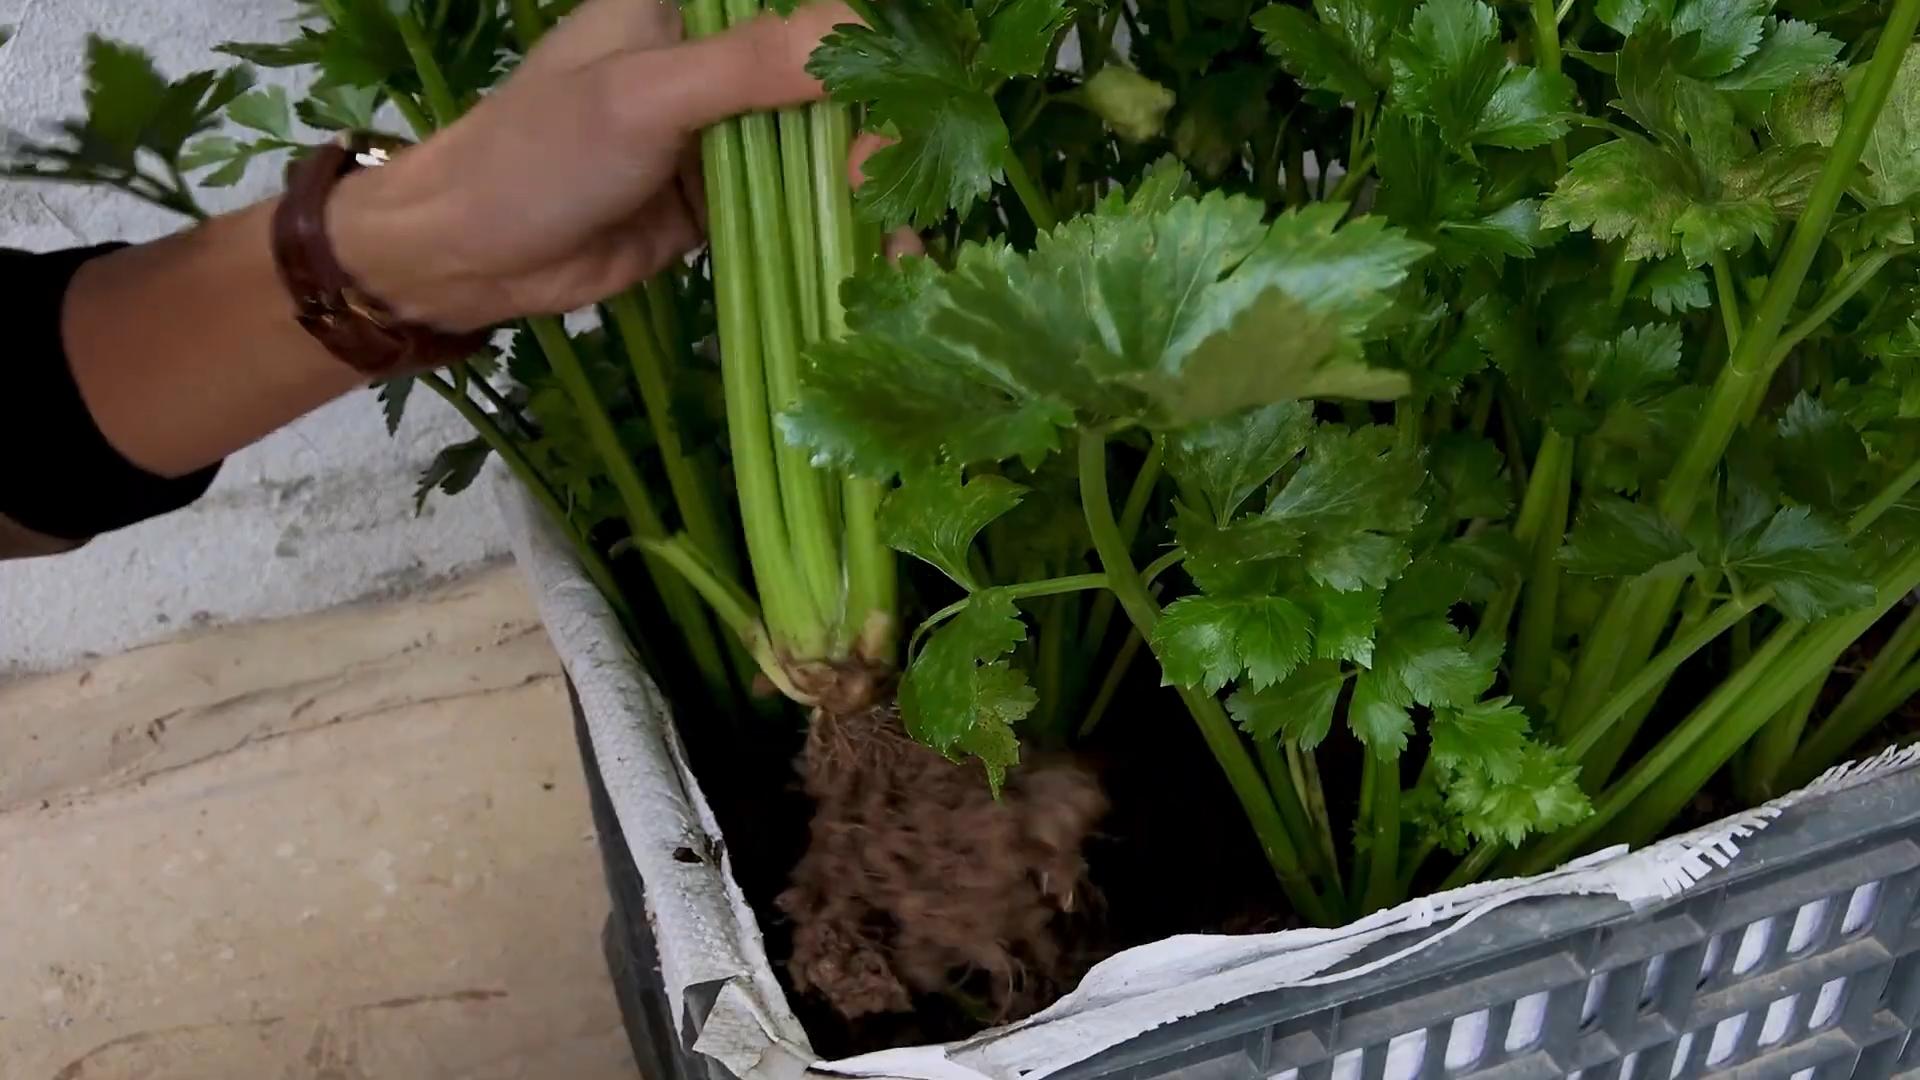
* The base of a celery stalk (about 2 inches from the bottom, where the stalks are connected). Make sure it looks relatively fresh and firm, not mushy or dried out.
* A shallow dish or bowl.
* Water (tap water is fine).
* A sunny windowsill or well-lit area.
* Potting soil.
* A pot (at least 6 inches in diameter).
* A spray bottle (optional, but helpful for misting).
Phase 1: Rooting Your Celery Base
This is where the magic begins! We’re going to coax those dormant cells in the celery base to start growing roots.
1. Prepare the Celery Base: Carefully cut the celery stalk about 2 inches from the bottom, keeping the base intact. You can use the upper stalks for cooking or snacking – no waste here! Make sure the cut is clean and even.
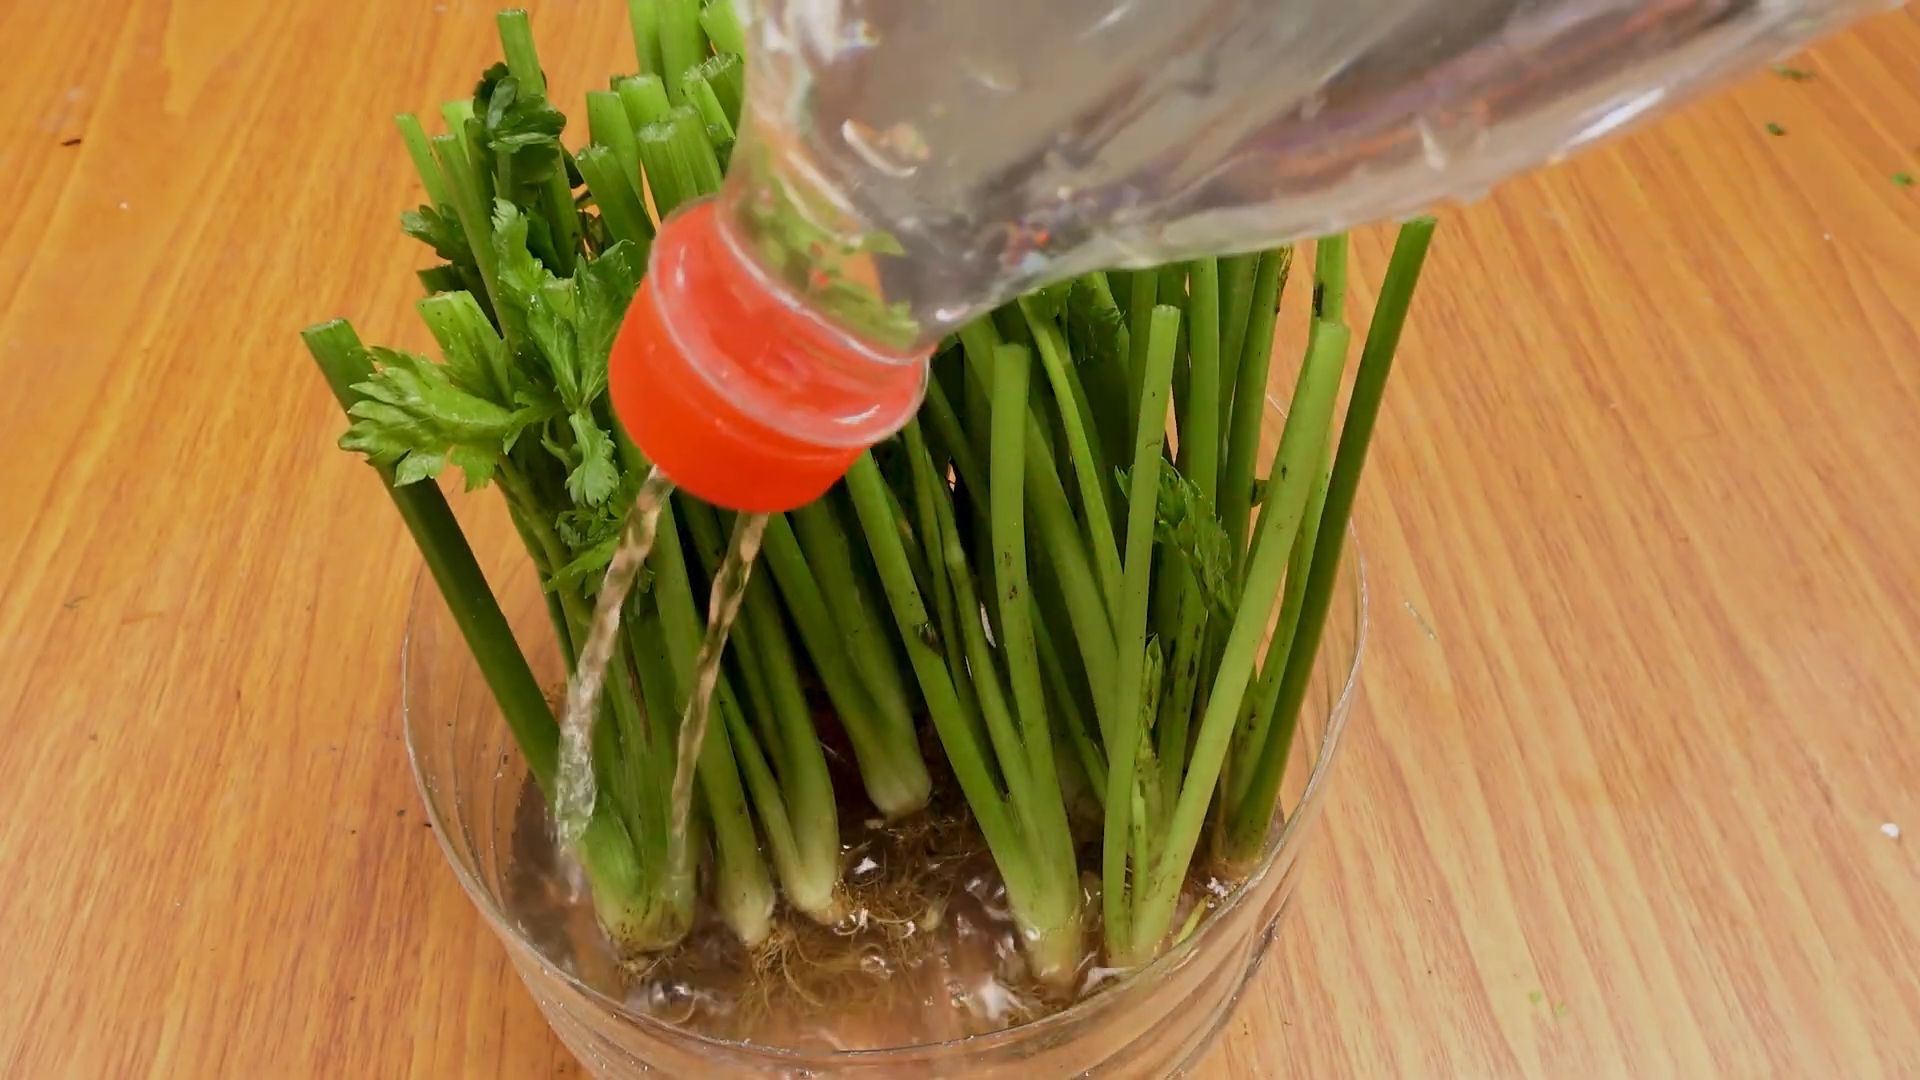
2. Place in Water: Fill your shallow dish or bowl with about an inch of water. Place the celery base, cut-side up, in the water. The water level should reach about halfway up the base. You don’t want to submerge the entire thing, just the bottom part that will sprout roots.
3. Find a Sunny Spot: Place the dish with the celery base on a sunny windowsill or in a well-lit area. Celery needs plenty of light to thrive. A south-facing window is ideal, but any window that gets several hours of sunlight will work.
4. Change the Water Regularly: This is crucial! Change the water every 1-2 days to keep it fresh and prevent bacteria from growing. Stagnant water can lead to rot, and we definitely don’t want that.
5. Be Patient: Now comes the waiting game. Within a few days, you should start to see small roots emerging from the bottom of the celery base. You might also notice some new green growth sprouting from the top. This is a great sign! It usually takes about 5-7 days for the roots to be long enough for planting. I usually wait until the roots are at least an inch long before moving on to the next phase.
Phase 2: Planting Your Rooted Celery
Once your celery base has developed a good set of roots, it’s time to give it a new home in some soil.
1. Prepare Your Pot: Fill your pot with potting soil, leaving about an inch of space at the top. Make sure the pot has drainage holes at the bottom to prevent waterlogging. Waterlogging is a celery plant’s worst enemy!
2. Create a Hole: Use your finger or a small trowel to create a hole in the center of the soil, large enough to accommodate the celery base and its roots.
3. Carefully Plant the Celery: Gently remove the celery base from the water and carefully place it in the hole. Make sure the roots are spread out and not crammed together.
4. Cover with Soil: Fill the hole with soil, gently pressing it around the celery base. The top of the celery base should be slightly above the soil level. Don’t bury it too deep!
5. Water Thoroughly: Water the soil thoroughly until water drains out of the drainage holes. This will help settle the soil and ensure the roots have access to moisture.
Phase 3: Caring for Your Growing Celery Plant
Now that your celery is planted, it’s time to provide it with the care it needs to thrive.
1. Sunlight: Continue to provide your celery plant with plenty of sunlight. At least 6 hours of direct sunlight per day is ideal. If you don’t have a sunny windowsill, you can supplement with a grow light.
2. Watering: Celery needs consistent moisture, but it doesn’t like to be waterlogged. Water your plant when the top inch of soil feels dry to the touch. Avoid overwatering, as this can lead to root rot. A good rule of thumb is to water deeply but infrequently.
3. Fertilizing: To give your celery plant a boost, you can fertilize it every 2-3 weeks with a balanced liquid fertilizer. Follow the instructions on the fertilizer packaging. I like to use an organic fertilizer for my edible plants.
4. Misting: Celery loves humidity. You can increase the humidity around your plant by misting it with water every day or two. This is especially important if you live in a dry climate.
5. Pest Control: Keep an eye out for pests like aphids or spider mites. If you notice any pests, you can try spraying your plant with insecticidal soap or neem oil.
6. Harvesting: This is the fun part! You can start harvesting individual stalks of celery when they are about 6-8 inches long. Simply cut the stalks off at the base of the plant. The plant will continue to produce new stalks, so you can enjoy fresh celery for weeks to come. You can also harvest the entire plant at once if you prefer.
Troubleshooting
Sometimes, things don’t go exactly as planned. Here are a few common problems you might encounter and how to fix them:
* Celery base is rotting: This is usually caused by stagnant water. Make sure you’re changing the water regularly. If the base is already rotting, you might need to start with a fresh celery base.
* No roots are growing: This could be due to a lack of sunlight or poor water quality. Make sure your celery base is getting plenty of light and that you’re changing the water regularly.
* Leaves are turning yellow: This could be a sign of overwatering or underwatering. Check the soil moisture and adjust your watering accordingly. Yellowing leaves can also indicate a nutrient deficiency, so try fertilizing your plant.
* Plant is not growing: This could be due to a lack of sunlight, nutrients, or water. Make sure your plant is getting enough of all three.
Tips and Tricks for Success
Here are a few extra tips to help you grow the best celery possible:
* Choose a healthy celery stalk: The healthier the celery stalk you start with, the better your chances of success. Look for a stalk that is firm, crisp, and free of blemishes.
* Use filtered water: If your tap water is heavily chlorinated, you might want to use filtered water for your celery. Chlorine can inhibit root growth.
* Provide good drainage: Celery needs well-draining soil to prevent root rot. Make sure your pot has drainage holes and that you’re not overwatering.
* Rotate your plant: To ensure even growth, rotate your plant every few days so that all sides get equal exposure to sunlight.
* Be patient: Growing celery from scrap takes time and patience. Don’t get discouraged if you don’t see results immediately. Just keep providing your plant with the care it needs, and it will eventually reward you with fresh, delicious celery.
And there you have it! Regrowing celery from scrap is a fun, easy, and rewarding project that anyone can do. It’s a great way to reduce waste, save money, and enjoy fresh, homegrown celery. So, next time you’re about to toss out that celery base, think twice and give it a new life! Happy gardening!
Conclusion
So, there you have it! Regrowing celery from scrap isn’t just a fun kitchen experiment; it’s a sustainable way to reduce food waste, enjoy fresh celery more often, and connect with the natural world, even from your windowsill. It’s a simple, rewarding process that anyone can undertake, regardless of gardening experience. The vibrant green shoots emerging from that humble celery base are a testament to the resilience of nature and a reminder that even the smallest scraps can have a second life.
Why is this DIY trick a must-try? Because it’s incredibly easy, cost-effective, and environmentally friendly. Instead of tossing your celery base into the compost bin (though composting is great too!), you’re giving it a chance to flourish again. You’re essentially getting free celery! Plus, it’s a fantastic educational opportunity, especially for kids. They can witness the miracle of plant growth firsthand and learn about the importance of reducing waste.
But the benefits don’t stop there. Think of the possibilities! You can use your regrown celery in all your favorite recipes, from soups and stews to salads and smoothies. The flavor might be slightly milder than store-bought celery, making it perfect for dishes where you want a subtle celery note.
Looking for variations? Absolutely! Once your celery has established roots and new growth, you can transplant it into a larger pot or even directly into your garden. If you live in a warmer climate, you might even be able to harvest full-sized celery stalks. Experiment with different types of celery, too. Try regrowing organic celery for the purest flavor, or explore heirloom varieties for unique tastes and textures. You can also use the celery leaves, which are often discarded, to make a flavorful pesto or add them to salads for a peppery kick.
Don’t be afraid to get creative! You can even use your regrown celery as a decorative element. The vibrant green stalks add a touch of freshness to any kitchen windowsill. Imagine a row of regrowing celery bases, each one a miniature garden in its own right.
We wholeheartedly encourage you to try this DIY trick. It’s a small change that can make a big difference, both for your wallet and for the planet. And most importantly, have fun with it! Gardening should be enjoyable, so don’t stress if your first attempt isn’t perfect. Just keep experimenting and learning.
Once you’ve tried regrowing celery from scrap, we’d love to hear about your experience! Share your photos and tips on social media using #RegrowCeleryFromScrap and let us know what worked for you. Did you try any variations? Did you encounter any challenges? Your feedback will help others learn and grow, too. Let’s create a community of celery-regrowing enthusiasts! So go ahead, give it a try, and discover the joy of growing your own food, one celery stalk at a time. This simple act of regrowing celery from scrap can be surprisingly rewarding.
Frequently Asked Questions (FAQ)
1. How long does it take to regrow celery from scrap?
The time it takes to see significant regrowth can vary depending on factors like temperature, sunlight, and the initial health of the celery base. Generally, you should start to see new growth within 5-7 days. After about 2-3 weeks, you’ll have a noticeable cluster of leaves and roots that are ready for transplanting into soil. Be patient, and ensure the celery base has access to sufficient sunlight and fresh water.
2. What kind of water should I use?
Tap water is generally fine for regrowing celery. However, if your tap water is heavily chlorinated, it’s best to let it sit out for 24 hours before using it to allow the chlorine to dissipate. Filtered water is also a good option. Avoid using distilled water, as it lacks the minerals that plants need to thrive.
3. How much sunlight does the celery base need?
Celery needs plenty of sunlight to grow. Place the celery base in a location that receives at least 6 hours of direct sunlight per day. A south-facing windowsill is ideal. If you don’t have access to a sunny spot, you can use a grow light to supplement the natural light. Rotate the celery base regularly to ensure that all sides receive equal exposure to sunlight.
4. When should I transplant the celery into soil?
You should transplant the celery into soil once it has developed a good root system and a noticeable cluster of new leaves. This usually takes about 2-3 weeks. Choose a pot that is at least 6 inches in diameter and fill it with well-draining potting mix. Gently remove the celery base from the water and plant it in the pot, making sure to cover the roots with soil. Water thoroughly after transplanting.
5. What kind of soil should I use?
Use a well-draining potting mix that is rich in organic matter. You can also amend your potting mix with compost or aged manure to provide additional nutrients. Avoid using heavy clay soil, as it can become waterlogged and suffocate the roots.
6. How often should I water the transplanted celery?
Water the transplanted celery regularly, keeping the soil consistently moist but not waterlogged. Check the soil moisture level daily and water when the top inch of soil feels dry to the touch. Avoid overwatering, as this can lead to root rot.
7. Can I grow celery indoors permanently?
While you can grow celery indoors, it may not reach its full potential in terms of size and stalk thickness. Indoor celery tends to be smaller and have a milder flavor than celery grown outdoors. However, you can still enjoy fresh celery leaves and stalks by growing it indoors. Provide adequate sunlight, water, and nutrients to maximize growth.
8. What if my celery base starts to rot?
If your celery base starts to rot, it’s likely due to overwatering or poor water quality. Remove any rotten parts and replace the water with fresh water. Make sure the celery base is not sitting in stagnant water. If the rot persists, it’s best to start with a fresh celery base.
9. Can I regrow celery from any celery stalk?
You can only regrow celery from the base of the stalk, where the roots would naturally grow. The individual stalks themselves will not regrow. Make sure to cut the base off with about 2 inches of the bottom intact.
10. Will regrowing celery produce full-sized stalks like the ones I buy in the store?
While you can eventually transplant your regrown celery into a garden and potentially grow full-sized stalks, the initial regrowth is more about harvesting the inner, tender stalks and leaves. Don’t expect to get a massive bunch of celery right away. Think of it as a continuous supply of fresh celery for smaller culinary uses.
11. Are there any pests or diseases I should watch out for?
When growing celery indoors, pests are less common than when growing outdoors. However, you may encounter aphids or spider mites. Inspect your celery regularly for signs of infestation and treat accordingly with insecticidal soap or neem oil. Root rot can also be a problem if the soil is too wet. Ensure good drainage and avoid overwatering.
12. Can I use fertilizer to help the celery grow?
Yes, you can use a balanced liquid fertilizer to help the celery grow. Dilute the fertilizer according to the package instructions and apply it every 2-3 weeks. Avoid over-fertilizing, as this can burn the roots.
13. What can I do with the celery leaves?
Don’t throw away the celery leaves! They are packed with flavor and nutrients. You can use them in salads, soups, stews, and stir-fries. You can also dry them and use them as a seasoning. Celery leaves are a great addition to any dish that calls for celery flavor.
14. Is regrowing celery from scrap organic?
Whether your regrown celery is organic depends on whether the original celery you used was organic. If you started with organic celery, then your regrown celery will also be organic, provided you use organic potting mix and avoid using synthetic fertilizers or pesticides.
15. What if I don’t have a garden? Can I still regrow celery?
Absolutely! Regrowing celery from scrap is perfect for apartment dwellers or anyone without a garden. You can easily grow celery in a pot on a windowsill or balcony. All you need is a sunny spot, some potting mix, and a little bit of water.

Leave a Comment