
Potato Growing Without Garden? Absolutely! Imagine harvesting a bounty of fresh, earthy potatoes right from your balcony or patio, even if you don’t have a traditional garden. Sounds too good to be true? It’s not! For centuries, resourceful gardeners have found innovative ways to cultivate crops in limited spaces, and now, I’m excited to share some of those secrets with you.
The history of container gardening stretches back to ancient civilizations, where herbs and vegetables were grown in pots for both practical and ornamental purposes. Today, this tradition continues, offering a sustainable and accessible way to enjoy homegrown produce, regardless of your living situation.
In our increasingly urbanized world, access to green spaces is becoming more limited. But that doesn’t mean you have to miss out on the joy and satisfaction of growing your own food. This DIY guide is your passport to fresh, homegrown potatoes, no matter how small your space. I’ll walk you through simple, effective techniques for potato growing without garden space, empowering you to create a thriving mini-farm right at home. Get ready to dig in (pun intended!) and discover the magic of homegrown potatoes!
Kartoffelanbau ohne Garten: Dein DIY-Guide für den Anbau im Sack!
Hey Gartenfreunde! Du träumst von frischen, selbst geernteten Kartoffeln, hast aber keinen Garten? Kein Problem! Ich zeige dir, wie du Kartoffeln ganz einfach im Sack anbauen kannst. Das ist nicht nur platzsparend, sondern auch super spannend und kinderleicht. Lass uns loslegen!
Was du brauchst:
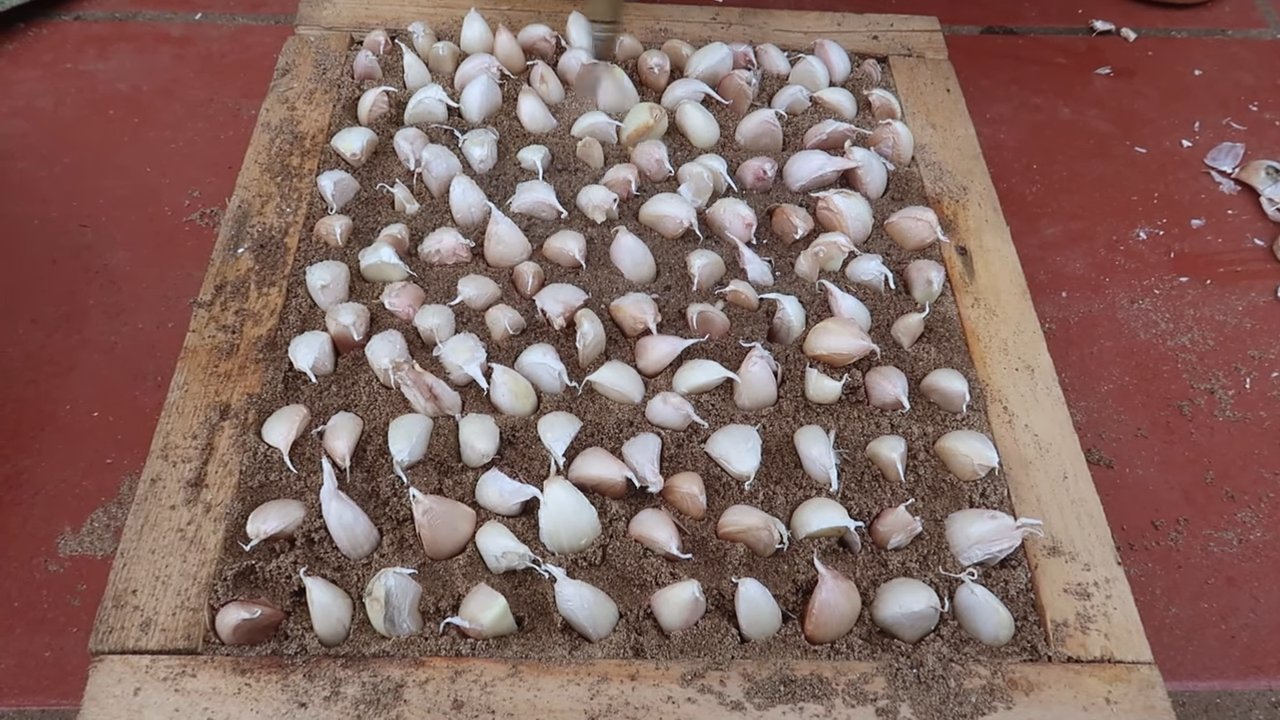
* Kartoffeln: Am besten Pflanzkartoffeln (aus dem Fachhandel), da diese speziell für den Anbau gezüchtet wurden und weniger anfällig für Krankheiten sind. Du kannst aber auch Bio-Kartoffeln aus dem Supermarkt verwenden, die bereits Augen (kleine Triebe) haben.
* Sack: Ein großer, stabiler Sack aus Jute, Kartoffelsack oder einem anderen atmungsaktiven Material. Er sollte mindestens 50 Liter Fassungsvermögen haben.
* Erde: Hochwertige Pflanzerde oder eine Mischung aus Gartenerde, Kompost und Sand.
* Wasser: Zum Gießen, natürlich!
* Sonniger Standort: Kartoffeln lieben die Sonne!
* Optional: Dünger (organisch oder mineralisch) für eine reiche Ernte.
* Optional: Stroh oder Heu zum Mulchen.
Schritt-für-Schritt-Anleitung:
1. Den Sack vorbereiten:
* Zuerst rollst du den oberen Rand des Sacks ein paar Mal nach unten, damit er stabiler steht und du ihn leichter befüllen kannst.
* Wenn dein Sack keine Löcher hat, stich ein paar kleine Löcher in den Boden, damit überschüssiges Wasser ablaufen kann und Staunässe vermieden wird.
2. Die erste Erdschicht einfüllen:
* Fülle den Sack mit einer etwa 20 cm hohen Schicht Erde. Die Erde sollte locker und feucht sein.
3. Kartoffeln pflanzen:
* Lege 3-4 Kartoffeln mit den Augen nach oben auf die Erde. Achte darauf, dass sie genügend Abstand zueinander haben (ca. 15-20 cm).
* Bedecke die Kartoffeln mit einer weiteren Schicht Erde, etwa 10 cm hoch.
4. Gießen:
* Gieße die Erde vorsichtig an, sodass sie gut durchfeuchtet ist. Vermeide Staunässe!
5. Warten und beobachten:
* Stelle den Sack an einen sonnigen Standort.
* Beobachte, wie die ersten Triebe aus der Erde sprießen.
6. Anhäufeln:
* Sobald die Triebe etwa 15-20 cm hoch sind, fülle den Sack mit einer weiteren Schicht Erde auf, sodass nur noch die obersten Blätter herausschauen.
* Dieser Vorgang wird als “Anhäufeln” bezeichnet und fördert die Bildung von neuen Kartoffeln an den Stängeln.
* Wiederhole das Anhäufeln alle paar Wochen, bis der Sack fast voll ist.
7. Gießen und düngen:
* Gieße die Kartoffeln regelmäßig, besonders an heißen Tagen. Die Erde sollte immer leicht feucht sein.
* Wenn du möchtest, kannst du die Kartoffeln während der Wachstumsphase düngen. Verwende dafür einen organischen Dünger (z.B. Komposttee) oder einen mineralischen Kartoffeldünger.
8. Mulchen (optional):
* Eine Schicht Stroh oder Heu auf der Erde hilft, die Feuchtigkeit zu halten und Unkraut zu unterdrücken.
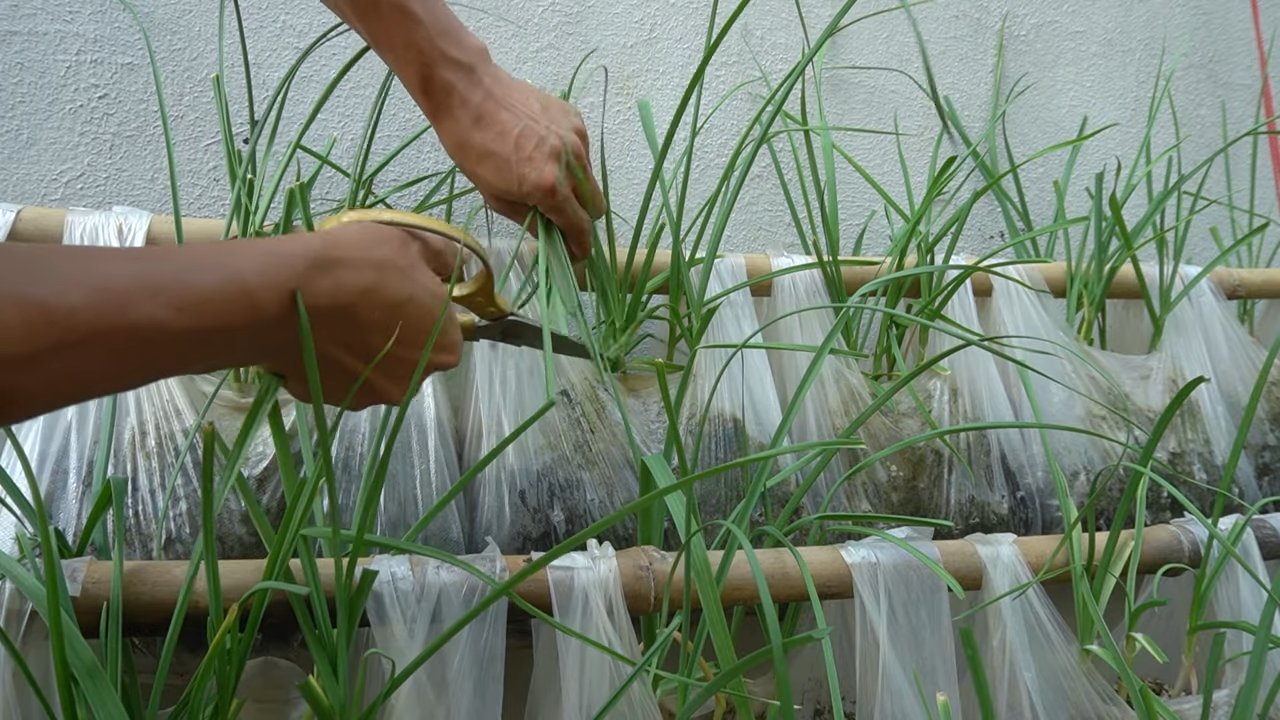
9. Erntezeit:
* Nach etwa 10-12 Wochen (je nach Sorte) sind die Kartoffeln erntereif.
* Du erkennst die Reife daran, dass die Blätter gelb werden und absterben.
* Um die Kartoffeln zu ernten, kippe den Sack einfach aus und sammle die Kartoffeln auf.
Tipps und Tricks für eine reiche Ernte
* Die richtige Kartoffelsorte wählen: Es gibt viele verschiedene Kartoffelsorten, die sich in Geschmack, Größe und Reifezeit unterscheiden. Informiere dich, welche Sorte für deinen Standort und deine Bedürfnisse am besten geeignet ist. Frühkartoffeln sind ideal, wenn du schnell ernten möchtest.
* Vorkeimen: Du kannst die Kartoffeln vorkeimen, bevor du sie in den Sack pflanzt. Lege sie dazu an einen hellen, kühlen Ort (z.B. Kellerfenster) und warte, bis sie kurze, kräftige Triebe bilden. Das beschleunigt das Wachstum.
* Schädlinge und Krankheiten: Achte auf Anzeichen von Schädlingen (z.B. Kartoffelkäfer) oder Krankheiten (z.B. Krautfäule). Bei Bedarf kannst du biologische Pflanzenschutzmittel einsetzen.
* Bewässerung: Achte darauf, dass die Erde nicht austrocknet, aber vermeide Staunässe. Gieße am besten morgens oder abends, wenn die Sonne nicht so stark scheint.
* Düngen: Eine regelmäßige Düngung sorgt für eine reiche Ernte. Verwende am besten organischen Dünger, da dieser die Bodenqualität verbessert.
* Sonniger Standort: Kartoffeln brauchen mindestens 6 Stunden Sonne pro Tag.
* Rotation: Baue Kartoffeln nicht jedes Jahr am selben Standort an, um Krankheiten vorzubeugen.
* Klima: Kartoffeln sind relativ robust, aber bei Frost solltest du den Sack schützen oder ins Haus holen.
* Sackmaterial: Jute- oder Kartoffelsäcke sind ideal, da sie atmungsaktiv sind. Du kannst aber auch andere Stoffe verwenden, solange sie nicht wasserdicht sind.
* Erde: Verwende hochwertige Pflanzerde oder eine Mischung aus Gartenerde, Kompost und Sand. Die Erde sollte locker und gut durchlässig sein.
* Anhäufeln: Das Anhäufeln ist wichtig, um die Bildung von neuen Kartoffeln zu fördern.
* Erntezeitpunkt: Warte, bis die Blätter gelb werden und absterben, bevor du die Kartoffeln erntest.
* Lagerung: Lagere die geernteten Kartoffeln an einem kühlen, dunklen und trockenen Ort.
Häufige Fehler vermeiden
* Zu wenig Sonne: Kartoffeln brauchen viel Sonne, um gut zu wachsen.
* Staunässe: Staunässe kann zu Fäulnis führen. Achte darauf, dass das Wasser gut ablaufen kann.
* Falsche Erde: Verwende keine verdichtete oder lehmige Erde.
* Zu wenig Anhäufeln: Das Anhäufeln ist wichtig, um die Bildung von neuen Kartoffeln zu fördern.
* Zu frühe Ernte: Warte, bis die Blätter gelb werden und absterben, bevor du die Kartoffeln erntest.
* Falsche Lagerung: Lagere die Kartoffeln nicht an einem warmen oder feuchten Ort.
Warum Kartoffeln im Sack anbauen?
* Platzsparend: Ideal für Balkone, Terrassen oder kleine Gärten.
* Einfach: Auch für Anfänger geeignet.
* Mobil: Der Sack kann leicht an einen anderen Standort verschoben werden.
* Kontrollierbar: Du hast die volle Kontrolle über die Erde, Bewässerung und Düngung.
* Erfolgsgarantie: Mit der richtigen Pflege kannst du eine reiche Ernte erzielen.
* Nachhaltig: Du kannst deine eigenen Kartoffeln anbauen und sparst Transportwege.
* Lehrreich: Ein tolles Projekt für Kinder, um zu lernen, wie Lebensmittel entstehen.
Weitere Ideen für den Anbau im Sack
Du kannst nicht nur Kartoffeln im Sack anbauen, sondern auch andere Gemüsesorten wie Tomaten, Paprika, Zucchini oder Kräuter. Probiere es einfach aus!
Ich hoffe, diese Anleitung hilft dir dabei, deine eigenen Kartoffeln im Sack anzubauen. Viel Spaß beim Gärtnern und eine reiche Ernte! Lass mich wissen, wie es läuft!
Conclusion
So, there you have it! Growing potatoes without a garden isn’t just a whimsical idea; it’s a genuinely achievable and rewarding experience. We’ve walked through the process, demystified the steps, and hopefully, instilled in you the confidence to embark on your own potato-growing adventure. But why is this DIY trick a must-try?
Firstly, it democratizes gardening. You don’t need acres of land or even a traditional garden plot to enjoy the satisfaction of harvesting your own food. This method opens up the possibility of growing fresh, organic potatoes to apartment dwellers, balcony enthusiasts, and anyone with limited outdoor space. Imagine the pride of serving a meal featuring potatoes you nurtured from seed to table, all within the confines of your own home.
Secondly, it’s incredibly efficient. The container method allows for better control over soil quality, watering, and pest management. You can tailor the environment to perfectly suit your potato plants’ needs, resulting in a potentially higher yield than you might achieve in a traditional garden setting. Plus, the ease of harvesting – simply tipping over the container – is a game-changer compared to digging through rows of soil.
Thirdly, it’s a fantastic learning experience. Growing potatoes in containers offers a unique opportunity to observe the plant’s life cycle up close. You’ll gain a deeper understanding of how potatoes grow, the importance of proper soil composition, and the impact of environmental factors. It’s a hands-on science lesson that’s both educational and delicious.
But the possibilities don’t end here! Feel free to experiment with different potato varieties. Russets, Yukon Golds, red potatoes – each offers a unique flavor and texture that will add variety to your meals. You can also try different container sizes and materials. While we’ve focused on using grow bags, plastic tubs or even repurposed trash cans can work just as well, as long as they have adequate drainage.
Consider adding companion plants to your potato containers. Marigolds can help deter pests, while basil can improve the flavor of your potatoes. Experiment with different combinations to find what works best for you.
And don’t be afraid to get creative with your soil mix. While a standard potting mix is a good starting point, you can amend it with compost, worm castings, or other organic materials to further enrich the soil and provide your potatoes with the nutrients they need to thrive.
Ultimately, the best way to learn is by doing. So, we wholeheartedly encourage you to give this DIY potato growing trick a try. Gather your supplies, follow the steps outlined, and prepare to be amazed by the results.
Once you’ve harvested your first crop of homegrown potatoes, we’d love to hear about your experience! Share your photos, tips, and challenges in the comments below. Let’s create a community of container potato growers and learn from each other’s successes and failures. Together, we can unlock the potential of urban gardening and enjoy the delicious rewards of growing our own food, one potato at a time. This method of potato growing without a garden is truly a game changer.
Frequently Asked Questions (FAQ)
What is the best time of year to start growing potatoes in containers?
The ideal time to start growing potatoes in containers depends on your climate. Generally, you should aim to plant your seed potatoes about 2-4 weeks before the last expected frost in your area. Potatoes prefer cool weather, so planting them early in the spring allows them to establish themselves before the summer heat arrives. If you live in a warmer climate, you can also grow potatoes in the fall or winter, as long as temperatures remain mild. Check your local gardening resources for specific planting dates for your region.
What type of container is best for growing potatoes?
While grow bags are often recommended due to their breathability and drainage, you can use a variety of containers for growing potatoes. The most important factors to consider are size and drainage. The container should be at least 20 gallons in size to provide enough room for the potato plants to develop. It should also have drainage holes to prevent waterlogging, which can lead to root rot. Plastic tubs, buckets, and even repurposed trash cans can work well, as long as they meet these criteria.
What kind of soil should I use for growing potatoes in containers?
Potatoes need well-draining, nutrient-rich soil to thrive. A good starting point is a standard potting mix, but you can improve it by adding compost, worm castings, or other organic materials. These amendments will provide essential nutrients and improve the soil’s drainage and water retention. Avoid using garden soil, as it can be too heavy and compact for container gardening. A slightly acidic soil pH (around 6.0-6.5) is ideal for potatoes.
How often should I water my potato plants in containers?
Watering frequency will depend on the weather, the size of your container, and the type of soil you’re using. Generally, you should water your potato plants when the top inch of soil feels dry to the touch. Avoid overwatering, as this can lead to root rot. During hot, dry weather, you may need to water your plants daily. Check the soil moisture regularly and adjust your watering schedule accordingly.
How much sunlight do potato plants need?
Potato plants need at least 6-8 hours of direct sunlight per day to produce a good crop. Choose a location for your containers that receives plenty of sunlight. If you live in a very hot climate, you may need to provide some afternoon shade to prevent the plants from overheating.
How do I “hill” my potato plants in containers?
“Hilling” is the process of adding more soil to the container as the potato plants grow. This encourages the plants to produce more potatoes along the stems. When the potato plants are about 6-8 inches tall, add a few inches of soil to the container, covering the lower part of the stems. Repeat this process every few weeks as the plants continue to grow, until the container is nearly full.
How do I know when my potatoes are ready to harvest?
The timing of your potato harvest will depend on the variety of potatoes you’re growing. Generally, you can start harvesting “new potatoes” (small, immature potatoes) about 2-3 months after planting. These potatoes will have thin skins and a delicate flavor. For larger, more mature potatoes, wait until the plants have flowered and the foliage begins to die back. This usually takes about 3-4 months. To harvest, simply tip over the container and carefully remove the potatoes from the soil.
What are some common pests and diseases that affect potato plants?
Some common pests that can affect potato plants include aphids, potato beetles, and flea beetles. Diseases include early blight, late blight, and potato scab. You can prevent many of these problems by using healthy seed potatoes, providing good air circulation, and avoiding overwatering. If you do encounter pests or diseases, you can treat them with organic pesticides or fungicides.
Can I grow potatoes in containers indoors?
While it’s possible to grow potatoes in containers indoors, it can be challenging to provide them with the amount of sunlight they need. You’ll likely need to supplement with grow lights to ensure that the plants receive enough light. Indoor potato plants may also be more susceptible to pests and diseases.
What can I do with my potato plants after harvesting the potatoes?
After harvesting the potatoes, you can compost the plant debris. Potato plants are heavy feeders, so the soil in the container will likely be depleted of nutrients. You can amend the soil with compost or other organic materials and reuse it for other plants, or you can discard it and start with fresh soil for your next potato crop.

Leave a Comment