
Life-changing life hacks – who doesn’t want them? I know I do! We all crave those simple, ingenious solutions that make everyday tasks easier and more efficient. Think about it: from decluttering your home to streamlining your morning routine, the right hack can truly transform your life.
The concept of “hacking” – finding clever workarounds – isn’t new. Throughout history, people have devised ingenious methods to overcome challenges, often born out of necessity. From ancient agricultural techniques to resourceful wartime solutions, the spirit of innovation has always been a part of the human experience. Now, we’re applying that same ingenuity to our modern lives, seeking out life-changing life hacks to optimize our time and energy.
In today’s fast-paced world, we’re constantly bombarded with information and demands on our attention. Feeling overwhelmed? You’re not alone! That’s why these DIY tricks and hacks are so valuable. They offer practical, actionable steps to simplify your life, reduce stress, and free up time for the things you truly enjoy. Whether it’s a clever storage solution, a time-saving cooking tip, or a simple way to boost your productivity, these hacks can make a real difference. So, get ready to discover some game-changing tips that will revolutionize your daily routine!
Life-Changing DIY Hacks to Simplify Your Life
Okay, friends, let’s dive into some seriously game-changing DIY hacks that will make your life easier, more organized, and maybe even a little more fun! I’ve personally tested these, and trust me, they’re worth the effort.
Hack 1: The Ultimate Cord Organizer
Tired of the tangled mess of cords behind your TV or desk? This hack is your salvation. We’re going to create a simple, effective cord organizer using materials you probably already have.
What You’ll Need:
* Toilet paper rolls (or paper towel rolls cut in half)
* A shoebox (or any box that fits your cords)
* Scissors or a craft knife
* Decorative paper, fabric scraps, or paint (optional, for decorating)
* Tape or glue
Step-by-Step Instructions:
1. Prepare the Rolls: If you’re using paper towel rolls, cut them in half. Now, decide if you want to decorate your rolls. This is totally optional, but it makes the organizer look much nicer. You can wrap them in decorative paper, fabric scraps, or even paint them. Secure the paper or fabric with tape or glue. Let the glue dry completely before moving on.
2. Prepare the Box: Similar to the rolls, you can decorate the shoebox if you want. I usually just wrap it in some plain brown paper for a clean look. Again, secure with tape or glue and let it dry.
3. Arrange the Rolls: Place the decorated (or undecorated) toilet paper/paper towel rolls inside the shoebox. You might need to experiment with the arrangement to fit all the rolls comfortably. The goal is to have each roll standing upright, creating individual compartments for your cords.
4. Organize Your Cords: Now comes the fun part! Take each cord and neatly coil it. Secure the coil with a rubber band or a reusable cable tie (I highly recommend reusable ties – they’re a game-changer!).
5. Place Cords in Rolls: Place each coiled cord into its own individual roll. This keeps them separated and prevents tangling.
6. Label (Optional but Recommended): To make it even easier to find the cord you need, label each roll. You can use a label maker, write directly on the roll, or create small tags. This is especially helpful if you have a lot of similar-looking cords.
7. Enjoy Your Organized Space: Place the shoebox behind your TV, desk, or wherever your cords are a problem. Say goodbye to the tangled mess!
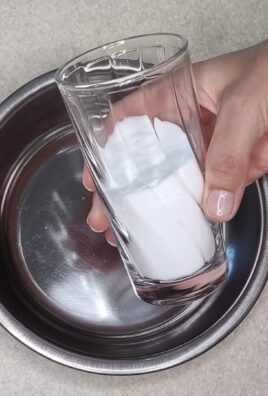
Hack 2: DIY Phone Amplifier
Want to boost the sound from your phone without using any electricity? This simple DIY phone amplifier is surprisingly effective.
What You’ll Need:
* A ceramic or glass bowl (a mixing bowl works great)
* Two toilet paper rolls
* Scissors or a craft knife
* Pencil
Step-by-Step Instructions:
1. Prepare the Rolls: Cut a rectangular slot into each toilet paper roll. The slot should be wide enough to accommodate your phone. Make sure the slot is centered on the roll and deep enough so your phone will sit securely.
2. Test the Fit: Place your phone in the slot of one of the toilet paper rolls to ensure it fits properly. Adjust the size of the slot if necessary.
3. Position the Rolls: Place the ceramic or glass bowl upside down on a flat surface. Position the two toilet paper rolls on either side of the bowl, with the slots facing upwards. The rolls should be close enough together so that your phone can rest on both of them simultaneously.
4. Adjust for Sound: Experiment with the placement of the rolls and the bowl to find the position that amplifies the sound the most. The bowl acts as a resonator, amplifying the sound waves coming from your phone’s speakers.
5. Enjoy Amplified Sound: Place your phone in the slots of the toilet paper rolls and play your music or podcast. You should notice a significant increase in volume. This is perfect for listening to music while cooking, cleaning, or just relaxing.
Hack 3: Turn Old T-Shirts into Reusable Shopping Bags
Reduce waste and create stylish reusable shopping bags with your old t-shirts! This is a fantastic way to give new life to clothes you no longer wear.
What You’ll Need:
* An old t-shirt
* Scissors
* A plate or bowl (for tracing a curve)
* Sewing machine or needle and thread (optional, for extra reinforcement)
Step-by-Step Instructions:
1. Prepare the T-Shirt: Lay the t-shirt flat on a table. Smooth out any wrinkles.
2. Cut off the Sleeves: Cut off both sleeves of the t-shirt, following the seam. You can cut a little wider than the seam if you want a larger opening for the bag.
3. Cut out the Neckline: Using a plate or bowl as a guide, trace a curved line around the neckline of the t-shirt. This will create a wider opening for the bag. Cut along the traced line.
4. Create the Bottom Fringe: Cut strips along the bottom of the t-shirt, about 3-4 inches long and about 1 inch apart. These strips will be tied together to create a closed bottom for the bag.
5. Tie the Fringe: Take two adjacent strips and tie them together in a tight knot. Continue tying all the strips together, creating a secure bottom for the bag.
6. Reinforce (Optional): For extra durability, you can sew along the bottom of the bag, just above the knots. This will prevent the knots from coming undone and make the bag stronger. You can use a sewing machine or hand-stitch it.
7. Enjoy Your Reusable Bag: Your reusable shopping bag is now ready to use! It’s perfect for carrying groceries, books, or anything else you need. Plus, you’ve given an old t-shirt a new purpose!
Hack 4: DIY Coffee Filter Fire Starters
These are perfect for camping, hiking, or even just starting a fire in your fireplace. They’re easy to make and incredibly effective.
What You’ll Need:
* Coffee filters
* Wax (old candles, paraffin wax, or beeswax)
* Cotton balls or dryer lint
* Double boiler or a heat-safe bowl and saucepan
* Tongs or a fork
* Wax paper
Step-by-Step Instructions:
1. Prepare the Wax: If you’re using old candles, remove the wicks. Place the wax in a double boiler or a heat-safe bowl set over a saucepan of simmering water. Melt the wax completely, stirring occasionally. Be careful not to overheat the wax, as it can be flammable.
2. Prepare the Coffee Filters: Lay out a sheet of wax paper on a flat surface. This will prevent the coffee filters from sticking to your work surface.
3. Fill the Coffee Filters: Place a small handful of cotton balls or dryer lint in the center of each coffee filter.
4. Fold the Coffee Filters: Fold the coffee filter in half, then in half again, creating a small triangle.
5. Dip in Wax: Using tongs or a fork, carefully dip each coffee filter triangle into the melted wax. Make sure the entire triangle is coated in wax.
6. Cool and Dry: Place the wax-coated coffee filters on the wax paper to cool and dry. The wax will harden as it cools.
7. Store: Once the wax is completely hardened, store the fire starters in an airtight container.
8. Use: To use, simply place a fire starter under your kindling and light the corner of the coffee filter. The wax will burn slowly and steadily, providing a reliable flame to ignite your fire.
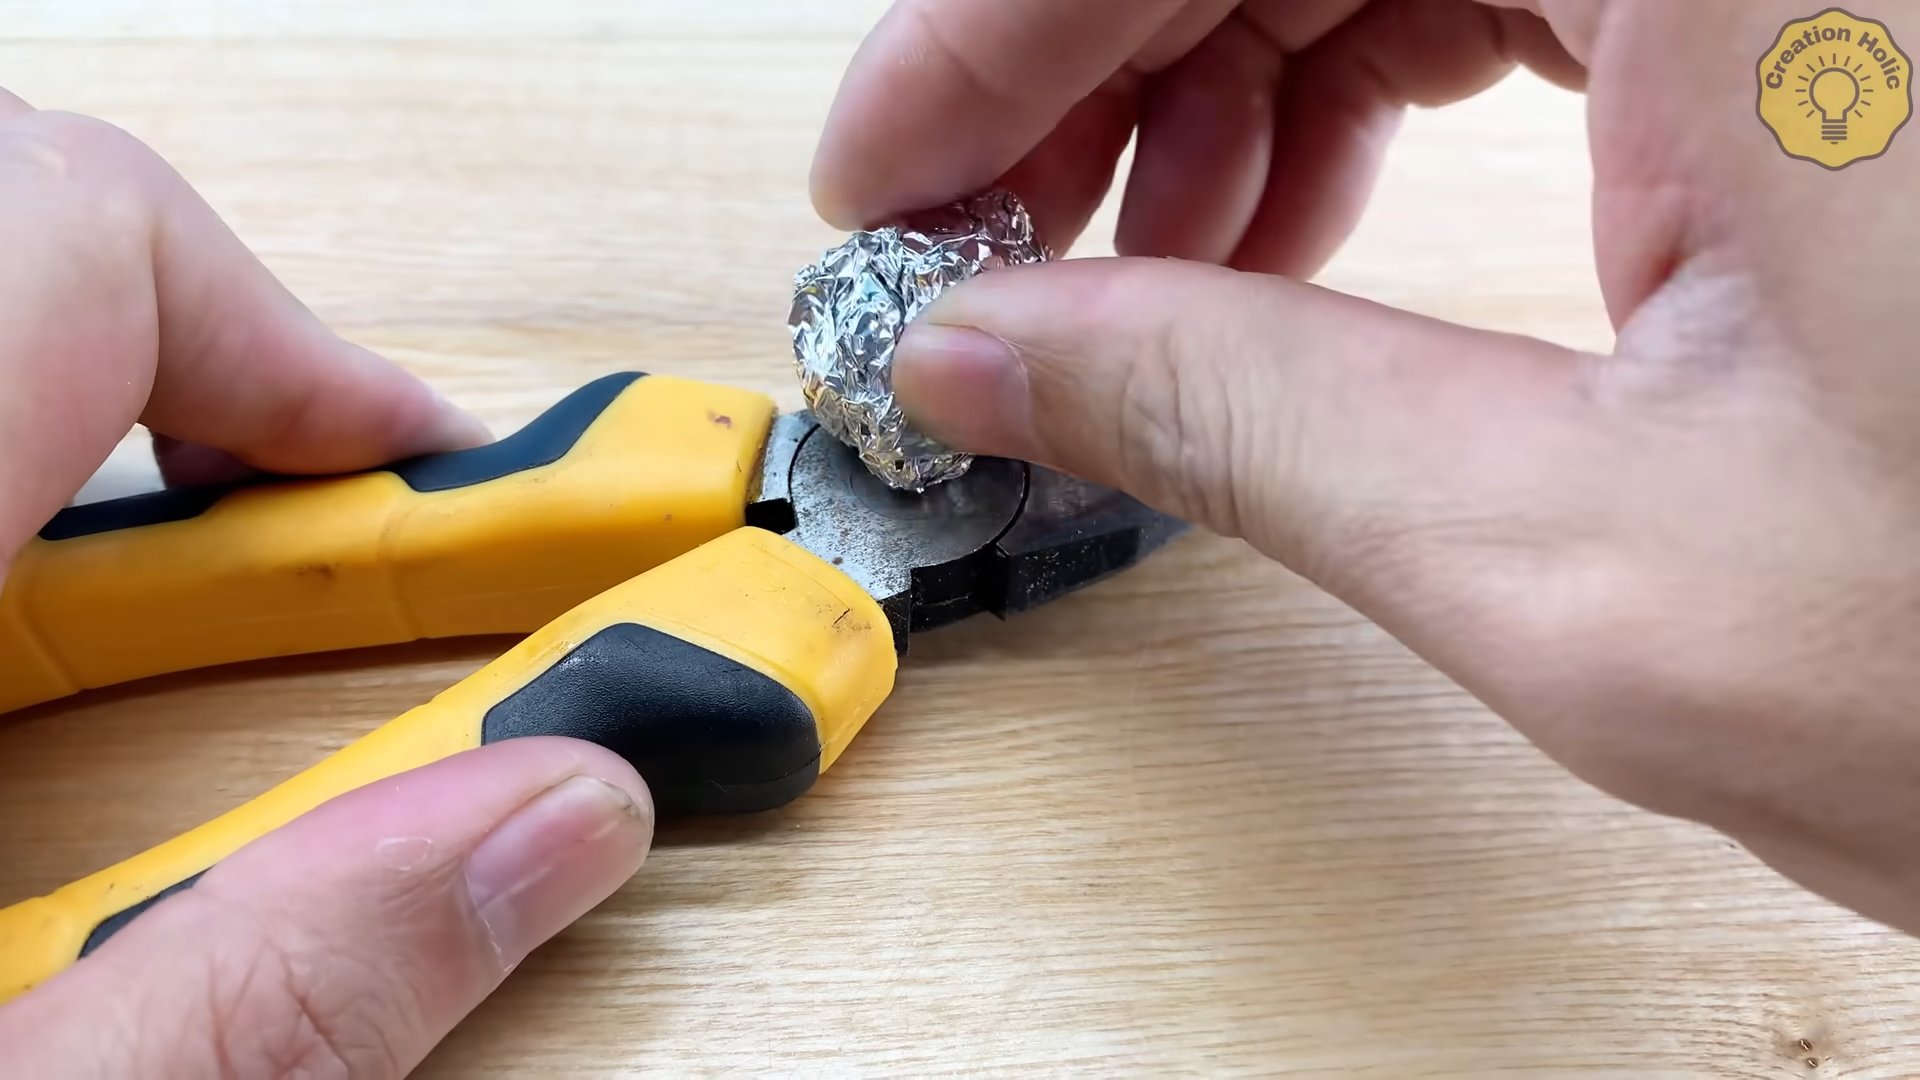
Hack 5: Revive Dried-Out Mascara
Don’t throw away that dried-out mascara just yet! There’s a simple trick to bring it back to life.
What You’ll Need:
* Dried-out mascara
* Eye drops (saline solution)
Step-by-Step Instructions:
1. Add Eye Drops: Add 2-3 drops of eye drops (saline solution) into the mascara tube.
2. Close and Shake: Close the mascara tube tightly and shake it vigorously for about 30 seconds. This will help to redistribute the product and rehydrate the formula.
3. Test and Repeat: Open the mascara tube and test the consistency of the mascara. If it’s still too dry, add another drop or two of eye drops and shake again.
4. Use as Usual: Once the mascara has reached a desired consistency, use it as usual. This trick can extend the life of your mascara for a few more weeks.
Important Note: Be sure to use eye drops specifically designed for
Conclusion
So there you have it! This simple yet incredibly effective DIY trick is more than just a clever shortcut; it’s a game-changer that will revolutionize how you approach everyday tasks. We’ve shown you how to transform ordinary items into extraordinary solutions, saving you time, money, and frustration. This isn’t just about convenience; it’s about empowering you to be resourceful and creative in your own life.
Why is this a must-try? Because it addresses a common problem with an elegant and accessible solution. It’s a testament to the power of ingenuity and the satisfaction of creating something useful with your own hands. Imagine the feeling of accomplishment as you effortlessly solve a problem that once seemed daunting. That’s the magic of this DIY trick.
But the fun doesn’t stop here! Feel free to experiment with variations and personalize this technique to suit your specific needs. For example, if you’re working with delicate materials, consider using a softer adhesive or a gentler application method. If you need a more robust solution, explore stronger materials or reinforcement techniques. The possibilities are endless!
Consider these variations to truly make this your own:
* **Material Swaps:** Don’t be afraid to experiment with different materials. If the suggested material isn’t readily available, think about alternatives that offer similar properties.
* **Size Adjustments:** Scale the dimensions of your DIY project to perfectly fit your needs. Whether you need something smaller or larger, adjusting the size is a simple way to customize the solution.
* **Aesthetic Enhancements:** Add your personal touch by incorporating decorative elements. Paint, embellishments, or unique finishes can transform a functional solution into a stylish accessory.
* **Multi-Purpose Adaptations:** Think about how you can adapt this DIY trick to solve multiple problems. With a little creativity, you can create a versatile tool that serves a variety of purposes.
We are confident that once you try this DIY trick, you’ll wonder how you ever lived without it. It’s a simple, effective, and rewarding way to improve your daily life. This is one of those life changing life hacks that you’ll want to share with everyone you know.
Now, it’s your turn! We encourage you to try this DIY trick and experience the benefits for yourself. Don’t be afraid to get creative and experiment with different variations. And most importantly, share your experience with us! We’d love to hear your feedback, see your creations, and learn about any modifications you’ve made. Let’s build a community of resourceful individuals who are passionate about DIY solutions. Share your photos and stories on social media using [Your Hashtag] or leave a comment below. We can’t wait to see what you come up with!
Frequently Asked Questions
What if I don’t have the exact materials listed?
Don’t worry! Part of the beauty of DIY is the ability to adapt and improvise. If you don’t have the exact materials listed, consider alternatives that offer similar properties. For example, if the recipe calls for a specific type of adhesive, you can often substitute it with another adhesive that is suitable for the materials you’re working with. Just be sure to test the alternative material in an inconspicuous area first to ensure that it works as expected. The key is to understand the function of each material and find a suitable replacement that can perform the same role.
Is this DIY trick suitable for beginners?
Absolutely! This DIY trick is designed to be accessible to individuals of all skill levels, including beginners. The instructions are clear and concise, and the steps are easy to follow. We’ve also included helpful tips and suggestions to guide you through the process. If you’re new to DIY, we recommend starting with a small-scale project to build your confidence and familiarize yourself with the techniques involved. Don’t be afraid to make mistakes – they’re a natural part of the learning process. With a little patience and practice, you’ll be amazed at what you can accomplish.
How long will this DIY trick last?
The longevity of this DIY trick depends on several factors, including the quality of the materials used, the conditions it’s exposed to, and the frequency of use. To maximize its lifespan, we recommend using high-quality materials and following the instructions carefully. Avoid exposing the finished product to extreme temperatures, moisture, or direct sunlight, as these can degrade the materials over time. If you notice any signs of wear and tear, such as cracks or loose joints, address them promptly to prevent further damage. With proper care and maintenance, this DIY trick can provide long-lasting benefits.
Can I modify this DIY trick to suit my specific needs?
Absolutely! We encourage you to get creative and personalize this DIY trick to suit your specific needs and preferences. Feel free to experiment with different materials, sizes, and designs. Consider how you can adapt the technique to solve other problems or create new and innovative solutions. The possibilities are endless! Just be sure to test any modifications in an inconspicuous area first to ensure that they work as expected. Remember, DIY is all about experimentation and innovation, so don’t be afraid to push the boundaries and create something truly unique.
What are some common mistakes to avoid when trying this DIY trick?
While this DIY trick is relatively simple, there are a few common mistakes that you should be aware of to ensure a successful outcome. One common mistake is using the wrong type of adhesive or not applying it properly. Be sure to choose an adhesive that is suitable for the materials you’re working with and follow the manufacturer’s instructions carefully. Another common mistake is rushing through the process or skipping steps. Take your time and pay attention to detail to ensure that each step is completed correctly. Finally, be sure to protect your work surface and wear appropriate safety gear, such as gloves and eye protection, to prevent accidents.
Where can I find more life changing life hacks like this one?
You can find more life changing life hacks on our website, [Your Website Address], and across various social media platforms. We regularly share new and innovative DIY solutions, tips, and tricks to help you simplify your life and save money. You can also find inspiration from other DIY enthusiasts by searching online forums, blogs, and social media groups. Don’t be afraid to explore different resources and experiment with different techniques to discover new and exciting ways to improve your daily life. Remember, the world of DIY is vast and ever-evolving, so there’s always something new to learn and discover.
Leave a Comment