
Leather and Appliance Cleaning: DIY Tricks for a Sparkling Home
Leather and appliance cleaning can feel like a daunting task, but it doesn’t have to be! I’ve always loved the satisfaction of a sparkling clean home, and nothing beats the feeling of knowing you achieved it using simple, effective, and cost-saving DIY methods. This article is packed with my favorite Leather and appliance cleaning tricks, transforming those tedious chores into manageable and even enjoyable projects.
For centuries, people have sought ways to maintain the beauty and longevity of their possessions, from handcrafted leather goods passed down through generations to the gleaming surfaces of modern appliances. The desire for a clean and well-maintained home is a universal one, transcending cultures and time periods. But modern life often leaves us short on time and resources. That’s where these Leather and appliance cleaning DIY solutions come in.
Why You Need These DIY Hacks
Let’s face it: professional cleaning services can be expensive, and harsh chemical cleaners can damage delicate surfaces or even pose health risks. These DIY tricks offer a fantastic alternative. They’re budget-friendly, environmentally conscious, and gentle on your belongings. Whether you’re dealing with stubborn stains on your favorite leather jacket or battling grime on your stainless steel refrigerator, these simple techniques will help you achieve professional-level results without the professional-level price tag. You’ll be amazed at how much you can accomplish with ingredients you likely already have in your pantry or cleaning cupboard!
So, grab your cleaning supplies, and let’s dive into these easy-to-follow, effective DIY solutions for a cleaner, brighter, and more satisfying home!
Deep Cleaning Your Leather and Appliances: A DIY Guide
I’m a big believer in tackling household chores myself. It’s satisfying, saves money, and lets you control the ingredients. This guide will walk you through my favorite methods for cleaning leather and appliances, ensuring they look their best.
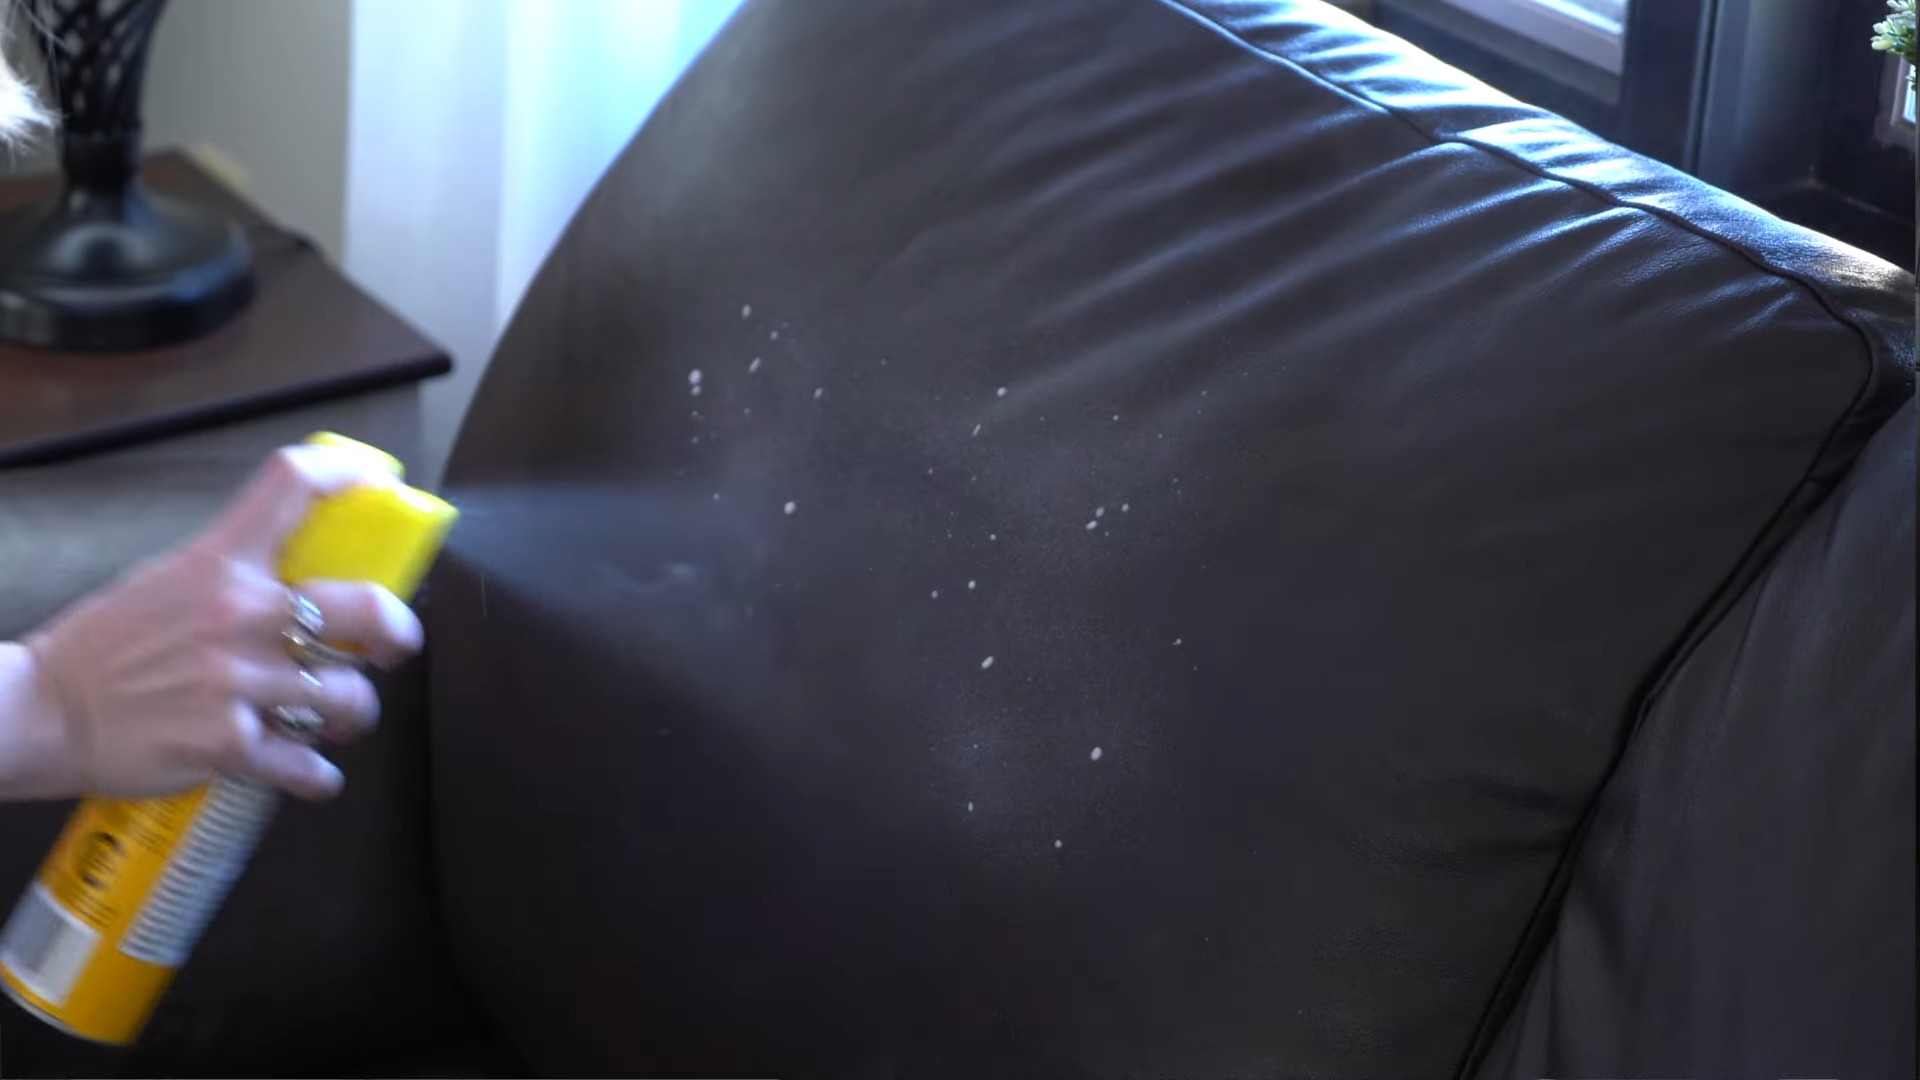
Cleaning Leather Furniture and Accessories
Leather is a beautiful material, but it needs special care. Here’s how I keep mine looking pristine.
- Gather your supplies: You’ll need a soft cloth (microfiber is ideal), a bowl of lukewarm water, a mild soap (like baby shampoo or saddle soap – avoid harsh detergents!), a leather conditioner (optional, but highly recommended), and a soft-bristled brush (optional, for stubborn dirt).
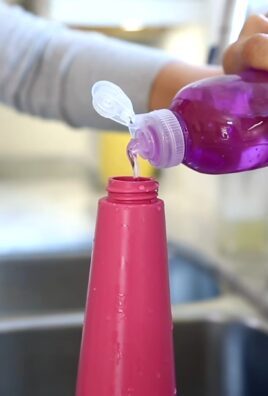
- Prepare your cleaning solution: Add a tiny amount of soap to the lukewarm water. Think a few drops – you don’t want sudsy bubbles. Mix gently.
- Test your solution: Before applying the solution to the entire piece, test it on a hidden area (like the underside of a cushion or inside a seam) to ensure it doesn’t damage the leather’s finish. Wait a few minutes to check for discoloration or damage.
Cleaning the Leather
- Dampen your cloth: Dip your cloth into the soapy water, wringing it out thoroughly until it’s just damp, not soaking wet. Excess water can damage the leather.
- Wipe down the surface: Gently wipe the leather in small sections, working in the direction of the grain. Avoid rubbing vigorously, as this can scratch the surface.
- Rinse your cloth: As your cloth gets dirty, rinse it in clean water and wring it out again. Repeat steps 1 and 2 until the entire leather surface is clean.
- Dry the leather: Use a clean, dry microfiber cloth to gently blot the leather dry. Avoid leaving it damp, as this can lead to mildew or discoloration.
- Condition the leather (optional): Once the leather is completely dry, apply a leather conditioner according to the manufacturer’s instructions. This helps to keep the leather supple and prevents cracking.
Dealing with Stubborn Stains
For stubborn stains, I use a slightly different approach.
- Assess the stain: Determine the type of stain (ink, grease, etc.) as this will influence your cleaning method.
- Spot clean: Use a clean, damp cloth to gently blot the stain. Avoid rubbing, which can spread the stain.
- Mild soap solution (if needed): For tougher stains, you can use a very diluted solution of mild soap and water, applying it sparingly to the stain with a clean cloth. Again, blot gently.
- Professional cleaning (for severe stains): For severe or persistent stains, it’s best to consult a professional leather cleaner.
Cleaning Appliances: Refrigerator, Oven, Microwave
Keeping your appliances clean not only improves their appearance but also their efficiency and longevity. Here’s my approach.
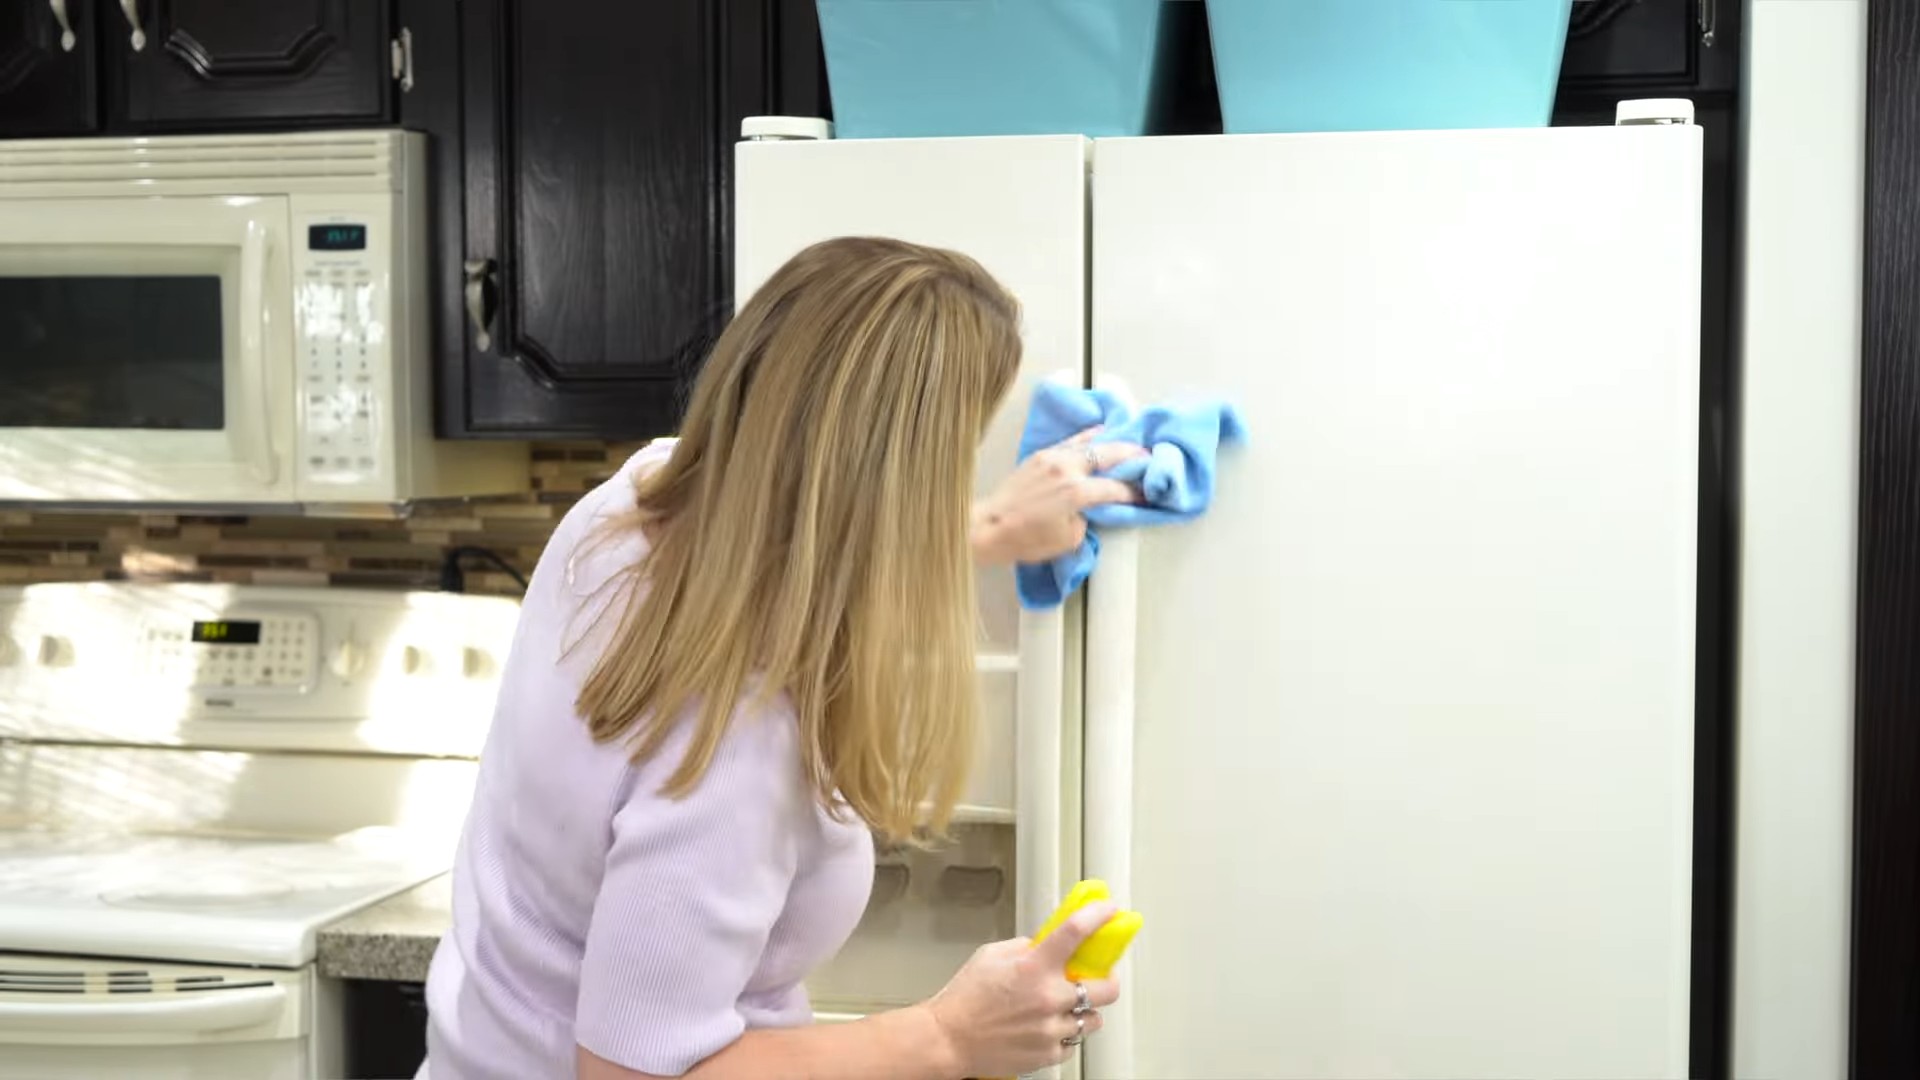
Cleaning the Refrigerator
- Empty the refrigerator: Remove all food items and shelves.
- Remove shelves and drawers: Wash them separately in warm, soapy water. For stubborn stains, let them soak for a while.
- Clean the interior: Wipe down the interior walls and floor with a solution of warm water and a mild detergent. For sticky spills, use a baking soda paste (baking soda mixed with a little water).
- Clean the exterior: Wipe down the exterior with a damp cloth and mild detergent. Pay attention to the door handles and seals.
- Dry everything thoroughly: Before replacing the shelves and food, make sure everything is completely dry to prevent mold and mildew.
Cleaning the Oven
Important Note: Always refer to your oven’s manual for specific cleaning instructions. Some ovens have self-cleaning cycles.
- Allow the oven to cool completely: Never clean a hot oven.
- Remove oven racks: Wash them separately in warm, soapy water. For stubborn baked-on food, soak them in a solution of hot water and dish soap.
- Clean the interior: For light spills, a damp cloth and mild detergent will suffice. For heavier spills and baked-on food, you can use a commercial oven cleaner (following the manufacturer’s instructions carefully) or a paste of baking soda and water.
- Scrub and wipe: Use a non-abrasive sponge or cloth to scrub away any grime. Wipe clean with a damp cloth.
- Dry thoroughly: Ensure the oven is completely dry before using it again.
Cleaning the Microwave
- Remove any food items: Take out any dishes or food.
- Steam clean (for easy cleaning): Place a bowl of water with a few slices of lemon or vinegar in the microwave and microwave on high for 5-7 minutes. The steam will loosen food particles.
- Wipe down the interior: Use a damp cloth or sponge to wipe down the interior walls and turntable. For stubborn stains, use a paste of baking soda and water.
- Clean the exterior: Wipe down the exterior with a damp cloth and mild detergent.
- Dry thoroughly: Ensure the microwave is completely dry before using it again.
Remember, safety first! Always unplug appliances before cleaning and use appropriate safety precautions when handling cleaning solutions.
Conclusion
This DIY leather and appliance cleaning trick is a game-changer for anyone looking to save money and achieve professional-level results. Forget expensive, harsh chemical cleaners that can damage your delicate leather goods or leave streaks on your stainless steel appliances. This simple, all-natural method offers a gentle yet effective way to clean and restore the shine to your prized possessions. The combination of readily available ingredients provides unparalleled cleaning power without the harmful chemicals found in commercial products. This makes it a safe and eco-friendly option for your home and family. The ease of preparation and application makes it a perfect solution for busy individuals who want to maintain a clean and well-maintained home without spending hours scrubbing. You’ll be amazed at how easily this method removes dirt, grime, and fingerprints, leaving your leather and appliances looking brand new. This truly is a must-try for anyone who values both efficiency and effectiveness in their cleaning routine.
Beyond the basic recipe, there are several exciting variations you can explore. For a deeper clean on particularly stubborn stains on leather, consider adding a few drops of tea tree oil to the mixture. Tea tree oil possesses natural antiseptic and antibacterial properties, further enhancing the cleaning power. For a more fragrant experience, add a few drops of your favorite essential oil, such as lavender or lemon. Remember to always test any additions on a small, inconspicuous area first to ensure they don’t cause discoloration or damage. For cleaning different types of leather, adjust the amount of olive oil slightly. Full-grain leather may benefit from a slightly richer mixture, while delicate suede might require a more diluted solution. Experiment and find what works best for your specific leather items. Similarly, for different appliance finishes, you might need to adjust the pressure and scrubbing technique. Always avoid abrasive scrubbing on delicate surfaces.
We strongly encourage you to try this DIY leather and appliance cleaning method and share your experience with us! We’d love to hear about your results, any variations you’ve experimented with, and any tips you’ve discovered along the way. Share your before-and-after photos on social media using #DIYLeatherAndApplianceClean, and inspire others to embrace this simple yet effective cleaning solution. Let’s build a community of savvy homemakers who are committed to sustainable and effective cleaning practices. Join the conversation and help us spread the word about this amazing cleaning trick! You’ll not only save money and time but also contribute to a healthier environment by reducing your reliance on harsh chemical cleaners. So, grab your ingredients, get cleaning, and experience the transformative power of this all-natural cleaning solution.
Frequently Asked Questions
What types of leather can I clean with this method?
This method is suitable for most types of leather, including full-grain, top-grain, and even some delicate leathers like suede (though you may need to adjust the amount of olive oil for suede). However, always test a small, inconspicuous area first to ensure it doesn’t damage or discolor the leather. Avoid using this method on exotic leathers or vintage pieces unless you are absolutely certain it is safe. Always consult a professional leather cleaner for valuable or antique items.
Can I use this on all appliances?
This method is particularly effective on stainless steel appliances, but it can also be used on other surfaces like painted metal or plastic. However, always test a small, inconspicuous area first to ensure it doesn’t damage or discolor the surface. Avoid using this on delicate or easily scratched surfaces. For extremely delicate or specialized appliance finishes, always consult the manufacturer’s cleaning instructions.
How often should I clean my leather and appliances using this method?
The frequency of cleaning will depend on how often you use your leather goods and appliances. For frequently used items, you might want to clean them every few weeks or even once a month. For less frequently used items, cleaning every few months might suffice. Regular cleaning helps prevent the buildup of dirt and grime, keeping your items looking their best for longer.
What if I have stubborn stains?
For stubborn stains, you may need to let the cleaning solution sit on the stain for a few minutes before gently scrubbing. For particularly persistent stains, you may need to repeat the process or consider using a specialized leather cleaner for stubborn marks. Always test any additional cleaning products on a small, inconspicuous area first.
Are there any ingredients I can substitute?
While olive oil and white vinegar are recommended for their effectiveness and gentleness, you can experiment with other mild oils like jojoba oil or almond oil. However, avoid using harsh or abrasive oils. For the vinegar, you can try using distilled water instead, but the cleaning power might be slightly reduced. Always test any substitutions on a small, inconspicuous area first.
What should I do after cleaning?
After cleaning, gently wipe the surface dry with a soft, clean cloth. For leather, you may want to apply a leather conditioner afterward to help maintain its suppleness and prevent drying. For appliances, simply buff the surface to a shine. Allow the cleaned items to air dry completely before using them again. Avoid exposing leather to direct sunlight or heat after cleaning.
Is this method safe for children and pets?
The ingredients used in this DIY leather and appliance cleaning method are generally considered safe for use around children and pets. However, it’s always best to keep cleaning supplies out of reach of children and pets and to supervise them while cleaning is in progress. Always ensure proper ventilation while cleaning. If you have concerns about specific ingredients, consult a pediatrician or veterinarian.
Can I use this on microfiber furniture?
While this method is primarily designed for leather and appliances, it might work on some microfiber furniture. However, always test a small, inconspicuous area first to ensure it doesn’t damage or discolor the fabric. Microfiber is a delicate material, and it’s best to use a cleaning solution specifically designed for microfiber if you’re unsure.

Leave a Comment