
Kale Bottle Gardening: Ever dreamed of fresh, homegrown kale gracing your table, even if you’re short on space or gardening experience? I know I have! Forget sprawling gardens and complicated setups. We’re diving headfirst into a super simple, incredibly rewarding DIY project that will have you harvesting delicious kale in no time, all thanks to the magic of repurposed plastic bottles.
The concept of container gardening, especially using recycled materials, isn’t new. For generations, resourceful gardeners have found innovative ways to cultivate food in limited spaces. Think of the ancient hanging gardens of Babylon or the more recent victory gardens of World War II – a testament to human ingenuity and the enduring desire to connect with nature and grow our own food.
But why Kale Bottle Gardening specifically? Well, let’s face it, fresh produce can be expensive, and sometimes the quality at the store just isn’t up to par. Plus, there’s something incredibly satisfying about nurturing a plant from seed to table. This DIY trick is perfect for apartment dwellers, balcony gardeners, or anyone looking for a fun and sustainable way to add more greens to their diet. It’s also a fantastic project to do with kids, teaching them about plant life cycles and the importance of recycling. So, grab those empty bottles, and let’s get growing!
Turn Empty Bottles into a Kale Garden: A DIY Upcycling Project
Hey there, fellow gardening enthusiasts! I’m so excited to share this super cool and eco-friendly project with you: turning those empty plastic bottles you’re about to toss into a thriving kale garden! Not only is this a fantastic way to recycle, but it’s also a budget-friendly way to grow your own delicious and nutritious greens. Let’s get started!
What You’ll Need
Before we dive in, let’s gather our supplies. This is a pretty low-cost project, which is always a win in my book!
* Empty plastic bottles (2-liter soda bottles or similar work great) – The number depends on how much kale you want to grow. I usually aim for at least 5-6 bottles to start.
* Potting soil – Choose a good quality potting mix that drains well.
* Kale seeds or seedlings – You can start from seeds or buy small kale plants from your local nursery. I prefer seedlings for a quicker harvest.
* Scissors or a utility knife – Be careful when using these!
* Drill or nail – For creating drainage holes.
* Twine or rope – For hanging the bottles (optional).
* Watering can or hose – For watering your kale.
* Gloves (optional) – To keep your hands clean.
* Measuring tape or ruler – To ensure consistent cuts.
* Permanent marker – For labeling (optional).
Preparing the Bottles
This is where we transform those bottles from trash to treasure!
1. Clean the Bottles: First things first, give those bottles a good wash with soap and water. Make sure to remove any labels and sticky residue. A clean bottle is a happy bottle!
2. Cut the Bottles: Now, grab your scissors or utility knife. We’re going to cut the bottles in half horizontally. I usually cut them about halfway down, but you can adjust this depending on the size of your bottles and how much soil you want to use. Be careful when cutting, and always cut away from yourself.
3. Create Drainage Holes: This is crucial for healthy kale! Use your drill or nail to create several drainage holes in the bottom of each bottle half. I usually make about 4-5 holes per half. This will prevent the soil from becoming waterlogged, which can lead to root rot.
4. (Optional) Prepare for Hanging: If you want to hang your kale garden, now’s the time to prepare the bottles. You can drill two small holes near the top of each bottle half, on opposite sides. These holes will be used to thread the twine or rope through for hanging. Make sure the holes are large enough for your twine or rope to fit through easily.
Planting the Kale
Alright, let’s get our hands dirty and plant some kale!
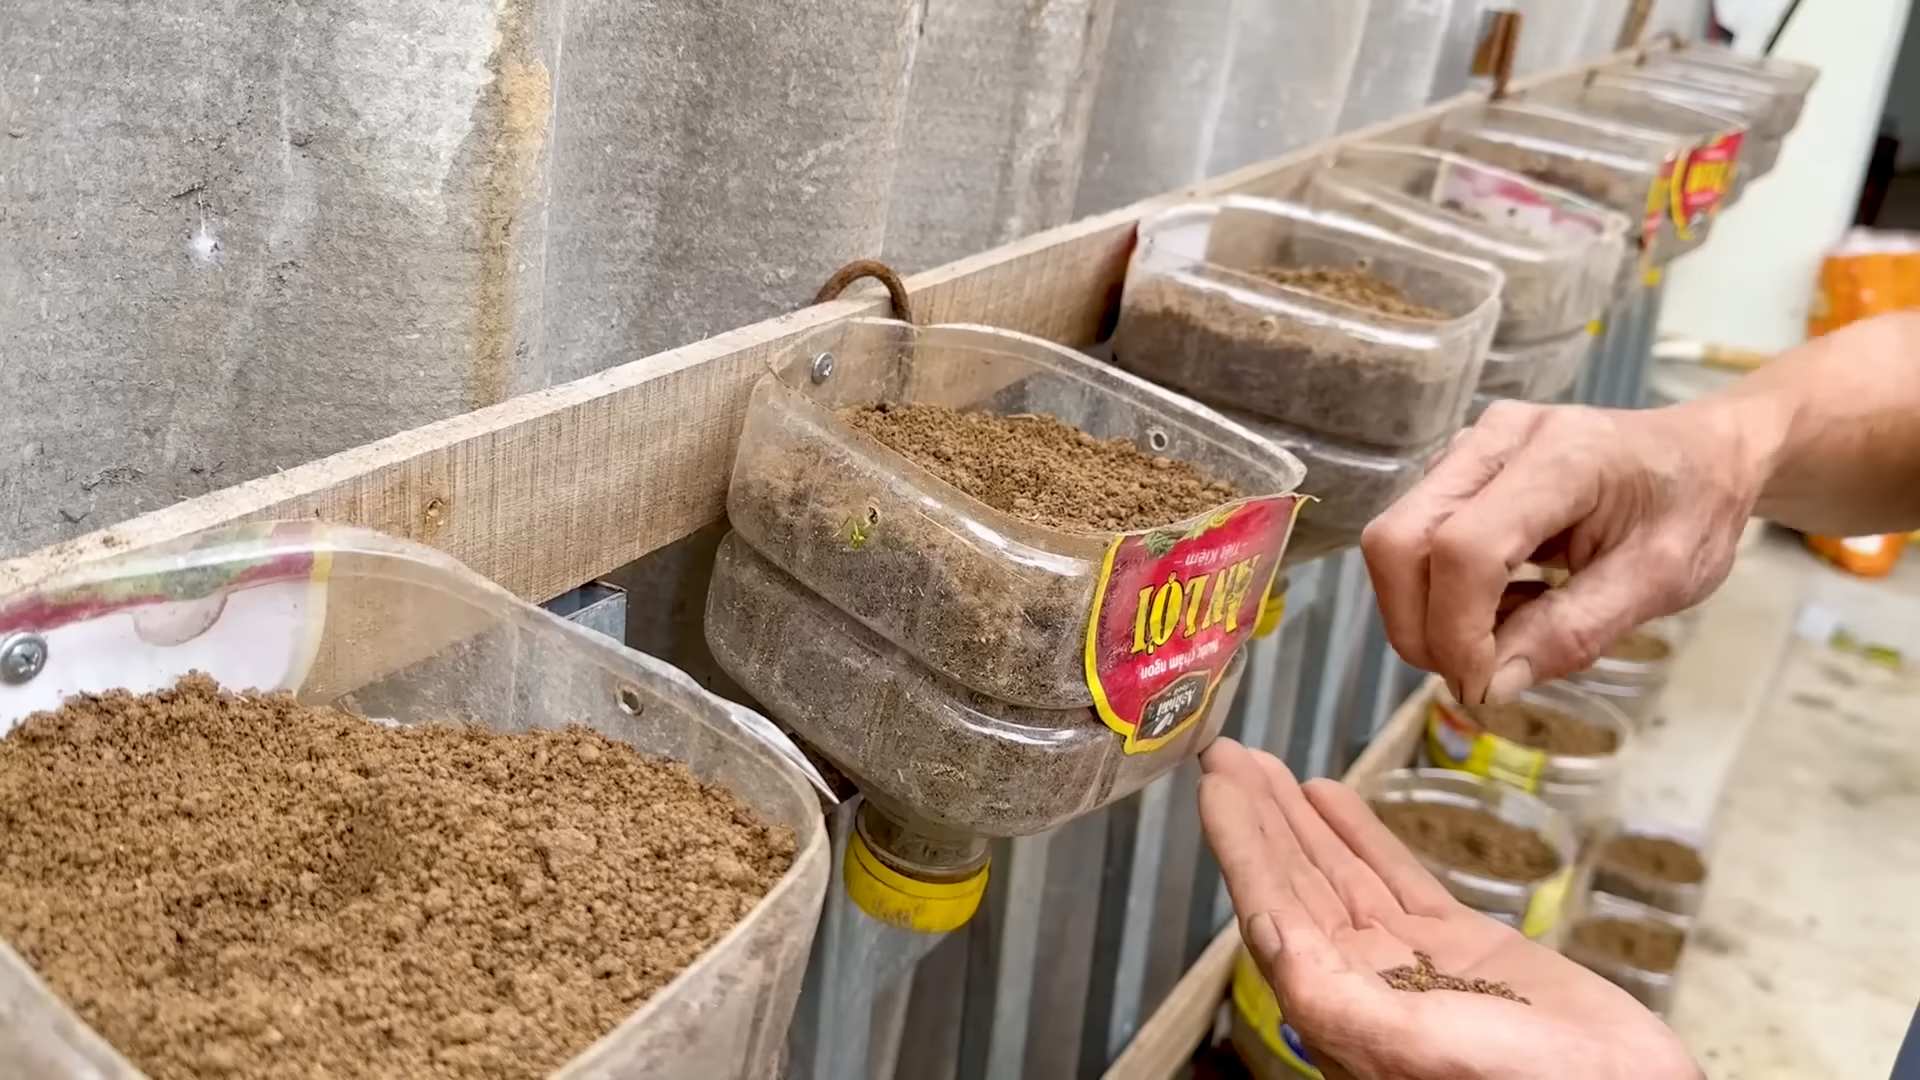
1. Fill with Potting Soil: Fill each bottle half with potting soil, leaving about an inch of space at the top. Gently pat down the soil to remove any air pockets.
2. Plant the Seeds or Seedlings: If you’re starting from seeds, sprinkle a few seeds on top of the soil in each bottle half and cover them with a thin layer of soil. If you’re using seedlings, carefully remove them from their containers and plant one seedling in each bottle half. Make sure the top of the root ball is level with the soil surface.
3. Water Thoroughly: After planting, water the kale thoroughly until the water drains out of the drainage holes. This will help settle the soil and ensure the seeds or seedlings have enough moisture to get started.
4. Label (Optional): If you’re planting different varieties of kale, you can use a permanent marker to label each bottle half. This will help you keep track of which variety is which.
Caring for Your Kale Garden
Now that your kale is planted, it’s time to give it some TLC!
1. Sunlight: Kale needs at least 6 hours of sunlight per day to thrive. Place your bottle garden in a sunny location, such as a windowsill, balcony, or patio. If you don’t have enough natural sunlight, you can supplement with a grow light.
2. Watering: Water your kale regularly, especially during hot and dry weather. The soil should be kept consistently moist, but not waterlogged. Check the soil moisture by sticking your finger into the soil. If the top inch of soil feels dry, it’s time to water.
3. Fertilizing: Kale is a heavy feeder, so it’s important to fertilize it regularly. You can use a liquid fertilizer or a slow-release fertilizer. Follow the instructions on the fertilizer package for application rates. I like to use a balanced organic fertilizer.
4. Pest Control: Keep an eye out for pests, such as aphids, cabbage worms, and slugs. If you spot any pests, you can remove them by hand or use an organic pest control spray. I’ve found that a strong blast of water from the hose can often dislodge aphids.
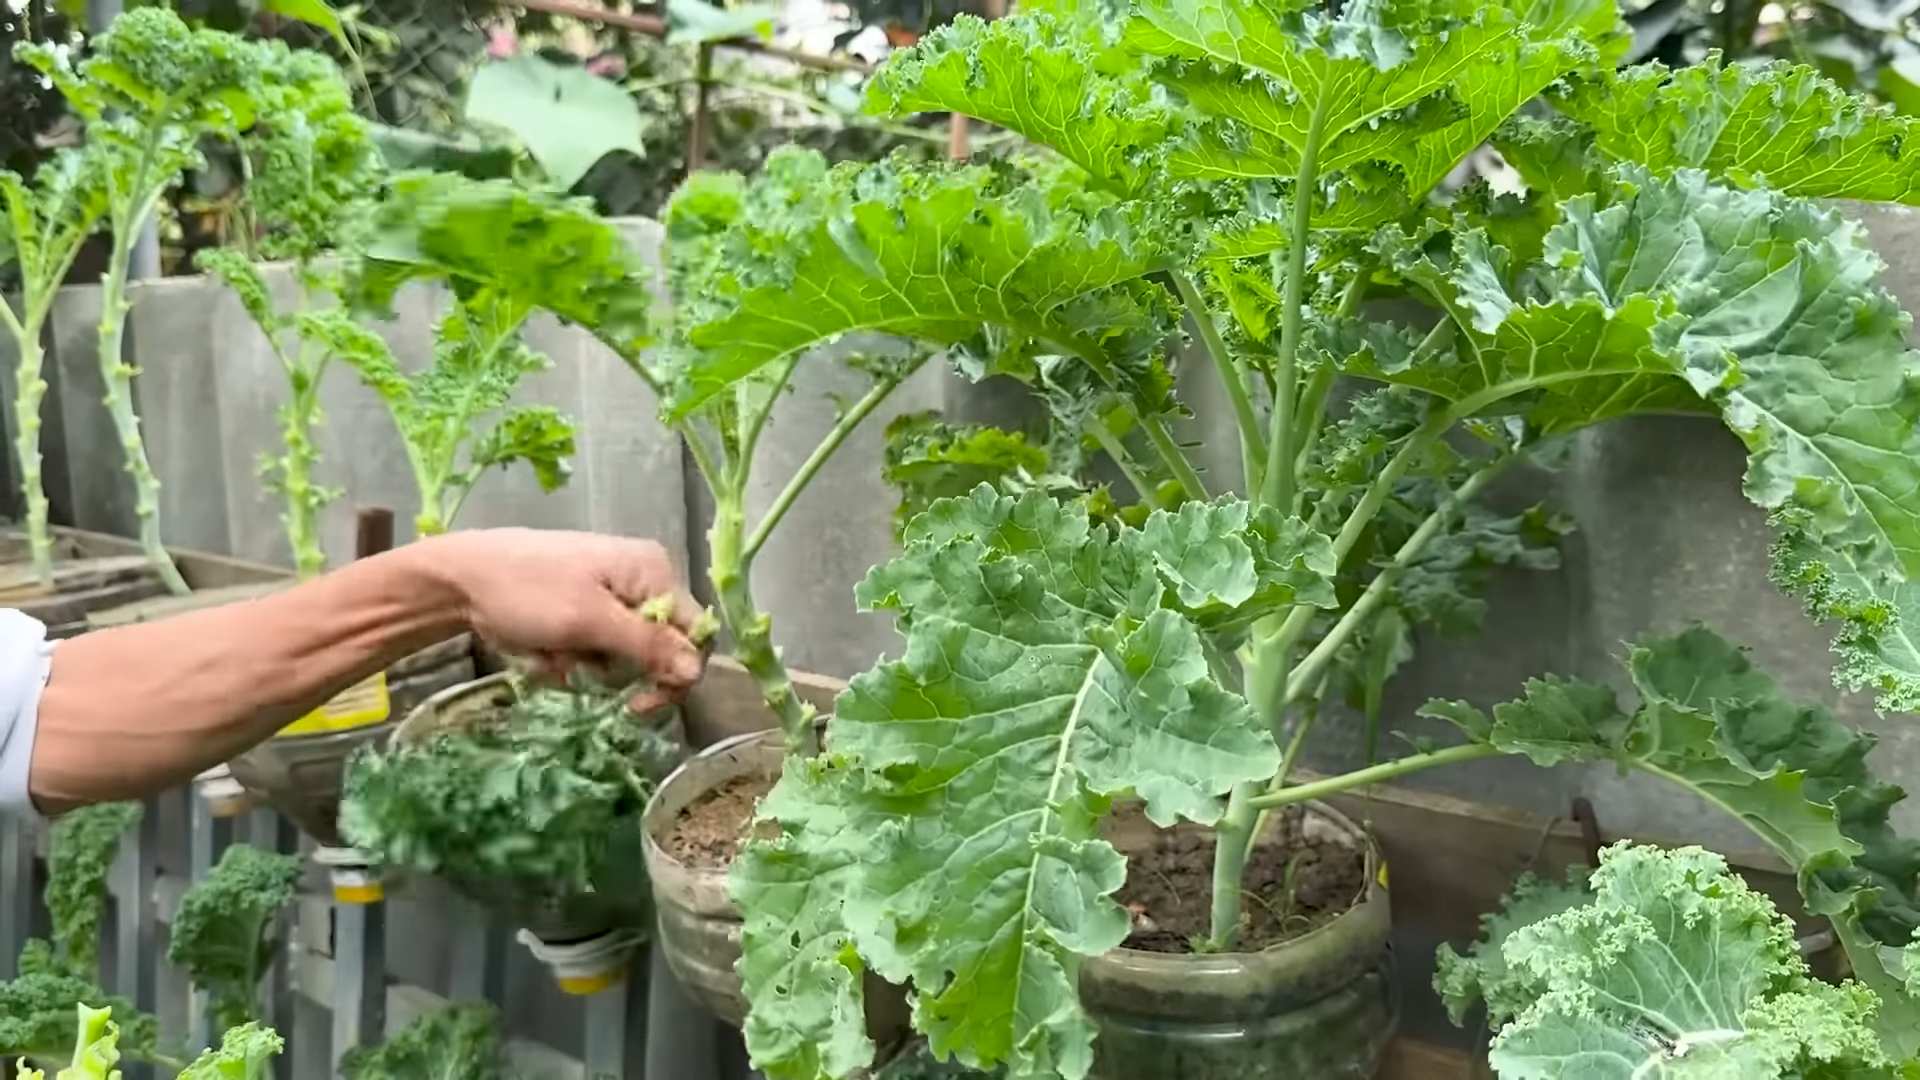
5. Harvesting: You can start harvesting kale leaves when they are about 4-6 inches long. Simply cut off the outer leaves, leaving the inner leaves to continue growing. This will encourage the plant to produce more leaves.
Hanging Your Bottle Garden (Optional)
If you prepared your bottles for hanging, here’s how to set it up:
1. Thread the Twine or Rope: Thread the twine or rope through the holes you drilled in the top of each bottle half.
2. Create a Hanging System: You can hang each bottle individually or create a tiered hanging system by connecting multiple bottles together. Get creative and experiment with different arrangements!
3. Hang in a Sunny Location: Hang your bottle garden in a sunny location where it will receive at least 6 hours of sunlight per day. Make sure the hanging structure is strong enough to support the weight of the bottles and soil.
Troubleshooting
Even with the best care, sometimes things can go wrong. Here are a few common problems and how to fix them:
* Yellowing Leaves: This can be a sign of overwatering, underwatering, or nutrient deficiency. Check the soil moisture and adjust your watering schedule accordingly. If the soil is consistently moist, you may be overwatering. If the soil is dry, you may be underwatering. If the leaves are yellowing all over, it could be a sign of nutrient deficiency. Fertilize your kale with a balanced fertilizer.
* Leggy Growth: This means the kale plants are stretching towards the light. This is usually a sign that they’re not getting enough sunlight. Move your bottle garden to a sunnier location or supplement with a grow light.
* Pest Infestation: As mentioned earlier, keep an eye out for pests. If you spot any pests, remove them by hand or use an organic pest control spray.
Enjoy Your Homegrown Kale!
And there you have it! You’ve successfully transformed empty plastic bottles into a thriving kale garden. Now you can enjoy fresh, delicious, and nutritious kale right from your own home. This project is not only fun and rewarding, but it’s also a great way to reduce waste and contribute to a more sustainable lifestyle. Happy gardening! I hope you enjoy your fresh kale!
Conclusion
So, there you have it! Transforming a simple plastic bottle into a thriving kale garden is not just a fun project; it’s a sustainable and incredibly rewarding way to enjoy fresh, homegrown greens, even with limited space. We’ve walked you through the process, highlighting the ease and accessibility of this DIY trick. But why is this method a must-try?
Firstly, it’s incredibly eco-friendly. You’re repurposing plastic bottles that might otherwise end up in landfills, contributing to a more sustainable lifestyle. Secondly, it’s space-saving. Whether you have a sprawling backyard or a tiny balcony, a kale bottle garden can flourish virtually anywhere. Thirdly, it’s cost-effective. The materials are readily available and inexpensive, making it a budget-friendly way to grow your own food. And finally, it’s incredibly satisfying. There’s nothing quite like harvesting your own kale, knowing you nurtured it from seed to table.
But the beauty of this DIY project lies in its adaptability. Feel free to experiment with different bottle sizes and shapes. Larger bottles can accommodate more kale plants, while smaller bottles are perfect for starting seedlings. You can also get creative with the design. Paint the bottles with vibrant colors, add decorative elements, or arrange them in unique patterns to create a visually appealing vertical garden.
Consider exploring different kale varieties as well. Curly kale, Lacinato kale (also known as dinosaur kale), and Red Russian kale all thrive in bottle gardens. Each variety offers a unique flavor and texture, adding variety to your meals. You can even try companion planting, adding herbs like basil or thyme to your kale bottle garden to deter pests and enhance flavor.
Don’t be afraid to experiment with different growing mediums. While we recommended a mix of potting soil, compost, and perlite, you can also try using coco coir or other soilless mixes. Just be sure to adjust your watering and fertilization accordingly.
Remember to monitor your kale plants regularly for pests and diseases. Aphids, cabbage worms, and flea beetles are common kale pests. You can control them with organic methods like insecticidal soap or neem oil. Proper watering and ventilation can also help prevent fungal diseases.
The key to success with your kale bottle gardening is consistent care and attention. Water your plants regularly, fertilize them as needed, and provide them with plenty of sunlight. With a little effort, you’ll be rewarded with a bountiful harvest of fresh, delicious kale.
We wholeheartedly encourage you to give this DIY trick a try. It’s a simple, sustainable, and satisfying way to grow your own food. And most importantly, don’t forget to share your experience with us! Post photos of your kale bottle gardens on social media using the hashtag #KaleBottleGarden, and let us know what you learned along the way. We can’t wait to see your creations! Let’s cultivate a community of bottle gardeners and inspire others to embrace sustainable living.
Frequently Asked Questions (FAQs)
What kind of plastic bottles are best for kale bottle gardening?
The best plastic bottles for kale bottle gardening are those that are food-grade and BPA-free. Look for bottles that have a recycling symbol with a number 1 (PET or PETE) or a number 2 (HDPE) inside the triangle. These types of plastic are generally considered safe for growing food. Avoid using bottles that have been used to store harsh chemicals or pesticides. The size of the bottle will depend on how many kale plants you want to grow. Larger bottles (2-3 liters) are ideal for growing multiple plants, while smaller bottles (500ml-1 liter) are better suited for single plants or starting seedlings. Make sure to thoroughly clean the bottles with soap and water before using them.
How much sunlight does my kale bottle garden need?
Kale thrives in full sun, which means it needs at least 6-8 hours of direct sunlight per day. If you don’t have a sunny spot, you can supplement with artificial grow lights. Place your kale bottle garden in a location that receives ample sunlight, such as a south-facing window or a sunny balcony. If you live in a hot climate, you may need to provide some shade during the hottest part of the day to prevent the leaves from scorching. Rotate the bottles regularly to ensure that all sides of the plants receive equal sunlight.
What kind of soil should I use for my kale bottle garden?
The ideal soil for your kale bottle garden is a well-draining potting mix that is rich in organic matter. A good mix would be equal parts potting soil, compost, and perlite. The potting soil provides a base for the plants to grow in, the compost adds nutrients and improves drainage, and the perlite helps to aerate the soil and prevent it from becoming compacted. You can also add a slow-release fertilizer to the soil to provide your kale plants with a steady supply of nutrients. Avoid using garden soil, as it can be too heavy and may contain pests or diseases.
How often should I water my kale bottle garden?
The frequency of watering will depend on the weather, the size of the bottle, and the type of soil you are using. In general, you should water your kale bottle garden when the top inch of soil feels dry to the touch. Water thoroughly until the water drains out of the drainage holes. Avoid overwatering, as this can lead to root rot. During hot weather, you may need to water your plants more frequently. Check the soil moisture regularly and adjust your watering schedule accordingly.
How do I fertilize my kale bottle garden?
Kale is a heavy feeder, so it’s important to fertilize your plants regularly. You can use a liquid fertilizer or a slow-release fertilizer. If you are using a liquid fertilizer, dilute it according to the package instructions and apply it every 2-3 weeks. If you are using a slow-release fertilizer, mix it into the soil at planting time. You can also add compost tea to your kale bottle garden every few weeks to provide your plants with a boost of nutrients. Look for fertilizers that are specifically formulated for leafy greens.
How do I prevent pests and diseases in my kale bottle garden?
To prevent pests and diseases in your kale bottle garden, start with healthy plants and use a well-draining soil mix. Monitor your plants regularly for signs of pests or diseases. Common kale pests include aphids, cabbage worms, and flea beetles. You can control these pests with organic methods like insecticidal soap or neem oil. To prevent fungal diseases, ensure that your plants have good air circulation and avoid overwatering. Remove any diseased leaves promptly to prevent the spread of the disease.
When can I harvest my kale from my bottle garden?
You can start harvesting kale leaves when they are about 4-6 inches long. Harvest the outer leaves first, leaving the inner leaves to continue growing. You can harvest kale leaves continuously throughout the growing season. To harvest, simply cut the leaves off at the base of the stem. Avoid harvesting more than one-third of the plant at a time, as this can stress the plant. Freshly harvested kale is best eaten within a few days.
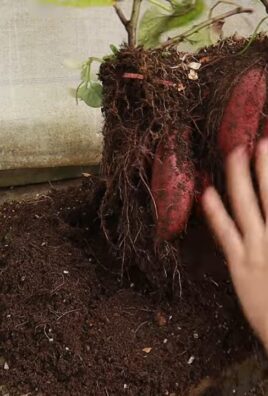
Can I grow other vegetables in plastic bottles besides kale?
Yes, absolutely! The bottle gardening method is versatile and can be used to grow a variety of other vegetables and herbs. Some popular choices include lettuce, spinach, herbs like basil and mint, strawberries, and even small pepper varieties. The key is to choose plants that have relatively shallow root systems and don’t require a lot of space. Consider the specific needs of each plant in terms of sunlight, water, and nutrients, and adjust your growing conditions accordingly. Experiment and see what works best for you!
Leave a Comment