
Homegrown Pumpkin Growing: Your Guide to a Bountiful Harvest
Homegrown pumpkin growing isn’t just about harvesting a giant gourd for a jack-o’-lantern; it’s about connecting with nature, experiencing the satisfaction of nurturing a plant from seed to fruit, and enjoying the unparalleled taste of homegrown produce. I’ve always loved the autumnal feeling pumpkins bring, and the sheer joy of seeing those plump, orange beauties emerge from my own garden is something truly special. This feeling is shared by many, and it’s why home gardening, especially growing pumpkins, has seen a resurgence in popularity in recent years – a return to simpler times and a deeper appreciation for where our food comes from.
Historically, pumpkins have held significant cultural importance across various societies, featuring prominently in harvest festivals and culinary traditions for centuries. From Native American tribes who cultivated diverse pumpkin varieties to the modern-day pumpkin spice craze, these versatile fruits have woven themselves into the fabric of our history and celebrations. But you don’t need to be a seasoned gardener to experience the magic of homegrown pumpkin growing.
Why Grow Your Own Pumpkins?
This article is your comprehensive guide to mastering the art of homegrown pumpkin growing, offering simple yet effective DIY tricks and hacks to ensure a successful harvest. Whether you have a sprawling backyard or a small balcony, I’ll show you how to cultivate these magnificent plants, from selecting the right seeds and preparing the soil to dealing with common pests and diseases. You’ll learn how to maximize your yield and enjoy the freshest, most flavorful pumpkins you’ve ever tasted. Growing your own pumpkins is incredibly rewarding, offering a unique connection to the land and the satisfaction of creating something beautiful and delicious with your own two hands. So, let’s get started on your journey to a bountiful harvest of homegrown pumpkins!

My Homegrown Pumpkin Patch Adventure: A Step-by-Step Guide
I’ve always dreamed of carving my own homegrown pumpkin for Halloween, and this year, I finally made it happen! It was more rewarding than I ever imagined. Here’s how I did it, and how you can too!
Phase 1: Planning and Preparation
- Choose your pumpkin variety: Research different pumpkin varieties. Consider factors like size, growing season, disease resistance, and taste. I opted for a ‘Connecticut Field’ pumpkin for its reliable yield and classic shape. There are tons of options available online and at your local garden center, so have fun with it!
- Timing is everything: Pumpkins need a long growing season (around 90-120 days), so check your local frost dates. Start seeds indoors 6-8 weeks before the last expected frost. This ensures your seedlings are strong and ready for transplanting.
- Gather your supplies: You’ll need:
- Pumpkin seeds (save some from a store-bought pumpkin or buy seeds online/locally)
- Seed starting mix (avoid using regular garden soil)
- Small pots or seed trays
- Grow lights (optional, but highly recommended, especially if you don’t have a sunny spot)
- Gardening gloves
- Watering can
- A sunny spot in your garden with well-drained soil
- Compost or other organic matter to enrich your soil
- Trellis or other support (optional, but helpful for larger pumpkins)
- Pest control (organic options are best)
- Prepare your soil: Pumpkins love rich, well-drained soil. Amend your garden bed with plenty of compost or other organic matter to improve drainage and fertility. I dug about a foot deep and mixed in a generous amount of compost.
Phase 2: Starting Seeds Indoors
- Sow your seeds: Fill your small pots or seed trays with seed starting mix. Plant 2-3 seeds per pot, about an inch deep. Gently cover with soil.
- Water gently: Water the seeds thoroughly, but avoid overwatering, which can lead to rot. Use a watering can with a fine rose to avoid disturbing the seeds.
- Provide warmth and light: Place your pots in a warm location (around 70-75°F) with plenty of sunlight. If you don’t have a sunny spot, use grow lights to supplement sunlight. I used grow lights for about 12-14 hours a day.
- Monitor for germination: Germination usually takes 7-10 days. Once the seedlings emerge, ensure they receive adequate light to prevent legginess.
- Thin seedlings: Once the seedlings have a few true leaves, thin them to one strong seedling per pot. Carefully remove the weaker seedlings.
- Harden off seedlings: Before transplanting outdoors, gradually acclimate your seedlings to outdoor conditions. Start by placing them outside for a few hours each day, gradually increasing the time over a week.
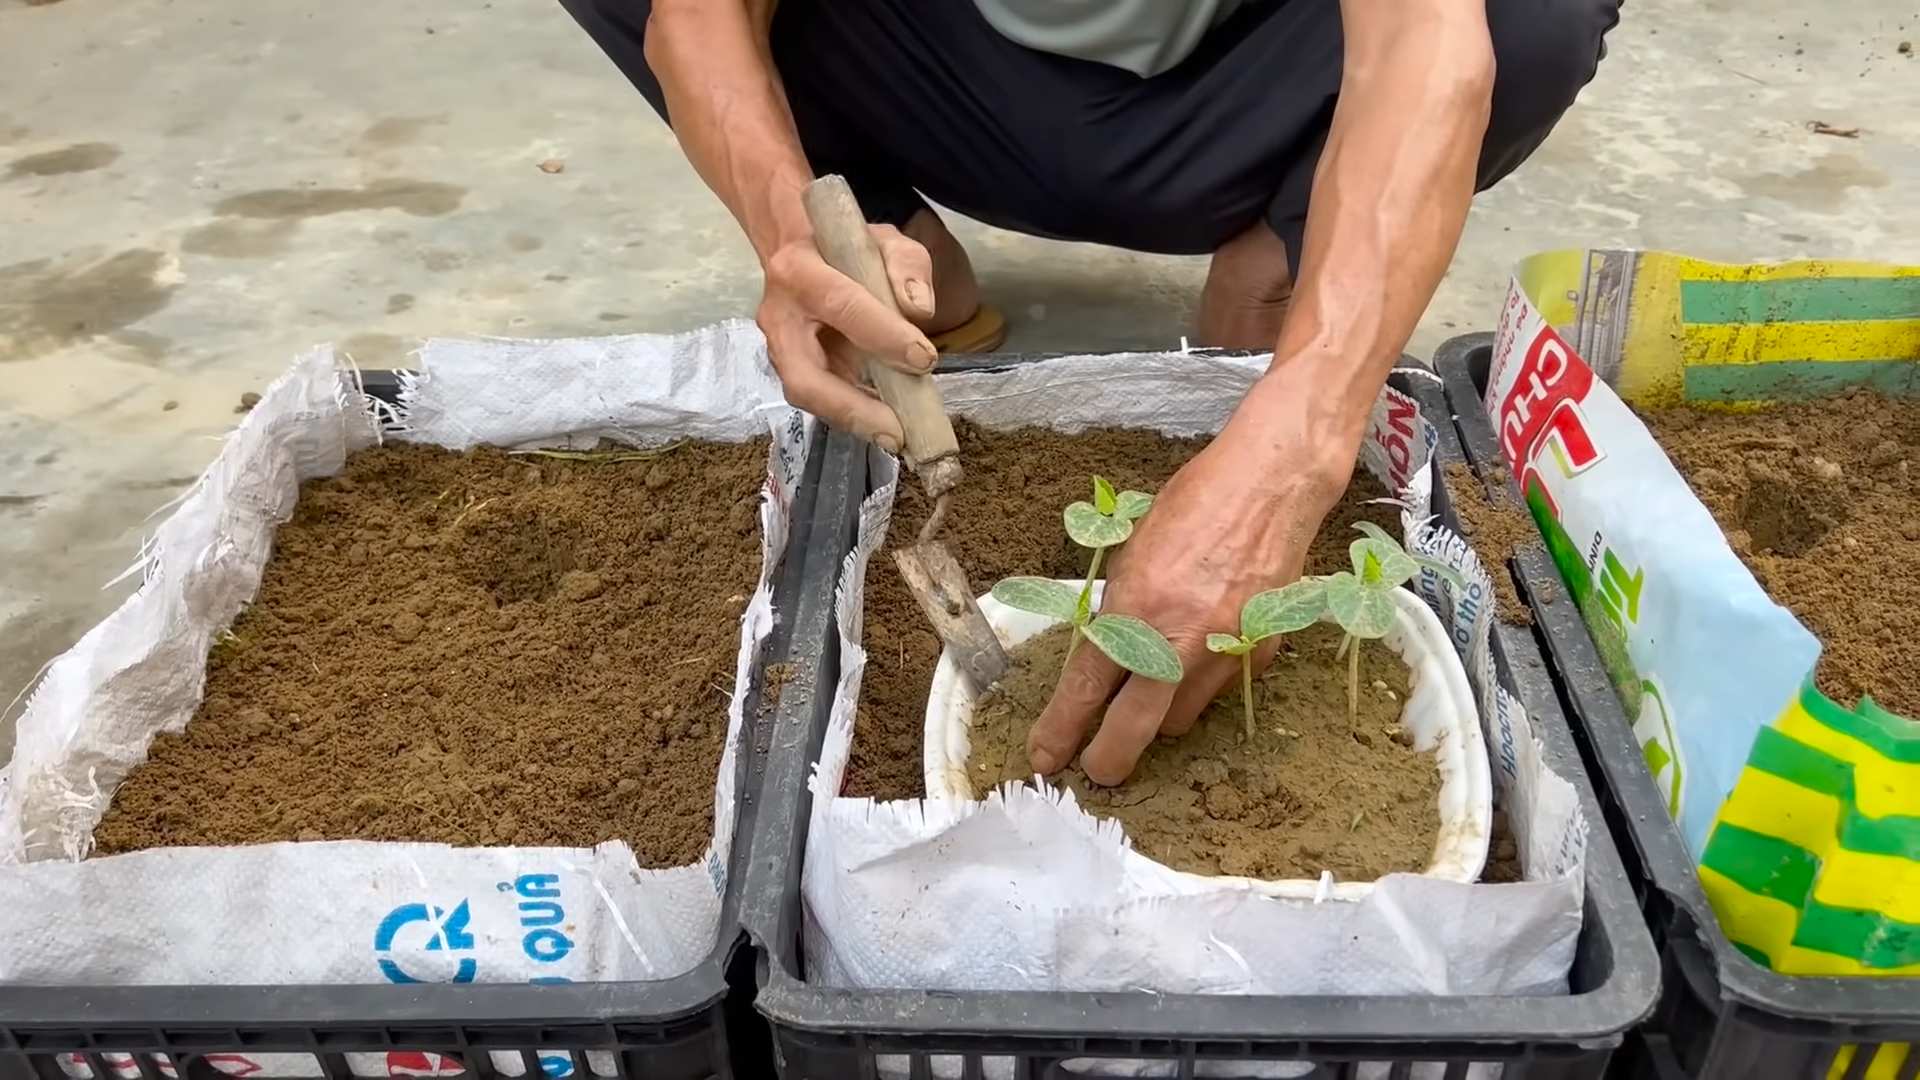
Phase 3: Transplanting and Growing
- Prepare the planting site: Choose a sunny location with well-drained soil. Make sure the area is free of weeds and debris.
- Dig planting holes: Dig holes slightly larger than your pots. Space the holes about 4-6 feet apart, depending on the variety of pumpkin you’ve chosen. Larger pumpkins need more space.
- Transplant seedlings: Carefully remove the seedlings from their pots, being careful not to damage the roots. Plant them in the holes, covering the roots with soil. Water gently after transplanting.
- Water regularly: Pumpkins need consistent watering, especially during dry periods. Water deeply and regularly, aiming for about an inch of water per week. Check the soil moisture regularly and adjust watering accordingly.
- Fertilize (optional): You can fertilize your pumpkins with a balanced fertilizer, but it’s not strictly necessary if you’ve amended your soil with compost. If you do fertilize, follow the instructions on the fertilizer package.
- Pest and disease control: Monitor your plants for pests and diseases. Address any issues promptly using organic methods whenever possible. Squash bugs and powdery mildew are common problems.
- Provide support (optional): For larger pumpkins, consider providing support using a trellis or other structure to prevent the fruit from rotting on the ground.
Phase 4: Harvesting and Curing
- Monitor for ripeness: Pumpkins are ready for harvest when the rind is hard and deep orange. The stem should be dry and woody. This usually takes around 90-120 days after transplanting, depending on the variety.
- Harvest carefully: Use a sharp knife or pruning shears to cut the pumpkin from the vine, leaving about 2-3 inches of stem attached. Avoid damaging the rind.
- Cure your pumpkins: Allow your pumpkins to cure for a few weeks in a cool, dry, well-ventilated area. This helps to harden the rind and extend their shelf life. I placed mine in a cool, dry garage.
- Enjoy your homegrown pumpkin: Once cured, your pumpkins are ready to be carved, cooked, or stored for later use. The satisfaction of growing your own pumpkin is truly unbeatable!
Remember to always check the specific instructions for your chosen pumpkin variety, as growing conditions and timelines can vary. Happy growing!
Conclusion
So there you have it! Your journey to a bountiful harvest of homegrown pumpkins just got a whole lot easier with these simple, yet effective, DIY techniques. This isn’t just about growing pumpkins; it’s about connecting with nature, experiencing the satisfaction of nurturing a plant from seed to succulent fruit, and ultimately, enjoying the delicious rewards of your labor. This homegrown pumpkin growing guide empowers you to take control of your food source, ensuring you have access to fresh, flavorful pumpkins throughout the fall season. The process, while requiring some dedication, is surprisingly straightforward and incredibly rewarding. The taste difference between a store-bought pumpkin and one you’ve nurtured from seed is remarkable – a sweetness and depth of flavor that simply can’t be replicated.
Beyond the basic techniques outlined, the possibilities for experimentation are endless. Consider trying different pumpkin varieties to discover your favorites. Experiment with companion planting – marigolds, for example, are known to deter pests that can affect pumpkin plants. You can also explore different soil amendments to optimize your soil’s drainage and nutrient content. For those with limited space, consider growing pumpkins vertically using trellises or other support structures. This method can save valuable garden space and even improve air circulation around the plants, reducing the risk of fungal diseases. And don’t be afraid to get creative with your pumpkin patch design! Incorporate other fall favorites like sunflowers or ornamental gourds to create a visually stunning and productive garden space. Remember, the key is to have fun and enjoy the process.
We strongly encourage you to try these homegrown pumpkin growing techniques and share your experiences with us! Whether you’re a seasoned gardener or a complete beginner, this DIY approach is accessible to everyone. Post pictures of your thriving pumpkin plants and your delicious pumpkin creations on social media using #HomegrownPumpkinPower. Let’s build a community of homegrown pumpkin enthusiasts and inspire others to embark on this rewarding journey. Share your tips, tricks, and challenges – we’re all learning together! The more we share, the more we grow, both literally and figuratively. Don’t hesitate – start planting your seeds today and experience the joy of harvesting your own homegrown pumpkins this fall!
Frequently Asked Questions
What type of soil is best for growing pumpkins?
Pumpkins thrive in well-drained, fertile soil with a slightly acidic to neutral pH (6.0-7.0). Amend heavy clay soils with compost or other organic matter to improve drainage. Sandy soils may benefit from the addition of peat moss or other organic materials to increase water retention. Regular soil testing can help you determine the specific needs of your garden. A soil test kit is readily available at most garden centers.
How much sunlight do pumpkins need?
Pumpkins are sun-worshippers! They need at least six to eight hours of direct sunlight per day to grow optimally. Choose a location in your garden that receives ample sunlight throughout the day. Insufficient sunlight can lead to poor growth, reduced fruit production, and increased susceptibility to diseases.
When is the best time to plant pumpkin seeds?
The best time to plant pumpkin seeds directly outdoors is after the last frost and when the soil temperature has warmed to at least 60-70°F (15-21°C). This typically falls between late spring and early summer, depending on your geographic location. You can also start seeds indoors four to six weeks before the last expected frost to give them a head start.
How often should I water my pumpkins?
Consistent watering is crucial for healthy pumpkin growth. Water deeply and regularly, especially during dry periods. Aim for about one inch of water per week, either from rainfall or supplemental irrigation. Avoid overhead watering, which can promote fungal diseases. Instead, water at the base of the plants to keep the foliage dry. Mulching around the plants can help retain soil moisture and suppress weeds.
What are some common pumpkin pests and diseases?
Pumpkins can be susceptible to various pests and diseases, including squash vine borers, aphids, powdery mildew, and downy mildew. Regularly inspect your plants for signs of infestation or disease. Implementing preventative measures, such as crop rotation, companion planting, and proper watering techniques, can help minimize the risk. If pests or diseases do occur, consider using organic pest control methods or consulting with a local agricultural extension office for advice.
How do I know when my pumpkins are ready to harvest?
Pumpkins are typically ready for harvest in the fall, about 90-120 days after planting, depending on the variety. The pumpkins will be a deep orange color, and the rind will be hard and difficult to pierce with your fingernail. The stem will also be dry and woody. Harvest pumpkins on a dry day and handle them carefully to avoid bruising. Cure your pumpkins in a cool, dry place for several weeks to extend their shelf life.
Can I save seeds from my homegrown pumpkins for next year?
Yes, you can! Allow some pumpkins to fully mature on the vine until they are completely dry and the stem has turned brown and woody. Scoop out the seeds, clean them thoroughly, and let them dry completely before storing them in a cool, dry place in a paper envelope or airtight container. Properly stored seeds can retain their viability for several years. Remember to label your seeds with the variety name.
This comprehensive guide to homegrown pumpkin growing should equip you with the knowledge and confidence to cultivate your own delicious pumpkins. Happy gardening!
Leave a Comment