
Harvest bean sprouts quickly and effortlessly? Absolutely! Imagine enjoying fresh, crunchy bean sprouts in your salads, stir-fries, and sandwiches without the hassle of waiting days for them to grow to a usable size. That’s the magic we’re unlocking today with a simple, yet incredibly effective DIY trick.
Sprouting beans is an ancient practice, dating back thousands of years in various cultures, particularly in Asia. It was a clever way to ensure a source of fresh, nutritious food, especially during times of scarcity or when fresh produce was unavailable. Think of it as the original “grow your own” movement! Now, we’re bringing this time-honored tradition into the modern home, but with a twist – a way to harvest bean sprouts quickly and efficiently.
Let’s face it, we all lead busy lives. Waiting for bean sprouts to reach their full potential can feel like an eternity. This DIY hack is perfect for anyone who wants to enjoy the benefits of homegrown sprouts without the long wait times. It’s a game-changer for busy professionals, families looking for healthy additions to their meals, and anyone who simply loves the taste of fresh, homegrown goodness. I’m excited to share this simple method with you, so you can enjoy a bountiful harvest of bean sprouts in no time!
DIY Bean Sprout Harvester: From Seed to Salad in Minutes!
Hey there, fellow sprout enthusiasts! Are you tired of painstakingly picking bean sprouts one by one? I know I was! That’s why I developed this super simple, yet incredibly effective, DIY bean sprout harvester. It’s a game-changer, trust me. It’ll save you tons of time and effort, and you’ll be enjoying fresh, crunchy sprouts in your salads and stir-fries in no time. Let’s get started!
What You’ll Need:
* A large plastic container (think a big storage bin, the size depends on how many sprouts you grow)
* A drill with various sized drill bits
* A piece of hardware cloth (wire mesh) with small openings (about 1/4 inch is ideal) – large enough to cover the bottom of your container
* Heavy-duty scissors or wire cutters
* Zip ties
* A sharp knife or box cutter
* Optional: Sandpaper (for smoothing any rough edges)
* Optional: Rubber feet (to elevate the container slightly)
Why This Works: The Science Behind the Sprout Separation
The key to this harvester is the hardware cloth. The holes are sized perfectly to allow the bean sprouts to pass through while catching the hulls and unsprouted beans. By gently agitating the sprouts in water, we can encourage them to fall through the mesh, leaving the unwanted bits behind. It’s all about gravity and strategic hole placement!
Building Your Bean Sprout Harvester: Step-by-Step
Okay, let’s get our hands dirty! This is a pretty straightforward project, and I promise, even if you’re not a DIY expert, you can totally do this.
1. Prepare the Container: First, we need to create drainage holes in the bottom of your plastic container. This is crucial for rinsing and harvesting. Using your drill, start with a small drill bit and create several holes evenly spaced across the bottom. I recommend starting with a 1/4 inch bit and then going up to a 3/8 inch bit if you want faster drainage. Don’t go too big, though, or your sprouts will escape!
2. Smooth the Edges (Optional): After drilling, you might find some rough edges around the holes. Use sandpaper to smooth them out. This will prevent any damage to your sprouts during the harvesting process.
3. Cut the Hardware Cloth: Now, measure the inside bottom of your container. You want the hardware cloth to fit snugly inside. Use your heavy-duty scissors or wire cutters to cut a piece of hardware cloth to the correct size. Be careful, the edges can be sharp!
4. Secure the Hardware Cloth: This is where the zip ties come in handy. Place the hardware cloth inside the container, resting on the bottom. Use zip ties to secure the hardware cloth to the sides of the container. Make sure the zip ties are tight so the hardware cloth doesn’t move around when you’re agitating the sprouts. I usually put zip ties every few inches around the perimeter. Trim the excess zip tie length with your scissors or wire cutters.
5. Create an Overflow Outlet (Optional, but Recommended): To prevent overfilling and making a mess, I like to create an overflow outlet. Using your drill, create a hole near the top of one side of the container. The size of the hole depends on how quickly you want the water to drain. A 1/2 inch hole is usually sufficient.
6. Add Rubber Feet (Optional): Adding rubber feet to the bottom of the container will elevate it slightly, allowing for better drainage and preventing the container from sitting directly in any spilled water. You can find these at most hardware stores. Just stick them on!
Harvesting Your Bean Sprouts: The Fun Part!
Alright, your harvester is built! Now for the moment you’ve been waiting for – harvesting those delicious sprouts.
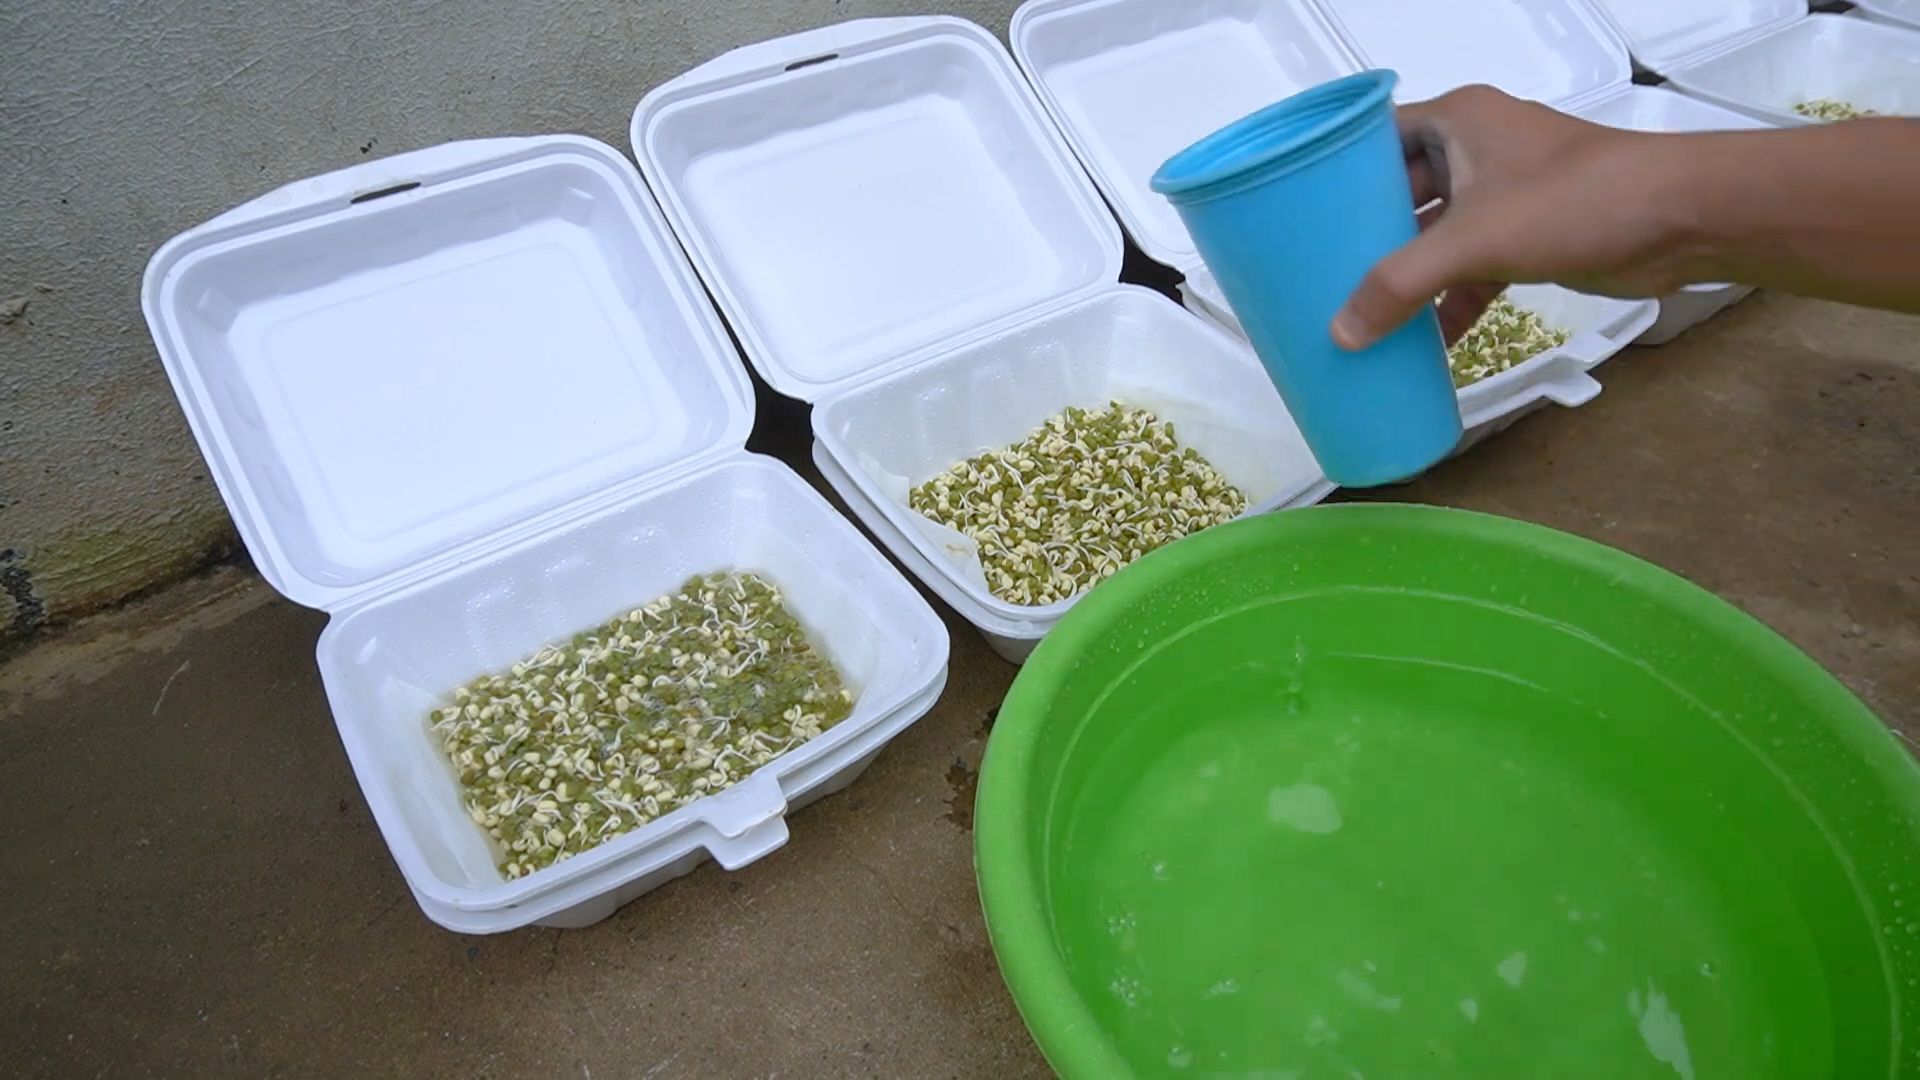
1. Submerge the Sprouts: Carefully transfer your sprouted beans (including the hulls and unsprouted beans) into your new harvester. Fill the container with water, enough to completely submerge the sprouts.
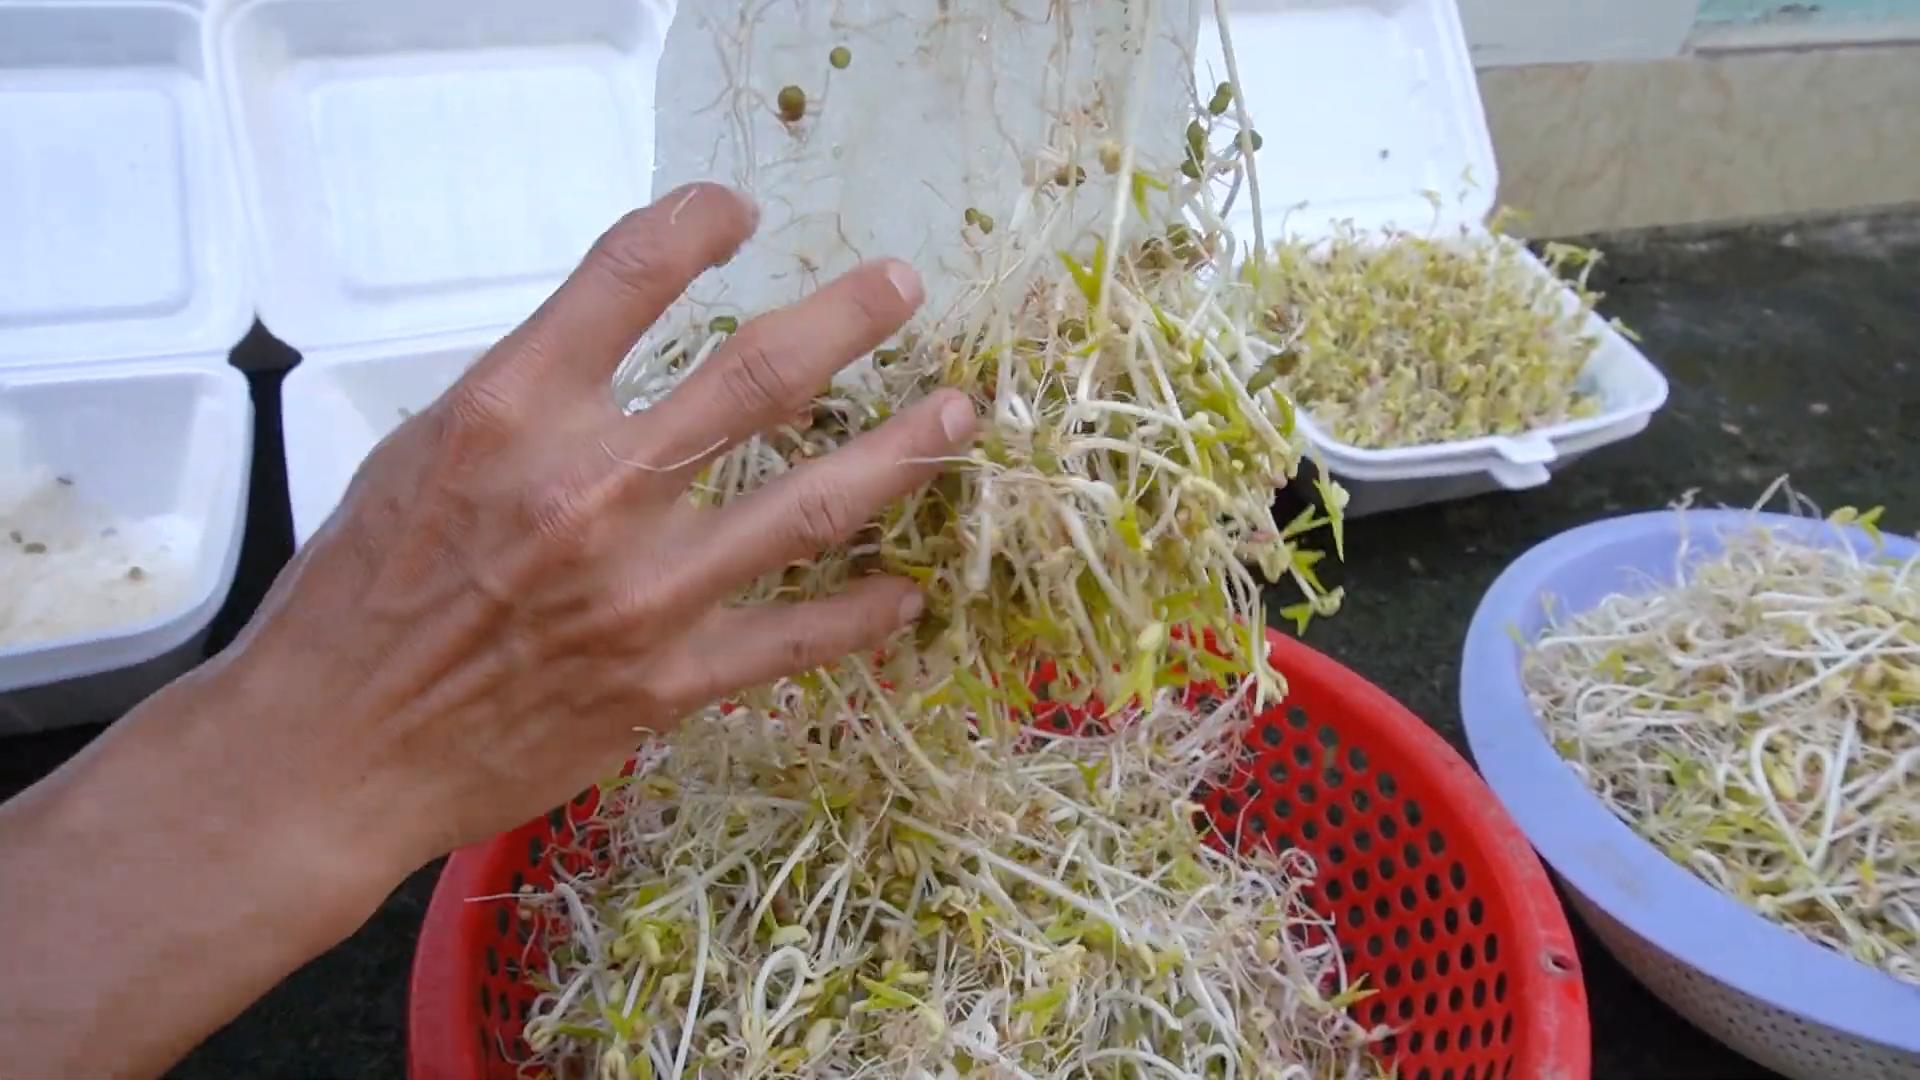
2. Agitate Gently: Now, gently agitate the sprouts with your hands. Use a swirling motion to encourage the sprouts to fall through the hardware cloth. Don’t be too rough, you don’t want to damage the sprouts.
3. Observe the Separation: As you agitate, you’ll notice the sprouts falling through the mesh, while the hulls and unsprouted beans remain on top. This is exactly what we want!
4. Drain the Water: Once you’ve agitated for a minute or two, carefully tilt the container to drain the water. The sprouts will stay in the container, separated from the debris.
5. Rinse and Repeat: Rinse the sprouts with fresh water to remove any remaining debris. You may need to repeat the agitation and draining process a few times to get all the sprouts separated.
6. Collect Your Harvest: Once you’re satisfied with the separation, carefully scoop out the clean bean sprouts. You can use a slotted spoon or just tilt the container and let them slide out.
7. Dry and Store: Gently pat the sprouts dry with a clean towel or spin them in a salad spinner. Store them in an airtight container in the refrigerator. They should last for several days.
Tips and Tricks for Sprout Harvesting Success:
* Water Temperature: I find that using cool water works best for separating the sprouts.
* Agitation Technique: Experiment with different agitation techniques to find what works best for you. Gentle swirling motions are usually the most effective.
* Hardware Cloth Size: The size of the holes in the hardware cloth is crucial. If the holes are too big, the unsprouted beans will fall through. If they’re too small, the sprouts will get stuck. 1/4 inch is a good starting point.
* Sprout Density: Don’t overload the harvester. If you have too many sprouts, it will be difficult to separate them effectively. Work in smaller batches.
* Cleaning the Harvester: After each use, rinse the harvester thoroughly with soap and water. This will prevent the buildup of bacteria and mold.
* Troubleshooting: If you’re having trouble separating the sprouts, try soaking them in water for a few minutes before agitating. This will help to loosen the hulls.
* Different Bean Varieties: This harvester works well for most types of bean sprouts, including mung beans, adzuki beans, and lentils. You may need to adjust the agitation technique depending on the variety.
* Alternative Materials: If you can’t find hardware cloth, you can try using a plastic colander with small holes. However, hardware cloth is generally more durable and effective.
* Safety First: Always be careful when using sharp tools like scissors, wire cutters, and drills. Wear safety glasses to protect your eyes.
* Customization: Feel free to customize your harvester to suit your needs. You can add handles for easier carrying, or create a lid to prevent splashing.
Maintaining Your Harvester: Keeping it Clean and Functional
To ensure your bean sprout harvester lasts for years to come, proper maintenance is key. Here’s what I do:
* Regular Cleaning: After each use, I thoroughly rinse the harvester with warm, soapy water. This removes any residual sprout debris and prevents the growth of bacteria or mold. Pay special attention to cleaning the hardware cloth, as small pieces of hulls can get stuck in the mesh.
* Disinfection: Every few weeks, I disinfect the harvester with a diluted bleach solution (1 tablespoon of bleach per gallon of water). This helps to kill any lingering bacteria or mold spores. Be sure to rinse the harvester thoroughly with clean water after disinfecting.
* Storage: When not in use, I store the harvester in a dry place. This prevents the growth of mold and mildew.
* Hardware Cloth Inspection: Periodically inspect the hardware cloth for any signs of damage, such as rust or broken wires. If you notice any damage, replace the hardware cloth to prevent injury and ensure optimal performance.
* Zip Tie Check: Check the zip ties regularly to make sure they are still secure. Replace any broken or loose zip ties.
* Drainage Hole Maintenance: Make sure the drainage holes are clear of any debris. If they become clogged, use a small brush or toothpick to clear them.
Beyond Bean Sprouts: Other Potential Uses
While this harvester is designed primarily for bean sprouts, you might be surprised at its versatility. Here are a few other potential uses I’ve experimented with:
* Rinsing Small Vegetables: It’s great for rinsing small vegetables like cherry tomatoes or berries. The hardware cloth prevents them from falling through while allowing the water to drain away.
* Washing Quinoa or Rice: The small mesh is perfect for washing quinoa or rice, removing any excess starch and impurities.
* Sifting Flour: In a pinch, you can even use it to sift flour. Just be sure to clean it thoroughly afterwards.
* Sorting Small
Conclusion
So, there you have it! Harvesting bean sprouts quickly doesn’t have to be a tedious, time-consuming chore. By implementing this simple DIY trick, you can significantly streamline the process and enjoy fresh, crisp bean sprouts in a fraction of the time. Think of all the delicious stir-fries, salads, and sandwiches you can elevate with your homegrown bounty!
This method isn’t just about speed; it’s about efficiency and minimizing waste. By gently separating the sprouts from the hulls and unsprouted beans, you ensure that you’re only using the best parts, resulting in a superior flavor and texture. No more gritty bits ruining your culinary creations!
But the beauty of this DIY approach lies in its adaptability. Feel free to experiment with different containers and sieves to find what works best for you. Perhaps you prefer a larger colander for bigger batches, or maybe a finer mesh sieve for smaller, more delicate sprouts. The possibilities are endless!
Consider these variations to further personalize your bean sprout harvesting experience:
* **Pre-Soaking:** Before you begin the separation process, try soaking your harvested sprouts in cold water for a few minutes. This helps to loosen any remaining hulls and makes them easier to remove.
* **Gentle Agitation:** While rinsing, use your hands to gently agitate the sprouts. This helps to dislodge any stubborn hulls without damaging the delicate sprouts.
* **Air Drying:** After rinsing, spread the sprouts out on a clean kitchen towel or paper towels to air dry. This helps to prevent them from becoming soggy and extends their shelf life.
* **Sprout Variety:** This method works well with various types of bean sprouts, including mung bean sprouts, soybean sprouts, and lentil sprouts. Just adjust the rinsing and agitation techniques based on the sprout’s fragility.
Ultimately, the goal is to find a method that suits your individual needs and preferences. This DIY trick provides a solid foundation, but don’t be afraid to tweak it and make it your own.
We are confident that once you try this method for harvesting bean sprouts quickly, you’ll never go back to the old way. It’s efficient, effective, and yields consistently delicious results.
Now, it’s your turn! We encourage you to give this DIY trick a try and share your experience with us. Let us know what variations you discovered, what challenges you encountered, and what tips you have for fellow bean sprout enthusiasts. Your feedback is invaluable and helps us to refine and improve our methods. Share your photos and stories on social media using [Your Hashtag Here] and let’s build a community of happy, efficient bean sprout harvesters! Happy sprouting!
Frequently Asked Questions (FAQ)
Q: What kind of beans are best for sprouting?
A: Mung beans are the most common and easiest to sprout, making them a great starting point. However, you can also sprout adzuki beans, lentils, soybeans, and even some types of peas. Just be sure to use beans specifically intended for sprouting, as some dried beans may be treated with chemicals that are not safe for consumption. Always purchase your sprouting beans from a reputable source.
Q: How long do bean sprouts last after harvesting?
A: Properly stored, freshly harvested bean sprouts can last for up to a week in the refrigerator. To maximize their shelf life, rinse them thoroughly after harvesting, remove any excess moisture by patting them dry with a clean towel or using a salad spinner, and store them in an airtight container lined with a paper towel. The paper towel will absorb any excess moisture and help prevent spoilage.
Q: Can I eat bean sprouts raw?
A: While many people enjoy bean sprouts raw, it’s important to be aware of the potential risks of foodborne illness. Bean sprouts are grown in warm, humid conditions, which can be conducive to the growth of bacteria like Salmonella and E. coli. To minimize your risk, it’s always best to cook bean sprouts thoroughly before eating them, especially if you are pregnant, elderly, or have a weakened immune system. Cooking them to an internal temperature of 165°F (74°C) will kill any harmful bacteria.
Q: What if my bean sprouts are slimy or have a bad smell?
A: If your bean sprouts are slimy, discolored, or have an unpleasant odor, it’s best to discard them immediately. These are signs of spoilage and indicate that the sprouts are no longer safe to eat. It’s always better to err on the side of caution when it comes to food safety.
Q: How do I prevent mold from growing on my bean sprouts while they are sprouting?
A: Mold growth is a common concern when sprouting beans. To prevent it, ensure proper ventilation and drainage during the sprouting process. Rinse the sprouts thoroughly at least twice a day with fresh, cool water. Avoid overcrowding the sprouting container, as this can restrict airflow. If you notice any mold growth, discard the affected sprouts immediately and thoroughly clean the sprouting container before starting a new batch.
Q: Can I use this DIY trick for other types of sprouts, like alfalfa or broccoli sprouts?
A: While the basic principles of this DIY trick can be applied to other types of sprouts, you may need to adjust the technique based on the specific sprout’s characteristics. For example, alfalfa sprouts are much smaller and more delicate than bean sprouts, so you’ll need to use a finer mesh sieve and be extra gentle during the rinsing and separation process. Broccoli sprouts are also relatively small and can be easily damaged, so handle them with care. Experiment and find what works best for each type of sprout.
Q: What are the nutritional benefits of eating bean sprouts?
A: Bean sprouts are a nutritious addition to any diet. They are low in calories and fat but rich in vitamins, minerals, and fiber. They are a good source of vitamin C, vitamin K, folate, and manganese. Bean sprouts also contain antioxidants, which can help protect your body against damage from free radicals. Adding bean sprouts to your meals can boost your overall nutrient intake and contribute to a healthy lifestyle.
Q: Where can I find sprouting beans?
A: Sprouting beans are readily available at most health food stores, online retailers specializing in sprouting supplies, and some well-stocked grocery stores. Look for beans that are specifically labeled as “sprouting beans” or “seeds for sprouting.” Avoid using regular dried beans from the grocery store, as they may have been treated with chemicals that are not safe for consumption.
Q: Is there a specific type of sieve that works best for this DIY trick?
A: The best type of sieve depends on the size of your bean sprouts and the amount you are harvesting. A fine-mesh sieve is ideal for smaller sprouts, as it will prevent them from falling through the holes. A larger colander with slightly larger holes is suitable for larger sprouts and larger batches. Experiment with different sieves to find what works best for you. You can also use a combination of sieves, starting with a larger one to remove the bulk of the hulls and then using a finer one to catch any remaining debris.
Q: What if I don’t have a garden; can I still grow bean sprouts?
A: Absolutely! One of the great things about bean sprouts is that they can be easily grown indoors, regardless of whether you have a garden or not. All you need is a sprouting jar, a sprouting tray, or even just a clean glass jar and some cheesecloth. With a little bit of water and a few days, you can have a fresh supply of bean sprouts right in your kitchen.

Leave a Comment