
Expert Housekeeping Cleaning Secrets – are you ready to unlock the secrets to a sparkling clean home without spending a fortune or slaving away all day? I know I am! For generations, homemakers have passed down ingenious cleaning hacks, often born out of necessity and a desire to make the most of limited resources. Think about it: our grandmothers didn’t have a plethora of specialized cleaning products lining their shelves. They relied on simple, effective solutions using everyday ingredients.
These time-tested methods aren’t just relics of the past; they’re incredibly relevant today. In a world saturated with expensive and often harsh chemicals, many of us are searching for safer, more sustainable ways to keep our homes clean and healthy. Plus, who doesn’t love saving money? That’s where these expert housekeeping cleaning secrets come in.
This DIY article is your guide to rediscovering those forgotten gems. I’m going to share some of the most effective and easy-to-implement cleaning tricks that will transform your home into a haven of cleanliness and freshness. Get ready to ditch the harsh chemicals and embrace a simpler, more effective approach to housekeeping!
Expert Housekeeping Cleaning Secrets: DIY Edition!
Okay, friends, let’s dive into some seriously effective housekeeping cleaning secrets that I’ve picked up over the years. These aren’t your grandma’s old wives’ tales (well, some might be!), but they’re tried and true methods that will leave your home sparkling. Get ready to roll up your sleeves and transform your living space!
Tackling the Kitchen: Grease, Grime, and Glory!
The kitchen, the heart of the home, often bears the brunt of our culinary adventures. Let’s conquer the grease and grime!
Cleaning the Oven Like a Pro
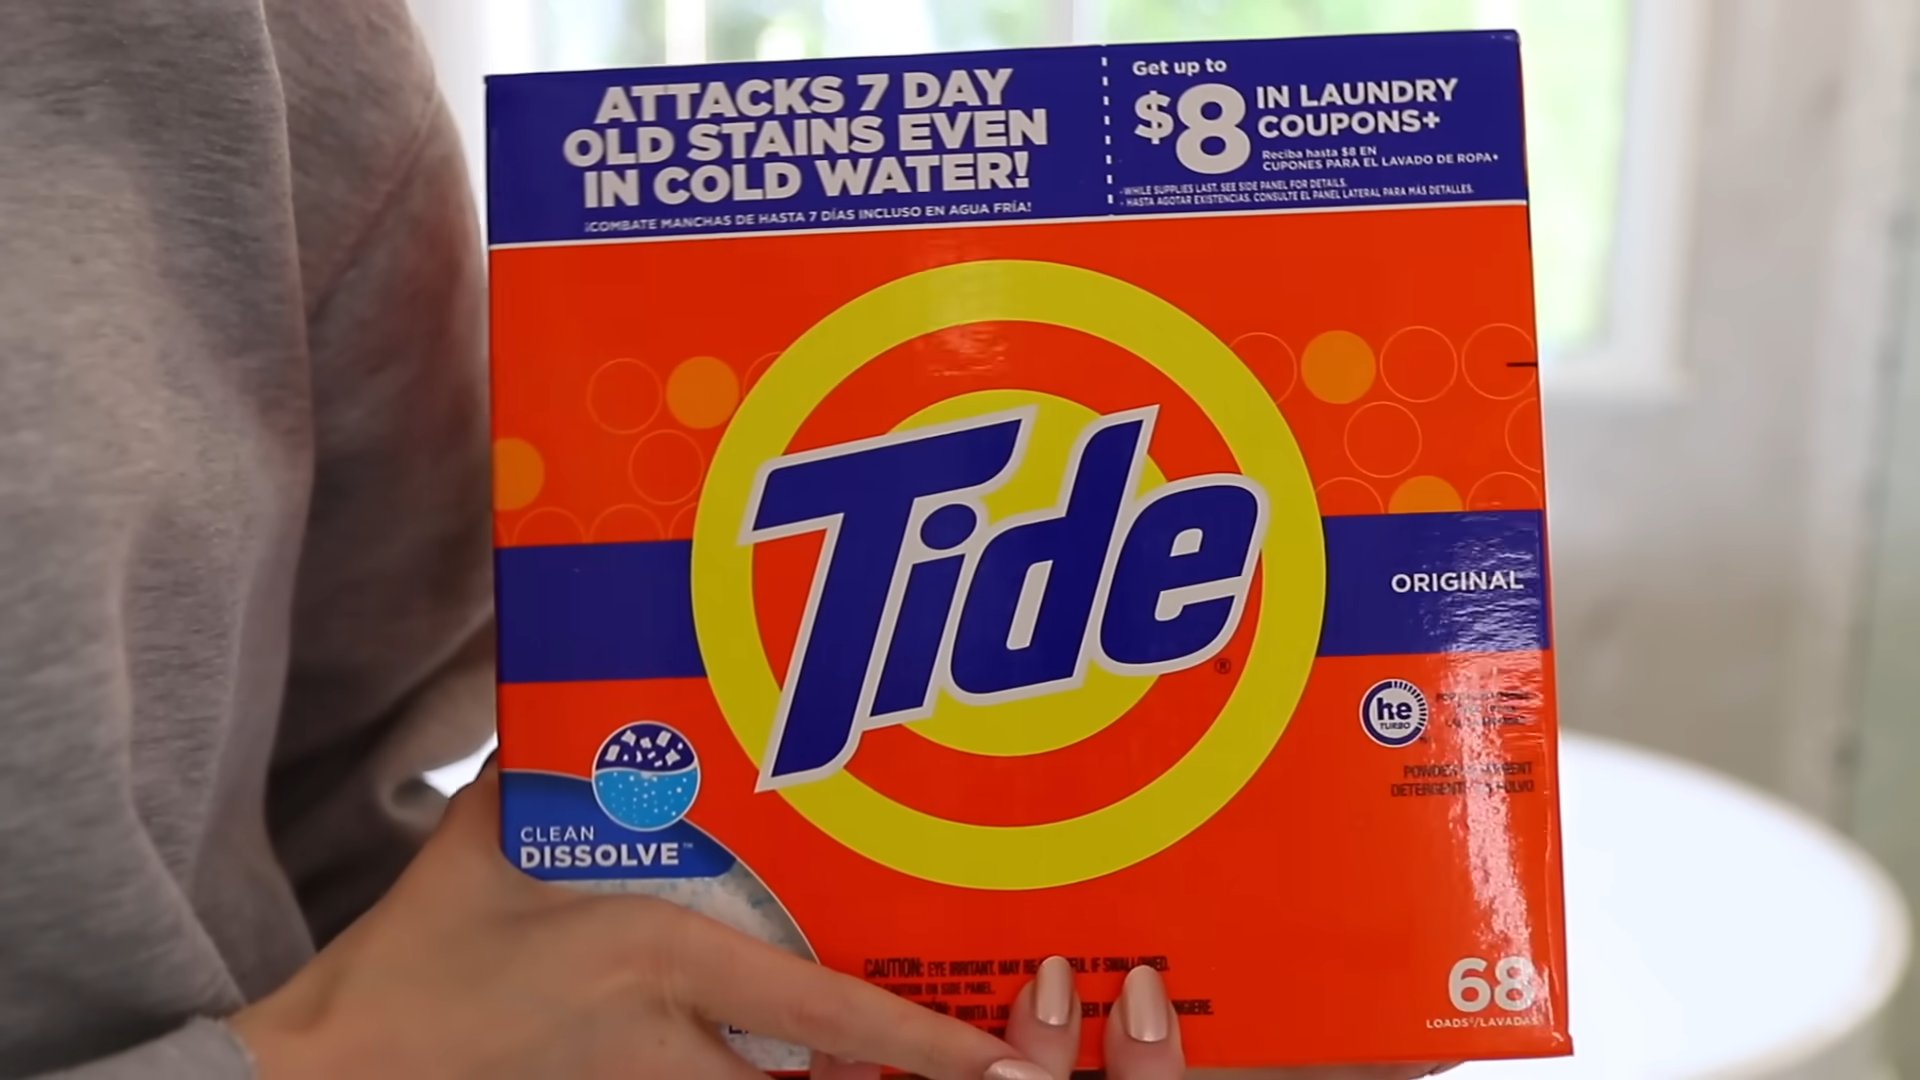
Forget harsh chemicals! This method uses the power of baking soda and vinegar.
1. Empty the Oven: Remove all racks, baking stones, and anything else inside. Give the racks a good soak in hot, soapy water.
2. Baking Soda Paste: In a bowl, mix ½ cup of baking soda with enough water to form a spreadable paste. I usually aim for a consistency similar to frosting.
3. Coat the Oven: Spread the baking soda paste all over the inside of your oven, avoiding the heating elements. Be generous! I like to wear gloves for this part.
4. Let it Sit: This is the key! Let the baking soda paste sit for at least 12 hours, or even better, overnight. The longer it sits, the easier the grime will lift.
5. Vinegar Time: The next day, fill a spray bottle with white vinegar. Spray the baking soda paste thoroughly. It will fizz! This is a good sign – it means it’s working.
6. Wipe it Clean: Use a damp cloth or sponge to wipe away the baking soda and vinegar mixture. You might need to scrub a bit in stubborn areas. For really tough spots, I sometimes use a plastic scraper.
7. Rinse and Repeat: Rinse the oven thoroughly with clean water to remove any remaining residue.
8. Replace the Racks: Once the racks are clean and dry, put them back in the oven.
Degreasing the Stovetop with Ease
A greasy stovetop is a common kitchen woe. Here’s how to tackle it:
1. Remove Grates and Burner Caps: Take off the grates and burner caps. Soak them in hot, soapy water.
2. Baking Soda Power: Sprinkle baking soda directly onto the stovetop surface.
3. Vinegar Spray: Spray white vinegar over the baking soda. Let it fizz for a few minutes.
4. Scrub-a-dub-dub: Use a non-abrasive sponge or cloth to scrub the stovetop. The baking soda and vinegar will help loosen the grease.
5. Wipe Clean: Wipe away the residue with a damp cloth.
6. Polish: For extra shine, you can use a glass cleaner on a glass stovetop.
7. Clean the Grates and Burner Caps: Scrub the grates and burner caps with a sponge or brush to remove any remaining grease and grime. Rinse them thoroughly and let them dry completely before replacing them.
Cleaning the Microwave Like Magic
Microwaves can get surprisingly messy. This steam-cleaning method is quick and effective.
1. Lemon Water: Fill a microwave-safe bowl with 1 cup of water and add a few slices of lemon. The lemon helps to deodorize and loosen grime.
2. Microwave for 5 Minutes: Microwave the lemon water on high for 5 minutes. Let the steam build up inside the microwave.
3. Let it Sit: Don’t open the door immediately! Let the microwave sit for another 5 minutes to allow the steam to further loosen the grime.
4. Wipe Clean: Carefully remove the bowl (it will be hot!). Use a damp cloth or sponge to wipe down the inside of the microwave. The grime should wipe away easily.
5. Clean the Turntable: Remove the turntable and wash it with soap and water.
Bathroom Bliss: Sparkling Surfaces and Fresh Scents
The bathroom needs regular attention to keep it clean and hygienic.
Cleaning Shower Doors and Walls: Goodbye Soap Scum!
Soap scum is the bane of every bathroom cleaner’s existence. Here’s how to banish it:
1. Vinegar Solution: Mix equal parts white vinegar and water in a spray bottle.
2. Warm it Up (Optional): For extra cleaning power, you can warm the vinegar solution in the microwave for a minute or two. Be careful not to overheat it!
3. Spray and Soak: Spray the vinegar solution liberally on the shower doors and walls. Let it soak for at least 15-20 minutes.
4. Scrub (Gently!): Use a non-abrasive sponge or scrub brush to gently scrub the surfaces.
5. Rinse Thoroughly: Rinse the shower doors and walls thoroughly with clean water.
6. Squeegee: Use a squeegee to remove excess water and prevent water spots.
7. Prevention is Key: To prevent soap scum buildup, squeegee your shower doors and walls after each use.
Cleaning the Toilet: Inside and Out
A clean toilet is essential for a hygienic bathroom.
1. Toilet Bowl Cleaner: Apply a toilet bowl cleaner under the rim and let it sit for the recommended time (usually 10-15 minutes).
2. Scrub-a-dub-dub: Use a toilet brush to scrub the inside of the bowl, paying attention to the waterline.
3. Flush: Flush the toilet to rinse away the cleaner.
4. Exterior Cleaning: Use a disinfectant wipe or spray to clean the exterior of the toilet, including the seat, lid, and base.
5. Don’t Forget the Base: Wipe down the floor around the base of the toilet.
Cleaning Showerheads: Restore the Flow
Mineral buildup can clog showerheads and reduce water pressure.
1. Vinegar Soak: Fill a plastic bag with white vinegar.
2. Secure the Bag: Place the bag over the showerhead, ensuring that the showerhead is submerged in the vinegar. Secure the bag with a rubber band or twist tie.
3. Soak Overnight: Let the showerhead soak in the vinegar overnight.
4. Remove and Rinse: Remove the bag and run the shower for a few minutes to flush out any remaining vinegar and mineral deposits.
5. Scrub (If Needed): If there’s still some buildup, use an old toothbrush to scrub the showerhead.
Living Room Love: Dust-Free and Delightful
The living room is where we relax and entertain, so keeping it clean is important.
Dusting Like a Pro: Beyond the Surface
Dusting isn’t just about wiping surfaces. It’s about getting rid of allergens and keeping your furniture looking its best.
1. Gather Your Supplies: You’ll need a microfiber cloth, a duster with an extendable handle (for high places), and a vacuum cleaner with a brush attachment.
2. Start High: Begin by dusting high surfaces, such as ceiling fans, light fixtures, and shelves. This will prevent dust from falling onto already cleaned surfaces.
3. Microfiber Magic: Use a slightly damp microfiber cloth to wipe down furniture, picture frames, and other surfaces. The dampness helps to trap dust instead of just spreading it around.
4. Vacuum Upholstery: Use the brush attachment on your vacuum cleaner to vacuum upholstery, including sofas, chairs, and curtains.
5. Don’t Forget the Electronics: Use a dry microfiber cloth to dust electronic devices, such as TVs and stereos. Avoid using liquids on electronics.
6. Clean the Baseboards: Wipe down the baseboards with a damp cloth to remove dust and dirt.
Cleaning Wood Furniture: Shine and Protection
Wood furniture needs special care to keep it looking its best.
1. Dust First: Always dust wood furniture before cleaning it.
2. Mild Soap Solution: Mix a few drops of mild dish soap with warm water.
3. Damp Cloth: Dip a soft cloth into the soap solution, wring it out well, and wipe down the wood furniture.
4. Dry Immediately: Use a clean, dry cloth to dry the furniture immediately.
5. Wood Polish (Optional): For extra shine and protection, you can apply a wood polish according to the manufacturer’s instructions.
Carpet Care: Vacuuming and Spot Cleaning
Regular vacuuming and spot cleaning are essential for keeping carpets clean and fresh.
1. Vacuum Regularly: Vacuum carpets at least once a week, or more often in high-traffic areas.
2. Spot Cleaning: Address spills and stains immediately. Blot the stain with a clean cloth, working from the outside in.
Conclusion
So, there you have it! Unveiling these expert housekeeping cleaning secrets isn’t just about tidying up; it’s about reclaiming your time, saving money, and creating a healthier, happier home. We’ve explored how simple ingredients and clever techniques can transform your cleaning routine from a chore into a satisfying accomplishment.
The beauty of these DIY methods lies in their adaptability. Feel free to experiment with essential oils to personalize your cleaning solutions. A few drops of lavender in your all-purpose cleaner can create a calming atmosphere, while lemon or tea tree oil can add extra antibacterial power. Consider using different types of vinegar, such as apple cider vinegar, for a milder scent. For those with sensitive skin, always test a small area first and consider wearing gloves.
Remember that consistency is key. Incorporating these expert housekeeping cleaning secrets into your regular routine will prevent dirt and grime from building up, making future cleaning sessions even easier. Don’t be afraid to adjust the recipes and techniques to suit your specific needs and preferences.
We truly believe that these tips will revolutionize the way you approach cleaning. They’re not just about making things look clean; they’re about creating a healthier and more sustainable living environment. By using natural ingredients and reducing your reliance on harsh chemicals, you’re not only protecting your family but also contributing to a cleaner planet.
We are confident that you will find these expert housekeeping cleaning secrets invaluable. Now it’s your turn! We encourage you to try these methods and share your experiences with us. Let us know which tips worked best for you, any variations you tried, and any other cleaning secrets you’ve discovered along the way. Your feedback will help us continue to refine and improve these techniques, making them even more accessible and effective for everyone. Share your before-and-after photos, your favorite scent combinations, and any challenges you encountered. Let’s build a community of clean-home enthusiasts who are passionate about creating healthy and happy living spaces.
Don’t delay! Start implementing these expert housekeeping cleaning secrets today and experience the difference for yourself. You’ll be amazed at how easy and affordable it is to achieve a sparkling clean home using simple, natural ingredients.
Frequently Asked Questions (FAQs)
What are the benefits of using DIY cleaning solutions compared to store-bought products?
DIY cleaning solutions offer a multitude of benefits. Firstly, they are significantly more cost-effective. You’re using ingredients you likely already have in your pantry, such as vinegar, baking soda, and lemon juice, which are far cheaper than specialized cleaning products. Secondly, DIY solutions are much safer for your health and the environment. They avoid harsh chemicals, artificial fragrances, and other potentially harmful ingredients found in many commercial cleaners. This reduces the risk of allergies, skin irritations, and respiratory problems. Finally, DIY cleaning allows for customization. You can tailor the ingredients and scents to your specific needs and preferences, creating a truly personalized cleaning experience.
Are DIY cleaning solutions as effective as store-bought products?
In many cases, yes! Vinegar, baking soda, and lemon juice are powerful cleaning agents that can effectively tackle a wide range of cleaning tasks. Vinegar is a natural disinfectant and degreaser, baking soda is a mild abrasive and deodorizer, and lemon juice is a natural cleaner and brightener. While some heavy-duty cleaning tasks might require specialized products, DIY solutions are more than capable of handling everyday cleaning needs. The key is to use the right ingredients for the specific task and to follow the instructions carefully.
Can I use essential oils in my DIY cleaning solutions?
Absolutely! Essential oils can add a pleasant scent and enhance the cleaning power of your DIY solutions. Many essential oils have antibacterial, antiviral, and antifungal properties. Some popular choices for cleaning include lavender, lemon, tea tree, eucalyptus, and peppermint. When using essential oils, be sure to use them sparingly, as they are highly concentrated. A few drops are usually sufficient. Also, be aware that some essential oils are not safe for use around pets or children, so do your research before using them.
How should I store my DIY cleaning solutions?
It’s important to store your DIY cleaning solutions properly to maintain their effectiveness and prevent spoilage. Use clean, airtight containers, preferably glass or BPA-free plastic. Label each container clearly with the name of the solution and the date it was made. Store your solutions in a cool, dark place away from direct sunlight and heat. Most DIY cleaning solutions will last for several weeks or even months when stored properly. However, it’s always a good idea to check for any signs of spoilage, such as discoloration or a foul odor, before using them.
Are there any surfaces I should avoid cleaning with vinegar?
Yes, vinegar is acidic and can damage certain surfaces. Avoid using vinegar on marble, granite, or other natural stone surfaces, as it can etch the stone. Also, avoid using vinegar on waxed wood floors, as it can strip the wax. It’s also not recommended to use vinegar on electronics screens. Always test a small, inconspicuous area before cleaning an entire surface with vinegar.
How can I make my DIY cleaning solutions smell better?
There are several ways to enhance the scent of your DIY cleaning solutions. As mentioned earlier, essential oils are a great option. You can also infuse your vinegar with citrus peels or herbs. Simply add the peels or herbs to a jar of vinegar and let it sit for a few weeks before straining and using the infused vinegar in your cleaning solutions. Another option is to add a few drops of your favorite fragrance oil to your solutions.
What if I have sensitive skin?
If you have sensitive skin, it’s important to take extra precautions when using DIY cleaning solutions. Always wear gloves to protect your hands. Test a small area of skin with the solution before using it on a larger surface. You can also dilute the solutions further to reduce their concentration. Consider using milder ingredients, such as castile soap, instead of vinegar or baking soda.
Can I use these expert housekeeping cleaning secrets to clean my entire house?
Absolutely! These expert housekeeping cleaning secrets are versatile and can be used to clean virtually every room in your house. From the kitchen to the bathroom to the living room, these tips will help you achieve a sparkling clean home using natural and affordable ingredients. Remember to adjust the recipes and techniques to suit the specific needs of each room and surface.
What should I do if I accidentally mix vinegar and bleach?
Never, ever mix vinegar and bleach! This combination creates chlorine gas, which is highly toxic and can be fatal. If you accidentally mix vinegar and bleach, immediately evacuate the area and call emergency services.
How often should I clean my house using these methods?
The frequency of cleaning depends on your lifestyle and personal preferences. However, a good rule of thumb is to do a quick cleaning of high-traffic areas, such as the kitchen and bathroom, every day or every other day. A more thorough cleaning of the entire house can be done once a week or every other week. By incorporating these expert housekeeping cleaning secrets into your regular routine, you can maintain a clean and healthy home with minimal effort.

Leave a Comment