
Hanging Watermelon Hammock DIY: Sounds intriguing, right? Imagine this: instead of your prize-winning watermelon sprawling awkwardly on the ground, vulnerable to pests and rot, it’s gently cradled in a charming, handmade hammock, swinging softly in the breeze. That’s the magic we’re about to unlock! For centuries, gardeners have sought innovative ways to support their precious fruits, from simple trellises to elaborate scaffolding. But this DIY project takes fruit support to a whole new, adorable level.
Let’s be honest, watching your hard-earned watermelon slowly decay on the soil is heartbreaking. It’s a common problem, especially for those of us with limited garden space or less-than-ideal growing conditions. That’s where this Hanging Watermelon Hammock DIY comes in. It’s not just about aesthetics (though, let’s face it, it’s incredibly cute!); it’s about providing essential support, improving air circulation, and protecting your watermelon from ground-dwelling pests and diseases. Plus, it’s a fantastic way to add a touch of whimsy and personality to your garden. I’m excited to share this simple, yet effective, project that will not only protect your watermelon but also make your garden the envy of the neighborhood!
DIY Hanging Watermelon Hammock: A Sweet Treat for Your Garden Birds!
Okay, friends, let’s get real. Who doesn’t love a good DIY project that’s both fun and functional? And if that project also involves giving our feathered friends a little something special, well, sign me up! Today, I’m going to walk you through how to create an adorable and practical hanging watermelon hammock for your garden birds. It’s a fantastic way to recycle a watermelon rind, provide birds with a refreshing water source, and add a touch of whimsy to your outdoor space. Trust me, this is a project you’ll be proud of!
What You’ll Need: Gathering Your Supplies
Before we dive in, let’s make sure we have everything we need. This will save you from running back and forth to the store mid-project (we’ve all been there!).
* A large watermelon (the bigger, the better for stability and water capacity).
* A sharp knife (a serrated knife works wonders).
* A large spoon or ice cream scoop.
* Drill with drill bits (various sizes, including a larger one for drainage).
* Strong rope or twine (natural fibers like jute or hemp look great).
* Sandpaper (optional, for smoothing rough edges).
* Bird-safe sealant (optional, for extending the hammock’s life).
* Water (obviously!).
* Bird-friendly decorations (optional: small pebbles, moss, twigs).
Preparing the Watermelon: From Fruit to Foundation
This is where the magic begins! We’re going to transform that juicy watermelon into the base of our bird-friendly hammock.
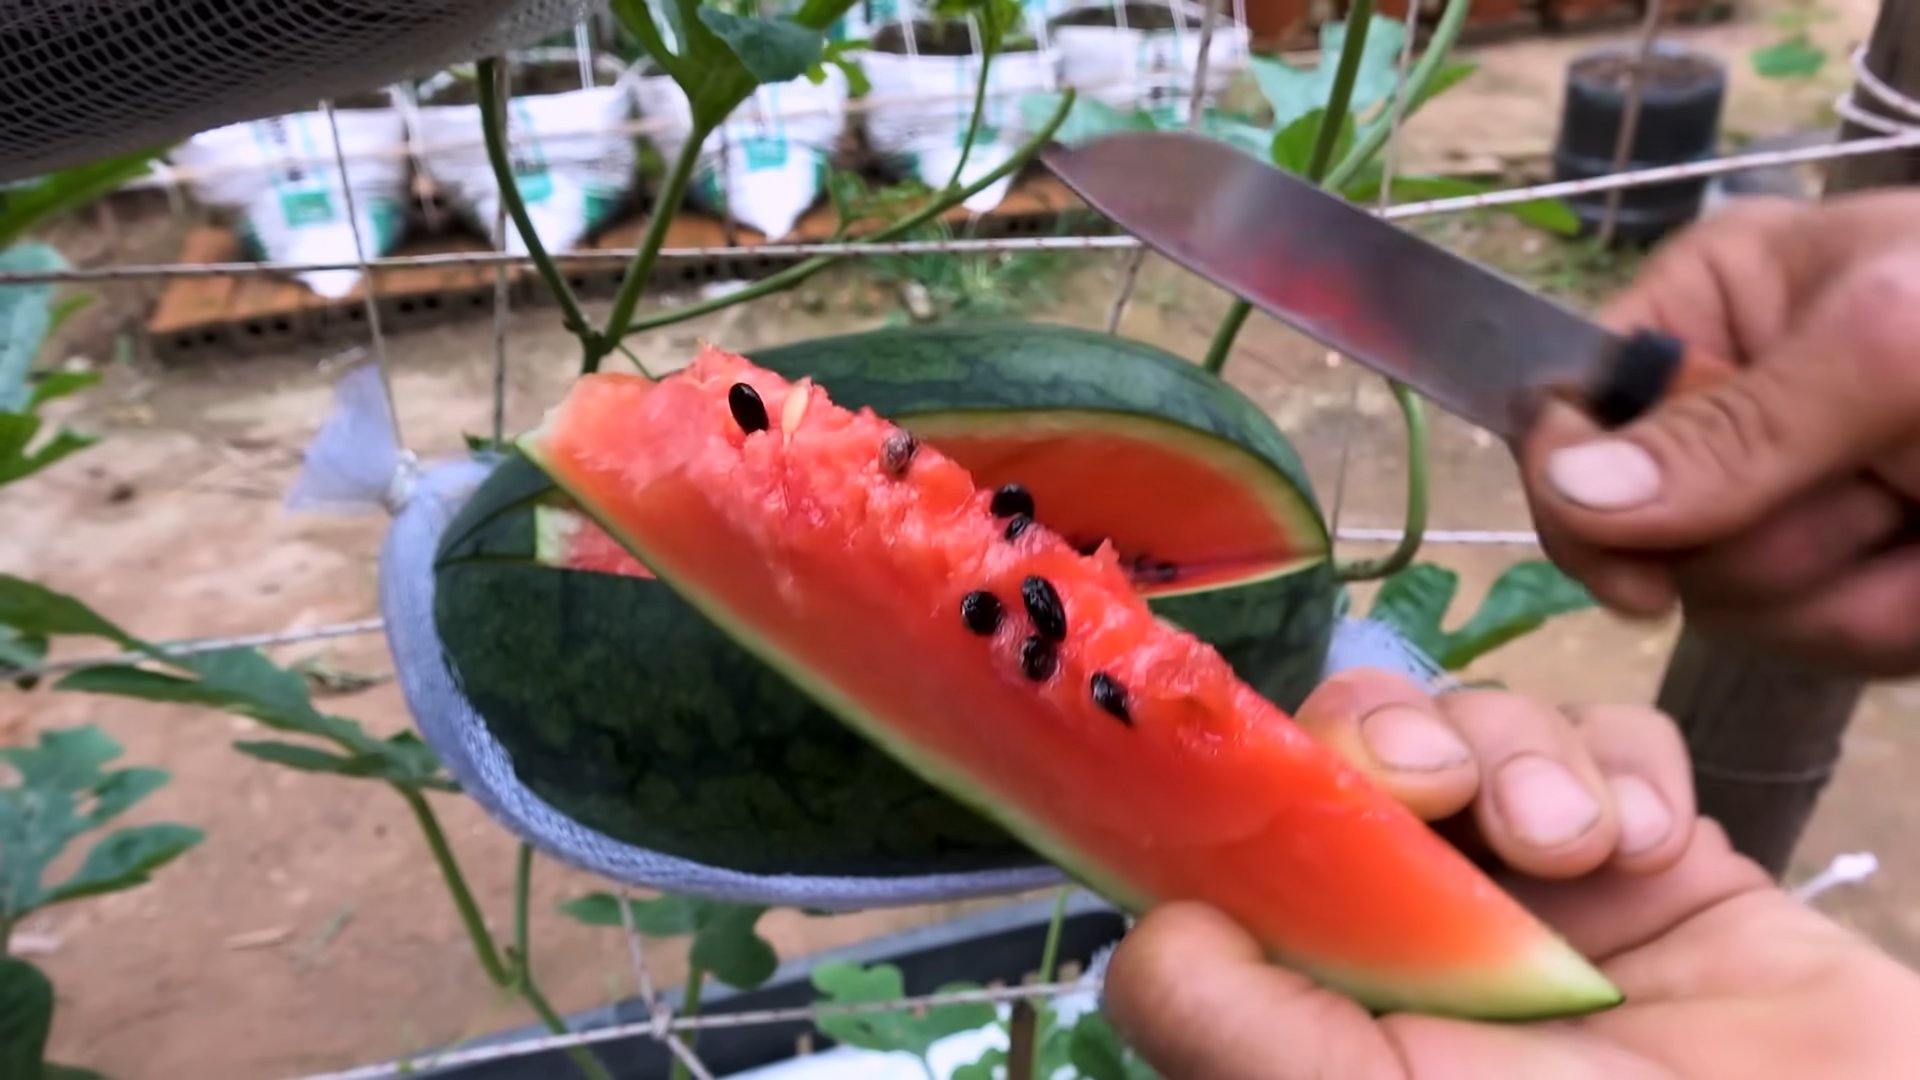
1. Cut the Watermelon in Half: Carefully cut the watermelon in half lengthwise. Make sure you have a stable surface and use a sharp knife. I find that a sawing motion works best to avoid slipping.
2. Scoop Out the Flesh: Now comes the fun part (and the snack part!). Use a large spoon or ice cream scoop to remove all the watermelon flesh. Get as much out as possible, leaving only the rind. Don’t throw away the watermelon! Enjoy it as a refreshing treat or use it in a smoothie.
3. Smooth the Edges (Optional): If the edges of the watermelon rind are rough or uneven, you can use sandpaper to smooth them down. This is mostly for aesthetics, but it can also prevent any sharp edges that might hurt the birds.
4. Clean the Rind: Rinse the watermelon rind thoroughly with water to remove any remaining flesh or seeds. Let it dry completely before moving on to the next step. This will help prevent mold and ensure a longer lifespan for your hammock.
Creating the Hammock Structure: Drilling and Hanging
Now that we have our watermelon rind ready, it’s time to create the structure that will allow us to hang it and provide drainage.
1. Drill Drainage Holes: This is crucial! We need to ensure that rainwater doesn’t accumulate in the hammock, which could become stagnant and attract mosquitoes. Use a drill with a larger drill bit (around 1/4 inch) to drill several drainage holes in the bottom of the watermelon rind. Space them evenly apart. I usually aim for about 5-7 holes.
2. Drill Hanging Holes: Now, we need to create the holes for the rope or twine that will hang the hammock. Decide where you want the hanging points to be. I recommend four points for stability. Mark these points evenly spaced around the rim of the watermelon rind. Use a smaller drill bit (just large enough to accommodate your rope or twine) to drill the holes at these marked points.
3. Thread the Rope or Twine: Cut four equal lengths of rope or twine. The length will depend on how high you want to hang the hammock. Remember to add extra length for tying knots. Thread each piece of rope through one of the hanging holes.
4. Secure the Knots: Tie a secure knot at the end of each rope inside the watermelon rind. Make sure the knots are large enough that they won’t slip through the holes. I like to use a double knot for extra security.
5. Gather and Tie the Hanging Ends: Gather the four hanging ends of the rope or twine together. Adjust the lengths so that the hammock hangs evenly. Tie all four ends together in a secure knot at the desired hanging height. You can also use a metal ring or hook to hang the hammock from a tree branch or other support.
Finishing Touches: Making it Bird-Friendly
We’re almost there! Now it’s time to add the finishing touches that will make our watermelon hammock irresistible to our feathered friends.
1. Seal the Rind (Optional): To extend the life of your watermelon hammock, you can apply a bird-safe sealant to the inside and outside of the rind. This will help protect it from moisture and prevent it from rotting too quickly. Make sure the sealant is completely dry before adding water.
2. Add Water: Fill the watermelon hammock with fresh, clean water. Be careful not to overfill it.
3. Decorate (Optional): You can add some bird-friendly decorations to make the hammock even more appealing. Place a few small pebbles in the bottom to give the birds something to perch on. You can also add some moss or twigs around the edges to create a more natural look. Just make sure everything you use is safe for birds.
4. Choose a Hanging Location: Select a suitable location to hang your watermelon hammock. It should be in a shady spot to prevent the water from evaporating too quickly. It should also be away from predators like cats. A sturdy tree branch is usually a good option.
5. Hang and Enjoy: Carefully hang your watermelon hammock from the chosen location. Make sure it’s secure and stable. Now, sit back and enjoy watching the birds come to drink and bathe in your creation!
Maintaining Your Watermelon Hammock: Keeping it Fresh
To keep your watermelon hammock in tip-top shape and ensure the birds have a clean and safe water source, regular maintenance is key.
1. Change the Water Regularly: Change the water in the hammock every day or two, especially during hot weather. This will prevent the water from becoming stagnant and attracting mosquitoes.
2. Clean the Hammock: Clean the hammock regularly to remove any algae or debris. You can use a brush and some soapy water to scrub the inside of the rind. Rinse thoroughly with clean water.
3. Inspect for Damage: Regularly inspect the hammock for any signs of damage, such as cracks or rot. If the rind starts to deteriorate, it’s time to replace it with a new one.
4. Consider Seasonal Changes: During colder months, you might want to bring the hammock indoors to prevent it from freezing and cracking. You can also use a different type of bird bath during the winter.
Troubleshooting: Addressing Common Issues
Even with the best planning, sometimes things don’t go exactly as expected. Here are a few common issues you might encounter and how to address them:
* The Watermelon Rind is Cracking: This can happen if the rind dries out too quickly or if it’s exposed to extreme temperatures. Try sealing the rind with a bird-safe sealant to help prevent cracking.
* The Hammock is Attracting Mosquitoes: Make sure you have adequate drainage holes and change the water regularly. You can also add a few drops of bird-safe mosquito repellent to the water.
* The Birds Aren’t Using the Hammock: It might take the birds a little while to discover your new water source. Try placing the hammock in a location where they already frequent. You can also add some bird-friendly decorations to make it more appealing.
* The Rope is Fraying: If the rope or twine starts to fray, replace it immediately to prevent the hammock from falling.
Why This Project Rocks: Benefits Beyond Beauty
This DIY watermelon hammock isn’t just a pretty face; it offers several benefits for both you and the birds:
* Recycling: It’s a great way to recycle a watermelon rind that would otherwise end up in the trash.
* Water Source: It provides birds with a much-needed source of fresh water, especially during hot and dry weather.
* Attracts Birds: It can attract a variety of birds to your garden, providing you with hours of entertainment.
* DIY Fun: It’s a fun and rewarding DIY project that you can do with your family.
* Cost-Effective: It’s a relatively inexpensive project, especially if you already have some of the supplies on hand.
* Unique Garden Decor: It adds a unique and whimsical touch to your outdoor space.
So there you have it! A complete guide to creating your very own hanging watermelon hammock for your garden birds. I hope you enjoy this project as much as I do. Happy crafting, and happy bird watching!
Conclusion
So, there you have it! Creating your own hanging watermelon hammock is not just a fun weekend project; it’s a game-changer for enjoying this summer fruit. Forget struggling with messy slices and sticky fingers. This DIY trick transforms your watermelon experience into a delightful, mess-free, and even aesthetically pleasing event. Imagine lounging in your backyard, gently swinging your watermelon hammock, and easily scooping out refreshing bites. It’s pure summer bliss!
But the benefits extend beyond mere convenience. This project is incredibly budget-friendly, utilizing materials you likely already have around the house. It’s also a fantastic way to reduce food waste. By suspending the watermelon, you improve air circulation, which can help it stay fresh for longer. Plus, it’s a conversation starter! Your guests will be amazed by your ingenuity and the sheer novelty of a hanging watermelon.
Don’t be afraid to get creative with your hammock design! While we’ve outlined a simple and effective method, feel free to experiment with different materials and embellishments. Consider using colorful macrame cord for a bohemian vibe, or repurpose old t-shirts into a braided hammock for a sustainable twist. You could even add decorative beads or charms to personalize your creation. For a more robust hammock, especially for larger watermelons, consider using thicker rope or even chain. Just ensure whatever material you choose is strong enough to support the weight.
Another variation to consider is the type of watermelon you use. While a classic round watermelon is perfect, you could also try this with a smaller personal watermelon or even a cantaloupe or honeydew melon. The principles remain the same, but you may need to adjust the size of your hammock accordingly.
Beyond the hammock itself, think about the presentation. Serve your watermelon bites in elegant bowls or on skewers for a more sophisticated touch. You can even sprinkle them with fresh mint or a squeeze of lime juice to enhance the flavor.
Ultimately, the hanging watermelon hammock is more than just a clever trick; it’s an invitation to embrace the joy of summer and share it with others. It’s a testament to the power of simple DIY projects to elevate everyday experiences.
We wholeheartedly encourage you to give this DIY a try. It’s easier than you think, and the rewards are well worth the effort. Once you’ve created your own hanging watermelon hammock, we’d love to hear about your experience! Share your photos and tips on social media using #WatermelonHammockDIY. Let’s inspire others to ditch the messy slices and embrace the hammock life! We can’t wait to see your creative variations and hear about the delicious memories you create. So go ahead, grab a watermelon, gather your supplies, and get ready to swing into summer!
Frequently Asked Questions (FAQ)
What kind of rope is best for making a watermelon hammock?
The best type of rope for a watermelon hammock is a strong, durable rope that won’t stretch or fray easily. Natural fiber ropes like jute or hemp can be aesthetically pleasing, but they may not be as strong or weather-resistant as synthetic options. We recommend using nylon or polypropylene rope, as these are both strong, affordable, and resistant to moisture and mildew. Ensure the rope you choose has a weight capacity that significantly exceeds the weight of your watermelon to ensure safety. A rope with a diameter of at least 1/4 inch is generally recommended for a standard-sized watermelon.
How do I ensure the hammock is strong enough to hold the watermelon?
Several factors contribute to the strength of your watermelon hammock. First, choose a strong and durable rope, as mentioned above. Second, ensure that the knots you use are secure and properly tied. A square knot or a figure-eight knot are good choices for securing the rope. Third, distribute the weight of the watermelon evenly across the hammock. This can be achieved by spacing the support ropes evenly around the watermelon. Finally, test the hammock before fully suspending the watermelon. Gently place the watermelon in the hammock and gradually increase the weight to ensure that the ropes and knots are holding securely. If you notice any signs of strain or slippage, reinforce the hammock before proceeding.
What if I don’t have a drill? Can I still make this?
While a drill makes the process easier and cleaner, you can still create a watermelon hammock without one. You can use a sturdy skewer or a sharp knife to carefully create the holes in the watermelon rind. Be extremely cautious when using a knife, and always cut away from yourself. You may need to apply more pressure and rotate the skewer or knife to create a hole large enough for the rope to pass through. Another option is to use a metal knitting needle or crochet hook to create the holes. These tools are often strong enough to pierce the rind and create a small opening. Remember to work slowly and carefully to avoid cracking the watermelon.
How do I prevent the watermelon from rotting in the hammock?
To prevent your watermelon from rotting in the hammock, proper air circulation is key. Avoid placing the hammock in direct sunlight or in a humid environment, as this can accelerate the ripening process and lead to spoilage. Ensure that the watermelon is not touching any surfaces that could trap moisture. You can also consider placing a layer of paper towels or a breathable cloth beneath the watermelon to absorb any excess moisture. Regularly inspect the watermelon for any signs of spoilage, such as soft spots or mold. If you notice any of these signs, remove the watermelon from the hammock immediately. It’s also best to only keep the watermelon in the hammock for a few days to ensure optimal freshness.
Can I use this method for other fruits besides watermelon?
Yes, you can adapt this method for other fruits, but you’ll need to consider the size and weight of the fruit. Cantaloupe and honeydew melons are good candidates, as they are similar in size and shape to watermelons. However, you may need to adjust the size of the hammock and the strength of the rope accordingly. For smaller fruits like pumpkins or squashes, you can create a smaller hammock using thinner rope. Avoid using this method for very heavy fruits like pineapples or jackfruits, as they may be too heavy for a homemade hammock. Always ensure that the hammock is strong enough to support the weight of the fruit before suspending it.
How do I clean the watermelon hammock?
Cleaning your watermelon hammock is essential to prevent the growth of bacteria and mold. After each use, remove any watermelon residue from the hammock with a damp cloth. If the hammock is made of rope, you can wash it with mild soap and water. Rinse thoroughly and allow it to air dry completely before storing. If the hammock is made of fabric, you can machine wash it on a gentle cycle. Avoid using harsh chemicals or bleach, as these can damage the materials. Regularly inspect the hammock for any signs of mold or mildew, and clean it promptly if necessary. Proper cleaning and maintenance will help to extend the life of your watermelon hammock and ensure that it remains safe and hygienic.
Where is the best place to hang my watermelon hammock?
The best place to hang your watermelon hammock is in a cool, shaded area away from direct sunlight. A covered porch, patio, or gazebo are ideal locations. Avoid hanging the hammock in areas that are exposed to rain or high humidity, as this can accelerate the ripening process and lead to spoilage. Ensure that the hanging point is strong and secure, such as a sturdy tree branch or a reinforced beam. The hanging point should be high enough to allow the watermelon to swing freely without touching the ground. Before hanging the hammock, inspect the hanging point for any signs of weakness or damage. If you are unsure about the strength of the hanging point, consult with a professional.


Leave a Comment