
Planting Garlic Cloves at Home might seem intimidating, but trust me, it’s one of the most rewarding DIY projects you can undertake! Imagine the satisfaction of harvesting your own pungent, flavorful garlic, knowing exactly where it came from and how it was grown. For centuries, garlic has been revered not only for its culinary uses but also for its medicinal properties. From ancient Egypt, where it fueled the pyramid builders, to modern kitchens worldwide, garlic has held a prominent place in our lives.
But why should you bother planting garlic cloves at home? Well, store-bought garlic often lacks the robust flavor of homegrown varieties. Plus, you have complete control over the growing process, ensuring it’s free from harmful chemicals. In this article, I’m going to share some simple yet effective DIY tricks and hacks that will make planting garlic cloves at home a breeze, even if you have limited space or gardening experience. Get ready to ditch the bland supermarket garlic and embrace the joy of growing your own delicious, aromatic bulbs!
Planting Garlic Cloves at Home: A Beginner’s Guide
Hey there, fellow gardening enthusiasts! I’m so excited to share my tried-and-true method for planting garlic cloves at home. It’s surprisingly easy, and the reward of harvesting your own pungent, flavorful garlic is absolutely worth it. Trust me, once you’ve tasted homegrown garlic, you’ll never want to go back to the store-bought stuff!
This guide will walk you through every step, from choosing the right garlic to harvesting your bounty. Let’s get our hands dirty!
Choosing Your Garlic
Before we even think about planting, we need to select the right garlic. Not all garlic is created equal, and the type you choose will significantly impact your harvest.
* Hardneck vs. Softneck: This is the first big decision.
* Hardneck garlic is generally more flavorful and cold-hardy, making it ideal for colder climates. It produces a flower stalk called a scape, which you can harvest and eat (they’re delicious!). Hardneck varieties typically have fewer, larger cloves.
* Softneck garlic is better suited for warmer climates and stores for a longer period. It doesn’t produce a scape and usually has more, smaller cloves. You’ll often see softneck garlic braided.
* Variety Matters: Within hardneck and softneck, there are tons of different varieties. Do some research to find varieties that thrive in your specific climate. Local nurseries are a great resource for this! Some popular hardneck varieties include ‘German Extra Hardy,’ ‘Music,’ and ‘Spanish Roja.’ ‘California Early’ and ‘Silverskin’ are common softneck choices.
* Source Wisely: Don’t plant garlic from the grocery store! It’s often treated to prevent sprouting, and you don’t know its origin or whether it’s disease-free. Instead, buy your garlic from a reputable seed company or local farmer. Look for plump, firm bulbs with no signs of mold or damage.
Preparing Your Planting Site
Garlic needs a sunny spot with well-drained soil. If your soil is heavy clay, amend it with plenty of compost or other organic matter to improve drainage.
* Sunlight: Garlic needs at least 6 hours of sunlight per day.
* Soil: The soil should be loose, fertile, and well-draining. Garlic doesn’t like to sit in wet soil.
* pH: Aim for a soil pH between 6.0 and 7.0. You can test your soil pH with a kit from your local garden center.
* Amendments: Incorporate plenty of compost, well-rotted manure, or other organic matter into the soil before planting. This will provide essential nutrients and improve drainage. I like to add a slow-release fertilizer formulated for bulbs as well.
Planting Your Garlic Cloves
This is where the magic happens! The best time to plant garlic is in the fall, about 4-6 weeks before the ground freezes. This allows the cloves to develop roots before winter sets in.
1. Separate the Cloves: Gently separate the cloves from the bulb just before planting. Leave the papery skin on each clove intact. Choose the largest, healthiest cloves for planting. Smaller cloves will still grow, but they’ll produce smaller bulbs.
2. Prepare the Planting Holes: Dig holes about 4-6 inches deep and 6-8 inches apart. Rows should be spaced about 10-12 inches apart.
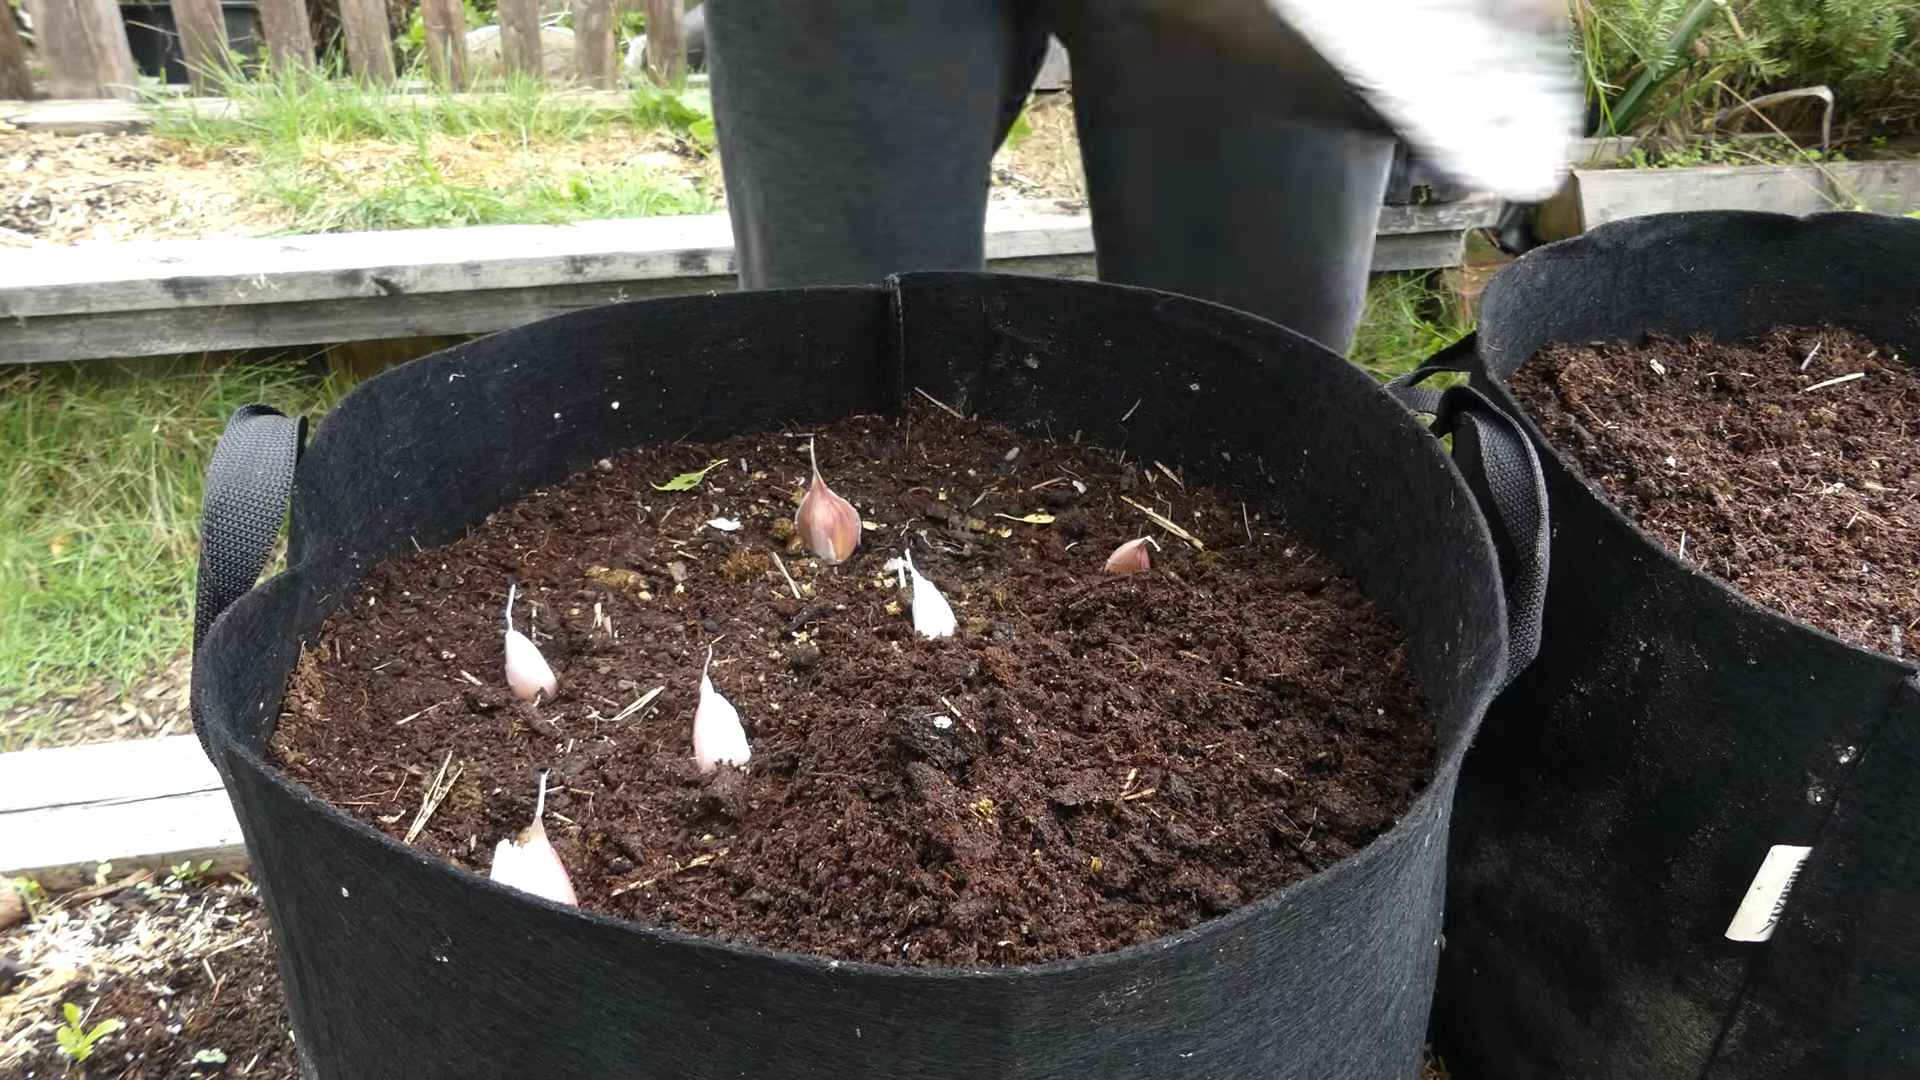
3. Plant the Cloves: Place each clove in a hole, pointed end up. This is crucial! The pointed end is where the leaves will emerge.
4. Cover with Soil: Cover the cloves with soil and gently firm the soil around them.
5. Water Thoroughly: Water the planting area well to settle the soil.
6. Mulch: Apply a thick layer of mulch (straw, shredded leaves, or wood chips) over the planting area. This will help retain moisture, suppress weeds, and protect the cloves from extreme temperature fluctuations. I prefer straw because it breaks down slowly and provides good insulation.
Caring for Your Garlic
Garlic is relatively low-maintenance, but a little TLC will go a long way.
* Watering: Water regularly, especially during dry periods. Garlic needs consistent moisture to thrive. However, avoid overwatering, as this can lead to rot.
* Weeding: Keep the planting area free of weeds. Weeds compete with garlic for nutrients and water. Hand-pull weeds carefully to avoid disturbing the garlic roots.
* Fertilizing: Garlic is a heavy feeder. Side-dress with a nitrogen-rich fertilizer in the spring, when the plants start to actively grow. Fish emulsion or compost tea are excellent organic options.
* Scapes (Hardneck Garlic): If you’re growing hardneck garlic, you’ll notice a flower stalk (scape) emerging in the spring. Cut off the scapes when they start to curl. This will encourage the plant to put more energy into bulb development. Don’t throw the scapes away! They’re delicious sautéed, grilled, or used in pesto.
* Pest and Disease Control: Garlic is generally pest-resistant, but watch out for onion thrips and garlic mites. If you notice any signs of infestation, treat with an appropriate insecticide or miticide. Good air circulation and well-drained soil can help prevent fungal diseases.
Harvesting Your Garlic
Harvest time is the most exciting part! You’ll know your garlic is ready to harvest when the lower leaves start to turn yellow and brown. This usually happens in mid-summer.
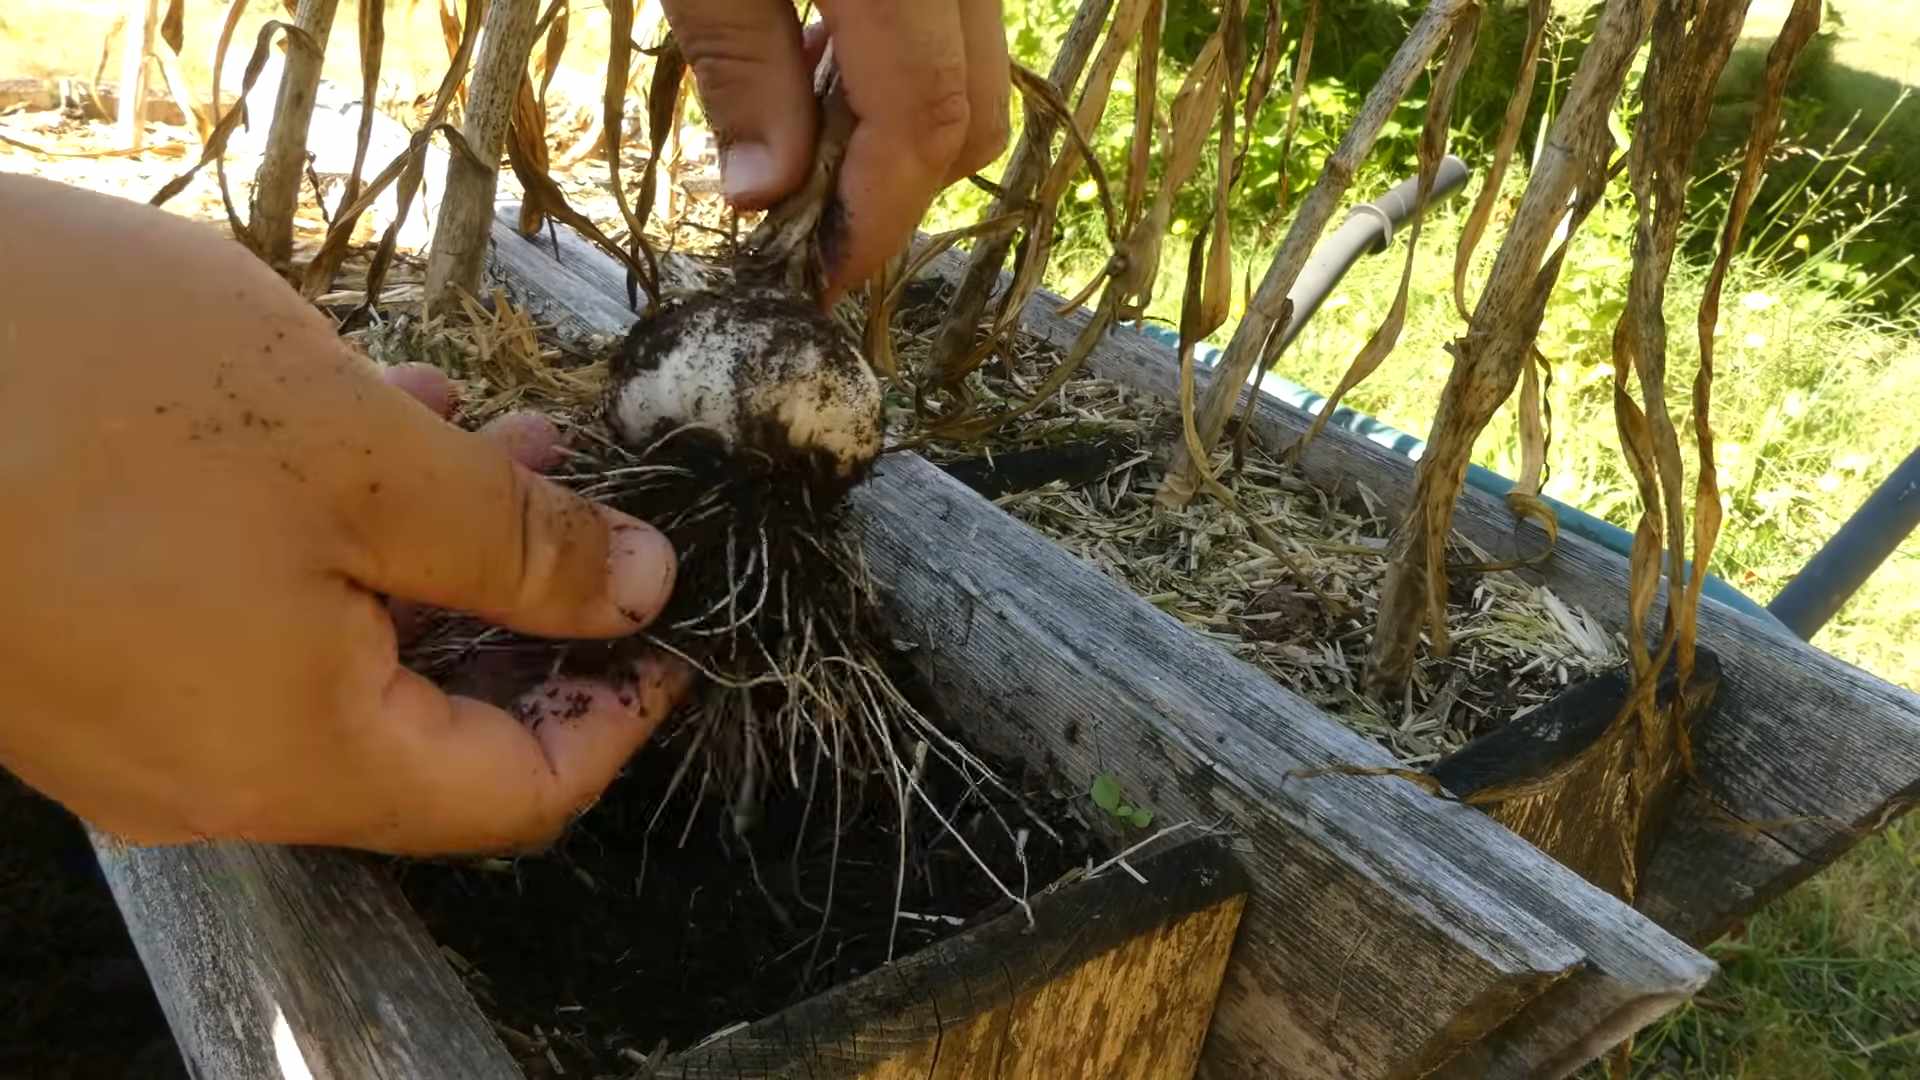
1. Loosen the Soil: Use a garden fork to gently loosen the soil around the garlic bulbs. Be careful not to damage the bulbs.
2. Lift the Bulbs: Carefully lift the bulbs from the soil. Brush off any excess dirt.
3. Curing: Cure the garlic in a well-ventilated, dry place for 2-3 weeks. You can hang the bulbs in bunches or spread them out on screens or racks. Curing allows the outer layers of the bulb to dry and harden, which improves storage life.
4. Trimming: Once the garlic is cured, trim the roots and cut the stalks back to about 1-2 inches above the bulb.
5. Storing: Store the cured garlic in a cool, dry, and dark place. Softneck garlic will generally store longer than hardneck garlic. Check the bulbs periodically for signs of spoilage.
Troubleshooting
Even with the best planning, things can sometimes go wrong. Here are a few common problems and how to address them:
* Small Bulbs: This could be due to several factors, including poor soil, insufficient sunlight, or overcrowding. Make sure your garlic is planted in fertile, well-drained soil and gets plenty of sunlight. Thin out the plants if they’re too close together.
* Rotting Bulbs: This is usually caused by overwatering or poor drainage. Ensure your soil is well-draining and avoid overwatering.
* Pests and Diseases: Inspect your plants regularly for signs of pests or diseases. Treat promptly with an appropriate insecticide, miticide, or fungicide.
Garlic Planting Timeline
To help you stay on track, here’s a general timeline for planting and harvesting garlic:
* Fall (October-November): Plant garlic cloves.
* Spring (March-April): Side-dress with fertilizer.
* Late Spring/Early Summer (May-June): Harvest scapes (hardneck garlic).
* Mid-Summer (July-August): Harvest garlic bulbs.
* Late Summer (August-September): Cure and store garlic.
Extra Tips and Tricks
* Succession Planting: Plant garlic in stages to extend your harvest. Plant some cloves in the fall and others in the early spring.
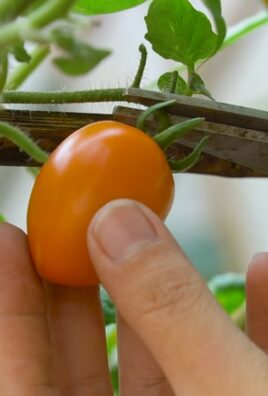
* Companion Planting: Garlic is a great companion plant for many vegetables, including tomatoes, peppers, and strawberries. It helps repel pests and improve the flavor of these crops.
* Saving Seed Garlic: Save the largest, healthiest bulbs from your harvest to plant next year. This will ensure you have a continuous supply of high-quality garlic.
* Garlic Greens: Don’t throw away the green shoots that emerge in the spring! They’re delicious in salads, stir-fries, and soups.
Enjoy Your Homegrown Garlic!
There you have it! Planting garlic at home is a rewarding experience that anyone can enjoy. With a little planning and effort, you can grow your own supply of delicious, flavorful garlic. So, get out there and get planting! I promise, you won’t regret it. Happy gardening!
Conclusion
So, there you have it! Planting garlic cloves at home is not only surprisingly simple, but it’s also incredibly rewarding. Imagine the satisfaction of harvesting your own pungent, flavorful garlic, knowing exactly where it came from and how it was grown. Forget those bland, pre-packaged cloves from the supermarket; homegrown garlic boasts an intensity and freshness that’s simply unmatched.
This DIY trick is a must-try for several reasons. First, it’s a cost-effective way to ensure a steady supply of garlic. A single bulb of store-bought garlic can yield multiple new bulbs, multiplying your harvest exponentially. Second, you have complete control over the growing process, allowing you to avoid harmful pesticides and herbicides. You can cultivate organic garlic, knowing you’re providing your family with healthy, wholesome food. Third, it’s a fantastic way to connect with nature and experience the joy of gardening, even if you only have a small space.
But the benefits don’t stop there. Planting garlic cloves at home allows for experimentation and customization. Try different varieties of garlic to discover your favorite flavor profiles. Hardneck varieties, with their distinctive scapes (edible flower stalks), offer a bolder, more complex taste, while softneck varieties are known for their longer storage life and suitability for braiding.
Consider these variations to elevate your garlic-growing game:
* Container Gardening: If you lack a traditional garden, don’t despair! Garlic thrives in containers, making it perfect for balconies, patios, or even sunny windowsills. Just ensure your container is large enough (at least 8 inches deep) and has adequate drainage.
* Companion Planting: Garlic is a fantastic companion plant, deterring pests and improving the growth of other vegetables like tomatoes, peppers, and strawberries. Plant garlic strategically throughout your garden to create a natural pest control system.
* Garlic Scape Pesto: Don’t discard those delicious garlic scapes! They can be transformed into a vibrant and flavorful pesto, perfect for pasta, sandwiches, or as a topping for grilled meats.
* Infused Garlic Oil: Once you harvest your garlic, consider infusing it in olive oil for a delicious and versatile condiment. Simply add peeled garlic cloves to a jar of olive oil, along with herbs like rosemary or thyme, and let it infuse for a few weeks.
We wholeheartedly encourage you to embark on this garlic-growing adventure. It’s a simple, satisfying, and ultimately delicious way to enhance your culinary creations and connect with the natural world. The process of planting garlic cloves at home is easier than you think.
Don’t be afraid to get your hands dirty and experiment. Every garden is unique, and the best way to learn is by doing. We’re confident that you’ll be amazed by the results.
So, grab some garlic cloves, find a sunny spot, and get planting! And most importantly, we want to hear about your experience. Share your tips, tricks, and triumphs in the comments below. Let’s build a community of garlic growers and inspire others to discover the joys of homegrown goodness. What variety of garlic did you plant? What challenges did you face, and how did you overcome them? Your insights could be invaluable to other aspiring gardeners. Happy planting!
FAQ
What is the best time of year to plant garlic cloves?
The ideal time to plant garlic cloves is in the fall, typically 4-6 weeks before the ground freezes. This allows the cloves to establish roots before winter sets in. In colder climates, this usually means planting in late September or October. In milder climates, you can plant as late as November or December. The cold period is essential for vernalization, which triggers the bulb to divide into cloves. If you miss the fall planting window, you can try planting in early spring as soon as the ground is workable, but the bulbs may be smaller.
What type of soil is best for growing garlic?
Garlic prefers well-drained, fertile soil that is rich in organic matter. Amend your soil with compost or well-rotted manure before planting to improve drainage and fertility. A slightly acidic to neutral pH (around 6.0 to 7.0) is ideal. Avoid heavy clay soils, as they can retain too much moisture and lead to bulb rot. If you have clay soil, consider planting in raised beds or containers.
How deep and how far apart should I plant the garlic cloves?
Plant garlic cloves about 2 inches deep, with the pointed end facing up. Space the cloves about 6-8 inches apart within rows, and space the rows about 12 inches apart. This spacing allows for adequate air circulation and prevents overcrowding.
How much sunlight does garlic need?
Garlic needs at least 6 hours of direct sunlight per day to thrive. Choose a sunny location in your garden or on your balcony. If you’re growing garlic indoors, supplement with grow lights if necessary.
How often should I water garlic?
Water garlic regularly, especially during dry periods. Keep the soil consistently moist, but avoid overwatering, which can lead to bulb rot. Water deeply when the top inch of soil feels dry. Reduce watering as the bulbs mature and the leaves begin to yellow.
When and how do I harvest garlic?
Garlic is typically ready to harvest in mid-summer, about 8-9 months after planting. The leaves will begin to turn yellow and brown, and the stalks may start to fall over. To harvest, carefully loosen the soil around the bulbs with a garden fork and gently lift them out of the ground. Avoid pulling on the stalks, as this can damage the bulbs.
How do I cure and store garlic?
After harvesting, cure the garlic bulbs by laying them out in a well-ventilated, dry place for 2-3 weeks. This allows the outer layers to dry and harden, which helps to prevent spoilage. Once cured, trim the roots and stalks, leaving about an inch of stalk attached. Store the garlic bulbs in a cool, dry, and dark place, such as a pantry or basement. Properly cured and stored garlic can last for several months.
What are garlic scapes, and what can I do with them?
Garlic scapes are the curly flower stalks that grow from hardneck garlic varieties. They are edible and have a mild garlic flavor. Cut off the scapes when they begin to curl to encourage the bulb to grow larger. Use the scapes in pesto, stir-fries, soups, or as a grilled vegetable.
What are some common problems when growing garlic, and how can I prevent them?
Common problems when growing garlic include bulb rot, white rot, and onion thrips. To prevent these problems, plant garlic in well-drained soil, avoid overwatering, and practice crop rotation. You can also use organic pest control methods, such as neem oil, to control thrips.
Can I grow garlic from store-bought cloves?
Yes, you can grow garlic from store-bought cloves, but it’s best to use organic garlic to avoid any potential diseases or treatments that may inhibit growth. Choose firm, healthy cloves from a reputable source. Keep in mind that some store-bought garlic may have been treated to prevent sprouting, so success is not always guaranteed.
What are the different varieties of garlic, and which one should I choose?
There are two main types of garlic: hardneck and softneck. Hardneck varieties are more cold-hardy and produce scapes. They typically have a bolder flavor and are better suited for colder climates. Softneck varieties are more adaptable to different climates and have a longer storage life. They are also easier to braid. Some popular varieties include ‘Music’ (hardneck), ‘German Extra Hardy’ (hardneck), and ‘California Early’ (softneck). Choose a variety that is well-suited to your climate and your taste preferences.
Leave a Comment