
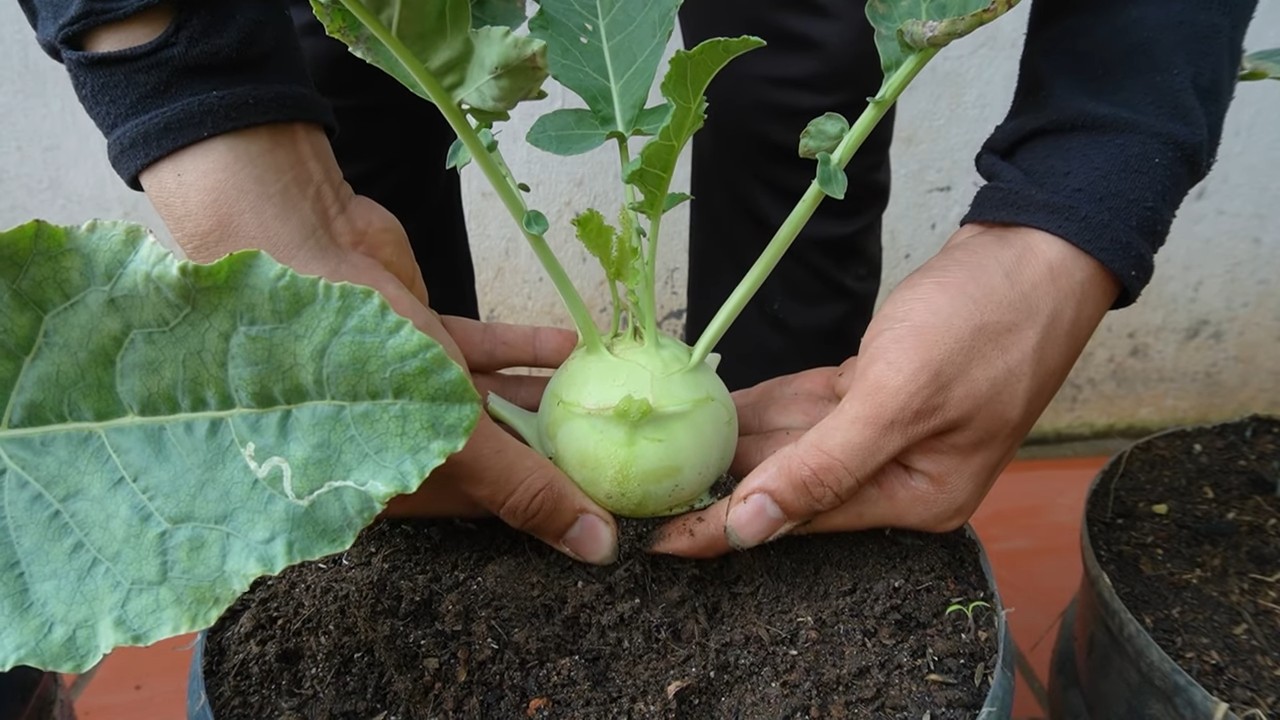
Growing Garlic in Bags: Unlock the secrets to a bountiful harvest, even without a sprawling garden! Have you ever dreamt of snipping fresh garlic straight from your backyard, infusing your meals with that unmistakable, pungent flavor? Well, dream no more! This DIY guide will reveal how you can cultivate your own garlic cloves, regardless of space constraints, using a simple and effective method: growing garlic in bags.
Garlic, a culinary staple and medicinal marvel, boasts a rich history dating back thousands of years. From ancient Egypt, where it fueled the pyramid builders, to traditional Chinese medicine, garlic has been revered for its potent health benefits and distinctive taste. Today, the desire to connect with our food sources and embrace sustainable living has fueled a resurgence in home gardening.
But let’s face it, not everyone has the luxury of a sprawling garden. That’s where this DIY trick comes in! Growing garlic in bags is a game-changer for apartment dwellers, balcony gardeners, and anyone with limited outdoor space. It’s an incredibly accessible and rewarding way to enjoy fresh, homegrown garlic. I’m excited to share my tips and tricks to help you avoid common pitfalls and maximize your yield. Get ready to embark on a fragrant and flavorful journey – let’s get planting!
Knoblauch im Sack anbauen: Eine einfache DIY-Anleitung
Hallo liebe Gartenfreunde! Habt ihr Lust, euren eigenen Knoblauch anzubauen, aber wenig Platz im Garten? Keine Sorge, ich zeige euch, wie ihr Knoblauch ganz einfach in Säcken ziehen könnt! Es ist eine super platzsparende und effektive Methode, um frischen Knoblauch zu ernten. Los geht’s!
Was du brauchst:
* Knoblauchzehen: Am besten Bio-Knoblauch vom Markt oder aus dem Bioladen. Supermarkt-Knoblauch kann behandelt sein und nicht so gut keimen.
* Säcke: Stabile Säcke aus Jute, Plastik (mit Löchern!) oder Stoff. Alte Kartoffelsäcke, Reissäcke oder sogar große Pflanzsäcke eignen sich hervorragend.
* Erde: Hochwertige Pflanzerde, idealerweise mit Kompost angereichert.
* Kompost: Für zusätzliche Nährstoffe und eine gute Bodenstruktur.
* Drainagematerial: Blähton, Kies oder Tonscherben, um Staunässe zu vermeiden.
* Gießkanne: Zum Bewässern.
* Gartenschere: Zum eventuellen Zuschneiden der Säcke.
* Handschuhe: Um deine Hände sauber zu halten.
Warum Knoblauch im Sack anbauen?
* Platzsparend: Ideal für Balkone, Terrassen oder kleine Gärten.
* Mobil: Die Säcke können leicht umgestellt werden, um den optimalen Standort zu finden.
* Gute Drainage: Die Säcke ermöglichen eine gute Drainage, was für Knoblauch wichtig ist.
* Weniger Unkraut: Die Säcke reduzieren das Unkrautwachstum.
* Frühe Ernte: In Säcken kann der Boden schneller erwärmen, was zu einer früheren Ernte führen kann.
Schritt-für-Schritt-Anleitung: Knoblauch im Sack pflanzen
1. Die Säcke vorbereiten:
* Wähle die passenden Säcke aus. Achte darauf, dass sie stabil sind und genügend Platz für die Knoblauchpflanzen bieten.
* Wenn du Plastiksäcke verwendest, bohre unbedingt ausreichend Löcher in den Boden, damit das Wasser gut ablaufen kann. Staunässe ist Gift für Knoblauch!
* Jutesäcke sind atmungsaktiver und benötigen in der Regel keine zusätzlichen Löcher.
* Reinige die Säcke gründlich, falls sie zuvor für etwas anderes verwendet wurden.
2. Drainage schaffen:
* Fülle den Boden der Säcke mit einer Schicht Drainagematerial (ca. 5-10 cm). Das kann Blähton, Kies oder Tonscherben sein.
* Diese Schicht sorgt dafür, dass überschüssiges Wasser abfließen kann und die Knoblauchzehen nicht faulen.
3. Erde mischen:
* Mische die Pflanzerde mit Kompost. Das Verhältnis sollte etwa 2:1 (Erde:Kompost) sein.
* Der Kompost liefert wichtige Nährstoffe und verbessert die Bodenstruktur.
* Lockere die Erde gut auf, damit sie luftig und durchlässig ist.
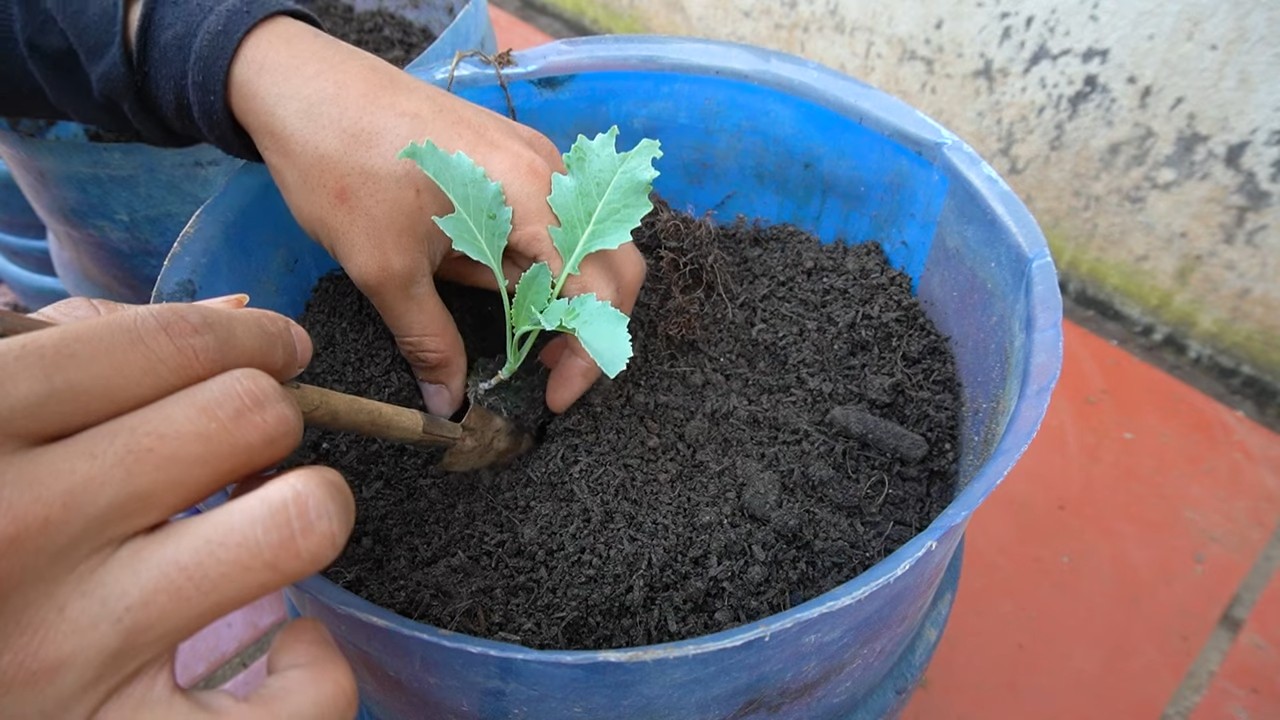
4. Säcke befüllen:
* Fülle die Säcke mit der vorbereiteten Erde bis etwa 10 cm unter den Rand.
* Drücke die Erde leicht an, aber nicht zu fest.
5. Knoblauchzehen vorbereiten:
* Wähle die größten und gesündesten Knoblauchzehen aus.
* Trenne die Zehen vorsichtig von der Knoblauchknolle. Achte darauf, die äußere Hülle der Zehen nicht zu beschädigen.
* Die Zehen sollten fest und prall sein. Vermeide Zehen, die weich oder schrumpelig sind.
6. Knoblauch pflanzen:
* Stecke die Knoblauchzehen mit der Spitze nach oben in die Erde.
* Der Abstand zwischen den Zehen sollte etwa 10-15 cm betragen.
* Die Zehen sollten etwa 5-8 cm tief in der Erde stecken.
* In einem großen Sack kannst du mehrere Reihen Knoblauch pflanzen.
7. Gießen:
* Gieße die Säcke nach dem Pflanzen gründlich an.
* Die Erde sollte gut durchfeuchtet sein, aber nicht nass.
8. Standort wählen:
* Stelle die Säcke an einen sonnigen Standort. Knoblauch braucht mindestens 6 Stunden Sonne pro Tag.
* Ein windgeschützter Standort ist ideal, um die Pflanzen vor starken Winden zu schützen.
9. Pflege:
* Gieße die Knoblauchpflanzen regelmäßig, besonders in trockenen Perioden.
* Die Erde sollte immer leicht feucht sein, aber nicht nass.
* Entferne regelmäßig Unkraut, das in den Säcken wächst.
* Dünge die Pflanzen alle paar Wochen mit einem organischen Dünger.
* Achte auf Schädlinge und Krankheiten. Bei Bedarf behandle die Pflanzen mit einem geeigneten Mittel.
Knoblauch im Sack überwintern
Knoblauch ist winterhart und kann problemlos im Sack überwintert werden. Hier sind ein paar Tipps, um sicherzustellen, dass deine Knoblauchpflanzen gut durch den Winter kommen:
1. Schutz vor Frost:
* In sehr kalten Regionen kann es sinnvoll sein, die Säcke mit Vlies oder Jute abzudecken, um die Pflanzen vor starkem Frost zu schützen.
* Stelle die Säcke an einen geschützten Ort, z.B. an eine Hauswand oder unter ein Vordach.
2. Gießen:
* Gieße die Pflanzen im Winter nur sparsam. Die Erde sollte nicht austrocknen, aber auch nicht zu nass sein.
* An frostfreien Tagen kannst du die Pflanzen leicht gießen.
3. Schneeschutz:
* Schnee kann eine isolierende Wirkung haben und die Pflanzen vor Kälte schützen. Lasse den Schnee ruhig auf den Säcken liegen.
4. Kontrolle:
* Kontrolliere die Pflanzen regelmäßig auf Schädlinge und Krankheiten.
* Entferne abgestorbene Blätter, um die Ausbreitung von Krankheiten zu verhindern.
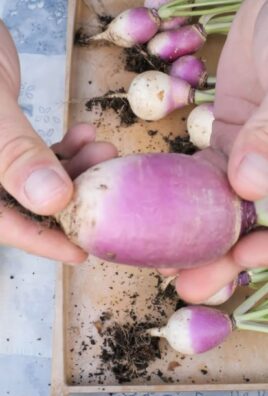
Erntezeit!
Die Erntezeit für Knoblauch ist in der Regel im Sommer, etwa 8-9 Monate nach dem Pflanzen. Hier sind ein paar Anzeichen, dass dein Knoblauch reif ist:
1. Blätter:
* Die Blätter beginnen, gelb zu werden und umzuknicken.
* Etwa die Hälfte der Blätter sollte bereits gelb sein.
2. Knollen:
* Grabe vorsichtig eine Knolle aus, um zu überprüfen, ob sie reif ist.
* Die Knolle sollte gut ausgebildet und die Zehen deutlich voneinander getrennt sein.
3. Ernten:
* Ziehe die Knoblauchpflanzen vorsichtig aus der Erde.
* Schüttle die Erde ab und lasse die Knollen an einem trockenen und luftigen Ort trocknen.
* Die Knollen sollten etwa 2-3 Wochen trocknen, bevor du sie lagerst.
Knoblauch lagern
Nach dem Trocknen kannst du den Knoblauch lagern. Hier sind ein paar Tipps für die Lagerung:
1. Trocken und luftig:
* Lagere den Knoblauch an einem trockenen und luftigen Ort.
* Ein kühler Keller oder eine Speisekammer sind ideal.
2. Flechten:
* Du kannst die Knoblauchknollen zu Zöpfen flechten und aufhängen.
* Das sieht nicht nur dekorativ aus, sondern sorgt auch für eine gute Belüftung.
3. Netzsäcke:
* Lagere den Knoblauch in Netzsäcken, um eine gute Belüftung zu gewährleisten.
4. Vermeide Feuchtigkeit:
* Vermeide feuchte Orte, da der Knoblauch sonst schimmeln kann.
5. Haltbarkeit:
* Gut gelagerter Knoblauch kann mehrere Monate haltbar sein.
Häufige Probleme und Lösungen
Conclusion
So, there you have it! Growing garlic in bags is not just a gardening hack; it’s a game-changer for anyone looking to enjoy fresh, flavorful garlic without the hassle of extensive garden space or dealing with unpredictable soil conditions. We’ve walked you through the simple steps, highlighting the benefits of this method, and hopefully, dispelled any doubts you might have had.
Think about it: no more back-breaking digging in hard clay, no more worrying about nematodes ruining your crop, and no more limited by the size of your garden. With bag gardening, you’re in complete control. You dictate the soil quality, the drainage, and even the location of your garlic patch. Imagine the satisfaction of harvesting plump, healthy bulbs from your patio, balcony, or even a sunny corner of your kitchen.
But the beauty of this method lies not only in its practicality but also in its adaptability. Feel free to experiment with different types of garlic. Hardneck varieties, with their flavorful scapes, thrive beautifully in bags, as do the softer, longer-storing softneck types. Consider adding companion plants like marigolds or nasturtiums to your bags to deter pests and attract beneficial insects. You can even try interplanting with herbs like parsley or thyme for a truly self-contained culinary garden.
Don’t be afraid to get creative with your container choices, too. While we’ve focused on using grow bags, you can also repurpose old buckets, plastic tubs, or even large nursery pots. Just ensure they have adequate drainage holes to prevent waterlogging. Remember, the key to successful bag gardening is providing your garlic with the right environment to flourish.
Growing garlic in bags is more than just a trend; it’s a sustainable and accessible way to enjoy the unparalleled flavor of homegrown garlic. It’s a way to connect with nature, even in the smallest of spaces, and to experience the joy of nurturing something from seed to harvest.
We wholeheartedly encourage you to give this DIY trick a try. It’s a rewarding experience that will not only provide you with delicious garlic but also deepen your appreciation for the magic of gardening. And once you’ve harvested your first crop, we’d love to hear about your experience! Share your photos, tips, and triumphs with us in the comments below. Let’s build a community of bag-gardening enthusiasts and inspire others to discover the joys of growing their own food, one bag at a time. Happy gardening!
Frequently Asked Questions (FAQ)
What type of garlic grows best in bags?
Both hardneck and softneck garlic varieties can be successfully grown in bags. Hardneck varieties, known for their robust flavor and the production of edible scapes, often perform well due to their adaptability. Softneck varieties, which are better suited for braiding and long-term storage, are also a great option. Consider your climate and personal preferences when choosing a variety. In colder climates, hardneck varieties are generally more resilient. Experimenting with different types is a great way to discover your favorites.
How often should I water garlic grown in bags?
Watering frequency depends on several factors, including the size of the bag, the type of soil, and the weather conditions. Generally, you should aim to keep the soil consistently moist but not waterlogged. Check the soil moisture by sticking your finger about an inch deep into the soil. If it feels dry, it’s time to water. During hot, dry periods, you may need to water daily, while during cooler, wetter periods, you may only need to water every few days. Ensure your bags have adequate drainage to prevent root rot.
What kind of soil is best for growing garlic in bags?
Garlic thrives in well-draining, fertile soil that is rich in organic matter. A good potting mix specifically formulated for vegetables is an excellent choice. You can also create your own mix by combining equal parts of garden soil, compost, and perlite or vermiculite. The compost provides essential nutrients, while the perlite or vermiculite improves drainage and aeration. Avoid using heavy clay soil, as it can become waterlogged and hinder bulb development.
How much sunlight does garlic need when grown in bags?
Garlic requires at least 6-8 hours of direct sunlight per day to thrive. Choose a location for your bags that receives ample sunlight throughout the day. If you live in a particularly hot climate, some afternoon shade may be beneficial to prevent the soil from drying out too quickly. If you don’t have access to a sunny outdoor space, you can supplement with grow lights.
When is the best time to plant garlic in bags?
The best time to plant garlic in bags is typically in the fall, about 4-6 weeks before the ground freezes. This allows the garlic cloves to establish roots before winter sets in. In warmer climates, you can plant garlic in late fall or early winter. The key is to provide a period of cold stratification, which is essential for bulb development.
How do I fertilize garlic grown in bags?
Garlic is a heavy feeder and benefits from regular fertilization. At planting time, incorporate a slow-release fertilizer into the soil. During the growing season, you can supplement with a liquid fertilizer every 2-3 weeks. Choose a fertilizer that is high in phosphorus and potassium, which are essential for bulb development. Avoid over-fertilizing, as this can lead to excessive foliage growth at the expense of bulb size.
How do I know when my garlic is ready to harvest from bags?
Garlic is typically ready to harvest in late spring or early summer, about 8-9 months after planting. The leaves will begin to turn yellow and brown, starting from the bottom. When about half of the leaves have turned brown, it’s time to harvest. Gently loosen the soil around the bulbs and carefully pull them out of the bag. Avoid damaging the bulbs during harvest.
Can I reuse the soil in my bags after harvesting garlic?
While you can technically reuse the soil, it’s generally recommended to replace it with fresh soil for the next planting. Garlic is susceptible to certain soilborne diseases, and reusing the soil can increase the risk of infection. If you choose to reuse the soil, amend it with plenty of compost and organic matter to replenish nutrients and improve soil health. Consider rotating your crops to prevent the buildup of pests and diseases.
What are some common problems when growing garlic in bags, and how can I prevent them?
Some common problems include pests like aphids and thrips, diseases like white rot and bulb rot, and nutrient deficiencies. To prevent these problems, use healthy, disease-free garlic cloves for planting, choose a well-draining soil mix, provide adequate sunlight and water, and fertilize regularly. Monitor your plants regularly for signs of pests or diseases and take action promptly. Companion planting with marigolds or nasturtiums can help deter pests.
Can I grow garlic in bags indoors?
While it’s possible to grow garlic indoors, it can be challenging to provide the necessary conditions for optimal growth. Garlic requires a period of cold stratification, which is difficult to replicate indoors. Additionally, garlic needs a lot of sunlight, which may not be available indoors without supplemental lighting. If you choose to grow garlic indoors, use a large bag, provide plenty of light, and ensure adequate ventilation.
Leave a Comment