
Growing Cabbage From Seed might seem daunting, but trust me, it’s a rewarding experience that brings fresh, homegrown goodness right to your table! For centuries, cabbage has been a staple in diets around the world, from the hearty stews of Eastern Europe to the vibrant slaws of North America. Its resilience and nutritional value have made it a beloved vegetable across cultures.
Have you ever dreamt of harvesting your own crisp, juicy cabbage heads? Imagine the satisfaction of knowing exactly where your food comes from and the joy of sharing your homegrown bounty with friends and family. But let’s be honest, the thought of starting from scratch can be a little intimidating. That’s where this DIY guide comes in!
Many gardeners shy away from growing cabbage from seed because they believe it’s too difficult or time-consuming. But I’m here to tell you that with a few simple tricks and hacks, you can successfully cultivate your own thriving cabbage patch. This article will break down the process into easy-to-follow steps, ensuring that even beginner gardeners can enjoy the fruits (or rather, vegetables!) of their labor. We’ll cover everything from seed starting to transplanting, pest control, and harvesting, empowering you to grow healthy, delicious cabbage right in your own backyard. So, let’s get our hands dirty and embark on this exciting gardening adventure together!
Growing Cabbage From Seed: A Beginner’s Guide
Okay, cabbage lovers, let’s get down to brass tacks! Growing your own cabbage from seed is surprisingly rewarding, and honestly, not as intimidating as it might seem. I’m going to walk you through everything you need to know, from choosing the right seeds to transplanting your little seedlings. Get ready for some homegrown goodness!
Choosing Your Cabbage Variety
Before we even think about soil, let’s talk cabbage types. There’s a whole world beyond the standard green head! Consider these factors:
* Growing Season Length: Different varieties mature at different rates. Check the “days to maturity” on the seed packet. Early varieties are great for shorter growing seasons, while late varieties can be stored longer.
* Head Size: Do you want giant cabbages for sauerkraut or smaller ones for individual meals?
* Color: Green is classic, but red and Savoy cabbages add a beautiful touch to your garden and your plate.
* Disease Resistance: Some varieties are bred to resist common cabbage diseases. This is especially important if you’ve had problems in the past.
Some popular and reliable choices include:
* ‘Early Jersey Wakefield’: A classic early variety, perfect for a quick harvest.
* ‘Golden Acre’: Another early variety, known for its compact size.
* ‘Red Acre’: A beautiful red cabbage with a slightly peppery flavor.
* ‘Savoy Ace’: A crinkly-leaved Savoy cabbage with a mild flavor.
* ‘January King’: A hardy variety that can withstand cold temperatures.
Starting Your Cabbage Seeds Indoors
Starting your cabbage seeds indoors gives them a head start, especially if you live in a region with a short growing season. I highly recommend this method!
What You’ll Need:
* Cabbage seeds (of course!)
* Seed starting trays or small pots
* Seed starting mix (a light, sterile mix is essential)
* Watering can or spray bottle
* Grow lights (optional, but highly recommended)
* Heat mat (optional, but helpful for germination)
Step-by-Step Instructions:
1. Prepare Your Seed Starting Trays: Fill your seed starting trays or pots with seed starting mix. Gently press down to remove air pockets.
2. Sow the Seeds: Make a small indentation (about 1/4 inch deep) in the center of each cell or pot. Place 2-3 seeds in each indentation. This increases your chances of at least one seed germinating.
3. Cover the Seeds: Gently cover the seeds with seed starting mix.
4. Water Thoroughly: Water the trays or pots gently with a watering can or spray bottle. You want the soil to be moist but not soggy.
5. Provide Warmth: Place the trays or pots on a heat mat (if using) and cover them with a humidity dome or plastic wrap. This will help to create a warm, humid environment that encourages germination.
6. Provide Light: Place the trays or pots under grow lights or in a sunny window. If using grow lights, keep them a few inches above the soil surface.
7. Monitor and Water: Check the soil moisture daily. Water as needed to keep the soil moist but not soggy.
8. Remove Humidity Dome: Once the seeds have germinated (usually within 5-10 days), remove the humidity dome or plastic wrap.
9. Thin Seedlings: Once the seedlings have developed their first true leaves (the leaves that look like miniature cabbage leaves), thin them to one seedling per cell or pot. Snip off the weaker seedlings at the soil line with scissors. Don’t pull them out, as this can disturb the roots of the remaining seedling.
10. Harden Off Seedlings: Before transplanting your seedlings outdoors, you need to “harden them off.” This means gradually exposing them to outdoor conditions over a period of 7-10 days. Start by placing them outdoors in a sheltered location for a few hours each day, gradually increasing the amount of time they spend outdoors. Protect them from direct sunlight and strong winds.
Preparing Your Garden Bed
Cabbage needs a sunny spot and well-drained soil. Let’s get your garden bed ready for these leafy greens!
What You’ll Need:
* Garden fork or tiller
* Compost or well-rotted manure
* Fertilizer (optional, but recommended)
* Garden rake
Step-by-Step Instructions:
1. Choose a Sunny Location: Cabbage needs at least 6 hours of sunlight per day.
2. Prepare the Soil: Use a garden fork or tiller to loosen the soil to a depth of 12-18 inches.
3. Amend the Soil: Incorporate a generous amount of compost or well-rotted manure into the soil. This will improve drainage, fertility, and water retention.
4. Fertilize (Optional): If desired, add a balanced fertilizer to the soil according to the package directions.
5. Rake Smooth: Rake the soil smooth to create a level planting surface.
Transplanting Your Cabbage Seedlings
Now for the exciting part 鈥?getting those seedlings into the ground!
What You’ll Need:
* Your hardened-off cabbage seedlings
* Trowel or shovel
* Watering can or hose
* Mulch (optional, but recommended)
Step-by-Step Instructions:
1. Choose a Cloudy Day: Transplanting on a cloudy day will help to reduce stress on the seedlings.
2. Dig Holes: Dig holes that are slightly larger than the root balls of your seedlings. Space the holes 12-24 inches apart, depending on the variety of cabbage you are growing. Check your seed packet for specific spacing recommendations.
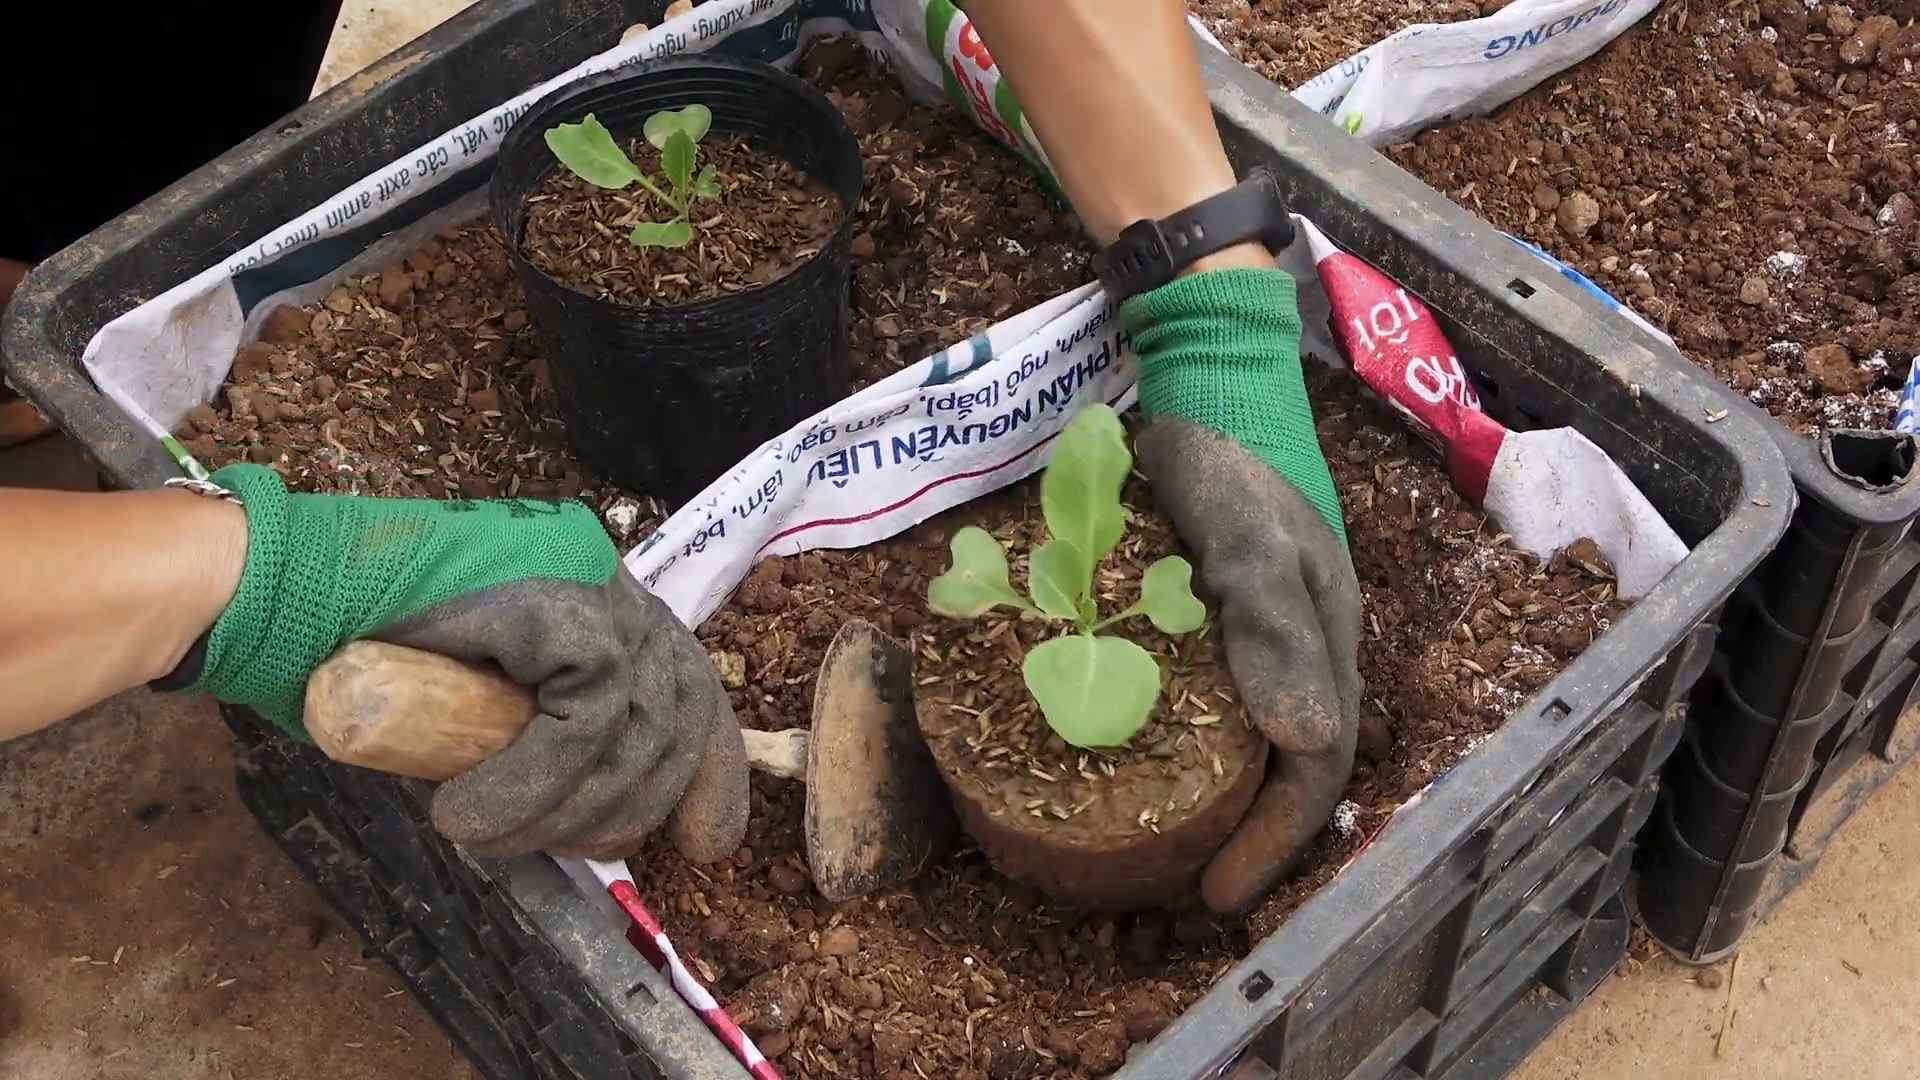
3. Remove Seedlings from Trays: Gently remove the seedlings from their trays or pots. Be careful not to damage the roots.
4. Plant Seedlings: Place the seedlings in the holes and backfill with soil. Gently firm the soil around the base of the plants.
5. Water Thoroughly: Water the seedlings thoroughly after planting.
6. Mulch (Optional): Apply a layer of mulch around the plants to help retain moisture, suppress weeds, and regulate soil temperature. Straw, wood chips, or shredded leaves are all good choices.
Caring for Your Cabbage Plants
Once your cabbage plants are in the ground, they’ll need regular care to thrive.
What You’ll Need:
* Watering can or hose
* Fertilizer (optional, but recommended)
* Insect netting (optional, but recommended)
* Hoe or garden fork
Step-by-Step Instructions:
1. Water Regularly: Cabbage needs consistent moisture, especially during hot, dry weather. Water deeply and regularly, aiming for about 1 inch of water per week.
2. Fertilize (Optional): Fertilize your cabbage plants every few weeks with a balanced fertilizer or a fertilizer specifically formulated for vegetables. Follow the package directions.
3. Control Pests: Cabbage is susceptible to a variety of pests, including cabbage worms, aphids, and flea beetles. Inspect your plants regularly for signs of pests and take action as needed. You can use insect netting to protect your plants from pests, or you can use organic insecticides such as Bacillus thuringiensis (Bt) for cabbage worms or insecticidal soap for aphids.
4. Weed Regularly: Keep your garden bed free of weeds, as weeds can compete with your cabbage plants for water and nutrients. Hoe or hand-pull weeds as needed.
5. Monitor for Diseases: Cabbage is also susceptible to a variety of diseases, such as black rot and clubroot. Inspect your plants regularly for signs of disease and take action as needed. Choose disease-resistant varieties and practice good garden hygiene to help prevent diseases.
Harvesting Your Cabbage
The moment you’ve been waiting for! Harvesting your own cabbage is incredibly satisfying.
What You’ll Need:
* Sharp knife
Step-by-Step Instructions:
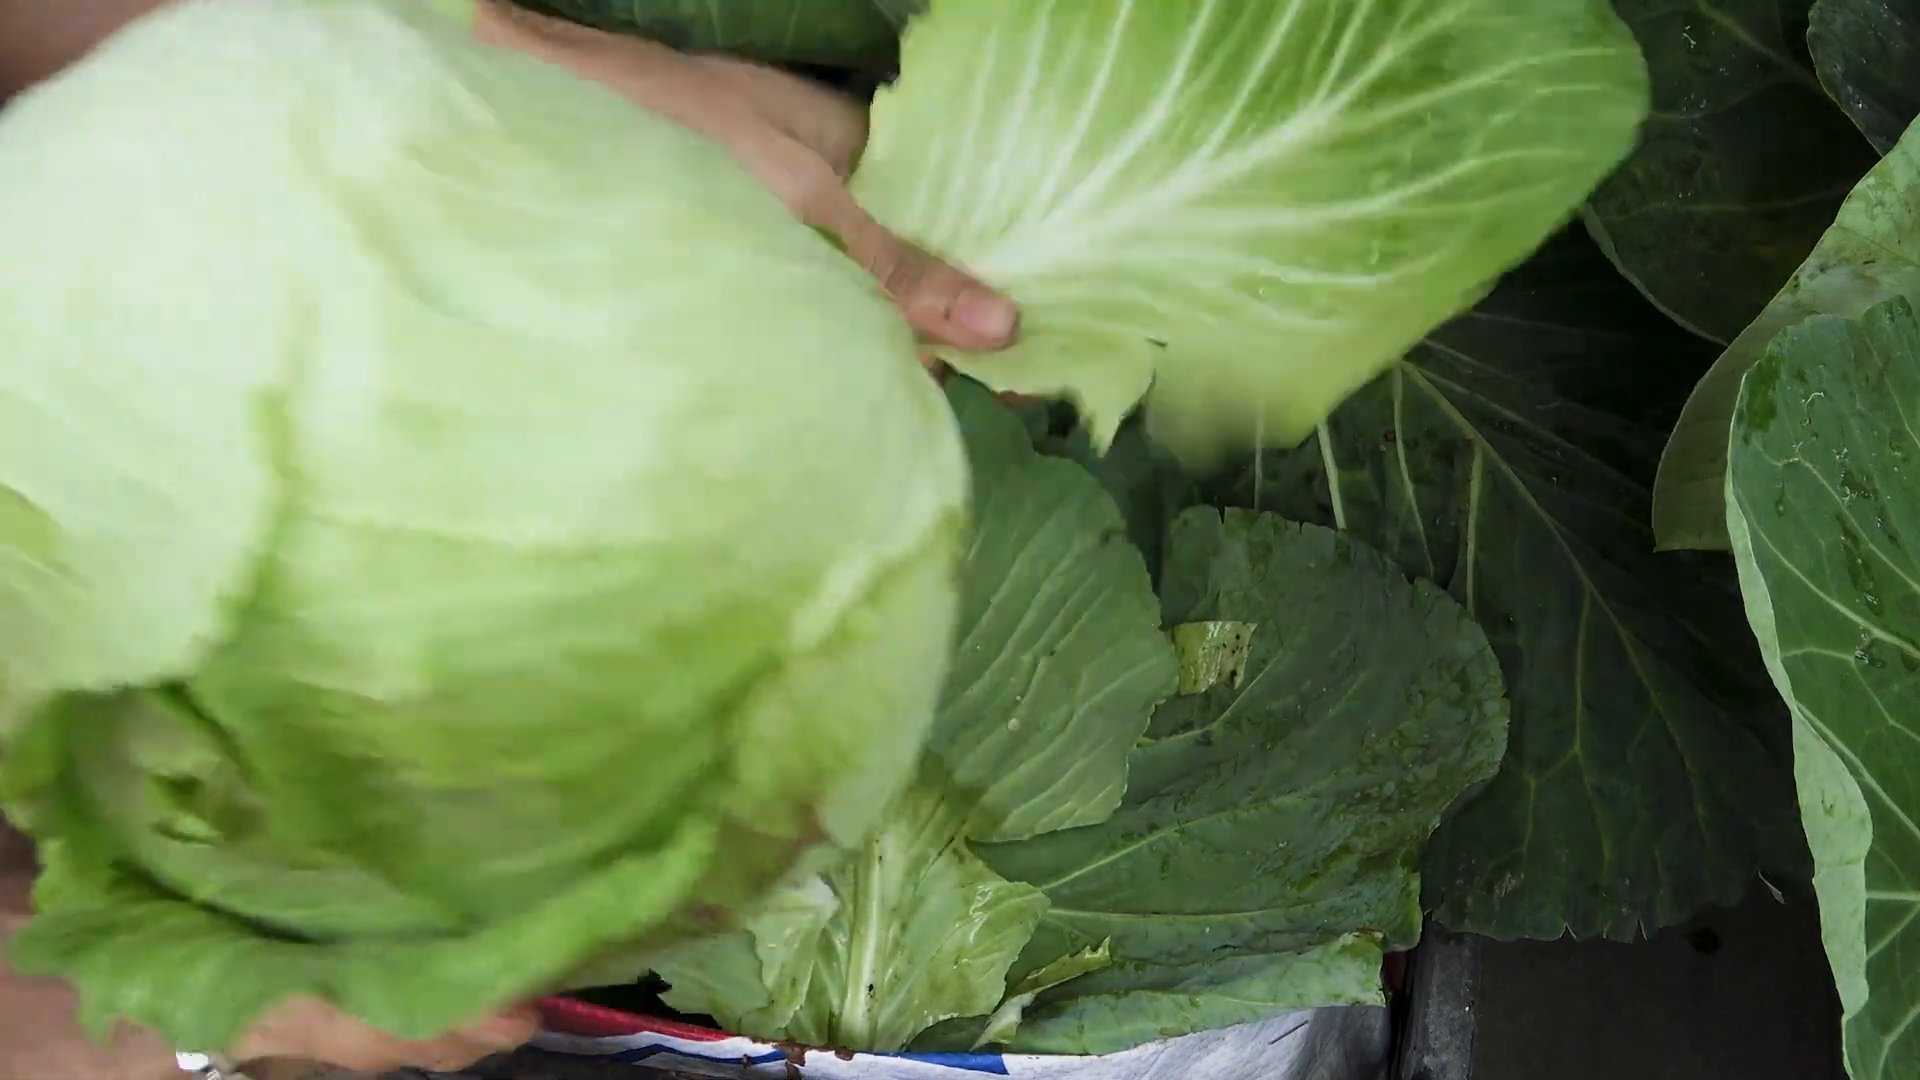
1. Check for Maturity: Cabbage is ready to harvest when the head is firm and solid. The size of the head will vary depending on the variety.
2. Cut the Head: Use a sharp knife to cut the head from the plant, leaving a few outer leaves attached.
3. Store Your Cabbage: Store your cabbage in a cool, dry place. Cabbage can be stored for several weeks in the refrigerator or in a root cellar.
Troubleshooting Common Cabbage Problems
Even with the best care, you might encounter some problems along the way. Here are a few common issues and how to address them:
* Cabbage Worms: These green caterpillars can quickly devour your cabbage leaves. Handpick them off the
Conclusion
So, there you have it! Growing cabbage from seed isn’t just a gardening project; it’s a rewarding journey from tiny speck to crisp, delicious head. We’ve walked through the steps, from selecting the right seeds and preparing your soil to nurturing those delicate seedlings and transplanting them into their final home. The satisfaction of harvesting your own homegrown cabbage, knowing you nurtured it from the very beginning, is truly unparalleled.
Why is this DIY trick a must-try? Because it puts you in complete control. You choose the variety, ensuring you’re growing cabbage that perfectly suits your taste and culinary needs. You control the growing environment, minimizing exposure to harmful chemicals and maximizing the nutritional value of your harvest. And, let’s be honest, there’s a certain magic in watching something grow from seed to table. It connects you to the natural world in a way that simply buying cabbage from the store never could.
But the adventure doesn’t stop here! Feel free to experiment with different cabbage varieties. Red cabbage adds a vibrant splash of color to salads and slaws, while Savoy cabbage offers a more delicate texture and flavor. Consider succession planting, sowing seeds every few weeks, to ensure a continuous harvest throughout the growing season. You can also try companion planting, pairing your cabbage with herbs like rosemary or thyme to deter pests and enhance flavor. Don’t be afraid to get creative and tailor the process to your specific garden and preferences.
We’ve covered the basics, but remember that gardening is a learning process. You might encounter challenges along the way 鈥?pests, diseases, or unexpected weather conditions. But don’t let that discourage you! Each challenge is an opportunity to learn and grow as a gardener. Observe your plants closely, research solutions, and adapt your approach as needed.
Now, it’s your turn to get your hands dirty! Grab some cabbage seeds, prepare your soil, and embark on this exciting gardening adventure. We’re confident that you’ll be amazed by the results. And most importantly, we want to hear about your experience! Share your successes, your challenges, and your tips with us in the comments below. Let’s build a community of cabbage-growing enthusiasts and learn from each other.
So, what are you waiting for? Start growing cabbage from seed today and experience the joy of homegrown goodness! We can’t wait to hear about your journey and see the delicious dishes you create with your homegrown harvest. Happy gardening!
Frequently Asked Questions (FAQ)
What is the best time to start cabbage seeds indoors?
The ideal time to start cabbage seeds indoors is typically 4-6 weeks before the last expected frost in your area. This allows the seedlings to develop a strong root system before being transplanted outdoors. Check your local frost dates to determine the appropriate timing for your region. Starting too early can result in leggy seedlings that are difficult to transplant, while starting too late may delay your harvest.
How often should I water my cabbage seedlings?
Cabbage seedlings need consistent moisture to thrive. Water them regularly, keeping the soil consistently moist but not waterlogged. Overwatering can lead to fungal diseases, while underwatering can stunt their growth. A good rule of thumb is to water when the top inch of soil feels dry to the touch. Use a gentle watering can or spray bottle to avoid disturbing the delicate seedlings.
What kind of soil is best for growing cabbage?
Cabbage thrives in well-drained, fertile soil that is rich in organic matter. Amend your garden soil with compost or well-rotted manure before planting to improve its structure and nutrient content. Cabbage prefers a slightly acidic to neutral soil pH, ideally between 6.0 and 7.0. You can test your soil pH using a soil testing kit and adjust it accordingly with lime or sulfur.
How much sunlight do cabbage plants need?
Cabbage plants require at least 6 hours of direct sunlight per day to grow properly. Choose a sunny location in your garden for planting. If you live in a hot climate, providing some afternoon shade can help prevent the leaves from scorching. Insufficient sunlight can result in weak, leggy plants that are more susceptible to pests and diseases.
What are some common pests and diseases that affect cabbage?
Cabbage is susceptible to several pests and diseases, including cabbage worms, cabbage loopers, aphids, flea beetles, and clubroot. Regularly inspect your plants for signs of infestation or disease. Use organic pest control methods, such as handpicking pests, using insecticidal soap, or applying Bacillus thuringiensis (Bt), to control pests. To prevent clubroot, ensure good soil drainage and avoid planting cabbage in the same location year after year. Crop rotation is key to preventing soil borne diseases.
How do I know when my cabbage is ready to harvest?
Cabbage is ready to harvest when the head is firm and solid to the touch. The size of the head will vary depending on the variety, but generally, a mature head will be about 6-12 inches in diameter. Check the maturity dates on your seed packet for a general guideline. To harvest, use a sharp knife to cut the head from the stem, leaving a few outer leaves attached.
Can I grow cabbage in containers?
Yes, you can grow cabbage in containers, but you’ll need to choose a large container that is at least 12 inches in diameter and depth. Use a well-draining potting mix and provide regular watering and fertilization. Container-grown cabbage may require more frequent watering than cabbage grown in the ground. Choose smaller cabbage varieties that are better suited for container gardening.
How do I store harvested cabbage?
To store harvested cabbage, remove any loose or damaged outer leaves. Wrap the head in plastic wrap or place it in a plastic bag and store it in the refrigerator. Cabbage can typically be stored for several weeks in the refrigerator. You can also freeze cabbage, but it’s best to blanch it first to preserve its quality.
What are some good companion plants for cabbage?
Several plants make excellent companions for cabbage, helping to deter pests, improve soil health, or enhance flavor. Some good companion plants for cabbage include:
* **Rosemary and Thyme:** These herbs deter cabbage moths and other pests.
* **Marigolds:** Marigolds repel nematodes and other soil pests.
* **Nasturtiums:** Nasturtiums attract aphids, diverting them away from your cabbage plants.
* **Dill:** Dill attracts beneficial insects that prey on cabbage pests.
* **Clover:** Clover improves soil health and provides nitrogen to the soil.
Can I save seeds from my cabbage plants?
Saving seeds from cabbage is possible, but it requires a two-year cycle. Cabbage is a biennial plant, meaning it doesn’t produce seeds until its second year. You’ll need to overwinter your cabbage plants and allow them to flower and produce seeds the following year. However, if you are growing hybrid varieties, the seeds may not produce plants that are true to type. Open-pollinated varieties are more likely to produce plants that are similar to the parent plant.

Leave a Comment