
Growing Bok Choy at Home can seem intimidating, but trust me, it’s easier than you think! Have you ever dreamt of snipping fresh, crisp greens right from your backyard for a delicious stir-fry? Or maybe you’re just looking for a fun and rewarding gardening project? Well, you’ve come to the right place!
Bok choy, also known as pak choi, has been a staple in Asian cuisine for centuries, with roots tracing back to ancient China. It’s not just delicious; it’s packed with vitamins and nutrients, making it a healthy addition to any diet. But beyond its nutritional value, there’s something incredibly satisfying about cultivating your own food, connecting with nature, and knowing exactly where your meals come from.
In today’s busy world, many of us crave that connection. We want to know what we’re eating is healthy and sustainable. That’s where growing bok choy at home comes in. It’s a fantastic way to ensure you have access to fresh, organic produce, even if you only have a small balcony or patio. Plus, it’s a great way to reduce your carbon footprint and save money on groceries. This DIY guide will provide you with simple, step-by-step instructions and insider tips to help you successfully grow your own bok choy, no matter your gardening experience. So, let’s get our hands dirty and start growing!
Growing Bok Choy at Home: A Beginner’s Guide
Hey there, fellow gardening enthusiasts! I’m so excited to share my experience with growing bok choy at home. It’s surprisingly easy, even if you’re a complete newbie like I was when I started. Bok choy, also known as pak choi, is a delicious and nutritious leafy green that’s perfect for stir-fries, soups, and salads. Plus, it grows relatively quickly, so you’ll be enjoying your homegrown harvest in no time!
Choosing the Right Bok Choy Variety
Before we dive into the nitty-gritty, let’s talk about choosing the right variety. There are several types of bok choy, each with its own unique characteristics. Here are a few popular options:
* Shanghai Bok Choy: This variety has light green stems and spoon-shaped leaves. It’s known for its mild flavor and tender texture. I personally love using Shanghai bok choy in my stir-fries.
* Baby Bok Choy: As the name suggests, this is a smaller version of regular bok choy. It’s incredibly tender and cooks quickly. Baby bok choy is great for salads or as a side dish.
* Canton Bok Choy: This variety has dark green leaves and thick, white stems. It has a slightly stronger flavor than Shanghai bok choy.
* Purple Lady Bok Choy: If you’re looking for something a little different, try Purple Lady bok choy. It has beautiful purple leaves that add a pop of color to your garden and your plate.
I recommend starting with Shanghai or Baby bok choy, as they’re generally easier to grow and have a milder flavor.
Getting Started: Seeds vs. Seedlings
You have two options when it comes to starting your bok choy: seeds or seedlings.
* Seeds: Starting from seeds is the more economical option, and it allows you to choose from a wider variety of bok choy. However, it requires a bit more patience and attention.
* Seedlings: Buying seedlings from a local nursery is a great option if you want a head start. It’s also a good choice if you only want to grow a small amount of bok choy.
I’ve tried both methods, and I’ve had success with both. If you’re a beginner, I recommend starting with seedlings. It’s just a bit easier and less time-consuming.
Step-by-Step Guide to Growing Bok Choy
Alright, let’s get down to business! Here’s a step-by-step guide to growing bok choy at home:
1. Choosing the Right Location
Bok choy thrives in cool weather, so the best time to plant it is in the spring or fall. It prefers partial shade, especially during the hottest part of the day.
* Sunlight: Aim for at least 4-6 hours of sunlight per day. If you live in a hot climate, choose a location that gets morning sun and afternoon shade.
* Soil: Bok choy needs well-draining soil that’s rich in organic matter. Before planting, amend the soil with compost or aged manure.
* Spacing: Space your bok choy plants about 6-8 inches apart. This will give them enough room to grow and prevent overcrowding.
2. Preparing the Soil
Proper soil preparation is crucial for healthy bok choy growth.
1. Clear the area: Remove any weeds, rocks, or debris from the planting area.
2. Loosen the soil: Use a garden fork or tiller to loosen the soil to a depth of at least 12 inches.
3. Amend the soil: Mix in plenty of compost or aged manure to improve drainage and fertility. I usually add a generous amount – about 2-3 inches of compost worked into the topsoil.
4. Level the soil: Rake the soil smooth to create a level planting surface.
3. Planting Bok Choy
Whether you’re starting from seeds or seedlings, the planting process is pretty straightforward.
From Seeds:
1. Sow the seeds: Sow the seeds about 1/4 inch deep and 1 inch apart.
2. Water gently: Water the soil gently to avoid disturbing the seeds.
3. Keep the soil moist: Keep the soil consistently moist until the seeds germinate, which usually takes about 5-7 days.
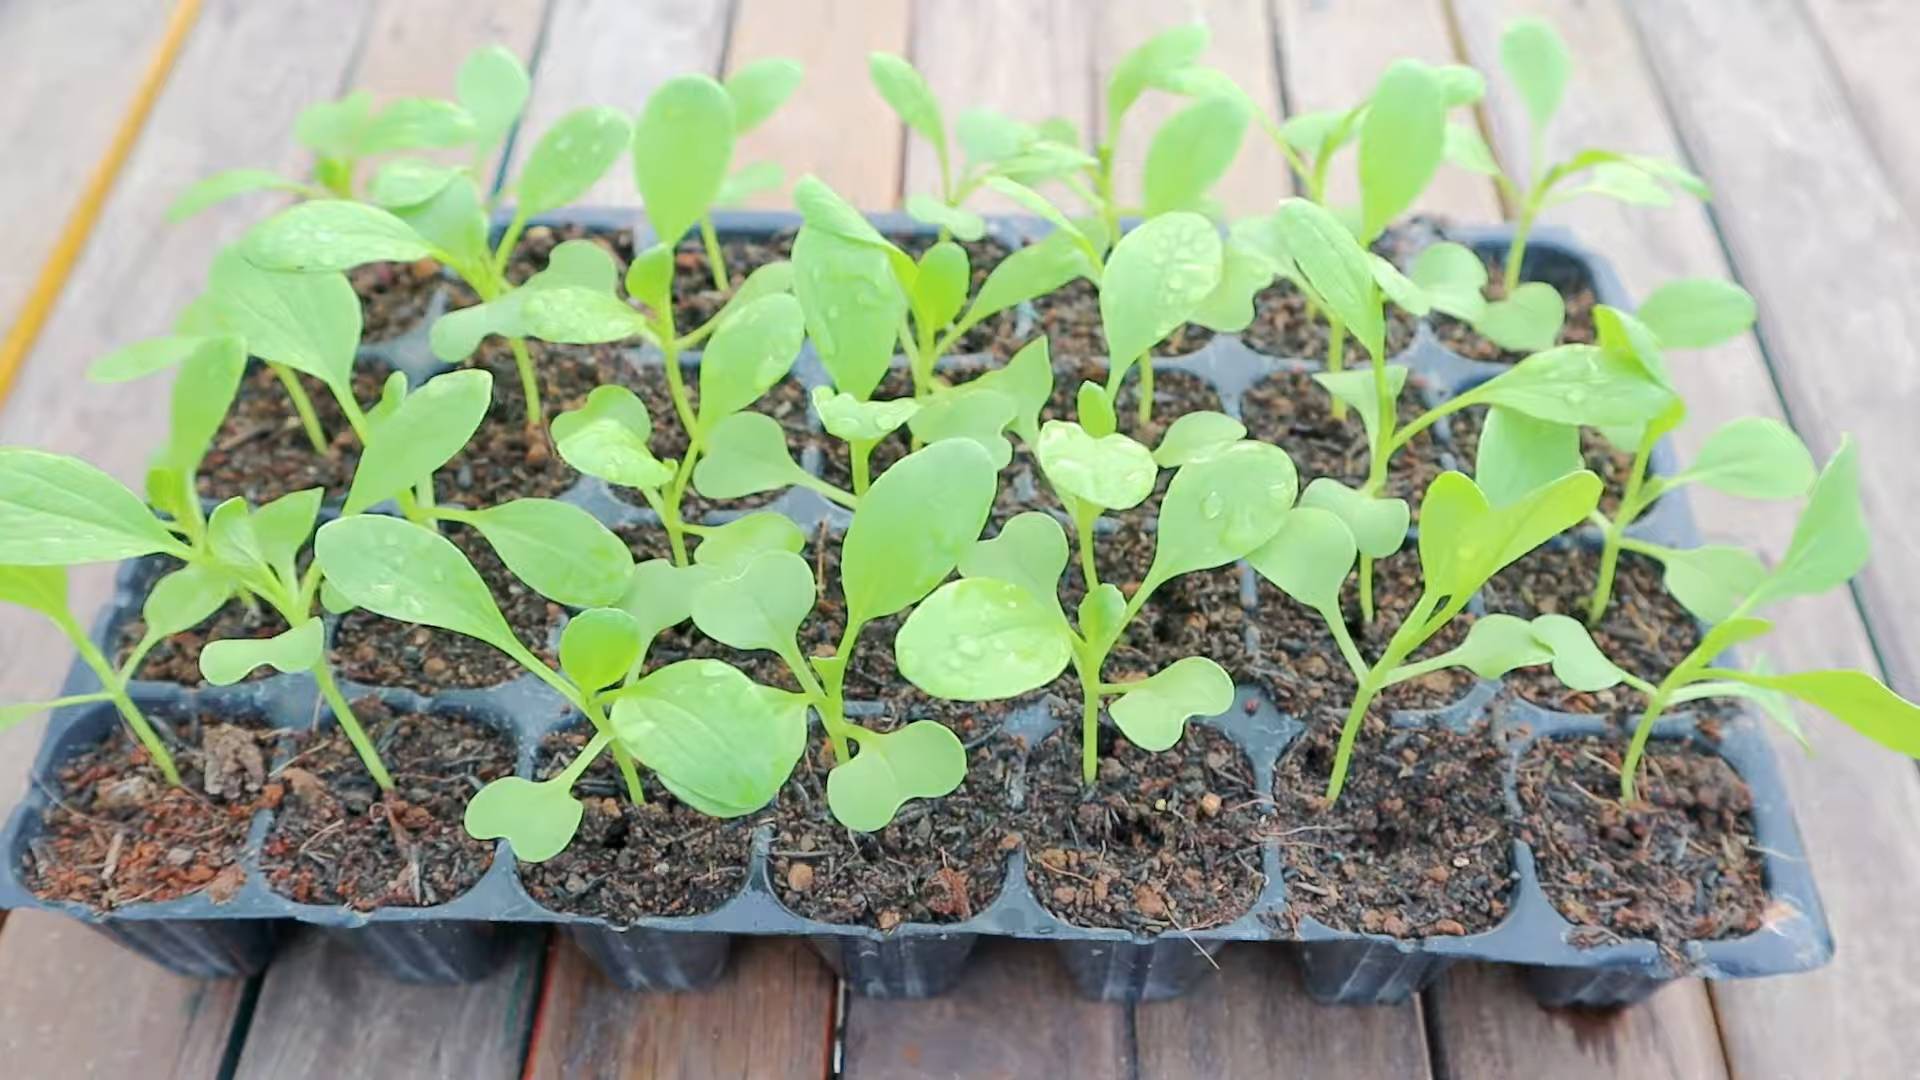
4. Thin the seedlings: Once the seedlings have a few true leaves, thin them to 6-8 inches apart.
From Seedlings:
1. Dig holes: Dig holes that are slightly larger than the root balls of the seedlings.
2. Remove the seedlings: Gently remove the seedlings from their containers.
3. Plant the seedlings: Place the seedlings in the holes and backfill with soil.
4. Water thoroughly: Water the seedlings thoroughly after planting.
4. Watering and Fertilizing
Bok choy needs consistent moisture to thrive.
1. Water regularly: Water your bok choy plants regularly, especially during dry spells. Aim to keep the soil consistently moist, but not waterlogged. I usually water deeply every 2-3 days, depending on the weather.
2. Fertilize: Fertilize your bok choy plants every 2-3 weeks with a balanced fertilizer. You can also use a liquid seaweed fertilizer for an extra boost. I prefer organic fertilizers, as they’re gentler on the plants and the environment.
5. Pest and Disease Control
Bok choy is relatively pest-resistant, but it can be susceptible to a few common problems.
* Aphids: These tiny insects can suck the sap from your bok choy plants. You can control aphids by spraying them with a strong stream of water or by using insecticidal soap.
* Cabbage worms: These green caterpillars can munch on the leaves of your bok choy. You can control cabbage worms by handpicking them off the plants or by using Bacillus thuringiensis (Bt), a natural insecticide.
* Slugs and snails: These slimy creatures can also damage your bok choy plants. You can control slugs and snails by setting out beer traps or by using diatomaceous earth.
I’ve found that regular inspection of my plants helps me catch any problems early on.
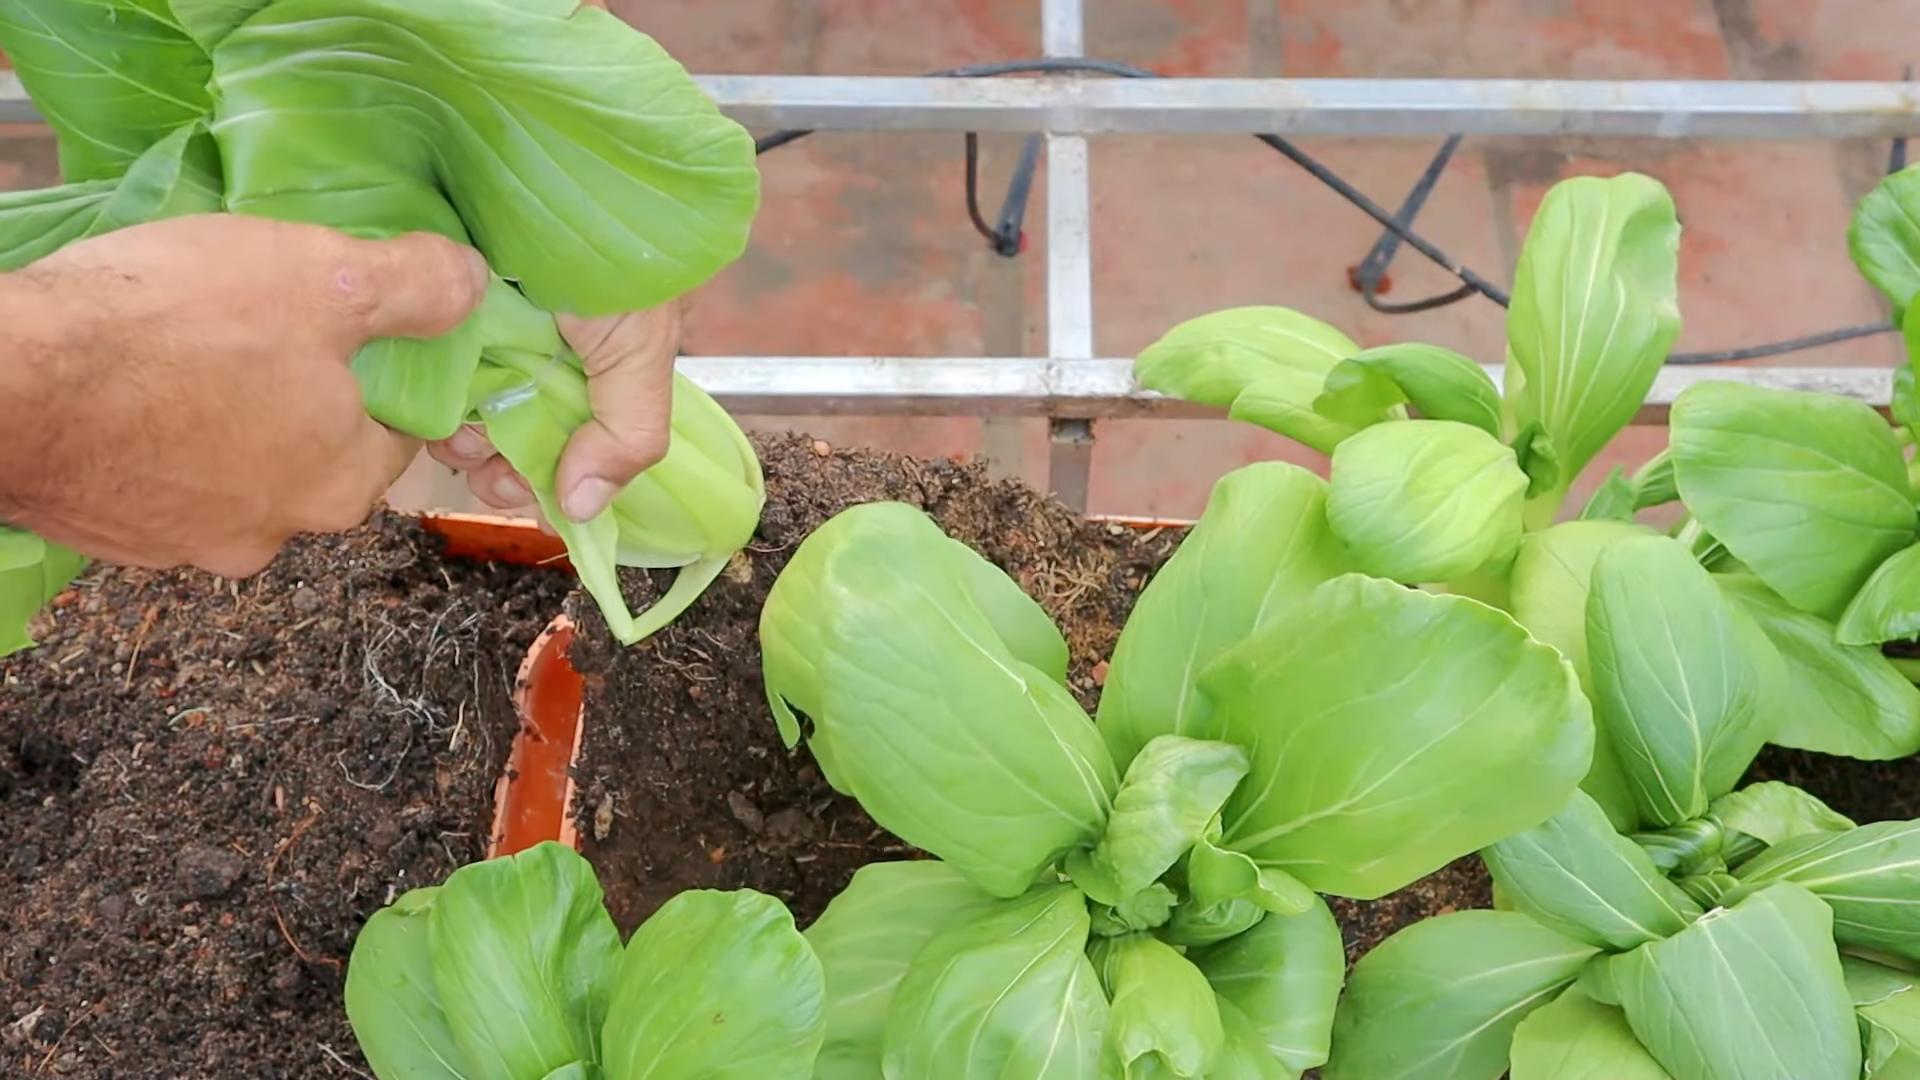
6. Harvesting Bok Choy
Bok choy is ready to harvest when the leaves are about 6-8 inches long.
1. Harvesting: You can harvest the entire plant at once, or you can harvest individual leaves as needed.
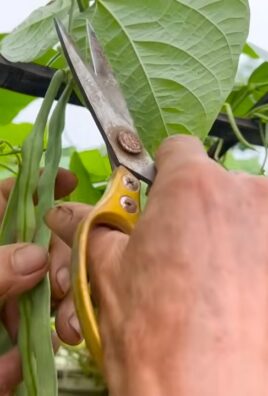
2. Cutting: To harvest the entire plant, cut it off at the base with a sharp knife.
3. Storing: To harvest individual leaves, simply snip them off with scissors.
4. Storage: Bok choy can be stored in the refrigerator for up to a week. Wrap it in a damp paper towel and place it in a plastic bag.
Tips for Success
Here are a few extra tips to help you grow the best bok choy possible:
* Succession planting: Plant new bok choy seeds or seedlings every few weeks to ensure a continuous harvest.
* Mulching: Mulch around your bok choy plants to help retain moisture and suppress weeds. I like to use straw or wood chips.
* Bolting: Bok choy can bolt (go to seed) in hot weather. To prevent bolting, provide shade during the hottest part of the day and water regularly.
* Companion planting: Plant bok choy with companion plants like dill, chamomile, and mint to attract beneficial insects and deter pests.
Enjoying Your Harvest
The best part about growing bok choy is, of course, enjoying the delicious harvest! Bok choy is incredibly versatile and can be used in a variety of dishes.
* Stir-fries: Bok choy is a classic ingredient in stir-fries. Simply chop it up and add it to your favorite stir-fry recipe.
* Soups: Bok choy adds a delicious and nutritious boost to soups. Add it to your favorite soup recipe during the last few minutes of cooking.
* Salads: Baby bok choy is great in salads. Simply wash and chop it up and add it to your favorite salad recipe.
* Steaming: Steamed bok choy is a simple and healthy side dish. Steam it for a few minutes until it’s tender-crisp.
I hope this guide has inspired you to grow your own bok choy at home. It’s a rewarding experience that will provide you with fresh, delicious, and nutritious greens. Happy gardening!
Conclusion
So, there you have it! Growing your own bok choy at home is not only achievable, but it’s also incredibly rewarding. From the crisp, fresh taste that surpasses anything you can find in a grocery store, to the sheer satisfaction of nurturing a plant from seed to harvest, this DIY project is a must-try for any home gardener, regardless of experience level.
Why is this a must-try? Because you’re taking control of your food source. You know exactly what goes into your bok choy – no mystery pesticides or questionable growing practices. You’re also reducing your carbon footprint by eliminating the transportation involved in getting bok choy from farm to store to your table. And let’s not forget the cost savings! A packet of seeds is far cheaper than repeatedly buying bok choy from the supermarket.
But the real magic lies in the flavor. Homegrown bok choy boasts a vibrant, slightly sweet taste that is simply unmatched. Imagine stir-fries bursting with freshness, salads with a delightful crunch, and soups infused with the subtle, earthy notes of your own harvest.
Ready to take your culinary creations to the next level?
Don’t be afraid to experiment! Try different varieties of bok choy, such as the baby bok choy for a more delicate flavor or the Shanghai bok choy for its spoon-shaped leaves. You can also adjust the growing conditions to suit your specific climate and preferences. For example, if you live in a particularly hot area, provide your bok choy with some afternoon shade to prevent bolting.
Consider companion planting. Marigolds can help deter pests, while herbs like dill and chamomile can attract beneficial insects. These additions not only protect your bok choy but also enhance the overall biodiversity of your garden.
Another variation to consider is container gardening. If you’re short on space, bok choy thrives in pots and containers, making it perfect for balconies, patios, or even indoor growing with the help of grow lights. Just ensure your container is large enough to accommodate the plant’s root system and provides adequate drainage.
And don’t forget about succession planting! Sow new seeds every few weeks to ensure a continuous harvest throughout the growing season. This way, you’ll always have fresh bok choy on hand for your culinary adventures.
Growing bok choy at home is more than just a gardening project; it’s an investment in your health, your wallet, and the environment.
We encourage you to give this DIY trick a try. It’s easier than you think, and the rewards are well worth the effort. Once you’ve harvested your first batch of homegrown bok choy, we’d love to hear about your experience! Share your tips, tricks, and delicious recipes in the comments below. Let’s build a community of bok choy enthusiasts and inspire others to embrace the joys of homegrown goodness. Happy gardening!
Frequently Asked Questions (FAQ)
What is the best time of year to plant bok choy?
Bok choy is a cool-season crop, meaning it thrives in temperatures between 55°F and 70°F (13°C and 21°C). The best time to plant bok choy is in early spring or late summer/early fall. Avoid planting during the hottest months of summer, as high temperatures can cause the plant to bolt (go to seed prematurely), resulting in bitter-tasting leaves. If you live in a region with mild winters, you may even be able to grow bok choy throughout the winter months. Check your local frost dates to determine the optimal planting time for your area.
How much sunlight does bok choy need?
Bok choy prefers full sun, which means at least 6 hours of direct sunlight per day. However, it can also tolerate partial shade, especially in hotter climates. If you’re growing bok choy indoors, you’ll need to provide supplemental lighting, such as grow lights, to ensure it receives enough light. Insufficient sunlight can lead to leggy growth and reduced yields.
What kind of soil is best for growing bok choy?
Bok choy prefers well-draining soil that is rich in organic matter. A slightly acidic to neutral pH of 6.0 to 7.5 is ideal. Before planting, amend your soil with compost or other organic matter to improve its fertility and drainage. You can also add a slow-release fertilizer to provide your bok choy with the nutrients it needs to thrive. Avoid heavy clay soils, as they can retain too much moisture and lead to root rot.
How often should I water bok choy?
Bok choy needs consistent moisture to grow well. Water deeply and regularly, especially during dry periods. Aim to keep the soil consistently moist but not waterlogged. Overwatering can lead to root rot, while underwatering can cause the leaves to wilt and become tough. A good rule of thumb is to water when the top inch of soil feels dry to the touch. Mulching around your bok choy plants can help retain moisture and suppress weeds.
What are some common pests and diseases that affect bok choy?
Bok choy can be susceptible to several pests and diseases, including aphids, cabbage worms, flea beetles, and downy mildew. To prevent pest infestations, inspect your plants regularly and remove any pests you find by hand. You can also use insecticidal soap or neem oil to control pests. To prevent diseases, ensure good air circulation around your plants and avoid overhead watering. If you notice any signs of disease, remove the affected leaves immediately and treat the plant with a fungicide if necessary. Companion planting with marigolds can also help deter pests.
How do I harvest bok choy?
You can harvest bok choy at any stage of growth, depending on your preference. For baby bok choy, harvest when the leaves are about 4-6 inches long. For mature bok choy, harvest when the head is firm and the leaves are about 10-12 inches long. To harvest, simply cut the entire head of bok choy at the base of the plant with a sharp knife. You can also harvest individual leaves as needed, starting with the outer leaves.
How do I store bok choy after harvesting?
After harvesting, rinse the bok choy thoroughly and pat it dry. Store it in a plastic bag in the refrigerator for up to a week. For longer storage, you can blanch the bok choy for 2-3 minutes and then freeze it. Frozen bok choy can be stored for up to 6 months.
Can I grow bok choy in containers?
Yes, bok choy grows well in containers. Choose a container that is at least 12 inches deep and wide to accommodate the plant’s root system. Use a well-draining potting mix and water regularly. Container-grown bok choy may need more frequent watering than bok choy grown in the ground.
What are some ways to use bok choy in cooking?
Bok choy is a versatile vegetable that can be used in a variety of dishes. It can be stir-fried, steamed, boiled, or added to soups and salads. It pairs well with garlic, ginger, soy sauce, and sesame oil. Try adding bok choy to your next stir-fry, soup, or salad for a healthy and delicious boost.
How do I prevent bok choy from bolting?
Bolting is when a plant prematurely flowers and goes to seed, often resulting in bitter-tasting leaves. To prevent bok choy from bolting, plant it at the right time of year (early spring or late summer/early fall) and provide it with consistent moisture. Avoid exposing the plant to extreme temperatures or stress. If you notice any signs of bolting, such as a tall flower stalk emerging from the center of the plant, harvest the bok choy immediately.
Leave a Comment