
Growing beans indoors might sound like a whimsical dream reserved for seasoned gardeners with sprawling greenhouses, but I’m here to tell you it’s totally achievable – even if your outdoor space is limited to a tiny balcony or non-existent! Forget those pricey supermarket beans; imagine plucking fresh, crisp green beans right from your indoor garden. Sounds amazing, right?
For centuries, beans have been a staple crop in cultures around the globe, providing essential nutrients and symbolizing abundance. From the ancient Incas cultivating beans high in the Andes to the traditional “Three Sisters” planting method of Native American tribes (beans, corn, and squash grown together symbiotically), beans have a rich and fascinating history. But what if you don’t have a sprawling field to recreate these historical methods?
That’s where this DIY guide comes in! In today’s fast-paced world, many of us crave a connection to nature, and growing beans indoors offers a fantastic way to bring the outdoors in. Plus, it’s incredibly rewarding to nurture a plant from seed to harvest, especially when you get to enjoy the delicious fruits (or, in this case, beans!) of your labor. This article will provide you with simple, step-by-step instructions and clever hacks to successfully cultivate beans within the comfort of your home. Whether you’re a beginner or a seasoned gardener, I’m confident you’ll find valuable tips and tricks to make your indoor bean-growing journey a resounding success. Let’s get started!
Growing Beans Indoors: A Complete DIY Guide
Hey there, fellow plant enthusiasts! Ever dreamt of fresh, homegrown beans even when the weather outside is frightful? Well, dream no more! I’m going to walk you through the surprisingly simple process of growing beans indoors. It’s a rewarding experience, and trust me, nothing beats the taste of beans you’ve nurtured from seed to harvest.
Choosing Your Bean Variety
Not all beans are created equal, especially when it comes to indoor growing. Some varieties are simply better suited for container life than others. Here’s what I recommend:
* Bush Beans: These are your best bet! Bush beans are compact and don’t require staking, making them perfect for pots. Look for varieties like ‘Blue Lake Bush’, ‘Contender’, or ‘Provider’.
* Pole Beans (with caution): While technically possible, pole beans need a trellis and a lot more space. If you’re determined, choose a compact pole bean variety and provide a sturdy trellis. Be prepared for more maintenance.
* Avoid: Runner beans are generally too vigorous for indoor growing.
Gathering Your Supplies
Before we get our hands dirty, let’s make sure we have everything we need. This is my go-to list:
* Bean Seeds: Obviously! Choose your preferred variety.
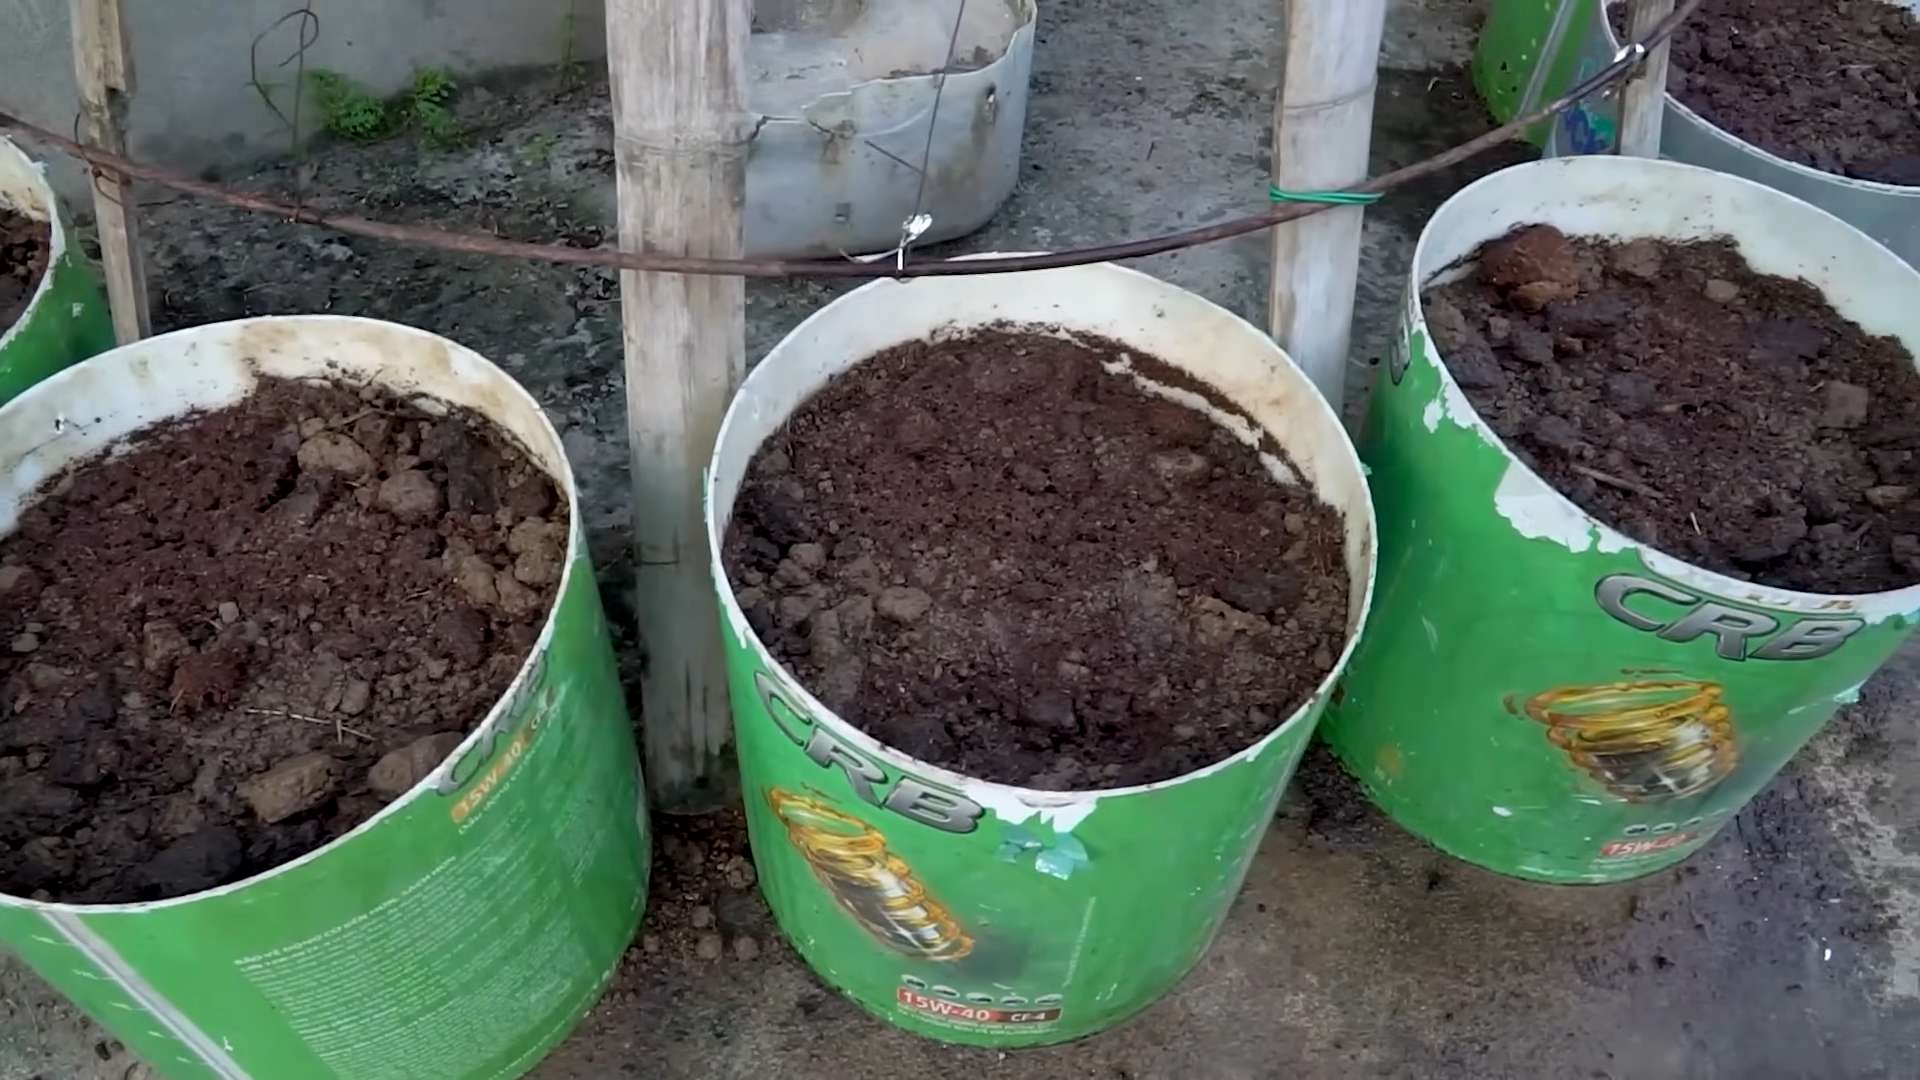
* Pots: I recommend pots that are at least 8 inches in diameter and 8 inches deep for bush beans. For pole beans, go even bigger – at least 12 inches in diameter and depth. Make sure they have drainage holes!
* Potting Mix: Use a high-quality, well-draining potting mix. Avoid garden soil, as it can compact and hinder drainage.
* Watering Can or Spray Bottle: For gentle watering.
* Grow Lights (Optional but Recommended): Especially if you don’t have a sunny windowsill.
* Trellis (For Pole Beans): A sturdy trellis is essential if you’re growing pole beans.
* Fertilizer: A balanced liquid fertilizer.
* Small Shovel or Trowel: For planting.
Planting Your Bean Seeds
Alright, let’s get planting! This is the fun part.
1. Prepare Your Pots: Fill your pots with potting mix, leaving about an inch of space at the top.
2. Sow the Seeds: Make small holes about 1 inch deep and 2-3 inches apart. Place 2-3 seeds in each hole. Planting multiple seeds increases the chances of germination.
3. Cover the Seeds: Gently cover the seeds with potting mix.
4. Water Thoroughly: Water the soil gently until it’s evenly moist but not soggy.
5. Placement: Place your pots in a warm, sunny location. If you don’t have enough natural light, use grow lights. I usually keep my grow lights on for about 14-16 hours a day.
Germination and Early Growth
This is where the magic happens!
1. Keep the Soil Moist: Check the soil moisture daily and water when the top inch feels dry. Don’t overwater, as this can lead to root rot.
2. Germination: Bean seeds typically germinate within 5-10 days.
3. Thinning (If Necessary): Once the seedlings emerge, thin them out, leaving only the strongest seedling in each spot.
4. Provide Support (For Pole Beans): If you’re growing pole beans, install the trellis as soon as the seedlings start to develop tendrils. Gently guide the tendrils onto the trellis.
Caring for Your Bean Plants
Now that your beans are growing, it’s time to provide them with the care they need to thrive.
1. Watering: Water regularly, especially during hot weather. The soil should be consistently moist but not waterlogged.
2. Fertilizing: Start fertilizing your bean plants about 2-3 weeks after germination. Use a balanced liquid fertilizer diluted to half strength. Fertilize every 2-3 weeks.
3. Light: Ensure your bean plants receive at least 6-8 hours of sunlight per day. If you’re using grow lights, keep them on for 14-16 hours a day.
4. Temperature: Beans prefer temperatures between 65°F and 80°F (18°C and 27°C).
5. Air Circulation: Good air circulation is important to prevent fungal diseases. You can use a small fan to improve air circulation.
6. Pest Control: Keep an eye out for pests like aphids and spider mites. If you spot any pests, treat them with insecticidal soap or neem oil. I prefer using natural methods whenever possible.
Pollination
Beans are self-pollinating, which means they don’t need insects to pollinate them. However, you can help the process along by gently shaking the plants when they start to flower. This will help release the pollen and increase the chances of pollination.
Harvesting Your Beans
The moment we’ve all been waiting for!
1. Harvest Time: Bean pods are typically ready to harvest about 50-60 days after planting.
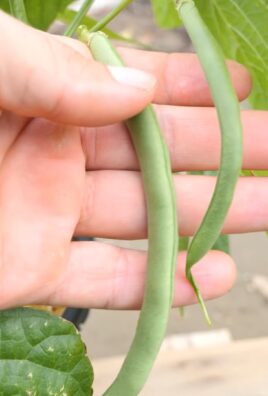
2. Check for Readiness: The pods should be firm and plump, but not too large or tough.
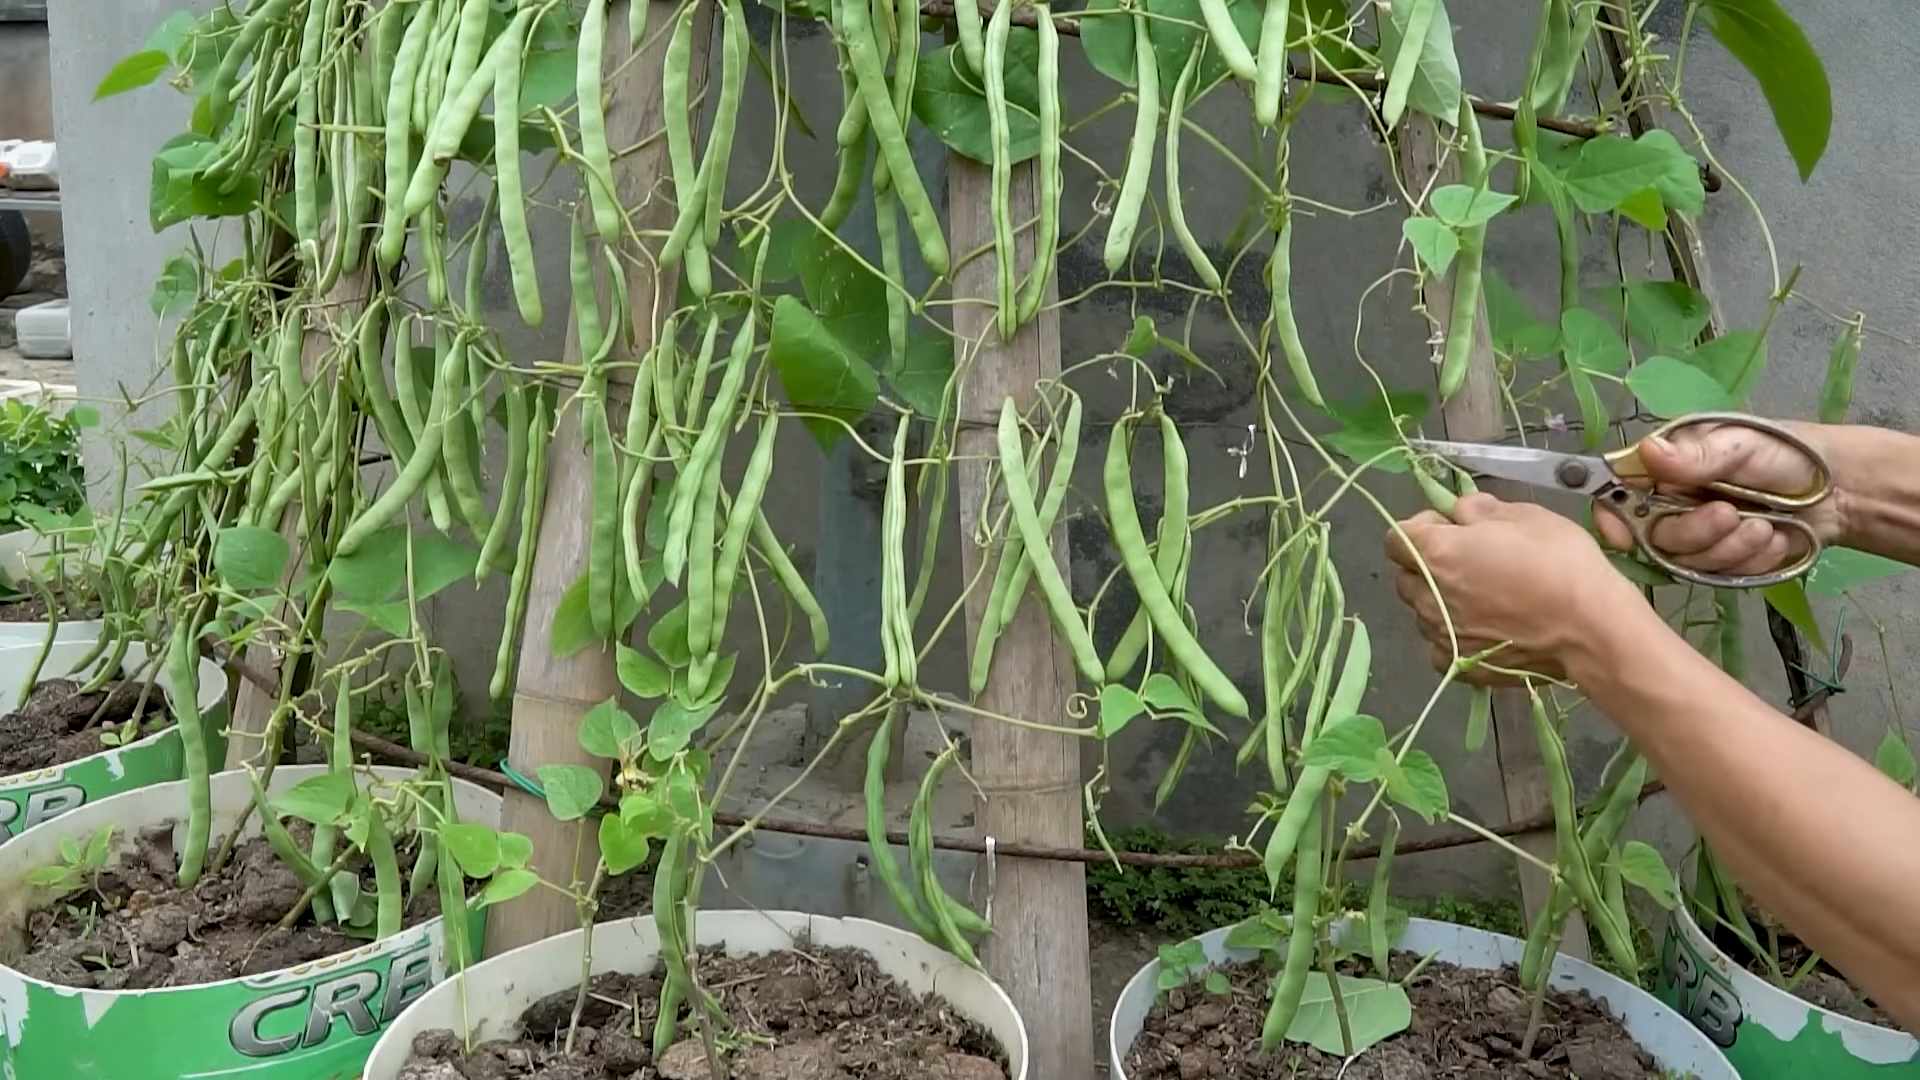
3. Harvesting Technique: Gently snap the pods off the plant, being careful not to damage the plant.
4. Regular Harvesting: Harvest your beans regularly to encourage the plant to produce more pods.
5. Enjoy Your Harvest: Enjoy your fresh, homegrown beans! You can eat them raw, steamed, sautéed, or in your favorite bean recipes.
Troubleshooting
Even with the best care, you might encounter some problems along the way. Here are some common issues and how to address them:
* Yellowing Leaves: This could be a sign of overwatering, underwatering, or nutrient deficiency. Check the soil moisture and adjust your watering accordingly. Fertilize your plants if they’re lacking nutrients.
* Leggy Growth: This usually indicates insufficient light. Move your plants to a sunnier location or use grow lights.
* Lack of Flowers: This could be due to insufficient light, temperature stress, or nutrient deficiency. Make sure your plants are getting enough light and are in a comfortable temperature range. Fertilize them with a fertilizer that’s high in phosphorus.
* Pests: As mentioned earlier, keep an eye out for pests and treat them promptly with insecticidal soap or neem oil.
* Root Rot: This is caused by overwatering. Make sure your pots have drainage holes and that you’re not overwatering your plants.
Extending Your Bean Harvest
Want to keep the bean party going? Here are a few tips:
* Succession Planting: Plant new seeds every 2-3 weeks to ensure a continuous harvest.
* Proper Storage: Store your harvested beans in the refrigerator for up to a week. You can also freeze them for longer storage.
* Saving Seeds: If you want to save seeds for next year, allow some of the pods to dry completely on the plant. Once they’re dry, remove the seeds and store them in a cool, dry place.
Additional Tips and Tricks
* Rotate Your Pots: Rotate your pots regularly to ensure that all sides of the plant receive equal sunlight.
* Prune Your Plants: Prune away any yellowing or dead leaves to improve air circulation and prevent disease.
* Companion Planting: Consider planting companion plants like marigolds or basil near your bean plants to deter pests.
* Be Patient: Growing beans indoors takes time and patience. Don’t get discouraged if you don’t see results immediately. Just keep providing your plants with the care they need, and you’ll be rewarded with a bountiful harvest.
Growing beans indoors is a fantastic way to enjoy fresh, homegrown produce year-round. With a little bit of effort and attention, you can have a thriving bean garden right in your home. Happy gardening!
Conclusion
So, there you have it! Growing beans indoors isn’t just a whimsical gardening experiment; it’s a genuinely rewarding and surprisingly simple way to bring fresh, homegrown goodness right into your kitchen. Forget those bland, store-bought beans – imagine the vibrant flavor and satisfying crunch of beans you nurtured from seed to harvest, all within the comfort of your home.
This DIY trick is a must-try for several compelling reasons. Firstly, it extends your growing season, allowing you to enjoy fresh beans even when the weather outside is frightful. Secondly, it offers a fantastic solution for those with limited outdoor space, bringing the joy of gardening to apartment dwellers and urban homesteaders alike. Thirdly, it’s incredibly cost-effective. A packet of bean seeds is significantly cheaper than repeatedly buying beans from the grocery store, and the satisfaction of growing your own food is priceless.
But the best reason to try growing beans indoors is the sheer joy of witnessing the entire life cycle of a plant. From the tiny seed sprouting to the flourishing vine laden with pods, it’s a captivating process that connects you to nature in a profound way. It’s also a fantastic educational opportunity for children, teaching them about plant biology, responsibility, and the origins of their food.
Don’t be afraid to experiment with different varieties of beans. Bush beans are generally more compact and well-suited for indoor growing, but pole beans can also thrive with proper support. Consider trying different colors and flavors – purple beans, yellow wax beans, or even heirloom varieties can add a unique touch to your indoor garden and your meals. You can also explore companion planting. Marigolds, for example, can help deter pests, while herbs like rosemary or thyme can enhance the flavor of your beans.
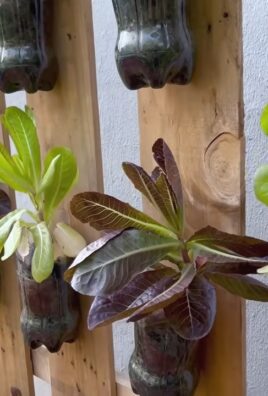
For a fun variation, try growing beans in a vertical garden. This not only saves space but also creates a visually stunning display. You can use a trellis, a repurposed pallet, or even a hanging shoe organizer to create a vertical growing system. Just make sure your chosen structure is sturdy enough to support the weight of the mature bean plants.
Another exciting variation is hydroponic bean growing. While it requires a bit more setup and knowledge, hydroponics can significantly accelerate growth and increase yields. It’s a fascinating way to explore the science of plant nutrition and optimize your growing conditions.
We wholeheartedly encourage you to give this DIY trick a try. It’s a simple, affordable, and incredibly rewarding way to enjoy fresh, homegrown beans year-round. And most importantly, don’t forget to share your experience! We’d love to hear about your successes, your challenges, and any tips or tricks you discover along the way. Share your photos and stories on social media using #IndoorBeanGrowing or leave a comment below. Let’s create a community of indoor bean enthusiasts and inspire others to embrace the joy of homegrown food! Embrace the power of growing beans indoors and transform your living space into a thriving edible garden.
Frequently Asked Questions (FAQ)
What are the best types of beans to grow indoors?
The best types of beans to grow indoors are typically bush beans. Bush beans are more compact and don’t require as much vertical space as pole beans. Some popular varieties include Blue Lake Bush, Contender, and Provider. However, if you have sufficient vertical space and a sturdy trellis, you can also successfully grow pole beans indoors. Kentucky Wonder and Scarlet Runner are good choices for pole beans. Consider the size of your growing space and the amount of support you can provide when selecting your bean variety.
How much light do indoor bean plants need?
Bean plants need a significant amount of light to thrive indoors. Ideally, they require at least 6-8 hours of direct sunlight per day. If you don’t have a south-facing window that provides enough natural light, you’ll need to supplement with artificial grow lights. Fluorescent grow lights or LED grow lights are excellent options. Position the lights a few inches above the plants and adjust as they grow. Insufficient light can lead to leggy growth, weak stems, and poor bean production.
What kind of soil should I use for growing beans indoors?
Use a well-draining potting mix specifically formulated for vegetables. Avoid using garden soil, as it can be too heavy and may contain pests or diseases. A good potting mix will provide adequate drainage and aeration, which are essential for healthy root development. You can also amend the potting mix with compost or other organic matter to improve its fertility and water-holding capacity.
How often should I water my indoor bean plants?
Water your bean plants regularly, keeping the soil consistently moist but not waterlogged. Check the soil moisture by sticking your finger about an inch deep. If the soil feels dry, it’s time to water. Avoid overwatering, as this can lead to root rot. The frequency of watering will depend on factors such as the size of the pot, the temperature, and the humidity.
Do I need to fertilize my indoor bean plants?
Yes, bean plants benefit from regular fertilization, especially during the flowering and pod-producing stages. Use a balanced liquid fertilizer diluted to half strength. Apply the fertilizer every 2-3 weeks, following the instructions on the product label. Avoid over-fertilizing, as this can burn the roots and damage the plants.
How do I support my bean plants as they grow?
Bush beans typically don’t require much support, but pole beans need a trellis or other structure to climb on. You can use a bamboo stake, a tomato cage, or a homemade trellis made from wire or twine. Make sure the support is sturdy enough to hold the weight of the mature bean plants. Train the bean vines to climb the support by gently wrapping them around the structure.
How long does it take to harvest beans grown indoors?
The time it takes to harvest beans depends on the variety and growing conditions. Generally, you can expect to harvest bush beans about 50-60 days after planting, and pole beans about 60-75 days after planting. Harvest the beans when they are young and tender, before the pods become too tough or the beans inside become too large.
What are some common pests and diseases that affect indoor bean plants?
Common pests that can affect indoor bean plants include aphids, spider mites, and whiteflies. Regularly inspect your plants for signs of infestation and take action promptly. You can control pests by spraying the plants with insecticidal soap or neem oil. Common diseases that can affect indoor bean plants include powdery mildew and root rot. Prevent these diseases by providing good air circulation, avoiding overwatering, and using a well-draining potting mix.
Can I grow beans indoors year-round?
Yes, with proper care and attention, you can grow beans indoors year-round. Provide adequate light, water, and nutrients, and protect your plants from pests and diseases. You may need to adjust your growing practices depending on the season and the amount of natural light available.
How do I pollinate my indoor bean plants?
While beans are self-pollinating, indoor plants may benefit from a little help. Gently shake the plants or use a small paintbrush to transfer pollen from one flower to another. This can help ensure good pod set and increase your harvest.
Leave a Comment