
Grow Watermelon at Home – imagine biting into a juicy, sweet, homegrown watermelon on a hot summer day! Sounds idyllic, right? Well, it doesn’t have to be just a dream. For centuries, watermelons have been a symbol of summer abundance and a refreshing treat enjoyed across cultures, from ancient Egypt where they were depicted in hieroglyphics, to modern-day picnics and barbecues. But the thought of cultivating these large fruits might seem daunting, especially if you’re short on space or experience.
That’s where this DIY guide comes in! I’m here to show you that you absolutely can grow watermelon at home, even if you don’t have acres of land. We’ll explore simple, effective tricks and hacks that will transform your balcony, patio, or small garden into a watermelon haven. Forget expensive store-bought melons that lack flavor; with a little know-how, you can enjoy the unparalleled taste of a watermelon you nurtured yourself. Plus, there’s something incredibly rewarding about watching a tiny seed transform into a delicious, vibrant fruit. So, grab your gardening gloves, and let’s get started on this exciting journey to homegrown watermelon bliss!
Growing Watermelons: A Beginner’s Guide to Sweet Success!
Okay, so you want to grow watermelons? Awesome! It might seem intimidating, but trust me, with a little planning and effort, you can be enjoying your own homegrown, juicy watermelon before you know it. I’m going to walk you through everything you need to know, from seed starting to harvesting. Let’s get started!
Choosing Your Watermelon Variety
First things first, you need to decide what kind of watermelon you want to grow. There are tons of varieties out there, each with its own unique characteristics. Here’s a quick rundown of some popular choices:
* ‘Sugar Baby’: This is a classic, small, and sweet watermelon that’s perfect for smaller gardens. It matures relatively quickly, too!
* ‘Crimson Sweet’: A larger, oblong watermelon with a bright red flesh and excellent flavor. It’s a reliable and popular choice.
* ‘Jubilee’: A large, elongated watermelon with a thick rind, making it good for shipping and storage. It has a sweet, slightly tangy flavor.
* ‘Yellow Doll’: If you’re feeling adventurous, try a yellow-fleshed watermelon! ‘Yellow Doll’ is a small, round variety that’s incredibly sweet.
* ‘Seedless Varieties’: If you hate spitting out seeds, go for a seedless variety like ‘Triploid’ or ‘Millionaire’. Keep in mind that seedless watermelons require a pollinator variety nearby to produce fruit.
Consider your garden size, climate, and personal preferences when choosing your watermelon variety. I personally love ‘Sugar Baby’ for its compact size and early maturity.
Starting Your Watermelon Seeds
Watermelons need a long growing season, so starting your seeds indoors is often the best way to get a head start, especially if you live in a cooler climate.
When to Start:
* Start your seeds about 6-8 weeks before the last expected frost in your area. You can find your average last frost date online by searching for your zip code and “last frost date.”
Materials You’ll Need:
* Watermelon seeds
* Seed starting trays or small pots (biodegradable pots are great!)
* Seed starting mix (a light, well-draining mix is essential)
* Heat mat (optional, but helpful for germination)
* Grow lights (optional, but recommended if you don’t have a sunny windowsill)
* Spray bottle with water
Step-by-Step Instructions:
1. Prepare Your Seed Starting Trays: Fill your seed starting trays or pots with seed starting mix. Gently press down on the soil to remove any air pockets.
2. Sow the Seeds: Plant 2-3 watermelon seeds per cell or pot, about 1 inch deep.
3. Water Gently: Use a spray bottle to gently water the soil until it’s moist but not soggy.
4. Provide Warmth: Place your seed starting trays on a heat mat, if using. Watermelon seeds germinate best at temperatures between 70-85°F (21-29°C).
5. Provide Light: Place your seed starting trays under grow lights or on a sunny windowsill. If using a windowsill, rotate the trays regularly to prevent the seedlings from leaning towards the light.
6. Keep the Soil Moist: Check the soil moisture daily and water as needed to keep it consistently moist. Don’t let the soil dry out completely.
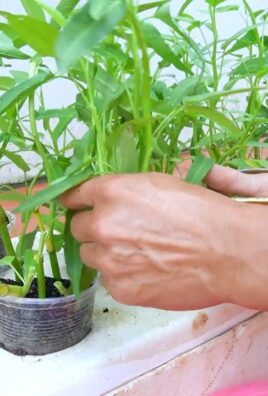
7. Thin the Seedlings: Once the seedlings have emerged and have a few true leaves (the second set of leaves), thin them to one seedling per cell or pot. Choose the strongest, healthiest seedling and snip off the others at the soil line.
Preparing Your Garden Bed
While your watermelon seedlings are growing indoors, it’s time to prepare your garden bed. Watermelons need plenty of sunshine, well-drained soil, and lots of space to sprawl.
Choosing the Right Location:
* Select a location that receives at least 6-8 hours of direct sunlight per day.
* Make sure the soil is well-drained. Watermelons don’t like to sit in soggy soil.
* Give your watermelons plenty of room to grow. Each plant can easily spread out 6-8 feet.
Soil Preparation:
1. Clear the Area: Remove any weeds, rocks, or debris from the planting area.
2. Amend the Soil: Watermelons are heavy feeders, so it’s important to amend the soil with plenty of organic matter. Add compost, well-rotted manure, or other organic amendments to the soil.
3. Improve Drainage: If your soil is heavy clay, add sand or perlite to improve drainage.
4. Check the pH: Watermelons prefer a slightly acidic soil pH of 6.0-6.8. You can test your soil pH with a soil testing kit. If the pH is too high, add sulfur to lower it. If it’s too low, add lime to raise it.
5. Create Mounds or Rows: Watermelons grow best on raised mounds or rows. This helps with drainage and warms the soil more quickly. Create mounds or rows that are about 12 inches high and 3-4 feet apart.
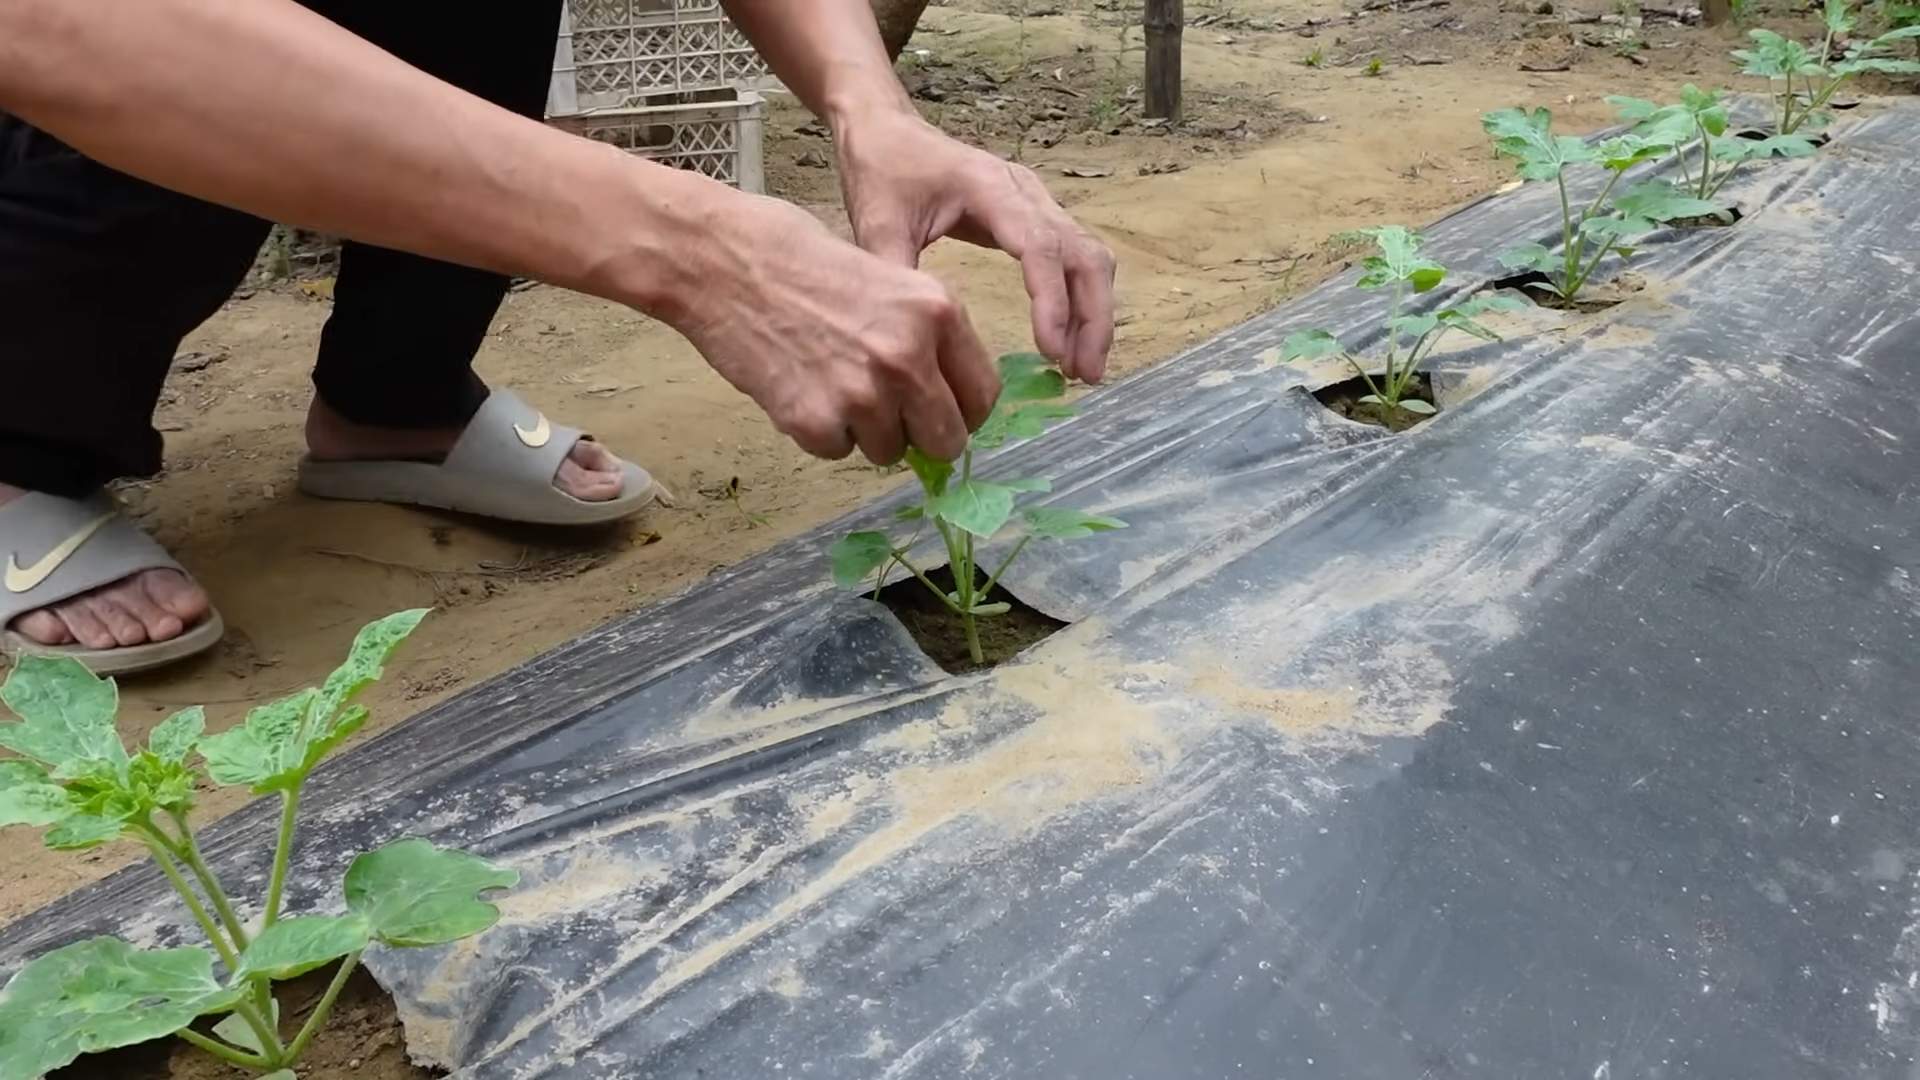
Transplanting Your Watermelon Seedlings
Once the danger of frost has passed and the soil has warmed up, it’s time to transplant your watermelon seedlings into the garden.
Hardening Off:
* Before transplanting, you’ll need to harden off your seedlings. This means gradually acclimating them to outdoor conditions. Start by placing the seedlings outdoors in a sheltered location for a few hours each day, gradually increasing the amount of time they spend outdoors over the course of a week.
Transplanting Instructions:
1. Water the Seedlings: Water your watermelon seedlings thoroughly before transplanting.
2. Dig Holes: Dig holes in the prepared mounds or rows that are slightly larger than the root balls of the seedlings. Space the holes 3-4 feet apart.
3. Remove the Seedlings: Gently remove the seedlings from their pots. If you used biodegradable pots, you can plant the entire pot directly into the ground.
4. Plant the Seedlings: Place the seedlings in the holes and backfill with soil. Gently press down on the soil to remove any air pockets.
5. Water Thoroughly: Water the newly transplanted seedlings thoroughly.
6. Mulch: Apply a layer of mulch around the plants to help retain moisture, suppress weeds, and regulate soil temperature. Straw, hay, or wood chips are good choices for mulch.
Caring for Your Watermelon Plants
Now that your watermelon plants are in the ground, it’s important to provide them with the care they need to thrive.
Watering:
* Water watermelons deeply and regularly, especially during hot, dry weather. Aim to water at the base of the plants to avoid wetting the foliage, which can lead to fungal diseases.
* Reduce watering as the fruits begin to ripen to prevent them from cracking.
Fertilizing:
* Fertilize your watermelon plants every 2-3 weeks with a balanced fertilizer. You can also side-dress the plants with compost or well-rotted manure.
* Avoid over-fertilizing, as this can lead to excessive foliage growth and reduced fruit production.
Weeding:
* Keep the garden bed free of weeds, which can compete with the watermelon plants for nutrients and water.
* Hand-pull weeds carefully to avoid disturbing the roots of the watermelon plants.
Pest and Disease Control:
* Keep an eye out for common watermelon pests, such as aphids, squash bugs, and cucumber beetles. You can control these pests with insecticidal soap or neem oil.
* Watermelons are also susceptible to fungal diseases, such as powdery mildew and anthracnose. Prevent these diseases by providing good air circulation, avoiding overhead watering, and applying a fungicide if necessary.
Pollination:
* Watermelons require pollination to produce fruit. If you’re growing seedless watermelons, you’ll need to plant a pollinator variety nearby.
* Bees are the primary pollinators of watermelons. Attract bees to your garden by planting flowering plants nearby.
* If you’re not seeing enough bee activity, you can hand-pollinate the watermelon flowers. To do this, use a small paintbrush to transfer pollen from the male flowers to the female flowers. Male flowers have a straight stem behind the flower, while female flowers have a small, immature watermelon behind the flower.
Training Your Watermelon Vines
Watermelon vines can spread out quite a bit, so it’s helpful to train them to grow in a specific direction.
* You can use stakes or trellises to support the vines and keep the fruits off the ground.
* Prune the vines to remove any dead or diseased leaves.
* Pinch off the tips
Conclusion
So, there you have it! Growing watermelon at home, while it might seem daunting at first, is absolutely achievable with a little patience, the right techniques, and a dash of enthusiasm. We’ve walked you through the essential steps, from selecting the perfect variety for your climate to nurturing those precious seedlings and finally, harvesting your own juicy, homegrown watermelons.
But why should you bother with all this effort when you can simply buy a watermelon at the store? The answer is simple: flavor, satisfaction, and control. Store-bought watermelons often lack the intense sweetness and vibrant flavor of a vine-ripened, homegrown fruit. Plus, there’s an unparalleled sense of accomplishment that comes with nurturing a plant from seed to table. You know exactly what went into your watermelon – no mystery chemicals or long-distance transportation.
This DIY approach to growing watermelon at home is more than just a gardening project; it’s an investment in your health, your taste buds, and your connection to nature. Imagine biting into a slice of your own watermelon, bursting with flavor and knowing that you played a part in bringing it to life.
Ready to take your watermelon growing to the next level? Consider these variations and suggestions:
* Vertical Gardening: If you’re short on space, try growing your watermelon vertically on a trellis. This not only saves space but also improves air circulation and reduces the risk of fungal diseases. Choose smaller varieties like Sugar Baby for best results.
* Companion Planting: Plant basil, marigolds, or nasturtiums around your watermelon plants to deter pests and attract beneficial insects. These companion plants can help create a healthier and more productive growing environment.
* Grafting: For increased disease resistance and vigor, consider grafting your watermelon scion onto a squash rootstock. This is a more advanced technique, but it can significantly improve your chances of success, especially in challenging climates.
* Seed Saving: Save seeds from your best-tasting watermelons to grow next year. This allows you to select for desirable traits and create a watermelon variety that’s perfectly adapted to your local conditions.
* Experiment with Varieties: Don’t be afraid to try different watermelon varieties. Explore heirloom options, seedless varieties, or those with unique colors and flavors. You might discover a new favorite!
We’re confident that with the information provided, you’re well-equipped to embark on your own watermelon-growing adventure. Remember to pay close attention to your plants’ needs, provide them with plenty of sunlight and water, and be patient. The rewards of a homegrown watermelon are well worth the effort.
Now, it’s your turn! We encourage you to try this DIY trick and experience the joy of growing your own watermelons. Share your experiences, tips, and photos with us in the comments below. We can’t wait to hear about your success stories and learn from your insights. Happy gardening!
Frequently Asked Questions (FAQ)
Q: What is the best time to start watermelon seeds indoors?
A: The ideal time to start watermelon seeds indoors is typically 4-6 weeks before the last expected frost in your area. This gives the seedlings enough time to develop a strong root system before being transplanted outdoors. Check your local frost dates to determine the appropriate timing for your region. Starting too early can result in leggy, weak seedlings, while starting too late may delay your harvest.
Q: How much space do watermelon plants need?
A: Watermelon plants are sprawling vines that require a significant amount of space. Generally, allow at least 6-8 feet between plants and 8-10 feet between rows. If you’re growing smaller varieties like Sugar Baby, you can reduce the spacing slightly, but ensure each plant has enough room to spread out and receive adequate sunlight. Vertical gardening with trellises can also help conserve space.
Q: What kind of soil is best for growing watermelons?
A: Watermelons thrive in well-drained, sandy loam soil that is rich in organic matter. The soil should have a pH between 6.0 and 6.8. Before planting, amend the soil with compost or well-rotted manure to improve its fertility and drainage. Avoid heavy clay soils, as they can become waterlogged and inhibit root growth.
Q: How often should I water my watermelon plants?
A: Watermelon plants need consistent moisture, especially during fruit development. Water deeply and regularly, aiming for about 1-2 inches of water per week. Avoid overhead watering, as this can promote fungal diseases. Instead, water at the base of the plants, using a soaker hose or drip irrigation system. Reduce watering as the fruits begin to ripen to prevent them from splitting.
Q: What are some common pests and diseases that affect watermelons?
A: Common pests that can affect watermelons include aphids, squash bugs, cucumber beetles, and vine borers. Diseases include powdery mildew, fusarium wilt, and anthracnose. Regularly inspect your plants for signs of pests or diseases and take appropriate action. Organic pest control methods, such as insecticidal soap or neem oil, can be effective for managing pests. Ensure good air circulation and avoid overhead watering to prevent fungal diseases. Crop rotation can also help reduce the risk of soilborne diseases.
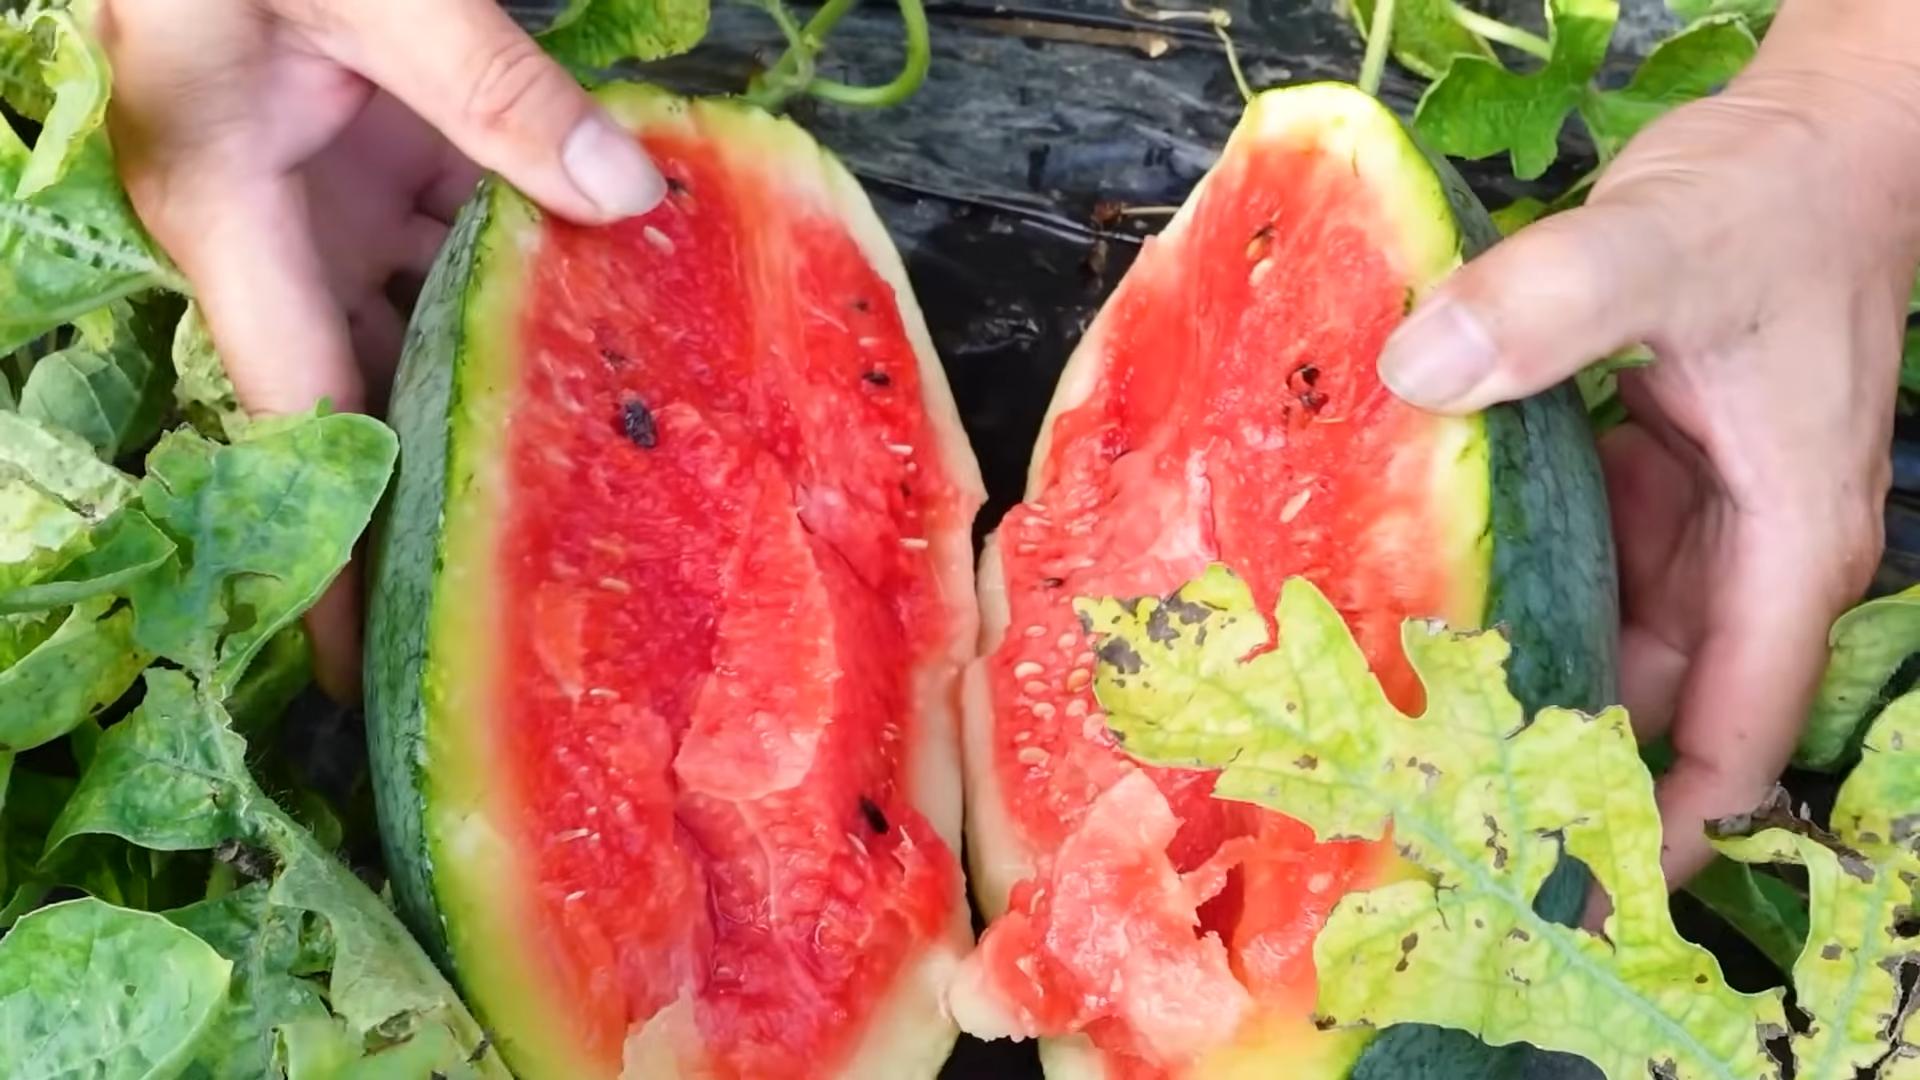
Q: How do I know when my watermelon is ripe?
A: Determining when a watermelon is ripe can be tricky, but there are several indicators to look for. First, check the tendril closest to the fruit stem. When this tendril turns brown and dries out, it’s a good sign that the watermelon is nearing ripeness. Second, examine the underside of the watermelon where it rests on the ground. This spot, known as the ground spot, should turn from white to a creamy yellow color. Finally, thump the watermelon with your knuckles. A ripe watermelon will produce a deep, hollow sound.
Q: Can I grow watermelons in containers?
A: Yes, you can grow watermelons in containers, but you’ll need to choose a large container (at least 20 gallons) and select a smaller variety like Sugar Baby or Bush Sugar Baby. Ensure the container has good drainage and use a high-quality potting mix. Water container-grown watermelons more frequently than those grown in the ground, as the soil in containers tends to dry out faster. Provide support for the vines with a trellis or stake.
Q: How can I improve the sweetness of my watermelons?
A: Several factors can influence the sweetness of watermelons. First, choose a variety that is known for its sweetness. Second, ensure your plants receive plenty of sunlight (at least 6-8 hours per day). Third, provide adequate water and nutrients, but avoid over-fertilizing with nitrogen, as this can promote leafy growth at the expense of fruit development. Finally, allow the watermelons to ripen fully on the vine before harvesting.
Q: What should I do if my watermelon plant is not producing fruit?
A: There are several reasons why a watermelon plant might not be producing fruit. First, ensure that the plant is receiving enough sunlight (at least 6-8 hours per day). Second, check the soil pH and nutrient levels. Watermelons need a soil pH between 6.0 and 6.8 and adequate levels of phosphorus and potassium. Third, ensure that the plant is being pollinated. Watermelons require pollination to set fruit. If you’re not seeing bees or other pollinators in your garden, you may need to hand-pollinate the flowers. Finally, check for pests or diseases that could be affecting the plant’s health.
Q: How do I hand-pollinate watermelon flowers?
A: Watermelons have separate male and female flowers. To hand-pollinate, identify the male flowers (they have a long, thin stem) and the female flowers (they have a small, immature watermelon at the base). Use a small paintbrush or cotton swab to collect pollen from the male flower and transfer it to the stigma of the female flower. It’s best to hand-pollinate in the morning, when the flowers are open and the pollen is fresh.
Q: Can I save seeds from my homegrown watermelons?
A: Yes, you can save seeds from your homegrown watermelons, but keep in mind that hybrid varieties may not produce true-to-type offspring. To save seeds, scoop out the seeds from a ripe watermelon and rinse them thoroughly to remove any pulp. Spread the seeds out on a paper towel to dry completely. Once dry, store the seeds in an airtight container in a cool, dark place.


Leave a Comment