
Grow Swiss Chard like a pro, even if you think you have a brown thumb! Have you ever dreamed of stepping outside your back door and harvesting vibrant, nutritious greens for your dinner? It’s easier than you think, and this DIY guide is your secret weapon. For centuries, leafy greens like Swiss chard have been a staple in Mediterranean diets, celebrated for their health benefits and versatility in the kitchen. From ancient Roman gardens to modern-day kitchen plots, the desire to cultivate our own food has remained a constant.
But let’s be honest, sometimes gardening feels intimidating. Maybe you’ve tried before and failed, or perhaps you simply don’t know where to start. That’s where these simple, yet effective, DIY tricks come in. I’m here to show you that growing your own Swiss chard is not only achievable but also incredibly rewarding. Imagine the satisfaction of serving a salad made with leaves you nurtured from tiny seedlings! Plus, knowing exactly where your food comes from and how it was grown is a huge peace of mind. So, let’s ditch the grocery store greens and grow Swiss Chard ourselves, shall we? This guide will equip you with the knowledge and confidence to transform your garden (or even a sunny windowsill!) into a thriving Swiss chard haven.
Growing Swiss Chard: A Beginner’s Guide to a Bountiful Harvest
Hey there, fellow gardening enthusiasts! I’m so excited to share my experience with growing Swiss chard. It’s one of the easiest and most rewarding vegetables to cultivate, offering vibrant colors and a delicious, nutritious addition to your meals. Plus, it’s incredibly versatile in the kitchen. Let’s dive into how you can grow your own beautiful and productive Swiss chard patch!
Choosing Your Swiss Chard Variety
First things first, let’s talk about varieties. Swiss chard comes in a rainbow of colors, from the classic green to vibrant reds, oranges, yellows, and even pinks! Choosing a variety is mostly a matter of personal preference, as the taste is generally similar. Here are a few popular options:
* Bright Lights: This is a mix of colors, with stems ranging from red and pink to yellow and white. It’s a real showstopper in the garden!
* Fordhook Giant: A classic green variety with large, crinkled leaves and thick, white stems. It’s known for its excellent flavor and productivity.
* Ruby Red: As the name suggests, this variety boasts stunning deep red stems and veins. It adds a beautiful pop of color to any dish.
* Golden Sunrise: This variety features bright yellow stems and slightly milder flavor than some of the red varieties.
I personally love growing Bright Lights because it adds so much visual interest to my garden. But really, you can’t go wrong with any of these!
Preparing for Planting
Swiss chard is relatively low-maintenance, but a little preparation goes a long way. Here’s what you need to consider:
* Sunlight: Swiss chard thrives in full sun (6-8 hours of direct sunlight per day), but it can also tolerate partial shade, especially in hotter climates. If you live in a region with scorching summers, providing some afternoon shade can prevent the leaves from scorching.
* Soil: Well-drained soil is crucial. Swiss chard doesn’t like to sit in soggy soil. Amend your soil with compost or other organic matter to improve drainage and fertility. A slightly acidic to neutral soil pH (6.0-7.5) is ideal.
* Timing: You can sow Swiss chard seeds directly in the garden in early spring, about 2-3 weeks before the last expected frost. You can also start seeds indoors 4-6 weeks before the last frost for an earlier harvest. In areas with mild winters, you can even plant Swiss chard in the fall for a winter or early spring harvest.
* Location: Choose a location where you can easily access your chard for harvesting. Consider the mature size of the plants (usually around 12-18 inches wide and tall) when spacing them.
Planting Swiss Chard Seeds
Now for the fun part – planting! Whether you’re starting seeds indoors or directly sowing them in the garden, here’s how to do it:
Starting Seeds Indoors:
1. Gather your supplies: You’ll need seed starting trays or small pots, seed starting mix, Swiss chard seeds, and a spray bottle.
2. Fill the trays or pots: Fill your chosen containers with seed starting mix, leaving about half an inch of space at the top.
3. Sow the seeds: Plant 2-3 seeds per cell or pot, about ½ inch deep.
4. Water gently: Use a spray bottle to moisten the soil. Avoid overwatering, which can lead to damping off (a fungal disease that affects seedlings).
5. Provide warmth and light: Place the trays or pots in a warm location (around 70-75°F) and provide plenty of light. A sunny windowsill or a grow light will work well.
6. Keep the soil moist: Check the soil regularly and water when the top inch feels dry.
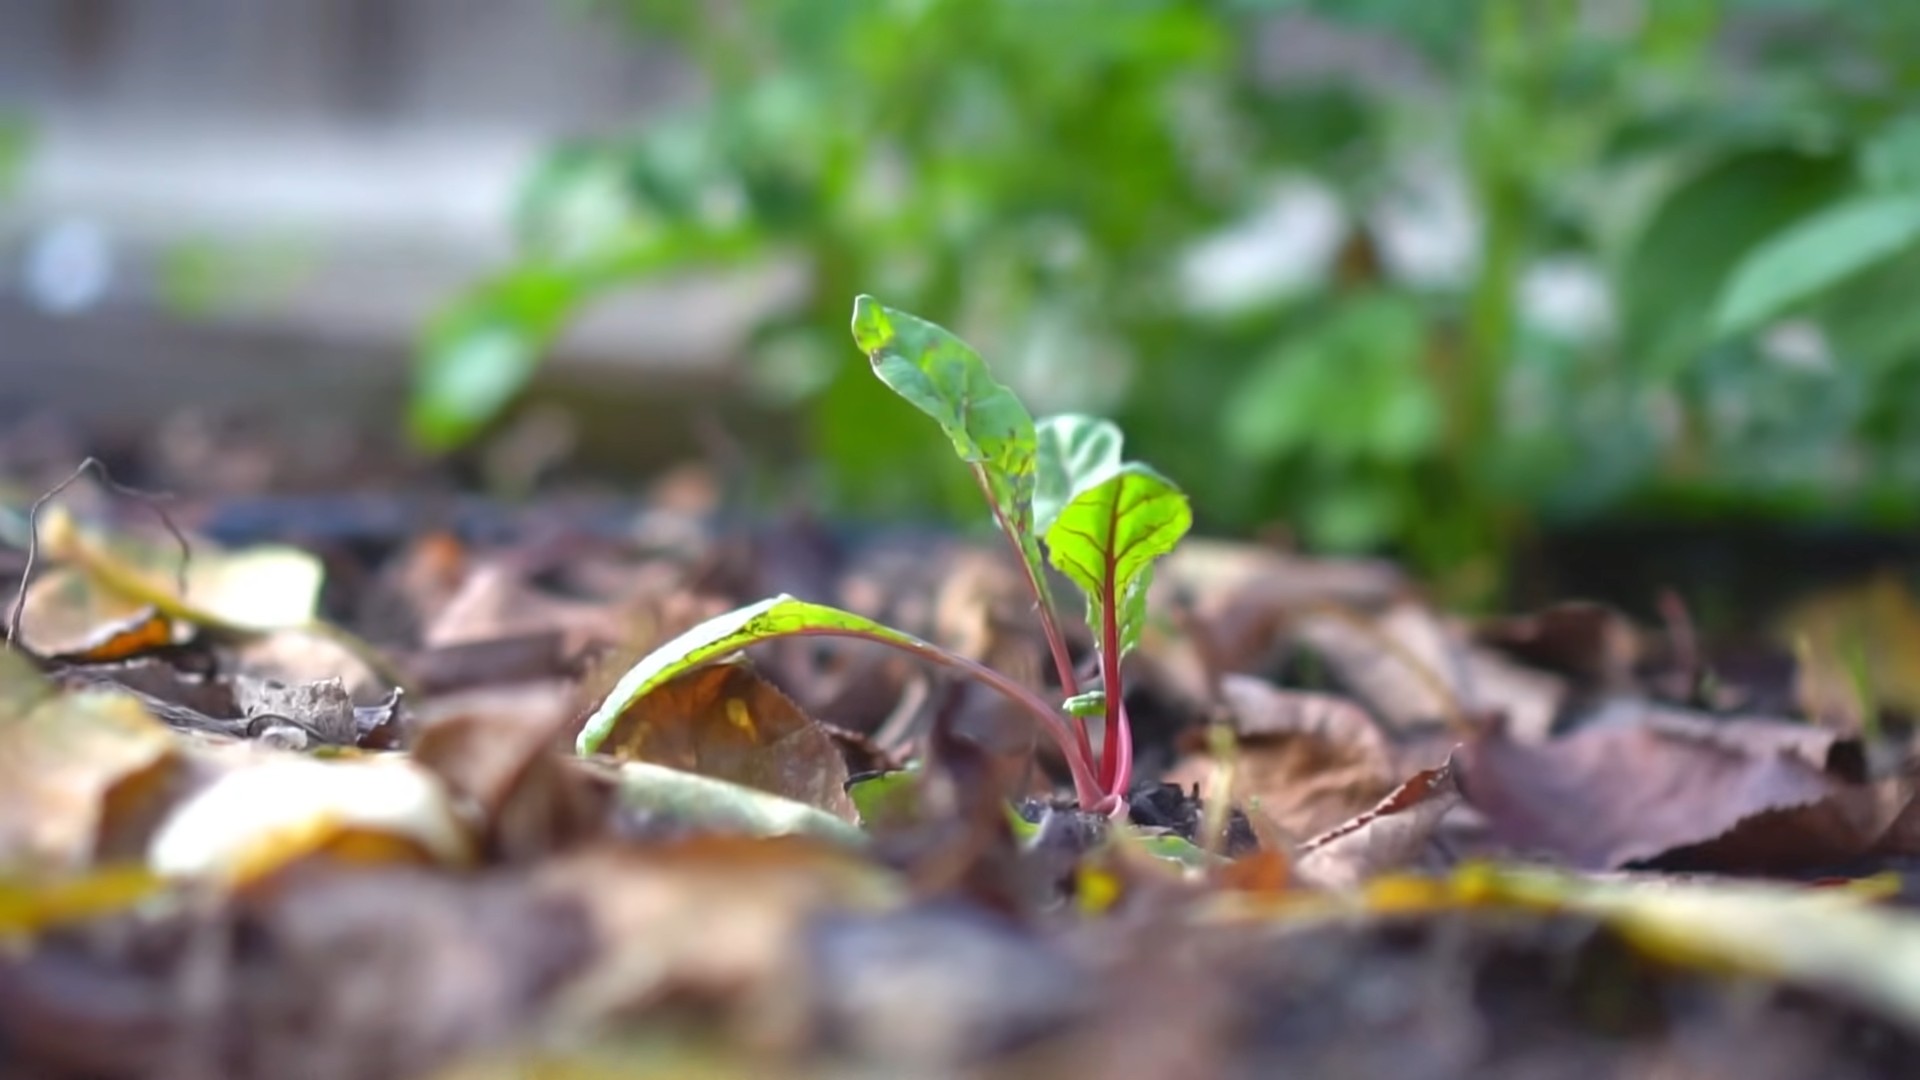
7. Thin the seedlings: Once the seedlings have developed their first true leaves (the second set of leaves), thin them to one plant per cell or pot. Choose the strongest seedling and snip off the others at the soil line.
8. Harden off the seedlings: About a week before transplanting the seedlings outdoors, gradually acclimate them to outdoor conditions. Start by placing them in a sheltered location for a few hours each day, gradually increasing the amount of time they spend outside.
Direct Sowing Seeds in the Garden:
1. Prepare the soil: Rake the soil to create a smooth surface and remove any rocks or debris.
2. Sow the seeds: Plant the seeds about ½ inch deep and 1-2 inches apart in rows that are 12-18 inches apart.
3. Water gently: Water the soil thoroughly after planting.
4. Keep the soil moist: Keep the soil consistently moist until the seeds germinate.
5. Thin the seedlings: Once the seedlings have developed their first true leaves, thin them to 6-12 inches apart, depending on the variety.
Caring for Your Swiss Chard Plants
Once your Swiss chard plants are established, they’re relatively easy to care for. Here are a few tips to keep them healthy and productive:
* Watering: Water regularly, especially during dry periods. Aim to keep the soil consistently moist, but not waterlogged.
* Fertilizing: Swiss chard benefits from regular fertilization. You can use a balanced organic fertilizer or side-dress the plants with compost every few weeks.
* Weeding: Keep the area around your Swiss chard plants free of weeds. Weeds compete with the chard for nutrients and water.
* Mulching: Apply a layer of mulch around the plants to help retain moisture, suppress weeds, and regulate soil temperature.
* Pest and Disease Control: Swiss chard is generally pest-resistant, but it can be susceptible to aphids, slugs, and snails. Inspect your plants regularly and take action if you notice any problems. You can use insecticidal soap for aphids or handpick slugs and snails. Good air circulation can help prevent fungal diseases.
Harvesting Your Swiss Chard
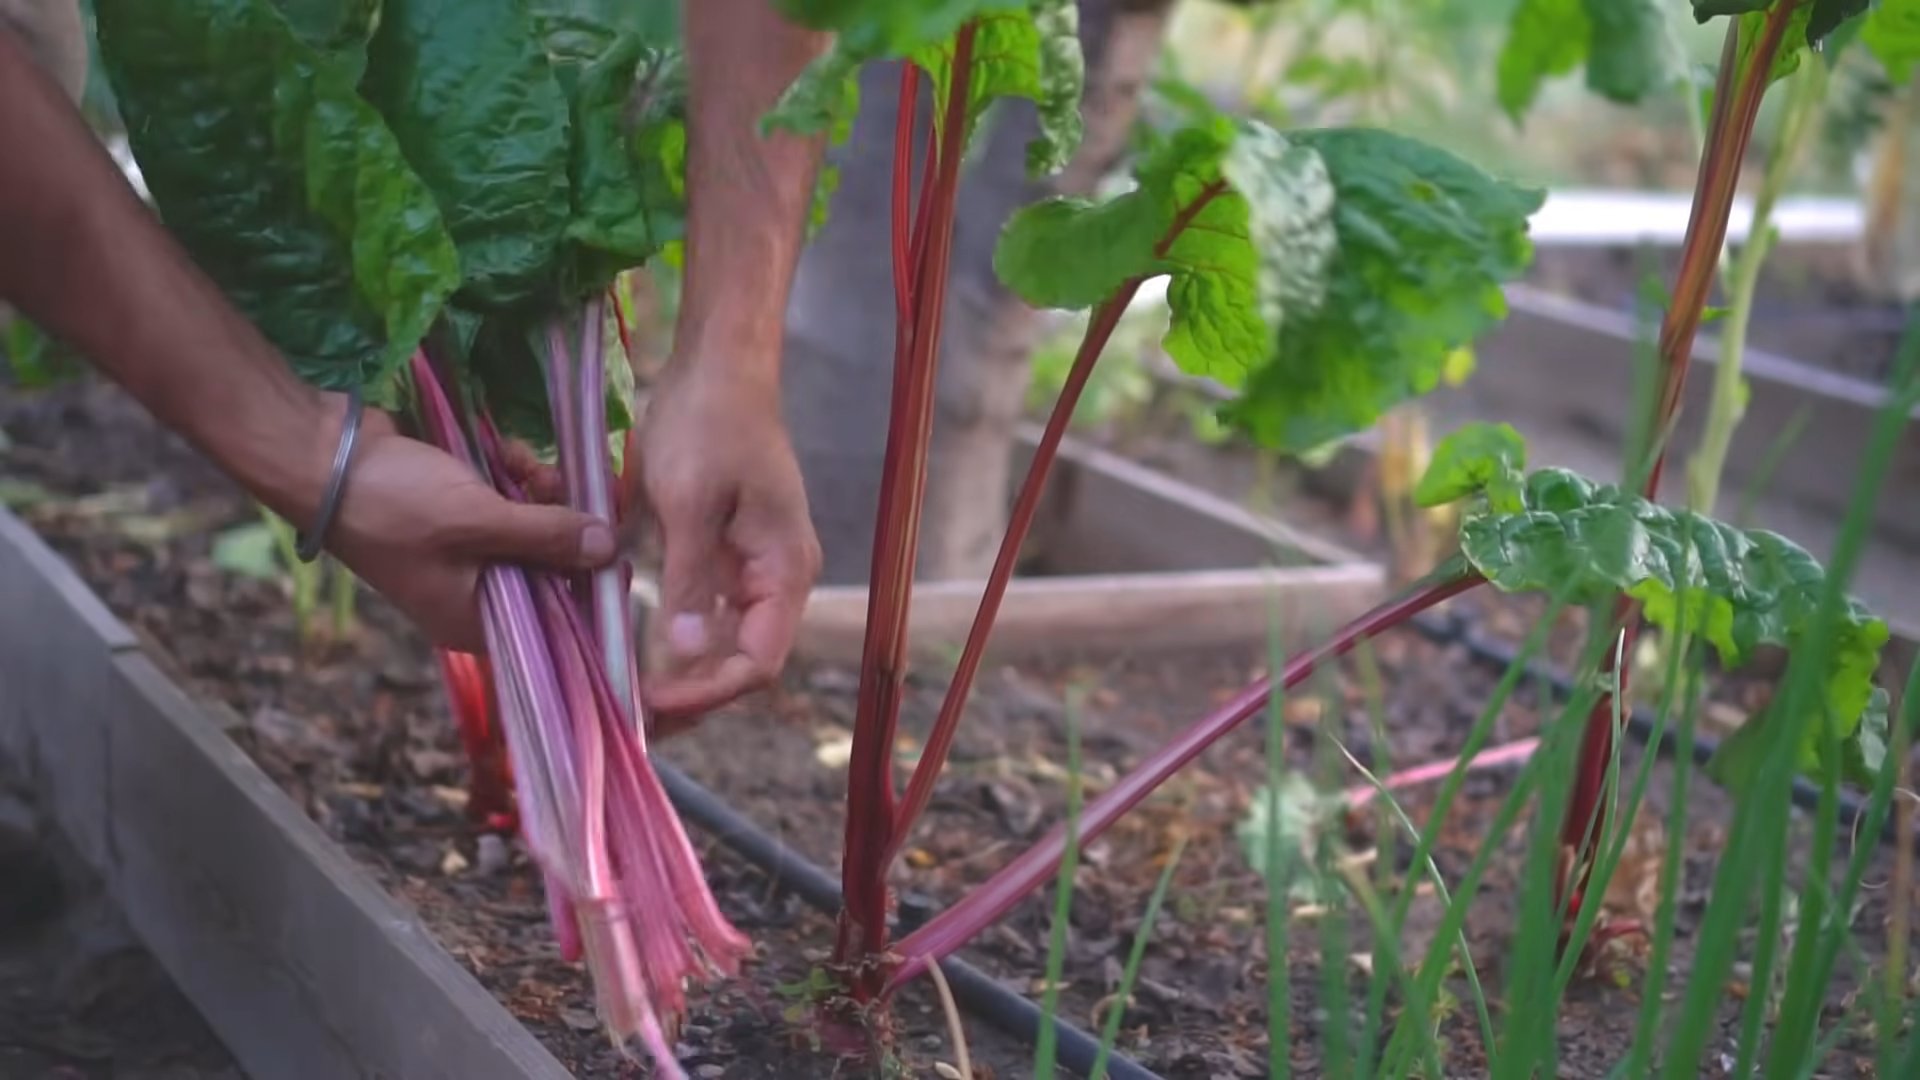
Harvesting is the most rewarding part of growing Swiss chard! You can start harvesting the outer leaves when they are about 6-8 inches long.
* Cut the outer leaves: Use a sharp knife or scissors to cut the outer leaves near the base of the plant, leaving the inner leaves to continue growing. This cut-and-come-again method allows you to harvest Swiss chard continuously throughout the growing season.
* Harvest regularly: Regular harvesting encourages the plant to produce more leaves.
* Avoid over-harvesting: Don’t remove more than one-third of the leaves at a time, as this can stress the plant.
Using Your Harvested Swiss Chard
Swiss chard is incredibly versatile in the kitchen. You can use it in a variety of dishes, including:
* Salads: Young, tender leaves can be used in salads.
* Sautéed or steamed: Swiss chard can be sautéed or steamed as a side dish.
* Soups and stews: Add Swiss chard to soups and stews for extra flavor and nutrients.
* Quiches and frittatas: Swiss chard is a great addition to quiches and frittatas.
* Smoothies: Add a handful of Swiss chard to your smoothies for a boost of vitamins and minerals.
The stems are also edible and can be cooked like asparagus. I personally love to sauté them with garlic and olive oil.
Troubleshooting Common Problems
Even with the best care, you might encounter a few problems while growing Swiss chard. Here are some common issues and how to address them:
* Yellowing leaves: This can be caused by overwatering, underwatering, nutrient deficiencies, or pests. Check the soil moisture and adjust your watering accordingly. Fertilize the plants with a balanced fertilizer. Inspect the plants for pests and take action if necessary.
* Holes in leaves: This is often caused by slugs or snails. Handpick them or use slug bait.
* Leaf miners: These pests tunnel through the leaves, leaving unsightly trails. Remove and destroy affected leaves. You can also use row covers to prevent leaf miners from reaching the plants.
* Bolting: Bolting (when the plant sends up a flower stalk) can occur in hot weather. To prevent bolting, provide some afternoon shade and water regularly.
Extending Your Harvest
Want to enjoy Swiss chard for as long as possible? Here are a few tips for extending your harvest:
* Succession planting: Sow seeds every few weeks to ensure a continuous supply of Swiss chard.
* Cold frames or row covers: Use cold frames or row covers to protect your plants from frost and extend the growing season.
* Overwintering: In mild climates, you can overwinter Swiss chard plants by mulching them
Conclusion
So, there you have it! Growing your own Swiss chard isn’t just a gardening project; it’s an investment in your health, your culinary creativity, and your connection to the natural world. We’ve walked through the simple steps, from seed to harvest, and hopefully demystified the process. The vibrant colors and earthy flavors of homegrown Swiss chard are simply unmatched by anything you can find in a store.
Why is this DIY trick a must-try? Because it empowers you to control the quality of your food. You know exactly what goes into your garden – no mystery pesticides or questionable growing practices. Plus, the satisfaction of harvesting your own leafy greens and turning them into a delicious meal is incredibly rewarding. It’s a tangible connection to the food chain, a reminder of the effort and care that goes into nourishing our bodies.
But the benefits don’t stop there. Growing Swiss chard is also incredibly versatile. You can experiment with different varieties, from the classic ‘Bright Lights’ with its rainbow of stems to the deeply colored ‘Ruby Red’. Think about planting companion herbs like basil or rosemary nearby to enhance the flavor and deter pests. Consider succession planting – sowing seeds every few weeks – to ensure a continuous harvest throughout the growing season.
And don’t be afraid to get creative in the kitchen! Sauté your Swiss chard with garlic and olive oil for a simple side dish, add it to soups and stews for a nutritional boost, or use it as a substitute for spinach in your favorite recipes. You can even blanch and freeze it for later use, preserving the taste of summer long into the winter months.
We truly believe that anyone can successfully grow Swiss chard, regardless of their gardening experience. It’s a forgiving plant that thrives in a variety of conditions, making it perfect for beginners. The key is to start small, pay attention to your plants, and don’t be afraid to experiment.
We encourage you to take the plunge and try this DIY trick for yourself. You’ll be amazed at how easy and rewarding it is to grow your own fresh, healthy Swiss chard. And once you’ve tasted the difference, you’ll never want to go back to store-bought again.
Most importantly, we want to hear about your experience! Share your tips, tricks, and triumphs in the comments below. Let us know what varieties you’re growing, what recipes you’re creating, and any challenges you’ve overcome. Together, we can build a community of passionate gardeners and food lovers, all united by our love of homegrown Swiss chard. So, get your hands dirty, plant some seeds, and let the growing begin! We are confident that you will find that growing Swiss chard is a worthwhile endeavor.
Frequently Asked Questions (FAQ)
What is the best time of year to plant Swiss chard?
Swiss chard is a cool-season crop, so the best time to plant it depends on your climate. In areas with mild winters, you can plant it in the fall for a winter or early spring harvest. In colder climates, plant it in the spring after the last frost. You can also start seeds indoors 4-6 weeks before the last frost and transplant them outdoors once the weather warms up. For a continuous harvest, consider succession planting, sowing seeds every few weeks.
How much sunlight does Swiss chard need?
Swiss chard thrives in full sun, which means at least 6 hours of direct sunlight per day. However, it can also tolerate partial shade, especially in hotter climates. If you live in a very hot area, providing some afternoon shade can help prevent the leaves from wilting or scorching.
What kind of soil is best for growing Swiss chard?
Swiss chard prefers well-drained soil that is rich in organic matter. Before planting, amend your soil with compost or well-rotted manure to improve its fertility and drainage. The ideal soil pH for Swiss chard is between 6.0 and 7.5. You can test your soil pH with a home testing kit or by sending a sample to your local agricultural extension office.
How often should I water Swiss chard?
Water Swiss chard regularly, especially during dry periods. Aim to keep the soil consistently moist, but not waterlogged. Water deeply at the base of the plants, avoiding wetting the leaves, which can increase the risk of fungal diseases. Mulching around the plants can help retain moisture in the soil and suppress weeds.
What are some common pests and diseases that affect Swiss chard?
Some common pests that can affect Swiss chard include aphids, flea beetles, and leaf miners. Aphids can be controlled with insecticidal soap or by attracting beneficial insects like ladybugs. Flea beetles can be deterred by using row covers or by spraying with neem oil. Leaf miners can be controlled by removing and destroying infested leaves. Common diseases that can affect Swiss chard include fungal leaf spots and downy mildew. These diseases can be prevented by providing good air circulation, avoiding overhead watering, and using disease-resistant varieties.
How do I harvest Swiss chard?
You can begin harvesting Swiss chard leaves when they are about 6-8 inches long. Harvest the outer leaves first, leaving the inner leaves to continue growing. You can either cut the leaves off at the base of the plant or snap them off with your fingers. Regular harvesting encourages the plant to produce more leaves.
Can I eat the stems of Swiss chard?
Yes, the stems of Swiss chard are edible and delicious! They can be cooked in the same way as the leaves, but they may require a slightly longer cooking time. The stems are often thicker and more fibrous than the leaves, so you may want to chop them into smaller pieces before cooking.
How do I store Swiss chard?
To store Swiss chard, wash the leaves and stems thoroughly and pat them dry. Wrap them in a damp paper towel and store them in a plastic bag in the refrigerator. Swiss chard can be stored for up to a week in the refrigerator. You can also blanch and freeze Swiss chard for longer storage.
What are some good companion plants for Swiss chard?
Good companion plants for Swiss chard include beans, onions, garlic, carrots, and radishes. These plants can help deter pests, improve soil health, and enhance the flavor of Swiss chard. Avoid planting Swiss chard near members of the brassica family, such as cabbage and broccoli, as they can compete for nutrients and attract similar pests.
Is Swiss chard nutritious?
Yes, Swiss chard is a very nutritious vegetable. It is an excellent source of vitamins A, C, and K, as well as minerals like potassium and magnesium. It is also a good source of fiber and antioxidants. Eating Swiss chard can help improve your overall health and well-being.


Leave a Comment