
Grow Sweet Carrots at Home – imagine pulling vibrant, juicy carrots straight from your own backyard, bursting with flavor that store-bought ones just can’t match! Forget those bland, pre-packaged veggies; I’m going to share some simple, yet effective DIY tricks to help you cultivate the sweetest carrots you’ve ever tasted, right in your own garden.
Carrots have a rich history, dating back thousands of years. Originally cultivated for their aromatic leaves and seeds, the sweet, orange root we know and love today is a relatively modern development. Throughout history, carrots have been valued not only for their culinary uses but also for their medicinal properties. Now, you can continue this legacy by growing your own!
Why do you need these DIY tricks? Because growing truly delicious carrots isn’t always as straightforward as simply planting seeds. Factors like soil composition, sunlight, and watering techniques play a crucial role in determining the sweetness and texture of your harvest. Many gardeners struggle with stunted growth, bitter flavors, or misshapen roots. But don’t worry, I’m here to guide you through the process with easy-to-follow tips and hacks that will transform your carrot-growing experience. With a little know-how, you can grow sweet carrots at home that will impress your family and friends, and add a healthy, delicious touch to your meals.

DIY Home Automation with Raspberry Pi: A Beginner’s Guide
Hey there, fellow DIY enthusiasts! Ever dreamt of controlling your home with just a tap on your phone or a voice command? Well, dream no more! In this guide, I’m going to walk you through the exciting world of home automation using a Raspberry Pi. It might sound intimidating, but trust me, it’s totally doable, even if you’re a beginner. We’ll be focusing on setting up a basic system that can control a light, but the possibilities are endless once you get the hang of it. Let’s dive in!
What You’ll Need
Before we get started, let’s gather all the necessary components. Here’s a list of everything you’ll need:
* A Raspberry Pi (Model 3 B+, 4, or even a Pi Zero W will work). I’ll be using a Raspberry Pi 4 for this tutorial.
* A MicroSD card (at least 16GB) with Raspberry Pi OS installed.
* A power supply for your Raspberry Pi.
* An LED light bulb (any standard bulb will do).
* A relay module (5V). This is crucial for safely switching the mains power.
* Jumper wires (male-to-male and male-to-female).
* A breadboard (optional, but highly recommended for easier prototyping).
* A case for your Raspberry Pi (optional, but it helps protect it).
* A smartphone or computer to access the Raspberry Pi.
* A Wi-Fi connection.
* A safe enclosure for the relay and wiring (very important for safety!).
* A screwdriver.
* Wire strippers.
* Multimeter (optional, but helpful for troubleshooting).
Setting Up Your Raspberry Pi
This is the foundation of our project. We need to get the Raspberry Pi up and running with the operating system.
1. Install Raspberry Pi OS: If you haven’t already, download the Raspberry Pi Imager from the official Raspberry Pi website. Use it to flash Raspberry Pi OS (I recommend the Raspberry Pi OS Lite version for this project, as it’s less resource-intensive) onto your MicroSD card.
2. Boot Up Your Raspberry Pi: Insert the MicroSD card into your Raspberry Pi, connect the power supply, and let it boot up.
3. Connect to Your Raspberry Pi: You can connect a monitor, keyboard, and mouse directly to your Raspberry Pi. Alternatively, you can connect remotely via SSH. To do this, you’ll need to know your Raspberry Pi’s IP address. You can find this using your router’s admin interface or by using a network scanning tool.
4. Enable SSH (if needed): If you’re using Raspberry Pi OS Lite, SSH might not be enabled by default. To enable it, create an empty file named “ssh” (without any extension) in the boot partition of your MicroSD card before booting up the Raspberry Pi.
5. Update and Upgrade: Once you’re connected to your Raspberry Pi, open a terminal and run the following commands to update and upgrade the system:
“`bash
sudo apt update
sudo apt upgrade
“`
This ensures you have the latest software packages.
6. Install Python Libraries: We’ll be using Python to control the relay. Install the `RPi.GPIO` library, which allows us to interact with the Raspberry Pi’s GPIO pins:
“`bash
sudo apt install python3-rpi.gpio
“`
Wiring the Relay Module
This is where things get a little more hands-on. Safety is paramount here! Make sure you understand the wiring diagram for your specific relay module before proceeding. If you’re not comfortable working with mains electricity, please consult a qualified electrician.
1. Identify the Relay Pins: Your relay module will have several pins. You’ll need to identify the following:
* VCC (power supply, usually 5V)
* GND (ground)
* IN (signal input from the Raspberry Pi)
* COM (common terminal)
* NO (normally open terminal)
* NC (normally closed terminal)
2. Connect the Raspberry Pi to the Relay:
* Connect the VCC pin of the relay to the 5V pin on the Raspberry Pi.
* Connect the GND pin of the relay to the GND pin on the Raspberry Pi.
* Connect the IN pin of the relay to a GPIO pin on the Raspberry Pi. I’ll be using GPIO 17 (pin 11) in this example, but you can choose any available GPIO pin.
3. Wiring the Mains Circuit (EXTREMELY IMPORTANT – SAFETY FIRST!):
* Disconnect the power supply to the light circuit you’re working on at the breaker box. Double-check with a multimeter to ensure the circuit is dead.
* Cut the hot (live) wire of the power cord that will power your light bulb.
* Connect one end of the cut hot wire to the COM (common) terminal of the relay.
* Connect the other end of the cut hot wire to the NO (normally open) terminal of the relay.
* The neutral wire and ground wire of the power cord should remain connected directly to the light bulb socket.
* Enclose the relay and all wiring in a suitable, non-conductive enclosure. This is crucial to prevent electric shock.
Important Considerations:
* Double-check all wiring before applying power.
* Use appropriately rated wire for mains voltage.
* Ensure all connections are secure and insulated.
* If you are unsure about any part of this process, consult a qualified electrician.
Writing the Python Code
Now for the fun part – writing the code that will control the light!
1. Create a Python File: Open a text editor on your Raspberry Pi (or use an IDE like Thonny) and create a new file named `light_control.py`.
2. Write the Code: Here’s the Python code that will control the relay:
“`python
import RPi.GPIO as GPIO
import time
# Define the GPIO pin connected to the relay
relay_pin = 17
# Set GPIO numbering mode
GPIO.setmode(GPIO.BCM)
# Set the relay pin as an output
GPIO.setup(relay_pin, GPIO.OUT)
def turn_on_light():
GPIO.output(relay_pin, GPIO.HIGH) # Activate the relay (light ON)
print(“Light turned ON”)
def turn_off_light():
GPIO.output(relay_pin, GPIO.LOW) # Deactivate the relay (light OFF)
print(“Light turned OFF”)
try:
while True:
# Get user input
action = input(“Enter ‘on’ to turn the light ON, ‘off’ to turn it OFF, or ‘exit’ to quit: “)
if action == ‘on’:
turn_on_light()
elif action == ‘off’:
turn_off_light()
elif action == ‘exit’:
break
else:
print(“Invalid input. Please enter ‘on’, ‘off’, or ‘exit’.”)
time.sleep(0.1) # Add a small delay
except KeyboardInterrupt:
print(“Exiting…”)
finally:
GPIO.cleanup() # Clean up GPIO pins on exit
“`
3. Save the File: Save the file as `light_control.py`.
4. Run the Code: Open a terminal and navigate to the directory where you saved the file. Then, run the code using the following command:
“`bash
sudo python3 light_control.py
“`
You’ll be prompted to enter “on” or “off” to control the light.
Explanation of the Code
Let’s break down the code to understand what’s happening:
* `import RPi.GPIO as GPIO`: This line imports the `RPi.GPIO` library, which allows us to control the GPIO pins. We rename it to `GPIO` for easier use.
* `import time`: This line imports the `time` library, which we’ll use for adding delays.
* `relay_pin = 17`: This line defines the GPIO pin that’s connected to the relay. Make sure this matches the pin you actually used when wiring the relay.
* `GPIO.setmode(GPIO.BCM)`: This line sets the GPIO numbering mode to BCM (Broadcom SOC channel). This means we’ll be using the GPIO numbers as labeled on the Raspberry Pi’s processor, rather than the physical pin numbers.
* `GPIO.setup(relay_pin, GPIO
Conclusion
So, there you have it! Growing sweet carrots at home is not only achievable but also incredibly rewarding. Forget those bland, store-bought carrots that lack that vibrant, earthy sweetness. With a little planning and effort, you can cultivate a crop of carrots bursting with flavor, right in your own backyard or even in containers on your balcony.
This DIY trick, focusing on soil preparation, proper watering, and strategic thinning, is a game-changer. It’s the secret weapon to unlocking the full potential of your carrot seeds and ensuring a harvest that will impress even the most discerning palates. Think of it: crisp, juicy carrots perfect for snacking, adding to salads, or roasting to caramelized perfection. The difference between homegrown and store-bought is truly night and day.
But the beauty of gardening lies in experimentation! Feel free to explore different carrot varieties. Nantes carrots are known for their sweetness and cylindrical shape, making them ideal for slicing. Danvers carrots are a classic choice, offering a robust flavor and excellent storage capabilities. Rainbow carrots, with their vibrant hues of purple, yellow, and orange, add a touch of whimsy to your garden and your plate.
Consider companion planting to further enhance your carrot-growing experience. Planting onions or garlic nearby can deter carrot root flies, while marigolds can help repel nematodes. These natural pest control methods can significantly reduce the need for chemical interventions, ensuring a healthier and more sustainable garden.
And don’t be afraid to get creative with your growing methods! If you’re short on space, try growing carrots in raised beds or containers. Just make sure to choose containers that are deep enough to accommodate the carrot roots. You can even succession plant your carrots, sowing seeds every few weeks to ensure a continuous harvest throughout the growing season.
Ultimately, the key to success lies in understanding your local climate and adapting your gardening practices accordingly. Pay attention to the specific needs of your chosen carrot variety and adjust your watering and fertilization schedule as needed. With a little patience and observation, you’ll be well on your way to harvesting a bountiful crop of sweet carrots.
We wholeheartedly encourage you to try this DIY trick for growing sweet carrots at home. It’s a simple yet effective way to elevate your gardening game and enjoy the unparalleled taste of homegrown produce. Once you’ve experienced the joy of harvesting your own sweet carrots, you’ll never look at store-bought carrots the same way again.
Don’t keep your success a secret! We’d love to hear about your experiences. Share your photos, tips, and tricks in the comments below. Let’s create a community of carrot-growing enthusiasts and inspire others to embrace the joys of homegrown goodness. Happy gardening!
Frequently Asked Questions (FAQ)
What kind of soil is best for growing sweet carrots?
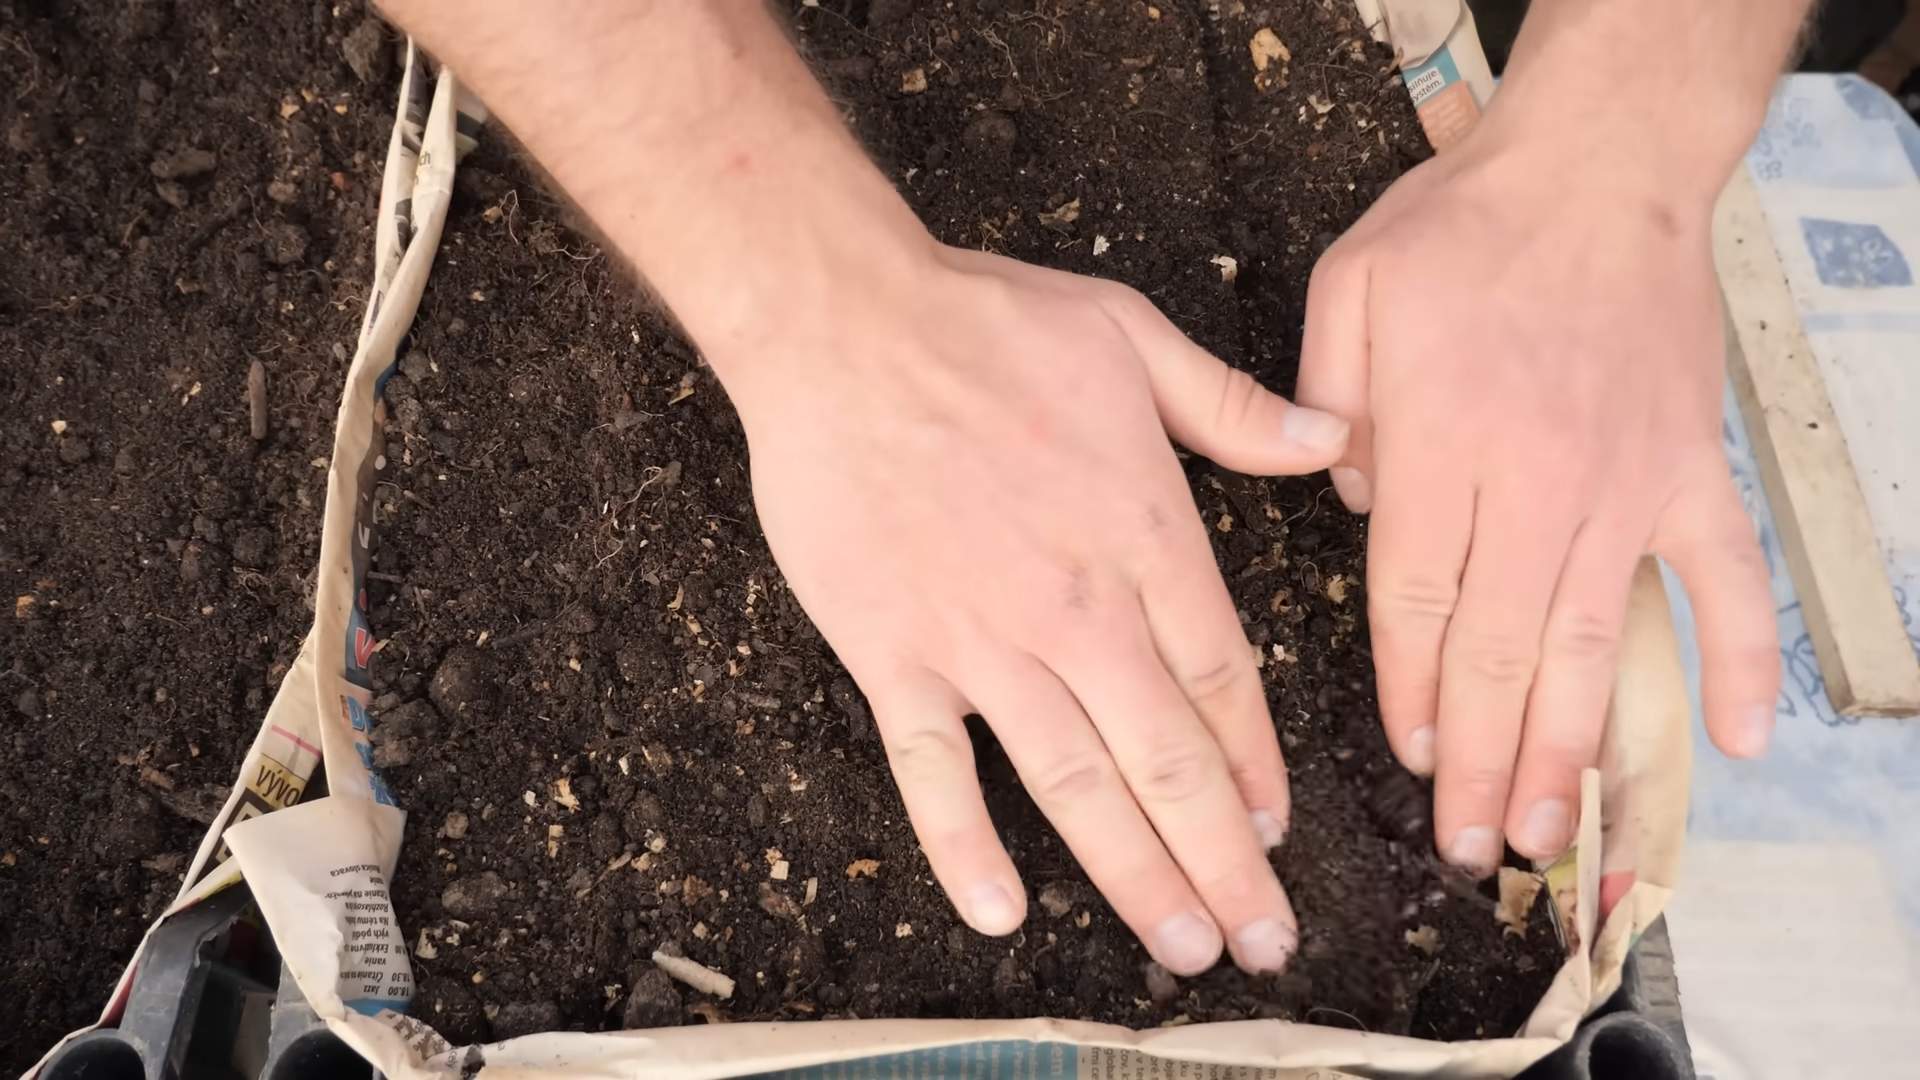
The ideal soil for growing sweet carrots is loose, well-drained, and sandy loam. Carrots need to be able to easily push through the soil, so avoid heavy clay soils that can cause stunted or misshapen roots. Amend heavy soils with plenty of organic matter, such as compost or well-rotted manure, to improve drainage and aeration. A slightly acidic soil pH of 6.0 to 6.8 is optimal.
How often should I water my carrots?
Carrots need consistent moisture to develop properly. Water deeply and regularly, especially during dry periods. Aim for about 1 inch of water per week. Avoid overwatering, which can lead to root rot. Check the soil moisture regularly and adjust your watering schedule accordingly. Mulching around the plants can help retain moisture and suppress weeds.
When is the best time to plant carrots?
The best time to plant carrots depends on your climate. In cooler climates, plant carrots in early spring, as soon as the soil can be worked. In warmer climates, plant carrots in late summer or early fall for a winter harvest. Carrots can tolerate light frost, but prolonged freezing temperatures can damage the roots. Succession planting every few weeks will ensure a continuous harvest.
How do I thin my carrot seedlings?
Thinning is crucial for allowing carrots enough space to develop properly. When seedlings are about 2 inches tall, thin them to about 1-2 inches apart. When they are about 4 inches tall, thin them again to about 3-4 inches apart. Gently pull out the excess seedlings, being careful not to disturb the roots of the remaining plants. You can eat the thinned seedlings as microgreens.
What are some common pests and diseases that affect carrots?
Common pests that affect carrots include carrot root flies, aphids, and nematodes. Carrot root flies lay their eggs near the base of the plants, and the larvae burrow into the roots, causing damage. Aphids suck the sap from the leaves, weakening the plants. Nematodes are microscopic worms that can damage the roots. Common diseases include leaf blight and root rot. Use companion planting, crop rotation, and proper watering practices to prevent pest and disease problems.
How do I know when my carrots are ready to harvest?
Carrots are typically ready to harvest when they reach the desired size and color. Check the seed packet for the expected maturity date. You can also gently pull back the soil around the base of the plant to check the size of the root. Carrots are generally sweeter and more flavorful when harvested after a light frost.
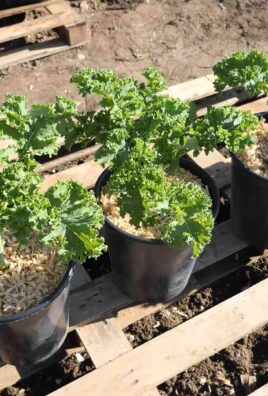
Can I grow carrots in containers?
Yes, you can grow carrots in containers, but you need to choose containers that are deep enough to accommodate the carrot roots. Select a container that is at least 12 inches deep and wide. Use a well-draining potting mix and water regularly. Container-grown carrots may need more frequent fertilization than those grown in the ground.
What are some good companion plants for carrots?
Good companion plants for carrots include onions, garlic, rosemary, sage, and marigolds. Onions and garlic can help deter carrot root flies, while rosemary and sage can repel other pests. Marigolds can help control nematodes in the soil. Avoid planting carrots near fennel or dill, as these plants can inhibit carrot growth.
How do I store my harvested carrots?
To store harvested carrots, remove the tops and gently brush off any excess soil. Store the carrots in a cool, dark, and humid place, such as a refrigerator or root cellar. You can also store carrots in a container filled with moist sand or sawdust. Carrots can be stored for several months under the right conditions.
What if my carrots are forked or misshapen?
Forked or misshapen carrots are often caused by compacted soil or rocks in the soil. To prevent this, make sure to prepare the soil thoroughly before planting, removing any rocks or debris. Amend heavy soils with plenty of organic matter to improve drainage and aeration. Avoid using fertilizers that are high in nitrogen, as this can also contribute to forked roots.


Leave a Comment