
Grow Sponge Gourd Indoors? Absolutely! Imagine harvesting fresh, homegrown sponge gourds right from your kitchen, even if you don’t have a sprawling garden. It’s more achievable than you might think, and I’m here to guide you through the process with some simple DIY tricks and hacks.
Sponge gourd, also known as luffa, has a rich history, particularly in Asian cultures, where it’s been cultivated for centuries not only for its delicious fruit but also for its fibrous skeleton, which is used as a natural exfoliating sponge. Talk about a multi-purpose plant!
But why bother growing sponge gourd indoors? Well, for many of us, space is a premium. Perhaps you live in an apartment, or maybe your outdoor growing season is short. This DIY guide is perfect for anyone who wants to enjoy the taste of homegrown produce regardless of their living situation. Plus, it’s incredibly rewarding to nurture a plant from seed to harvest, and I’m excited to share my tips and tricks to help you successfully grow sponge gourd indoors. Get ready to roll up your sleeves and embark on this exciting gardening adventure!
Growing Sponge Gourd Indoors: A Comprehensive DIY Guide
Hey there, fellow gardening enthusiasts! Ever dreamt of harvesting your own loofah sponges right from the comfort of your home? Well, dream no more! Growing sponge gourd (also known as loofah) indoors is totally achievable, and I’m here to guide you through every step of the process. It might seem daunting, but trust me, with a little patience and the right setup, you’ll be scrubbing away with your homegrown sponges in no time.
Understanding Sponge Gourd and Indoor Growing Challenges
Before we dive in, let’s talk a bit about sponge gourd. It’s a tropical vine that loves warm weather and plenty of sunshine. This presents our first challenge: replicating those conditions indoors. We’ll need to provide ample light, warmth, and support for the vine to climb. Also, pollination can be tricky indoors, but don’t worry, I’ll show you how to hand-pollinate like a pro!
Materials You’ll Need
Here’s a list of everything you’ll need to get started. Don’t worry, most of these items are readily available at your local garden center or online.
* Sponge gourd seeds (Luffa aegyptiaca or Luffa acutangula)
* Large container (at least 15-20 gallons)
* High-quality potting mix (well-draining)
* Grow lights (LED or fluorescent)
* Trellis or support structure (tall and sturdy)
* Seed starting tray or small pots
* Spray bottle
* Small paintbrush or cotton swab
* Liquid fertilizer (high in phosphorus)
* Pruning shears
* Thermometer
* Humidity monitor (optional)
Step-by-Step Instructions: From Seed to Sponge
Alright, let’s get our hands dirty! Here’s a detailed breakdown of how to grow sponge gourd indoors.
1. Starting Your Seeds
This is where the magic begins! We’ll start by germinating the seeds indoors.
1. Soak the seeds: Place the sponge gourd seeds in a bowl of warm water for 24 hours. This helps soften the hard outer shell and encourages germination.
2. Prepare your seed starting tray: Fill your seed starting tray or small pots with a good quality seed starting mix. Moisten the mix thoroughly.
3. Plant the seeds: Make a small hole (about 1 inch deep) in each cell or pot. Place one seed in each hole and cover it gently with soil.
4. Water gently: Use a spray bottle to mist the soil surface. Avoid overwatering, as this can lead to rot.
5. Provide warmth: Sponge gourd seeds germinate best in warm conditions (around 75-85掳F or 24-29掳C). You can use a heat mat under the seed starting tray to maintain the ideal temperature.
6. Cover with a humidity dome: Place a clear plastic dome or cover over the seed starting tray to create a humid environment. This helps retain moisture and promotes germination.
7. Wait for germination: Keep the soil consistently moist and warm. Germination usually takes about 7-14 days. Once the seedlings emerge, remove the humidity dome and place them under grow lights.
2. Transplanting Your Seedlings
Once your seedlings have developed a few sets of true leaves (the leaves that look like miniature versions of the adult leaves), it’s time to transplant them into their permanent containers.
1. Prepare your large container: Fill your large container with a well-draining potting mix. Make sure the container has drainage holes to prevent waterlogging.
2. Dig a hole: Dig a hole in the center of the container that is large enough to accommodate the root ball of the seedling.
3. Carefully remove the seedling: Gently remove the seedling from the seed starting tray or pot, being careful not to damage the roots.
4. Place the seedling in the hole: Position the seedling in the hole and backfill with potting mix. Gently firm the soil around the base of the plant.
5. Water thoroughly: Water the transplanted seedling thoroughly to help settle the soil and encourage root growth.
3. Providing the Right Environment
Sponge gourd needs specific conditions to thrive indoors. Here’s how to create the perfect environment for your plants.
1. Light: Sponge gourd requires at least 6-8 hours of direct light per day. Since natural sunlight may be limited indoors, you’ll need to supplement with grow lights. Position the grow lights about 6-12 inches above the plants and adjust as they grow. I recommend using LED grow lights, as they are energy-efficient and produce less heat.
2. Temperature: Maintain a consistent temperature between 70-85掳F (21-29掳C). Avoid exposing the plants to drafts or sudden temperature fluctuations. A thermometer will help you monitor the temperature.
3. Humidity: Sponge gourd prefers moderate humidity levels (around 50-60%). You can increase humidity by misting the plants regularly with a spray bottle or using a humidifier. A humidity monitor can help you keep track of the humidity levels.
4. Air Circulation: Good air circulation is essential to prevent fungal diseases. You can use a small fan to circulate the air around the plants.
4. Training and Supporting the Vine
Sponge gourd is a climbing vine, so it needs a sturdy trellis or support structure to grow on.
1. Install the trellis: Place the trellis or support structure in the container next to the plant. Make sure it’s tall and strong enough to support the weight of the mature vine and the developing gourds.
2. Train the vine: As the vine grows, gently guide it to climb the trellis. You can use plant ties or clips to secure the vine to the support structure.
3. Prune as needed: Prune any side shoots or excessive foliage to encourage the main vine to grow and produce fruit.
5. Watering and Fertilizing
Proper watering and fertilization are crucial for healthy growth and abundant fruit production.
1. Watering: Water the plants regularly, keeping the soil consistently moist but not waterlogged. Check the soil moisture by sticking your finger into the soil. If the top inch feels dry, it’s time to water.
2. Fertilizing: Feed the plants with a liquid fertilizer that is high in phosphorus every 2-3 weeks. Phosphorus promotes flowering and fruit development. Follow the instructions on the fertilizer label for proper dilution rates.
6. Hand-Pollination
This is a critical step for indoor sponge gourd growing. Since there are no bees or other pollinators indoors, you’ll need to hand-pollinate the flowers yourself.
1. Identify male and female flowers: Sponge gourd plants produce separate male and female flowers. Male flowers have a long, slender stem, while female flowers have a small, immature gourd at the base of the flower.
2. Pollinate in the morning: The best time to hand-pollinate is in the morning, when the flowers are fully open and the pollen is fresh.
3. Collect pollen: Use a small paintbrush or cotton swab to collect pollen from the male flower. Gently brush the anthers (the pollen-bearing parts) of the male flower to collect the pollen.
4. Transfer pollen to the female flower: Gently brush the pollen onto the stigma (the sticky center part) of the female flower. Make sure to cover the stigma with pollen.
5. Mark the pollinated flower: Use a small piece of tape or ribbon to mark the pollinated flower. This will help you keep track of which flowers you’ve already pollinated.
6. Observe the fruit development: If the pollination was successful, the small gourd at the base of the female flower will start to swell and grow. If the pollination was unsuccessful, the gourd will turn yellow and fall off.
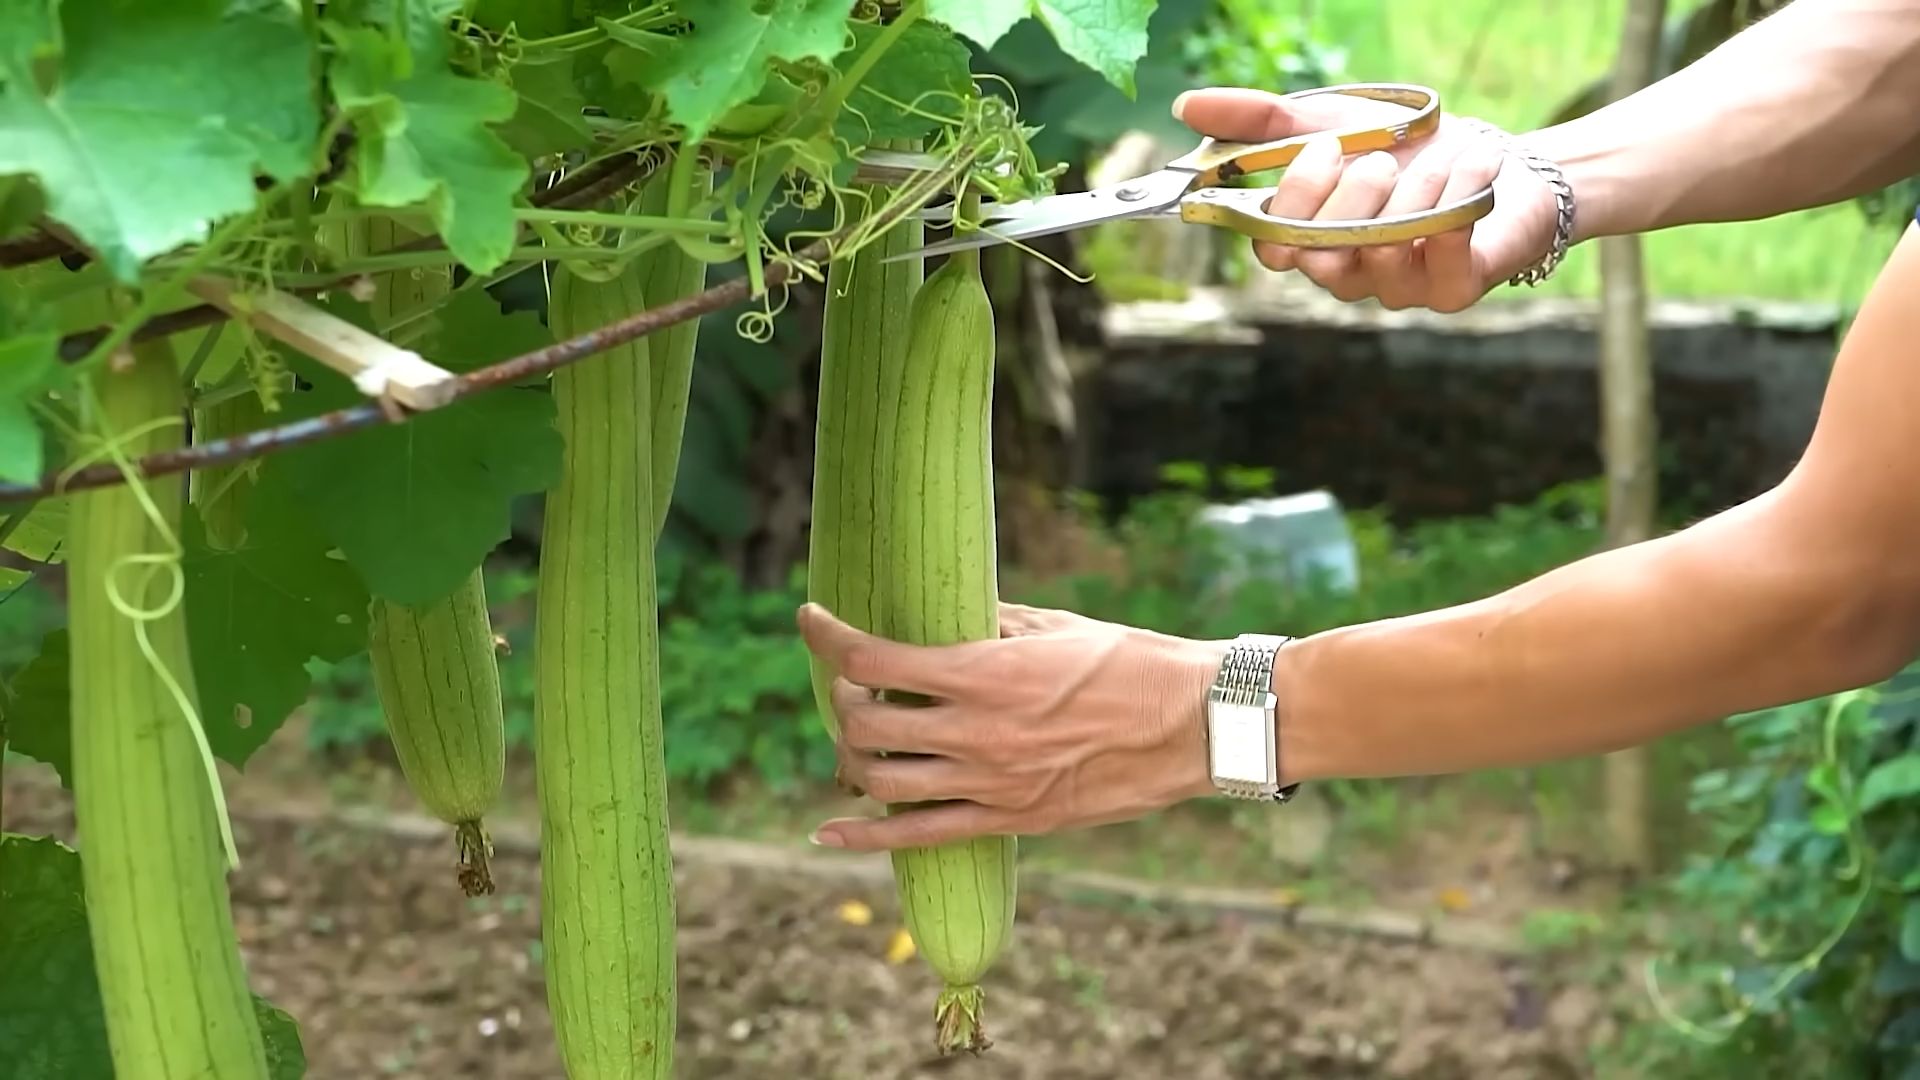
7. Harvesting Your Sponge Gourds
After successful pollination, it takes about 90-120 days for the sponge gourds to mature.
1. Check for maturity: The sponge gourd is ready to harvest when the skin turns brown and dry, and the gourd feels lightweight. You might also hear the seeds rattling inside when you shake it.
2. Harvest the gourd: Use pruning shears to cut the gourd from the vine. Leave a few inches of stem attached to the gourd.
3. Soak the gourd: Soak the harvested gourd in water for several days to soften the outer skin.
4. Remove the skin and pulp: Once the skin is soft, peel it off to reveal the sponge inside. Remove the seeds and any remaining pulp.
5. Rinse and dry the sponge: Rinse the sponge thoroughly with water and allow it to dry completely in the sun.
6. Enjoy your homemade sponge! Now you can use your homegrown sponge for scrubbing, exfoliating, or any other purpose you desire.
Troubleshooting Common Problems

Conclusion
So, there you have it! Growing sponge gourd indoors might seem like a challenge, but with a little preparation and the right techniques, you can absolutely cultivate these fascinating gourds right in your own home. This DIY approach isn’t just about saving money; it’s about connecting with the growing process, understanding the plant’s needs, and enjoying the unique satisfaction of harvesting something you nurtured from seed to sponge.
Why is this a must-try? Because it opens up a world of possibilities, especially for those with limited outdoor space or those who live in climates where sponge gourd cultivation is otherwise impossible. Imagine the delight of having fresh, homegrown sponge gourds readily available for your culinary creations, knowing exactly where they came from and how they were grown. Plus, the vibrant green vines and the eventual gourd fruits add a touch of natural beauty to your indoor environment.
Don’t be afraid to experiment! Consider different varieties of sponge gourd to see which thrives best in your indoor setup. You could also try companion planting with herbs like basil or marigolds to deter pests naturally. Another variation is to explore different training methods for the vines. Instead of just letting them climb a trellis, you could train them along a window frame or even create a living curtain. The possibilities are endless!
Ultimately, successfully growing sponge gourd indoors is a rewarding experience that combines gardening, sustainability, and culinary delight. It’s a chance to learn, to experiment, and to connect with nature in a meaningful way. We wholeheartedly encourage you to give this DIY trick a try. You might be surprised at how easy and enjoyable it is.
And most importantly, we want to hear about your experiences! Share your successes, your challenges, and your tips in the comments below. Let’s build a community of indoor sponge gourd enthusiasts and learn from each other. Did you find a particular lighting setup that worked wonders? Did you discover a secret to preventing pests? Your insights could be invaluable to others embarking on this journey. So, grab your seeds, prepare your pots, and get ready to experience the joy of growing your own sponge gourd indoors! Let us know how your **sponge gourd** growing journey goes!
Frequently Asked Questions (FAQs)
Q: What is the best time of year to start growing sponge gourd indoors?
A: Ideally, you should start your sponge gourd seeds indoors about 6-8 weeks before the last expected frost. This allows the seedlings to develop a strong root system before being transplanted into larger containers. If you live in a warmer climate with no frost, you can start them at any time of year, keeping in mind that they need warm temperatures to thrive. Starting in early spring is generally a good bet for most regions.
Q: What kind of soil is best for growing sponge gourd indoors?
A: Sponge gourds need well-draining soil that is rich in organic matter. A good mix would be equal parts of potting soil, compost, and perlite or vermiculite. The potting soil provides a base, the compost adds nutrients, and the perlite or vermiculite improves drainage and aeration. Avoid using garden soil, as it can be too heavy and may contain pests or diseases.
Q: How much sunlight does sponge gourd need when grown indoors?
A: Sponge gourds are sun-loving plants and need at least 6-8 hours of direct sunlight per day. If you don’t have a south-facing window that provides enough sunlight, you’ll need to supplement with grow lights. LED grow lights are a good option as they are energy-efficient and provide the full spectrum of light that plants need. Position the grow lights about 6-12 inches above the plants.
Q: How often should I water my indoor sponge gourd plants?
A: Water your sponge gourd plants regularly, keeping the soil consistently moist but not waterlogged. Check the soil moisture by sticking your finger about an inch deep into the soil. If it feels dry, it’s time to water. Water deeply, allowing the excess water to drain out of the bottom of the pot. Avoid overwatering, as this can lead to root rot. Reduce watering frequency during cooler months.
Q: What kind of fertilizer should I use for sponge gourd?
A: Sponge gourds are heavy feeders and need regular fertilization. Start with a balanced fertilizer (e.g., 10-10-10) when the seedlings are young. Once the plants start to flower, switch to a fertilizer that is higher in phosphorus (e.g., 5-10-5) to promote fruit production. Fertilize every 2-3 weeks, following the instructions on the fertilizer package. You can also supplement with compost tea or other organic fertilizers.
Q: How do I pollinate sponge gourd flowers indoors?
A: Sponge gourds have separate male and female flowers. Indoors, you’ll need to hand-pollinate the flowers to ensure fruit production. The male flowers have a long, thin stem, while the female flowers have a small, immature gourd at the base. To hand-pollinate, use a small paintbrush or cotton swab to collect pollen from the male flower and transfer it to the stigma of the female flower. Do this in the morning, when the flowers are open. You may need to do this several times to ensure successful pollination.
Q: What kind of support do sponge gourd vines need?
A: Sponge gourd vines are vigorous climbers and need strong support. A trellis, bamboo stakes, or even a sturdy tomato cage can be used. Make sure the support is tall enough to accommodate the growing vines. Train the vines to climb the support by gently tying them to it with soft twine or plant ties.
Q: How do I deal with pests and diseases on my indoor sponge gourd plants?
A: Monitor your plants regularly for pests and diseases. Common pests include aphids, spider mites, and whiteflies. You can control these pests with insecticidal soap, neem oil, or by hand-picking them off the plants. Diseases can be prevented by providing good air circulation and avoiding overwatering. If you notice any signs of disease, such as yellowing leaves or spots, remove the affected leaves and treat the plant with a fungicide.
Q: When are sponge gourds ready to harvest?
A: Sponge gourds are typically ready to harvest about 2-3 weeks after pollination. The gourds should be firm and green, and the skin should be smooth. To harvest, cut the gourd from the vine with a sharp knife or pruning shears, leaving a few inches of stem attached. The younger the gourd, the more tender it will be. If you are growing them for sponges, allow the gourds to mature fully on the vine until the skin turns brown and dry.
Q: Can I save seeds from my indoor-grown sponge gourds?
A: Yes, you can save seeds from your indoor-grown sponge gourds. Allow the gourds to mature fully on the vine until they are dry and brown. Then, cut open the gourd and remove the seeds. Wash the seeds and dry them thoroughly before storing them in an airtight container in a cool, dry place. These seeds can be used to grow more sponge gourds in the future.


Leave a Comment