
Grow pineapple at home? Absolutely! Imagine plucking a juicy, sun-ripened pineapple straight from your own backyard. Sounds like a tropical dream, right? Well, it’s more attainable than you think, and this DIY guide is your passport to pineapple paradise.
For centuries, the pineapple has been a symbol of hospitality and luxury. Originating in South America, it was once so prized that it was often rented out as a centerpiece for lavish parties! While we might not be renting them out anymore, the allure of this exotic fruit remains strong.
Let’s face it, store-bought pineapples can be expensive and sometimes lack that fresh, vibrant flavor. Plus, there’s something incredibly rewarding about nurturing a plant from start to finish, especially one that yields such a delicious reward. This DIY trick isn’t just about saving money; it’s about connecting with nature, learning a new skill, and enjoying the unparalleled taste of homegrown goodness. I’m going to show you how easy it is to grow pineapple at home, even if you don’t have a green thumb. Get ready to transform your kitchen scraps into a tropical treasure!
Growing Pineapples at Home: A Tropical Treat You Can DIY!
Hey there, fellow plant enthusiasts! Ever dreamt of harvesting your own juicy pineapple right from your backyard (or even your windowsill)? Well, dream no more! Growing pineapples at home is surprisingly achievable, and I’m here to guide you through the process. It’s a bit of a journey, but the reward of a homegrown pineapple is totally worth it. Let’s dive in!
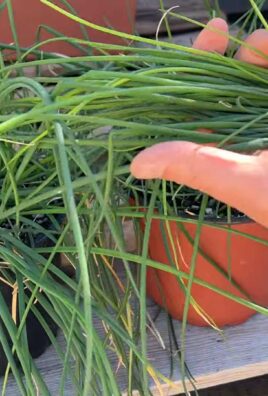
Choosing Your Pineapple Top
The first step to pineapple paradise is selecting the right pineapple. Not all pineapples are created equal when it comes to propagation.
* Look for a healthy pineapple: Choose a pineapple from the grocery store that is ripe, fragrant, and has healthy-looking green leaves. Avoid pineapples with brown, wilted, or damaged leaves. The fruit itself should be firm, but not rock hard.
* Consider the variety: While most commercially available pineapples will work, some varieties are known to be easier to grow. Smooth Cayenne is a popular choice.
* Inspect the crown: The crown (the leafy top) is what we’ll be using to grow our new plant. Make sure it’s firmly attached to the fruit and free from any signs of rot or disease.
Preparing the Pineapple Crown
This is a crucial step, so pay close attention! We need to encourage root growth, and that means removing the excess fruit that could rot and hinder the process.
1. Twist or cut off the crown: Hold the pineapple fruit firmly in one hand and the crown in the other. Twist the crown firmly until it separates from the fruit. If twisting doesn’t work, use a sharp knife to carefully cut the crown off, leaving about an inch of fruit attached.
2. Remove the lower leaves: This is where the roots will emerge. Gently peel off the bottom few layers of leaves from the base of the crown. You should expose about an inch or two of the stem. Don’t be afraid to be a little aggressive here; you want to reveal the little root buds (they look like small brown bumps).
3. Let it dry: This is important to prevent rot. Place the crown in a cool, dry place for 3-7 days. This allows the cut end to callous over, reducing the risk of fungal infections. I usually just leave mine on a paper towel on the kitchen counter.
Rooting the Pineapple Crown
Now comes the fun part – getting those roots to sprout! You have two main options here: rooting in water or planting directly in soil. I’ve had success with both, but I personally prefer rooting in water because you can actually see the roots developing.
Rooting in Water (My Preferred Method)
1. Find a suitable container: Choose a glass or jar that’s wide enough to support the pineapple crown and deep enough to hold water without submerging the leaves.
2. Add water: Fill the container with clean, room-temperature water.
3. Submerge the base: Place the pineapple crown in the water, ensuring that only the exposed stem (where you removed the leaves) is submerged. The leaves should remain above the water line.
4. Find a sunny spot: Place the container in a warm, bright location with indirect sunlight. Direct sunlight can scorch the leaves.
5. Change the water regularly: Change the water every 2-3 days to prevent algae growth and keep the water fresh.
6. Be patient: Rooting can take several weeks, sometimes even a month or two. You should start to see small roots emerging from the stem. Don’t get discouraged if it takes a while!
Planting Directly in Soil
1. Prepare the pot: Choose a pot that’s at least 6 inches in diameter and has drainage holes.
2. Use well-draining soil: Pineapples don’t like soggy soil. Use a well-draining potting mix, such as a cactus or succulent mix, or amend regular potting soil with perlite or sand.
3. Plant the crown: Make a hole in the center of the soil and plant the pineapple crown, burying the exposed stem (where you removed the leaves).
4. Water lightly: Water the soil lightly, just enough to moisten it. Avoid overwatering.
5. Find a sunny spot: Place the pot in a warm, bright location with indirect sunlight.
6. Keep the soil moist, but not soggy: Water when the top inch of soil feels dry to the touch.
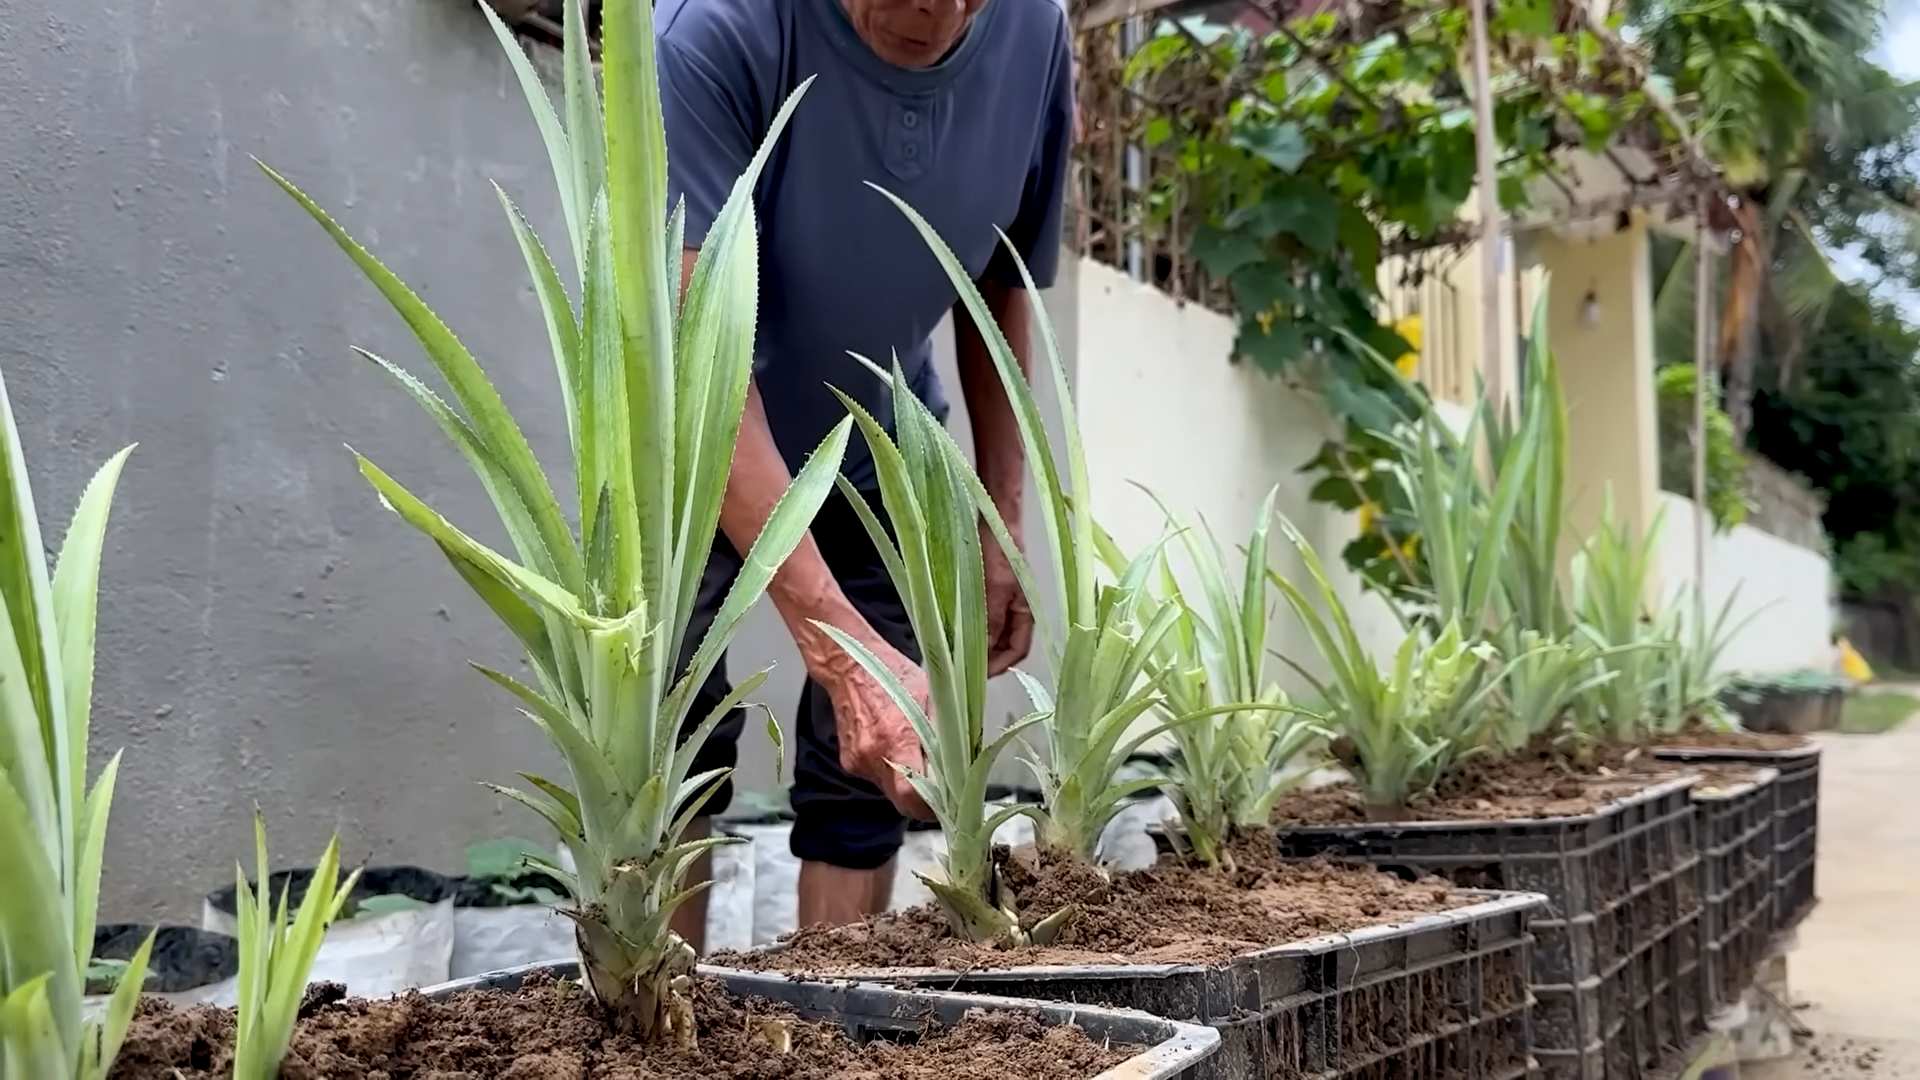
Planting Your Rooted Pineapple
Once your pineapple crown has developed a good root system (at least a few inches long if rooting in water), it’s time to plant it in a larger pot or directly in the ground (if you live in a warm climate).
1. Choose a larger pot (if needed): If you rooted your pineapple in water, select a pot that’s at least 10-12 inches in diameter. If you planted directly in soil initially, you may not need to repot it yet.
2. Prepare the soil: Again, use well-draining soil.
3. Plant the pineapple: Gently remove the pineapple from its current container and plant it in the new pot or in the ground. Make sure the top of the root ball is level with the soil surface.
4. Water thoroughly: Water the soil thoroughly after planting.
5. Mulch (optional): Add a layer of mulch around the base of the plant to help retain moisture and suppress weeds.
Caring for Your Pineapple Plant
Now that your pineapple is planted, it’s time to provide it with the care it needs to thrive.
* Sunlight: Pineapples need plenty of sunlight, at least 6 hours per day. Place your plant in a sunny location, such as a south-facing window or a sunny spot in your garden.
* Watering: Water your pineapple plant regularly, but avoid overwatering. Allow the soil to dry out slightly between waterings. During the growing season (spring and summer), you may need to water more frequently than during the dormant season (fall and winter).
* Fertilizing: Feed your pineapple plant with a balanced fertilizer every 2-3 months during the growing season. Follow the instructions on the fertilizer label. I like to use a liquid fertilizer diluted to half strength.
* Temperature: Pineapples thrive in warm temperatures, ideally between 65°F and 85°F (18°C and 29°C). Protect your plant from frost and freezing temperatures. If you live in a cold climate, you’ll need to bring your pineapple plant indoors during the winter.
* Humidity: Pineapples appreciate humidity. If you live in a dry climate, you can increase the humidity around your plant by misting it regularly or placing it on a pebble tray filled with water.
* Pest control: Keep an eye out for pests, such as mealybugs and scale. If you notice any pests, treat them with an appropriate insecticide or horticultural oil.
Encouraging Fruiting
This is where patience really comes into play. It can take anywhere from 1 to 3 years for a pineapple plant to produce fruit. But don’t worry, there are things you can do to encourage fruiting!
* Ethylene gas: Pineapples are stimulated to fruit by ethylene gas. You can try placing an apple core near the base of the plant, covering the whole plant and apple core with a clear plastic bag for a few days. Apples release ethylene gas as they ripen. Be careful not to overheat the plant in the bag.
* Magnesium sulfate (Epsom salts): Some gardeners recommend applying magnesium sulfate (Epsom salts) to the soil to encourage fruiting. Dissolve 1 tablespoon of Epsom salts in 1 gallon of water and water the plant with this solution every few months.
* Patience, patience, patience: Ultimately, the most important thing is to be patient. Your pineapple plant will eventually fruit when it’s ready.
Harvesting Your Pineapple
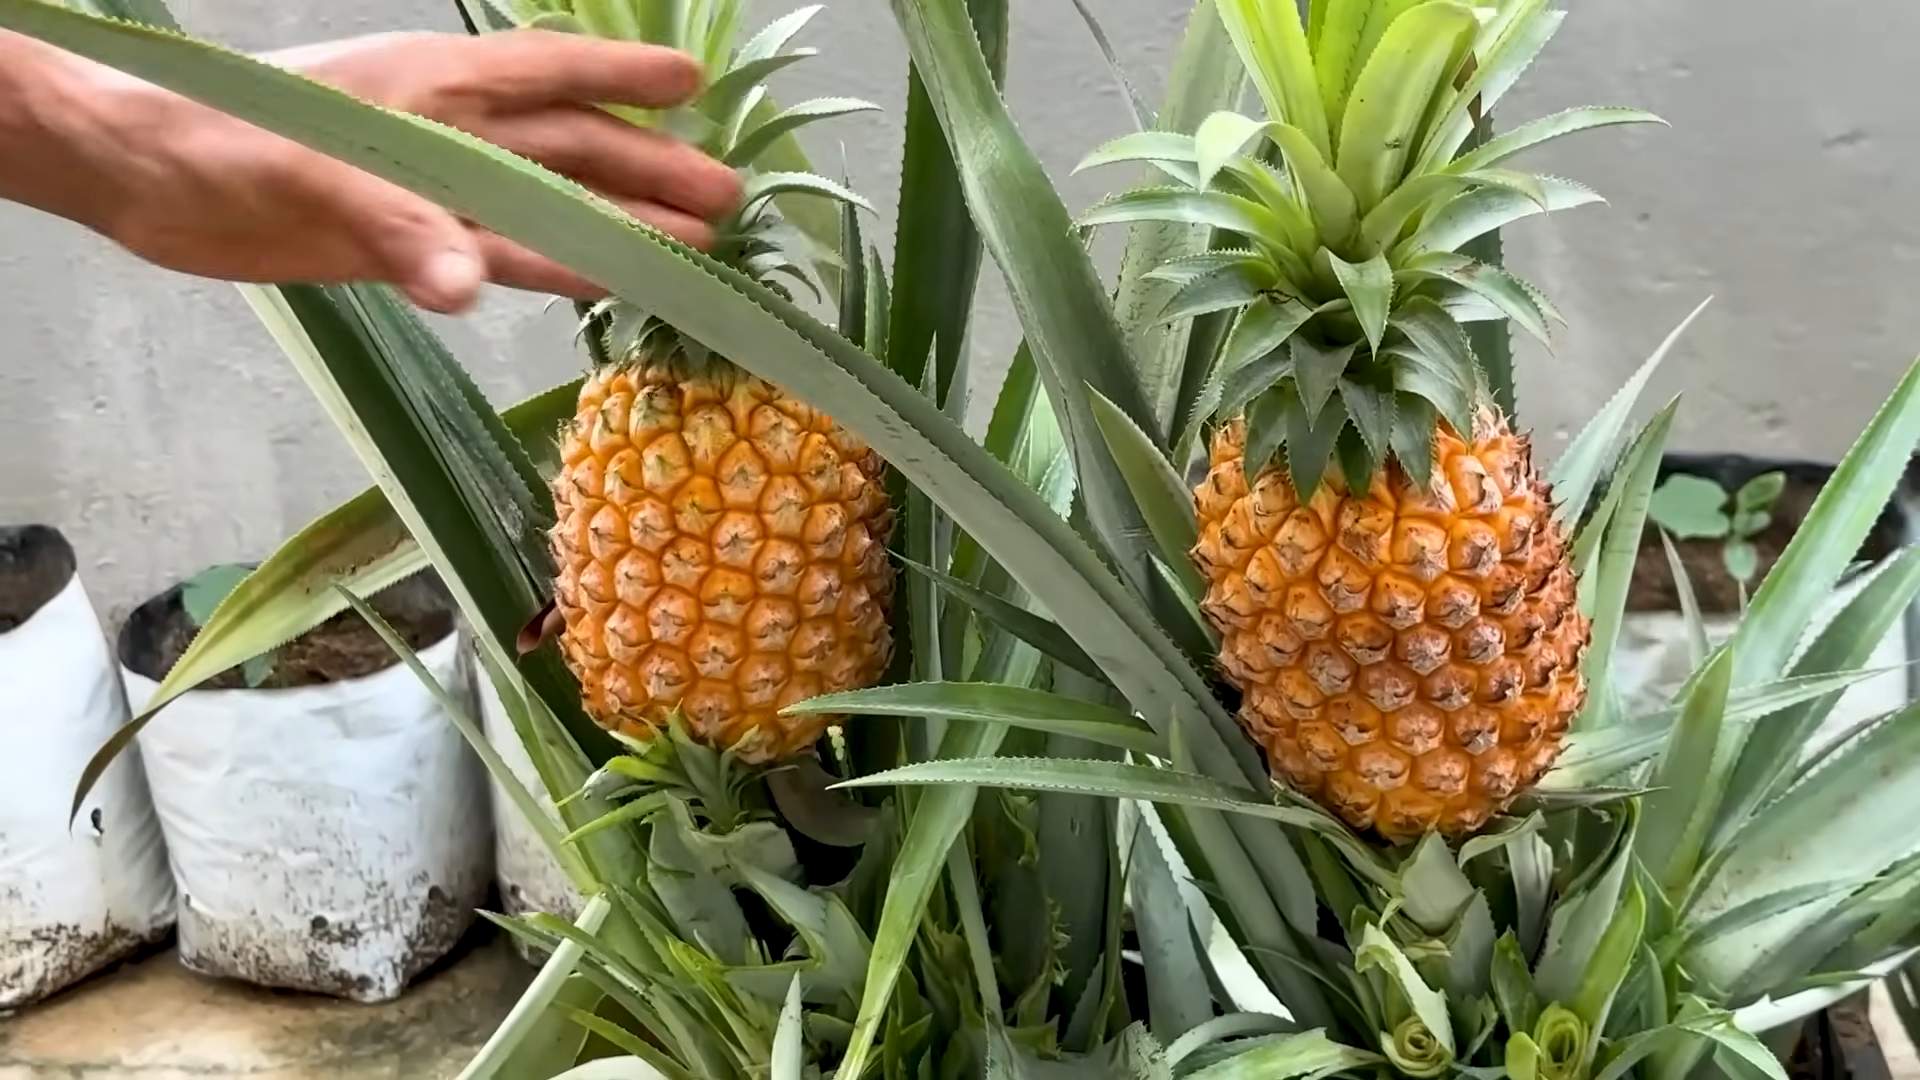
Once your pineapple fruit has developed, it’s time to harvest it!
* Look for signs of ripeness: The pineapple should be fragrant, and the skin should have turned from green to yellow or golden. The fruit should also feel slightly soft to the touch.
* Harvest the pineapple: Use a sharp knife to cut the pineapple from the plant. Leave a few inches of stem attached to the fruit.
* Enjoy your homegrown pineapple!
Troubleshooting
Even with the best care, you might encounter some challenges along the way. Here are a few common problems and how to address them:
* Yellowing leaves: This could be a sign of overwatering, underwatering, or nutrient deficiency. Adjust your watering schedule and fertilize your plant if necessary.
* Brown leaf tips: This is often caused by dry air. Increase the humidity around your plant.
* Rotting crown: This is usually caused by overwatering or poor drainage. Make sure your soil is
Conclusion
So, there you have it! Growing your own pineapple at home isn’t just a fun project; it’s a rewarding experience that brings a touch of the tropics right to your windowsill or garden. Forget those expensive, often bland, store-bought pineapples. Imagine the satisfaction of slicing into a juicy, sweet pineapple that you nurtured from start to finish. The flavor difference alone is reason enough to embark on this adventure.
This DIY trick is a must-try for several reasons. First, it’s incredibly cost-effective. Instead of tossing the top of a store-bought pineapple, you’re essentially getting a free pineapple plant. Second, it’s a fantastic way to reduce food waste and embrace a more sustainable lifestyle. Third, it’s a fascinating educational experience, especially for kids. They can witness the miracle of plant growth firsthand and learn about the life cycle of a fruit. Finally, and perhaps most importantly, it’s a conversation starter! Imagine serving a homemade pineapple dessert made with a pineapple you grew yourself. Your guests will be amazed!
But the fun doesn’t stop there. Once you’ve mastered the basic technique, you can experiment with different varieties of pineapple. Look for different types at your local grocery store or specialty produce markets. Each variety has its own unique flavor profile, so you can create a pineapple patch that caters to your specific tastes. You can also experiment with different growing mediums, such as coco coir or perlite, to see which works best for your climate and growing conditions. Consider using a larger pot as the plant matures to give the roots ample space to develop.
Don’t be discouraged if your first attempt isn’t perfect. Growing pineapples takes patience and a little bit of trial and error. The key is to provide the right conditions: plenty of sunlight, well-draining soil, and consistent moisture. Remember to protect your pineapple plant from frost and extreme temperatures.
We wholeheartedly encourage you to give this DIY trick a try. It’s a simple, affordable, and incredibly rewarding way to bring a taste of the tropics into your home. And once you’ve harvested your first homegrown pineapple, be sure to share your experience with us! We’d love to see your photos, hear your tips, and celebrate your success. Let’s spread the joy of growing pineapples together! This method of growing **pineapple at home** is a game changer!
Frequently Asked Questions (FAQ)
How long does it take to grow a pineapple from a top?
Patience is key! It typically takes between 2 to 3 years for a pineapple plant grown from a top to produce fruit. The exact timeframe depends on several factors, including the variety of pineapple, the climate, and the growing conditions. Don’t be discouraged if it takes longer; the wait is well worth it!
What kind of soil is best for growing pineapples?
Pineapples thrive in well-draining, slightly acidic soil. A mixture of potting soil, perlite, and peat moss is a good option. You can also use a commercial potting mix specifically formulated for bromeliads, as pineapples are members of the bromeliad family. Avoid heavy clay soils, as they can retain too much moisture and lead to root rot.
How much sunlight does a pineapple plant need?
Pineapples need plenty of sunlight to thrive. Aim for at least 6 hours of direct sunlight per day. If you’re growing your pineapple indoors, place it near a sunny window or supplement with a grow light. Insufficient sunlight can result in slow growth and reduced fruit production.
How often should I water my pineapple plant?
Water your pineapple plant regularly, but avoid overwatering. Allow the soil to dry out slightly between waterings. During the warmer months, you may need to water more frequently than during the cooler months. A good rule of thumb is to water when the top inch of soil feels dry to the touch. Also, pineapples can absorb water through their leaves, so occasionally misting the foliage can be beneficial.
How do I know when my pineapple is ripe?
Several signs indicate that a pineapple is ripe. The color of the skin will change from green to yellow or golden. The pineapple will also emit a sweet, fragrant aroma. You can also gently tug on one of the leaves; if it comes off easily, the pineapple is likely ripe. Finally, a ripe pineapple will feel slightly soft to the touch.
What if my pineapple plant doesn’t produce fruit?
There are several reasons why your pineapple plant might not be producing fruit. First, make sure it’s getting enough sunlight. Second, ensure that the soil is well-draining and that you’re not overwatering. Third, consider fertilizing your pineapple plant with a balanced fertilizer during the growing season. Finally, sometimes pineapples need a little help to initiate flowering. You can try placing an apple core near the plant or enclosing the plant in a plastic bag with a ripe apple for a few days. The ethylene gas released by the apple can stimulate flowering.
Can I grow a pineapple plant indoors?
Yes, you can absolutely grow a pineapple plant indoors, especially if you live in a climate with cold winters. Choose a pot that is large enough to accommodate the plant’s root system and ensure that it has drainage holes. Place the pot near a sunny window or supplement with a grow light. Water regularly and fertilize during the growing season. Remember to protect your pineapple plant from drafts and extreme temperatures.
What are some common problems with growing pineapples?
Some common problems with growing pineapples include root rot, mealybugs, and scale insects. Root rot is caused by overwatering and poor drainage. Mealybugs and scale insects are sap-sucking pests that can weaken the plant. To prevent root rot, ensure that the soil is well-draining and avoid overwatering. To control mealybugs and scale insects, you can use insecticidal soap or neem oil. Regularly inspect your pineapple plant for signs of pests and diseases.
Is it safe to eat the pineapple grown at home?
Absolutely! A pineapple grown at home is perfectly safe to eat, provided that you haven’t used any harmful pesticides or chemicals. In fact, many people find that homegrown pineapples taste even better than store-bought ones. Enjoy the fruits of your labor!
What kind of fertilizer should I use for my pineapple plant?
Use a balanced fertilizer with an N-P-K ratio of 10-10-10 or 14-14-14. Fertilize your pineapple plant every 2-3 months during the growing season (spring and summer). Follow the instructions on the fertilizer package carefully. Avoid over-fertilizing, as this can damage the plant. You can also use a fertilizer specifically formulated for bromeliads.
Leave a Comment