
Grow Peppers Small Spaces? Absolutely! Dreaming of fresh, flavorful peppers straight from your garden, but think you don’t have the space? Think again! I’m here to tell you that even the tiniest balcony, patio, or windowsill can become a pepper paradise. For centuries, peppers have been cherished across cultures, adding spice and vibrancy to cuisines worldwide. From the ancient Aztecs using them in rituals to the modern-day foodie obsessed with the perfect chili oil, peppers have a rich and fascinating history.
But let’s face it, not everyone has acres of land to dedicate to gardening. That’s where these DIY tricks and hacks come in! I’m going to share my favorite, tried-and-true methods for successfully grow peppers small spaces. Imagine plucking a ripe, juicy bell pepper for your salad or adding a fiery kick to your homemade salsa, all thanks to your own green thumb (and a little bit of know-how!).
This article is your ultimate guide to maximizing your pepper yield, no matter how limited your space may be. We’ll cover everything from choosing the right varieties to clever container gardening techniques and even some DIY pest control solutions. So, grab your gardening gloves, and let’s get started on your pepper-growing adventure!
Growing Peppers in Small Spaces: A DIY Vertical Garden Guide
Hey there, fellow gardening enthusiasts! So, you’re itching to grow some fiery peppers but are short on space? Don’t worry, I’ve got you covered! I’m going to walk you through building your very own vertical pepper garden, perfect for balconies, patios, or even a sunny corner indoors. This project is totally doable, even if you’re a beginner, and the reward of fresh, homegrown peppers is absolutely worth it.
Materials You’ll Need
Before we dive in, let’s gather our supplies. I’ve tried to keep this list budget-friendly and accessible:
* Wooden Pallet: This is the backbone of our vertical garden. Look for one that’s heat-treated (HT) and not chemically treated (avoid pallets marked MB). You can often find these for free at local businesses or online marketplaces.
* Heavy-Duty Landscape Fabric: This will line the pallet and create pockets for our soil.
* Staple Gun and Staples: Essential for securing the landscape fabric to the pallet.
* Potting Soil: Choose a high-quality potting mix that drains well. Peppers love well-drained soil!
* Pepper Seedlings: Select your favorite pepper varieties! I recommend starting with a mix of sweet and hot peppers for variety.
* Gloves: Protect your hands from splinters and soil.
* Measuring Tape: For accurate fabric cutting.
* Scissors or Utility Knife: For cutting the landscape fabric.
* Sandpaper (Optional): To smooth out any rough edges on the pallet.
* Wood Sealer (Optional): To protect the pallet from the elements, especially if it will be outdoors.
* Drill and Screws (Optional): If you want to reinforce the pallet structure.
* Watering Can or Hose: For watering your peppers.
* Fertilizer: A balanced fertilizer to feed your pepper plants.
Preparing the Pallet
This is a crucial step to ensure your vertical garden is sturdy and safe.
1. Inspect the Pallet: Carefully examine the pallet for any loose nails, splinters, or damage. Remove any loose nails with a hammer and use sandpaper to smooth out any rough edges.
2. Clean the Pallet: Give the pallet a good scrub with soap and water to remove any dirt or debris. Let it dry completely before moving on.
3. Reinforce (Optional): If the pallet seems a bit wobbly, you can reinforce it by adding screws to the joints. This will make it more stable and durable.
4. Seal the Wood (Optional): If you plan to keep your vertical garden outdoors, consider applying a wood sealer to protect it from the elements. This will help prevent rot and extend the life of your pallet. Follow the instructions on the sealer for proper application and drying time.
Creating the Planting Pockets
This is where the magic happens! We’ll be transforming the pallet into a series of individual planting pockets.
1. Measure and Cut the Landscape Fabric: Measure the width and depth of each section of the pallet where you want to create a planting pocket. Add a few extra inches to each measurement to allow for overlap and secure stapling. Cut the landscape fabric into rectangular pieces based on these measurements. I usually cut several pieces at once to save time.
2. Staple the Fabric to the Pallet: Starting at the bottom of one section, fold the landscape fabric over the bottom slat of the pallet and staple it securely in place. Make sure the staples are close together to create a strong seal.
3. Create the Pocket Shape: Bring the fabric up the back of the section and fold it over the top slat, creating a pocket shape. Staple the fabric to the top slat, again making sure the staples are close together.
4. Secure the Sides: Fold the sides of the fabric inward to create a closed pocket. Staple the sides to the vertical supports of the pallet, ensuring that the pocket is securely sealed on all sides.
5. Repeat for Each Section: Repeat steps 1-4 for each section of the pallet where you want to create a planting pocket. I like to stagger the pockets to create a visually appealing arrangement.
6. Double-Check for Security: Once you’ve created all the pockets, give them a thorough inspection to make sure they are securely stapled and can hold the weight of the soil and plants. Reinforce any weak spots with additional staples.
Planting Your Peppers
Now for the fun part – planting your pepper seedlings!
1. Fill the Pockets with Potting Soil: Carefully fill each planting pocket with high-quality potting soil. Leave about an inch of space at the top of each pocket to allow for watering.
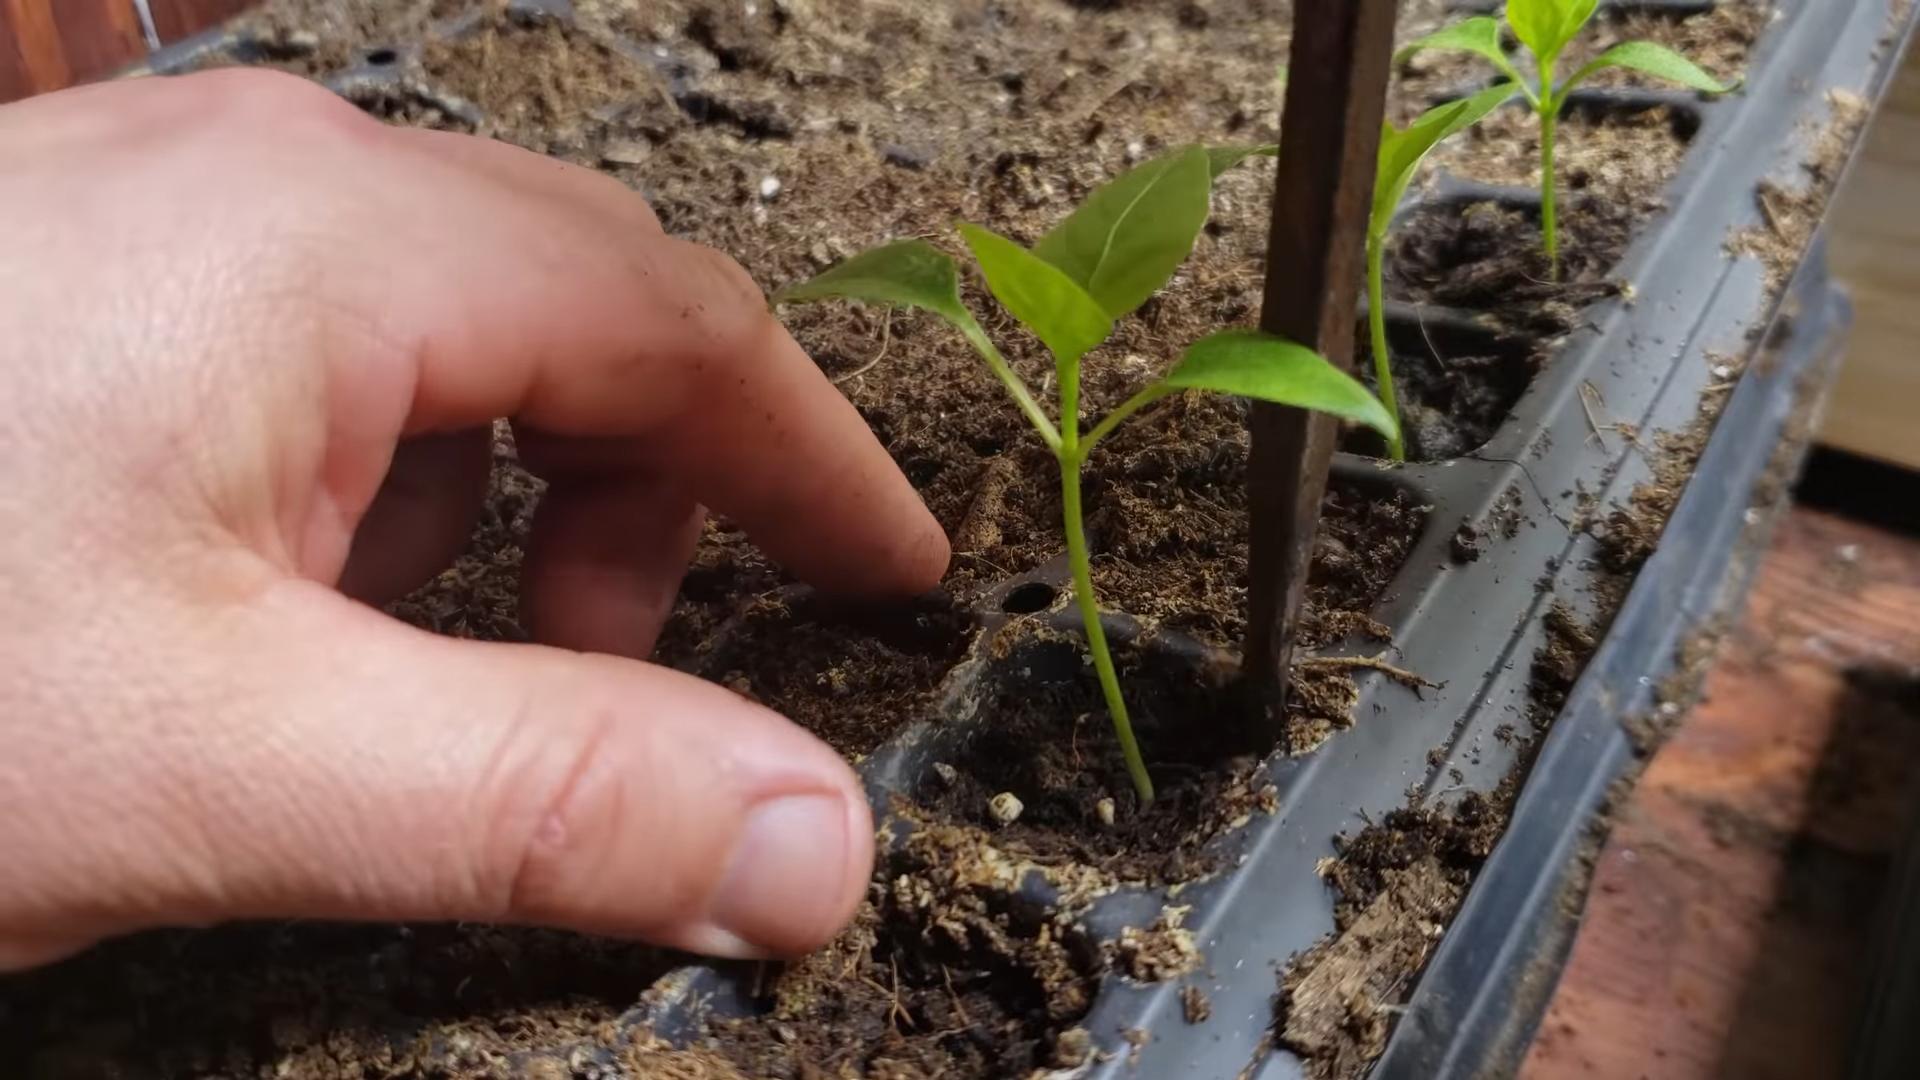
2. Prepare the Seedlings: Gently remove the pepper seedlings from their containers. Loosen the roots slightly to encourage them to spread out in the new soil.
3. Plant the Seedlings: Dig a small hole in the center of each pocket and carefully place a pepper seedling in the hole. Gently backfill with potting soil and press down lightly to secure the plant.
4. Water Thoroughly: Water the newly planted seedlings thoroughly to help them settle into their new home. Make sure the water drains freely from the bottom of the pockets.
5. Add Fertilizer: Apply a balanced fertilizer according to the package instructions to provide your pepper plants with the nutrients they need to thrive.
Caring for Your Vertical Pepper Garden
Maintaining your vertical pepper garden is key to a bountiful harvest.
1. Watering: Water your pepper plants regularly, especially during hot, dry weather. Check the soil moisture by sticking your finger into the soil. If the top inch feels dry, it’s time to water. Be careful not to overwater, as this can lead to root rot.
2. Fertilizing: Fertilize your pepper plants every 2-3 weeks with a balanced fertilizer. Follow the package instructions for proper application.
3. Sunlight: Peppers need at least 6-8 hours of sunlight per day to thrive. Place your vertical garden in a sunny location where it will receive plenty of direct sunlight.
4. Pruning: Prune your pepper plants regularly to encourage bushier growth and more fruit production. Remove any dead or yellowing leaves.
5. Pest Control: Keep an eye out for pests such as aphids, whiteflies, and spider mites. Treat any infestations promptly with insecticidal soap or neem oil.
6. Support: As your pepper plants grow, they may need some support to prevent them from falling over. You can use stakes or trellises to provide support.
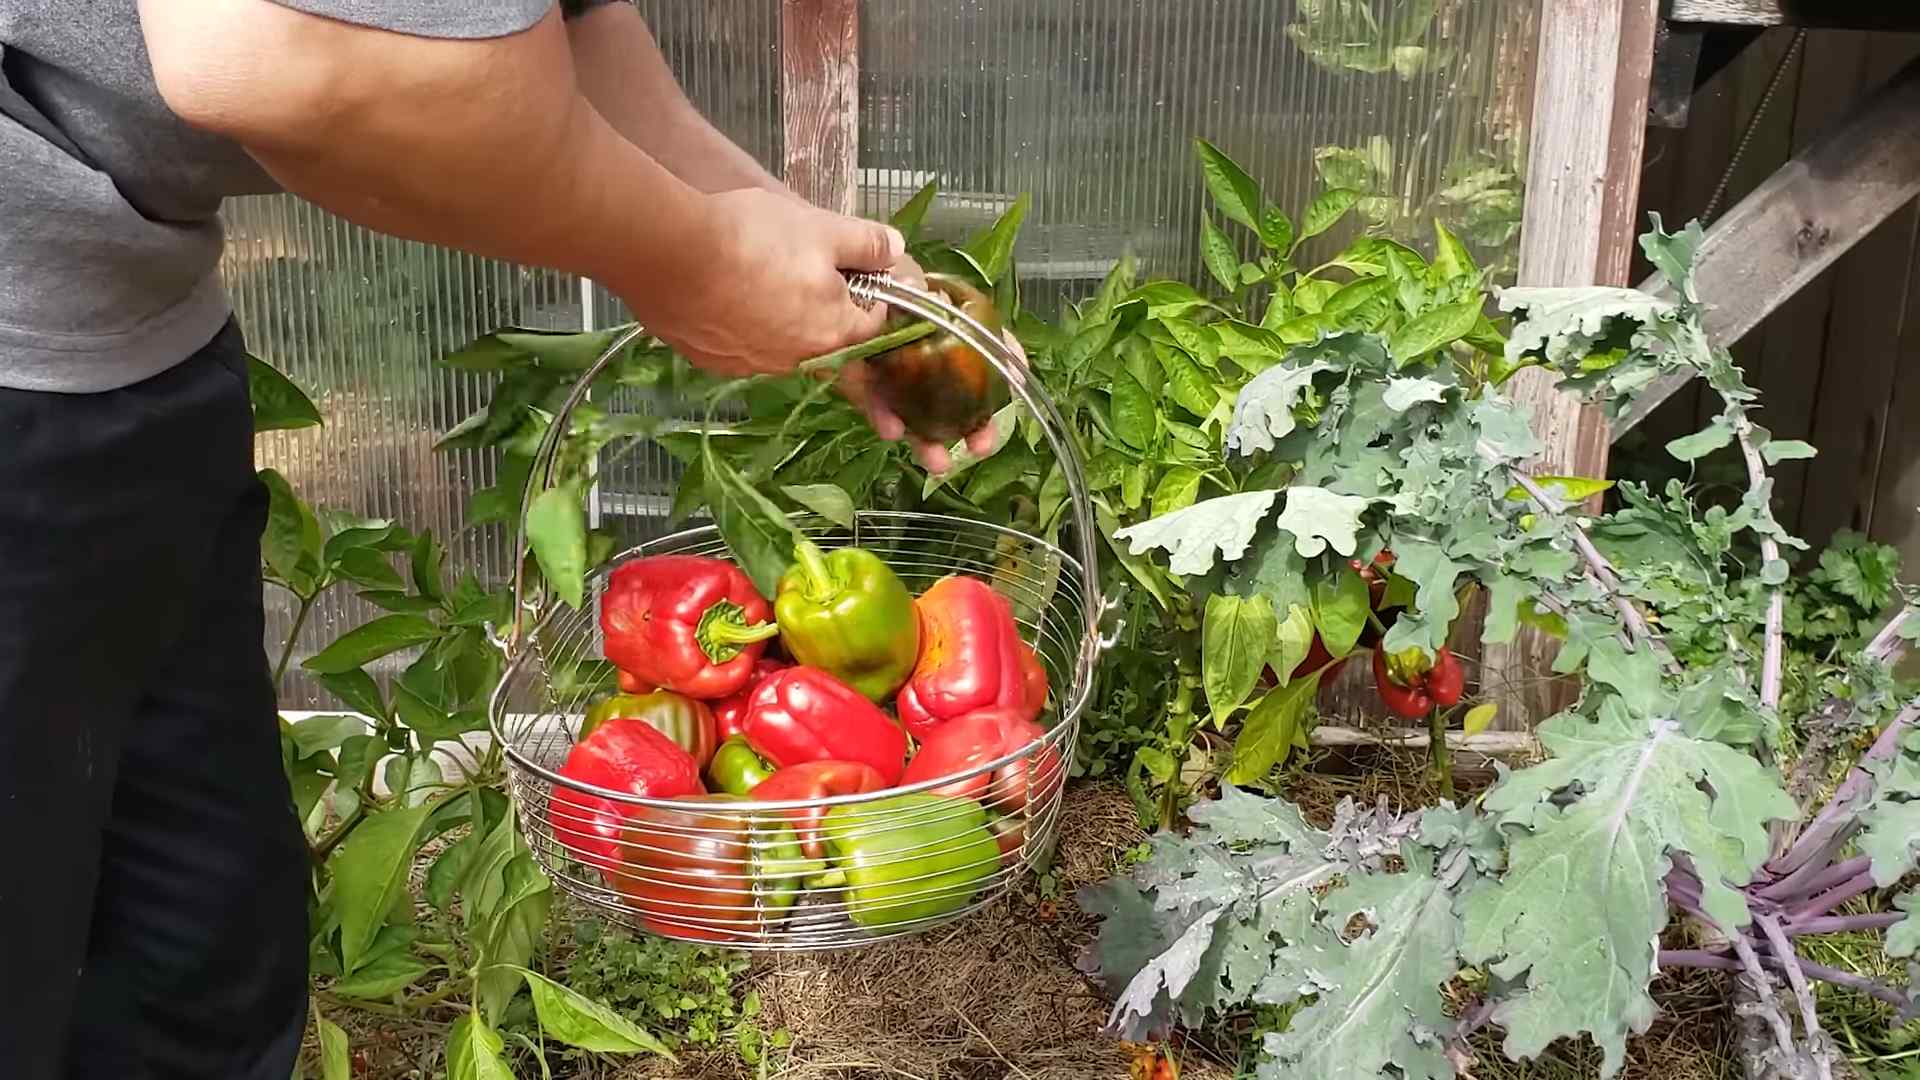
7. Harvesting: Harvest your peppers when they are fully ripe and have reached their desired color. Use scissors or pruning shears to cut the peppers from the plant, leaving a small stem attached.
Tips and Tricks for Success
Here are a few extra tips to help you get the most out of your vertical pepper garden:
* Choose the Right Pepper Varieties: Select pepper varieties that are well-suited to container gardening and small spaces. Compact or dwarf varieties are a great choice.
* Use High-Quality Potting Soil: Don’t skimp on the potting soil! A high-quality potting mix will provide your pepper plants with the nutrients and drainage they need to thrive.
* Provide Adequate Drainage: Make sure your planting pockets have adequate drainage to prevent waterlogging. You can add a layer of gravel or pebbles to the bottom of each pocket to improve drainage.
* Rotate Your Crops: If you plan to reuse your vertical garden in subsequent years, rotate your crops to prevent soilborne diseases.
* Consider Companion Planting: Plant companion plants such as basil, marigolds, or onions alongside your peppers to deter pests and improve growth.
* Protect from Frost: If you live in an area with frost, protect your pepper plants by covering them with a blanket or bringing them indoors when temperatures drop below freezing.
* Get Creative with Decoration: Personalize your vertical garden by adding decorative elements such as paint, stencils, or fairy lights.
Troubleshooting Common Problems
Even with the best care, you might encounter a few challenges along the way. Here’s how to tackle some common problems:
* Yellowing Leaves: This could be a sign of overwatering, underwatering, or nutrient deficiency. Adjust your watering schedule and fertilize your plants regularly.
* Blossom End Rot: This is caused by a calcium deficiency. Add calcium to the soil by mixing in crushed eggshells or bone meal.
* Pest Infestations: Treat pest infestations promptly with insecticidal soap or neem oil.
* Slow Growth: This could be due to insufficient sunlight, poor soil, or nutrient deficiency. Make sure your plants are getting enough sunlight and fertilize them regularly.
* Lack of Fruit Production: This could be due to insufficient pollination. Hand-pollinate your pepper plants by
Conclusion
So, there you have it! Growing peppers in small spaces doesn’t have to be a daunting task. With a little ingenuity and these simple DIY tricks, you can transform even the tiniest balcony, patio, or windowsill into a thriving pepper paradise. We’ve shown you how to maximize your yield, optimize your space, and create the perfect environment for your pepper plants to flourish, all without breaking the bank or requiring a sprawling garden.
The beauty of this approach lies in its adaptability. Feel free to experiment with different container sizes, pepper varieties, and companion plants to discover what works best for your specific microclimate and preferences. Perhaps you’ll find that a vertical garden using repurposed pallets is the ideal solution for your limited space, or maybe you’ll prefer the convenience of self-watering containers made from recycled materials. The possibilities are truly endless!
Why is this DIY approach a must-try? Because it empowers you to enjoy fresh, flavorful peppers regardless of your living situation. Imagine the satisfaction of harvesting your own homegrown peppers, knowing that you nurtured them from seed to table, all within the confines of your small space. Think of the vibrant colors and aromas that will fill your home, adding a touch of nature and freshness to your daily life. And consider the cost savings compared to buying peppers from the grocery store, especially if you enjoy specialty varieties.
Don’t be afraid to get creative and personalize your pepper-growing setup. Try adding decorative elements to your containers, such as painted designs or mosaic tiles. Experiment with different soil amendments to improve drainage and nutrient availability. And don’t forget to protect your plants from pests and diseases with natural remedies like neem oil or companion planting.
We encourage you to embrace the challenge and embark on your own pepper-growing adventure. Whether you’re a seasoned gardener or a complete beginner, this DIY guide provides you with the knowledge and inspiration you need to succeed. So, gather your supplies, choose your favorite pepper varieties, and get ready to experience the joy of growing your own food.
Most importantly, we want to hear about your experiences! Share your photos, tips, and stories with us in the comments section below. Let us know what worked well for you, what challenges you encountered, and what advice you have for other aspiring pepper growers. Together, we can create a community of small-space gardeners who are passionate about growing their own food and sharing their knowledge with others. Remember, even the smallest space can yield a bountiful harvest with a little creativity and dedication. So, go ahead and give it a try – you might be surprised at what you can achieve! This DIY method for grow peppers small spaces is a game changer.
FAQ
What are the best pepper varieties to grow in small spaces?
Compact pepper varieties are ideal for container gardening. Some excellent choices include:
* **Patio Peppers:** These are specifically bred for container growing and produce a good yield of medium-sized peppers.
* **Thai Peppers:** These small, spicy peppers are perfect for adding a kick to your dishes and thrive in small pots.
* **Sweet Palermo Peppers:** These sweet, elongated peppers are relatively compact and produce a generous harvest.
* **Jalapeño Peppers:** While they can get relatively large, Jalapeños are still manageable in containers, especially if you choose a smaller variety.
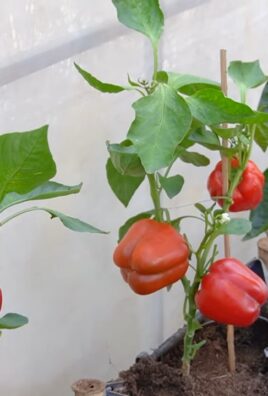
* **Mini Bell Peppers:** As the name suggests, these are smaller versions of bell peppers and are well-suited for container growing.
Consider the size of the mature plant when selecting your pepper varieties. Look for varieties labeled as “compact,” “dwarf,” or “bush” types.
What size container do I need for growing peppers?
The ideal container size depends on the pepper variety you choose. However, as a general guideline:
* **Small peppers (e.g., Thai peppers):** 5-gallon container
* **Medium peppers (e.g., Jalapeños, Sweet Palermo):** 5-7 gallon container
* **Large peppers (e.g., Bell peppers):** 7-10 gallon container
Ensure the container has adequate drainage holes to prevent waterlogging. You can also use fabric pots, which allow for better aeration and drainage.
What type of soil is best for growing peppers in containers?
Peppers need well-draining, nutrient-rich soil. A good potting mix specifically formulated for vegetables is ideal. You can also create your own mix by combining:
* 1 part compost
* 1 part peat moss or coco coir
* 1 part perlite or vermiculite
Avoid using garden soil in containers, as it can become compacted and doesn’t drain well.
How much sunlight do peppers need?
Peppers need at least 6-8 hours of direct sunlight per day to thrive. If you don’t have enough natural sunlight, you can supplement with grow lights. Place your pepper plants in the sunniest spot available, such as a south-facing balcony or patio.
How often should I water my pepper plants?
Water your pepper plants when the top inch of soil feels dry to the touch. Avoid overwatering, as this can lead to root rot. Water deeply, allowing the water to drain out of the bottom of the container. The frequency of watering will depend on the weather conditions, the size of the container, and the type of soil you’re using.
How often should I fertilize my pepper plants?
Peppers are heavy feeders and benefit from regular fertilization. Use a balanced fertilizer (e.g., 10-10-10) or a fertilizer specifically formulated for vegetables. Fertilize every 2-3 weeks during the growing season. You can also use organic fertilizers like compost tea or fish emulsion.
How do I prevent pests and diseases on my pepper plants?
* **Inspect your plants regularly:** Look for signs of pests or diseases, such as aphids, whiteflies, or leaf spots.
* **Use organic pest control methods:** Neem oil, insecticidal soap, and diatomaceous earth are effective against many common pests.
* **Ensure good air circulation:** Space your plants adequately to prevent overcrowding and promote air circulation.
* **Water properly:** Avoid overwatering, as this can create a favorable environment for fungal diseases.
* **Remove infected leaves:** If you notice any diseased leaves, remove them promptly to prevent the spread of infection.
Can I grow peppers indoors?
Yes, you can grow peppers indoors, but you’ll need to provide them with adequate light. A sunny windowsill may not be enough, so you’ll likely need to supplement with grow lights. Choose compact pepper varieties and use a well-draining potting mix.
How long does it take for peppers to mature?
The time it takes for peppers to mature depends on the variety. Some peppers, like Thai peppers, can mature in as little as 60 days, while others, like bell peppers, may take up to 90 days or more. Check the seed packet or plant label for specific information on the maturity time for your chosen varieties.
How do I know when my peppers are ripe?
The color of the pepper is a good indicator of ripeness. Most peppers will turn from green to red, yellow, orange, or purple when they are fully ripe. The pepper should also feel firm and slightly heavy for its size. You can also taste a small piece of the pepper to check for ripeness.
Leave a Comment