
Grow Mint Indoors? Absolutely! Imagine stepping into your kitchen and snipping fresh, fragrant mint leaves for your tea, mojito, or even a vibrant salad. No more last-minute grocery store runs or settling for wilted herbs. This isn’t just a dream; it’s an achievable reality with a few simple DIY tricks. For centuries, mint has been cherished not only for its refreshing flavor but also for its medicinal properties, used in traditional remedies across various cultures. From ancient Egyptians using it in religious ceremonies to Romans flavoring their sauces and wines, mint has a rich and fascinating history.
But why should you learn to grow mint indoors? Well, let’s face it, life gets busy! Having fresh herbs readily available simplifies cooking, elevates your beverages, and adds a touch of green to your living space. Plus, growing your own mint is incredibly rewarding and surprisingly easy, even if you don’t have a green thumb. I’m going to share some of my favorite DIY hacks that will have you harvesting your own homegrown mint in no time. Get ready to transform your windowsill into a mini herb garden and enjoy the delightful benefits of fresh, homegrown mint all year round!
Grow Your Own Mint Indoors: A Beginner’s Guide
Hey there, fellow plant enthusiasts! Ever dreamt of having fresh, fragrant mint readily available for your mojitos, teas, or culinary creations? Well, dream no more! Growing mint indoors is surprisingly easy, and I’m here to guide you through every step of the process. Trust me, even if you think you have a “black thumb,” you can totally do this!
Choosing Your Mint Variety
First things first, let’s talk mint varieties. There’s a whole world of mint out there, from the classic peppermint and spearmint to more exotic options like chocolate mint and apple mint.
* Peppermint: This is your go-to for a strong, refreshing flavor. Perfect for teas and candies.
* Spearmint: Milder and sweeter than peppermint, spearmint is ideal for mojitos and other cocktails.
* Chocolate Mint: As the name suggests, this variety has a subtle chocolatey aroma and flavor. Great for desserts!
* Apple Mint: A fruity and slightly fuzzy mint, perfect for adding a unique twist to salads and drinks.
You can usually find these varieties at your local garden center or even some grocery stores. Choose the one that tickles your taste buds the most!
Gathering Your Supplies
Okay, now that you’ve chosen your mint, let’s gather the necessary supplies. You won’t need much, which is part of what makes this project so appealing.
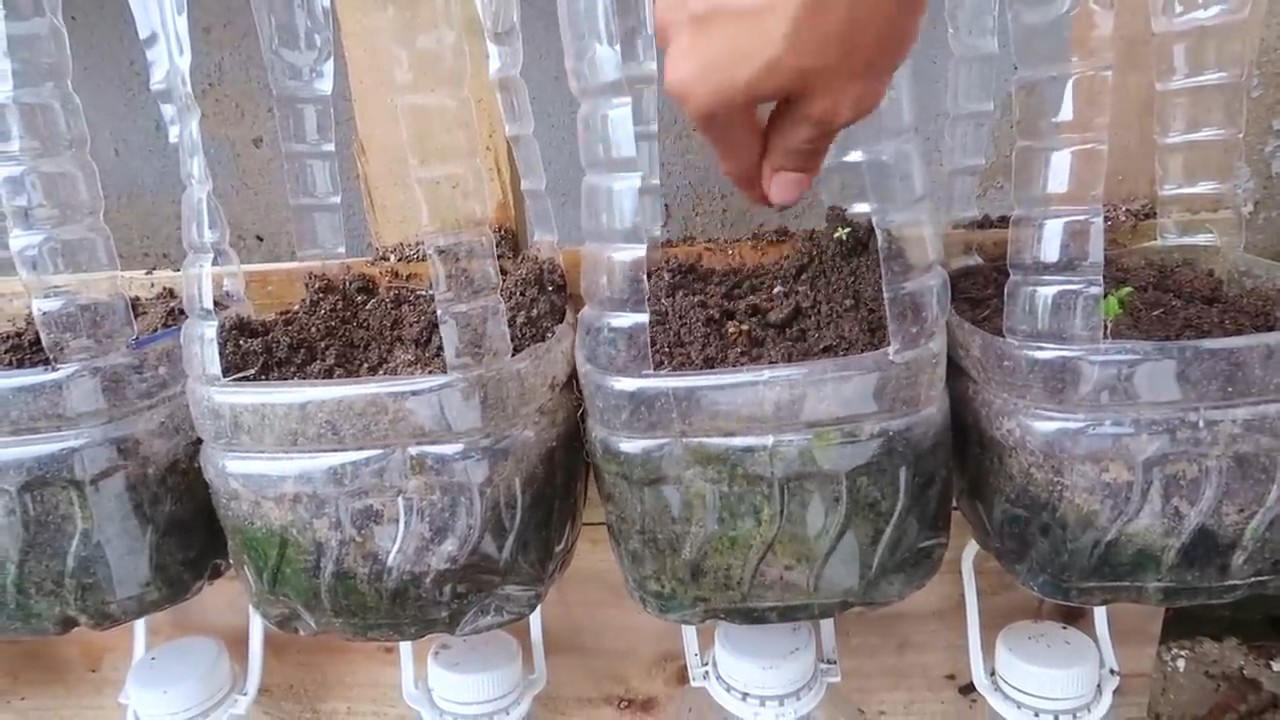
* A Pot: Choose a pot that’s at least 6 inches in diameter. Mint likes to spread, so a slightly larger pot is better. Make sure it has drainage holes!
* Potting Mix: Use a good quality potting mix. Avoid using garden soil, as it can be too heavy and doesn’t drain well.
* Mint Plant or Cuttings: You can either buy a small mint plant from a nursery or propagate your own from cuttings (more on that later!).
* Watering Can or Spray Bottle: For keeping your mint hydrated.
* Grow Light (Optional): If you don’t have a sunny spot, a grow light can be a lifesaver.
* Scissors or Pruning Shears: For harvesting and trimming your mint.
Planting Your Mint
Alright, let’s get our hands dirty! This is where the magic happens.
1. Prepare the Pot: Fill your pot with potting mix, leaving about an inch of space at the top.
2. Plant the Mint:
* If you have a plant: Gently remove the mint plant from its original container. Loosen the roots a bit with your fingers. Place the plant in the center of the pot and fill in around it with more potting mix.
* If you’re using cuttings: Make a small hole in the potting mix and insert the cut end of the stem. Gently press the soil around the stem to secure it. (See section on propagating mint from cuttings below)
3. Water Thoroughly: Water the soil until it’s evenly moist. You should see water draining out of the drainage holes.
4. Find a Sunny Spot: Place your pot in a location that receives at least 4-6 hours of sunlight per day. A south-facing window is ideal. If you don’t have enough natural light, use a grow light.
Caring for Your Indoor Mint
Now that your mint is planted, it’s time to learn how to keep it happy and thriving.
* Watering: Mint likes to be kept consistently moist, but not soggy. Water when the top inch of soil feels dry to the touch. Avoid overwatering, as this can lead to root rot.
* Light: As mentioned earlier, mint needs plenty of light. If you’re using a grow light, keep it on for about 12-14 hours per day.
* Fertilizing: Feed your mint with a balanced liquid fertilizer every 2-4 weeks during the growing season (spring and summer). Follow the instructions on the fertilizer label.
* Pruning: Regular pruning is essential for keeping your mint bushy and productive. Pinch off the top leaves of the stems to encourage branching. Don’t be afraid to harvest frequently!
* Pest Control: Keep an eye out for pests like aphids and spider mites. If you spot any, you can try spraying them with insecticidal soap or neem oil.
* Repotting: Mint can become root-bound over time, so you may need to repot it into a larger container every year or two.
Harvesting Your Mint
The best part! Harvesting your mint is super easy.
1. When to Harvest: You can start harvesting your mint as soon as it has a few sets of leaves.
2. How to Harvest: Use scissors or pruning shears to cut off stems just above a leaf node (the point where leaves grow out of the stem). This will encourage new growth.
3. How Much to Harvest: Don’t harvest more than one-third of the plant at a time. This will allow it to recover quickly.
Propagating Mint from Cuttings
Want to expand your mint collection without spending any money? Propagating from cuttings is the way to go! It’s a fun and easy way to create new mint plants.
1. Choose a Healthy Stem: Select a healthy stem that’s about 4-6 inches long.
2. Remove the Lower Leaves: Remove the leaves from the bottom half of the stem.
3. Place in Water: Place the stem in a glass of water, making sure that the nodes (where the leaves were removed) are submerged.
4. Wait for Roots: Place the glass in a bright, indirect light location. Change the water every few days. In a week or two, you should start to see roots growing.
5. Plant in Soil: Once the roots are about an inch long, you can plant the cutting in a pot filled with potting mix. Water thoroughly and care for it as you would a mature mint plant.
Troubleshooting Common Problems
Even with the best care, you might encounter a few problems along the way. Here are some common issues and how to fix them:
* Yellowing Leaves: This could be a sign of overwatering, underwatering, or nutrient deficiency. Check the soil moisture and adjust your watering accordingly. If the soil is dry, water more frequently. If it’s soggy, let it dry out before watering again. You can also try fertilizing your mint with a balanced liquid fertilizer.
* Leggy Growth: This means your mint isn’t getting enough light. Move it to a brighter location or use a grow light.
* Pests: As mentioned earlier, aphids and spider mites are common pests. Spray them with insecticidal soap or neem oil.
* Root Rot: This is caused by overwatering. Make sure your pot has drainage holes and avoid letting the soil stay soggy. If you suspect root rot, you may need to repot your mint in fresh soil.
Mint’s Invasive Nature (Even Indoors!)
Important Note: Mint is notorious for being invasive. Even when grown indoors, it can sometimes try to escape its pot! Keep a close eye on it and trim any runners that start to creep out. You can also place your pot on a saucer to prevent the roots from spreading into the surrounding area.
Enjoying Your Homegrown Mint
Now that you’ve successfully grown your own mint indoors, it’s time to enjoy the fruits (or rather, leaves!) of your labor. Here are just a few ideas:
* Make Mint Tea: Steep fresh mint leaves in hot water for a refreshing and soothing tea.
* Add to Cocktails: Mint is a classic ingredient in mojitos, mint juleps, and other cocktails.
* Use in Cooking: Mint can add a fresh and vibrant flavor to salads, sauces, and desserts.
* Garnish Dishes: Use mint sprigs to garnish your favorite dishes.
* Make Mint-Infused Water: Add mint leaves to a pitcher of water for a refreshing and flavorful drink.
Extra Tips for Mint-Growing Success
* Rotate Your Plant: Rotate your mint plant every few days to ensure that all sides get equal light.
* Provide Humidity: Mint likes humidity, so you can mist it with water occasionally or place it near a humidifier.
* Don’t Let it Flower: Pinch off any flower buds that appear. Flowering can reduce the flavor of the leaves.
* Experiment with Different Varieties: Once you’ve mastered growing one type of mint, try growing others!
Growing mint indoors is a rewarding and enjoyable experience. With a little bit of care and attention, you can have a constant supply of fresh, fragrant mint at your fingertips. So go ahead, give it a try! You might just surprise yourself with your green thumb. Happy growing!

Conclusion
So, there you have it! Growing mint indoors isn’t just a possibility; it’s a rewarding and surprisingly simple endeavor that can transform your culinary creations and even your living space. We’ve walked you through the essential steps, from selecting the right container and soil to providing adequate light and water. But why is this DIY trick a must-try?
Firstly, imagine the sheer convenience of having fresh, fragrant mint readily available at your fingertips, regardless of the season. No more last-minute grocery store runs or settling for wilted, lackluster herbs. With your own indoor mint garden, you’ll always have a vibrant burst of flavor to elevate your mojitos, teas, salads, and countless other dishes. The difference between store-bought and freshly harvested mint is truly remarkable – the aroma is more intense, the flavor is brighter, and the satisfaction of using something you’ve grown yourself is unparalleled.
Secondly, growing mint indoors is an incredibly cost-effective way to enjoy this versatile herb. A single purchase of a mint plant can provide you with a continuous supply for months, even years, with proper care. Think of all the money you’ll save on buying pre-packaged mint from the supermarket!
Thirdly, let’s not forget the aesthetic appeal. A thriving mint plant adds a touch of greenery and freshness to any room. It’s a natural air freshener, releasing its invigorating scent into the air and creating a more pleasant and inviting atmosphere. Plus, tending to your mint plant can be a therapeutic and relaxing activity, providing a welcome break from the stresses of daily life.
But the possibilities don’t end there! Feel free to experiment with different varieties of mint, such as peppermint, spearmint, chocolate mint, or even apple mint. Each variety offers a unique flavor profile that can add a distinct twist to your culinary creations. You can also try growing your mint in different types of containers, from terracotta pots to repurposed jars, to create a visually appealing display that complements your home decor.
Consider using your homegrown mint to create your own infused oils or vinegars. Simply steep fresh mint leaves in olive oil or vinegar for a few weeks to impart their flavor. These infused products can then be used to enhance salads, marinades, and other dishes. You can also dry your mint leaves to create your own herbal teas or potpourri.
Growing mint indoors is more than just a gardening project; it’s an investment in flavor, freshness, and well-being. It’s a simple yet impactful way to enhance your culinary experiences, beautify your home, and connect with nature.
So, what are you waiting for? Grab a pot, some soil, and a mint plant, and embark on your own indoor mint-growing adventure today! We’re confident that you’ll be amazed by the results.
And most importantly, we want to hear about your experiences! Share your tips, tricks, and photos of your indoor mint gardens with us in the comments below. Let’s create a community of indoor mint enthusiasts and inspire others to discover the joys of growing their own herbs. We can all learn from each other and help each other succeed in this rewarding endeavor. Let us know if you have any questions about how to grow mint indoors.
Frequently Asked Questions (FAQ)
What is the best type of mint to grow indoors?
While most mint varieties can be grown indoors, some are better suited than others. Spearmint and peppermint are generally considered the easiest to grow indoors due to their adaptability and relatively compact size. Chocolate mint and apple mint are also popular choices, offering unique flavor profiles. Avoid varieties that tend to spread aggressively, as they may be more difficult to contain in a pot. Ultimately, the best type of mint to grow indoors depends on your personal preferences and the flavors you enjoy most. Experiment with different varieties to find your favorites!
How much sunlight does indoor mint need?
Mint thrives in bright, indirect sunlight. Aim for at least 4-6 hours of sunlight per day. If you don’t have a sunny windowsill, you can supplement with a grow light. Place the grow light about 6-12 inches above the plant and keep it on for 12-14 hours per day. Insufficient light can lead to leggy growth and a loss of flavor. Rotate your mint plant regularly to ensure that all sides receive adequate light.
What kind of soil should I use for growing mint indoors?
Mint prefers well-draining soil that is rich in organic matter. A good potting mix for mint is a combination of equal parts potting soil, perlite, and compost. The potting soil provides a base for the plant to grow in, the perlite helps to improve drainage, and the compost adds nutrients to the soil. Avoid using garden soil, as it can be too heavy and may contain pests or diseases.
How often should I water my indoor mint plant?
Water your mint plant when the top inch of soil feels dry to the touch. Avoid overwatering, as this can lead to root rot. When you water, water thoroughly until water drains out of the bottom of the pot. Allow the excess water to drain away completely. During the growing season (spring and summer), you may need to water your mint plant more frequently than during the dormant season (fall and winter).
How do I prune my indoor mint plant?
Pruning is essential for maintaining a healthy and productive mint plant. Regularly pinch off the top leaves to encourage bushier growth. You can also prune back the stems to control the size and shape of the plant. When harvesting mint leaves, always cut the stems just above a leaf node. This will encourage new growth from that point. Remove any dead or yellowing leaves to prevent the spread of disease.
How do I fertilize my indoor mint plant?
Mint is a relatively light feeder, but it will benefit from occasional fertilization. Use a balanced liquid fertilizer diluted to half strength. Fertilize your mint plant every 2-4 weeks during the growing season. Avoid over-fertilizing, as this can lead to leggy growth and a loss of flavor. You can also amend the soil with compost or worm castings to provide a slow-release source of nutrients.
How do I deal with pests and diseases on my indoor mint plant?
Indoor mint plants are generally less susceptible to pests and diseases than outdoor plants. However, they can still be affected by common pests such as aphids, spider mites, and whiteflies. Inspect your mint plant regularly for signs of infestation. If you find pests, you can try washing them off with a strong stream of water or using insecticidal soap. Avoid using harsh chemicals, as they can damage the plant and contaminate the leaves. To prevent diseases, ensure good air circulation and avoid overwatering.
Can I propagate mint from cuttings?
Yes, mint is very easy to propagate from cuttings. Simply take a 4-6 inch cutting from a healthy stem, remove the lower leaves, and place the cutting in a glass of water. Roots should begin to form within a week or two. Once the roots are about an inch long, you can transplant the cutting into a pot filled with potting mix. Keep the soil moist until the plant is established.
My mint plant is getting leggy. What should I do?
Leggy growth is often a sign of insufficient light. Move your mint plant to a sunnier location or supplement with a grow light. You can also prune back the stems to encourage bushier growth. Make sure you are not over-fertilizing, as this can also contribute to leggy growth.
Can I grow mint indoors year-round?
Yes, with proper care, you can grow mint indoors year-round. Provide adequate light, water, and fertilizer, and prune regularly to maintain a healthy and productive plant. During the winter months, you may need to reduce watering and fertilization, as the plant will be growing more slowly.


Leave a Comment