Grow Jumbo Rutabagas and impress your neighbors with vegetables so large, they’ll think you’ve been secretly feeding them growth hormones! Have you ever dreamt of harvesting rutabagas so massive they could practically double as bowling balls? Well, you’re in the right place! This isn’t just about growing rutabagas; it’s about cultivating giants.
Rutabagas, a humble root vegetable with a surprisingly rich history, have been feeding families for centuries. Originating as a cross between a cabbage and a turnip, they’ve been a staple in colder climates, providing essential nutrients throughout the winter months. While they might not be as glamorous as tomatoes or peppers, their resilience and nutritional value have earned them a place in gardens worldwide.
But let’s be honest, a regular-sized rutabaga is fine, but a *jumbo* rutabaga? That’s a conversation starter! That’s a prize-winning vegetable! And that’s exactly what we’re going to achieve. I’m going to share my tried-and-true DIY tricks and hacks that will help you grow jumbo rutabagas that are not only impressive in size but also packed with flavor. Whether you’re a seasoned gardener or just starting out, these tips will give you the edge you need to cultivate truly remarkable rutabagas. Get ready to roll up your sleeves and prepare for some serious root vegetable magic!

Growing Giant Rutabagas: My Secrets to Success!
Okay, friends, let’s talk rutabagas! Not just any rutabagas, but the kind that make your neighbors do a double-take. I’m talking JUMBO rutabagas! I’ve spent years perfecting my technique, and I’m finally ready to share my secrets with you. Get ready to impress everyone at the farmer’s market (or just enjoy a mountain of delicious mashed rutabaga yourself!).
Choosing the Right Variety
First things first, you need to start with the right seeds. Not all rutabagas are created equal! For truly giant specimens, you’ll want to look for specific varieties known for their size potential. Here are a few of my favorites:
* **American Purple Top:** This is a classic for a reason. It’s reliable, produces large roots, and has a lovely purple top that peeks out of the soil.
* **Laurentian:** Another excellent choice, Laurentian rutabagas are known for their smooth skin and sweet flavor. They also tend to grow quite large.
* **Joan:** If you’re looking for something a little different, try Joan. It’s a yellow-fleshed variety that can get impressively big.
Pro Tip: Order your seeds from a reputable supplier to ensure you’re getting high-quality, viable seeds.
Preparing the Soil: The Foundation for Giants
Rutabagas are heavy feeders, meaning they need a lot of nutrients to grow big and strong. Proper soil preparation is absolutely crucial for achieving those jumbo sizes.
* **Sunlight:** Rutabagas need at least 6 hours of direct sunlight per day. Choose a location in your garden that gets plenty of sun.
* **Soil Type:** They prefer well-drained, loose soil that is rich in organic matter. Heavy clay soil will hinder their growth.
* **pH Level:** Aim for a soil pH between 6.0 and 7.0. You can test your soil with a kit from your local garden center.
* **Amending the Soil:** This is where the magic happens! I like to amend my soil with the following:
* **Composted Manure:** This adds essential nutrients and improves soil structure. I use about 2-3 inches of well-rotted composted manure per square foot.
* **Compost:** Another great source of organic matter. I mix in about 2 inches of compost per square foot.
* **Bone Meal:** This provides phosphorus, which is essential for root development. Follow the instructions on the package for application rates.
* **Wood Ash:** This adds potassium and helps to raise the pH of acidic soil. Use sparingly, as too much can be harmful.
* **Slow-Release Fertilizer:** I also incorporate a slow-release fertilizer specifically formulated for root vegetables. This provides a steady supply of nutrients throughout the growing season.
Step-by-Step Soil Preparation:
1. **Clear the Area:** Remove any weeds, rocks, or debris from the planting area.
2. **Till or Dig:** Loosen the soil to a depth of at least 12 inches. This will allow the rutabaga roots to penetrate easily.
3. **Incorporate Amendments:** Spread the composted manure, compost, bone meal, wood ash (if needed), and slow-release fertilizer evenly over the soil surface.
4. **Mix Thoroughly:** Use a garden fork or tiller to mix the amendments into the soil. Make sure everything is well incorporated.
5. **Rake Smooth:** Rake the soil smooth to create a level planting surface.
6. **Water Well:** Water the prepared soil thoroughly to help settle it and activate the amendments.
Planting Your Rutabagas: Timing is Everything
Rutabagas are a cool-season crop, meaning they thrive in cooler temperatures. The best time to plant them is in late summer or early fall for a fall harvest.
* **Timing:** I usually aim to plant my rutabagas about 2-3 months before the first expected frost. This gives them enough time to mature before the weather gets too cold.
* **Direct Sowing:** Rutabagas are best direct-sown, meaning you plant the seeds directly into the garden. They don’t transplant well.
* **Spacing:** Space the seeds about 2-3 inches apart in rows that are 18-24 inches apart.
* **Depth:** Plant the seeds about 1/2 inch deep.
* **Watering:** Water the seeds gently after planting. Keep the soil consistently moist until the seedlings emerge.
Step-by-Step Planting:
1. **Create Rows:** Use a garden hoe or rake to create shallow rows in the prepared soil.
2. **Sow Seeds:** Sprinkle the rutabaga seeds evenly along the rows, spacing them about 2-3 inches apart.
3. **Cover Seeds:** Gently cover the seeds with about 1/2 inch of soil.
4. **Water Gently:** Water the rows gently with a watering can or hose with a gentle spray nozzle.
5. **Mark Rows:** Label the rows with the variety of rutabaga you planted. This will help you keep track of your plants.
Thinning and Weeding: Giving Them Room to Grow
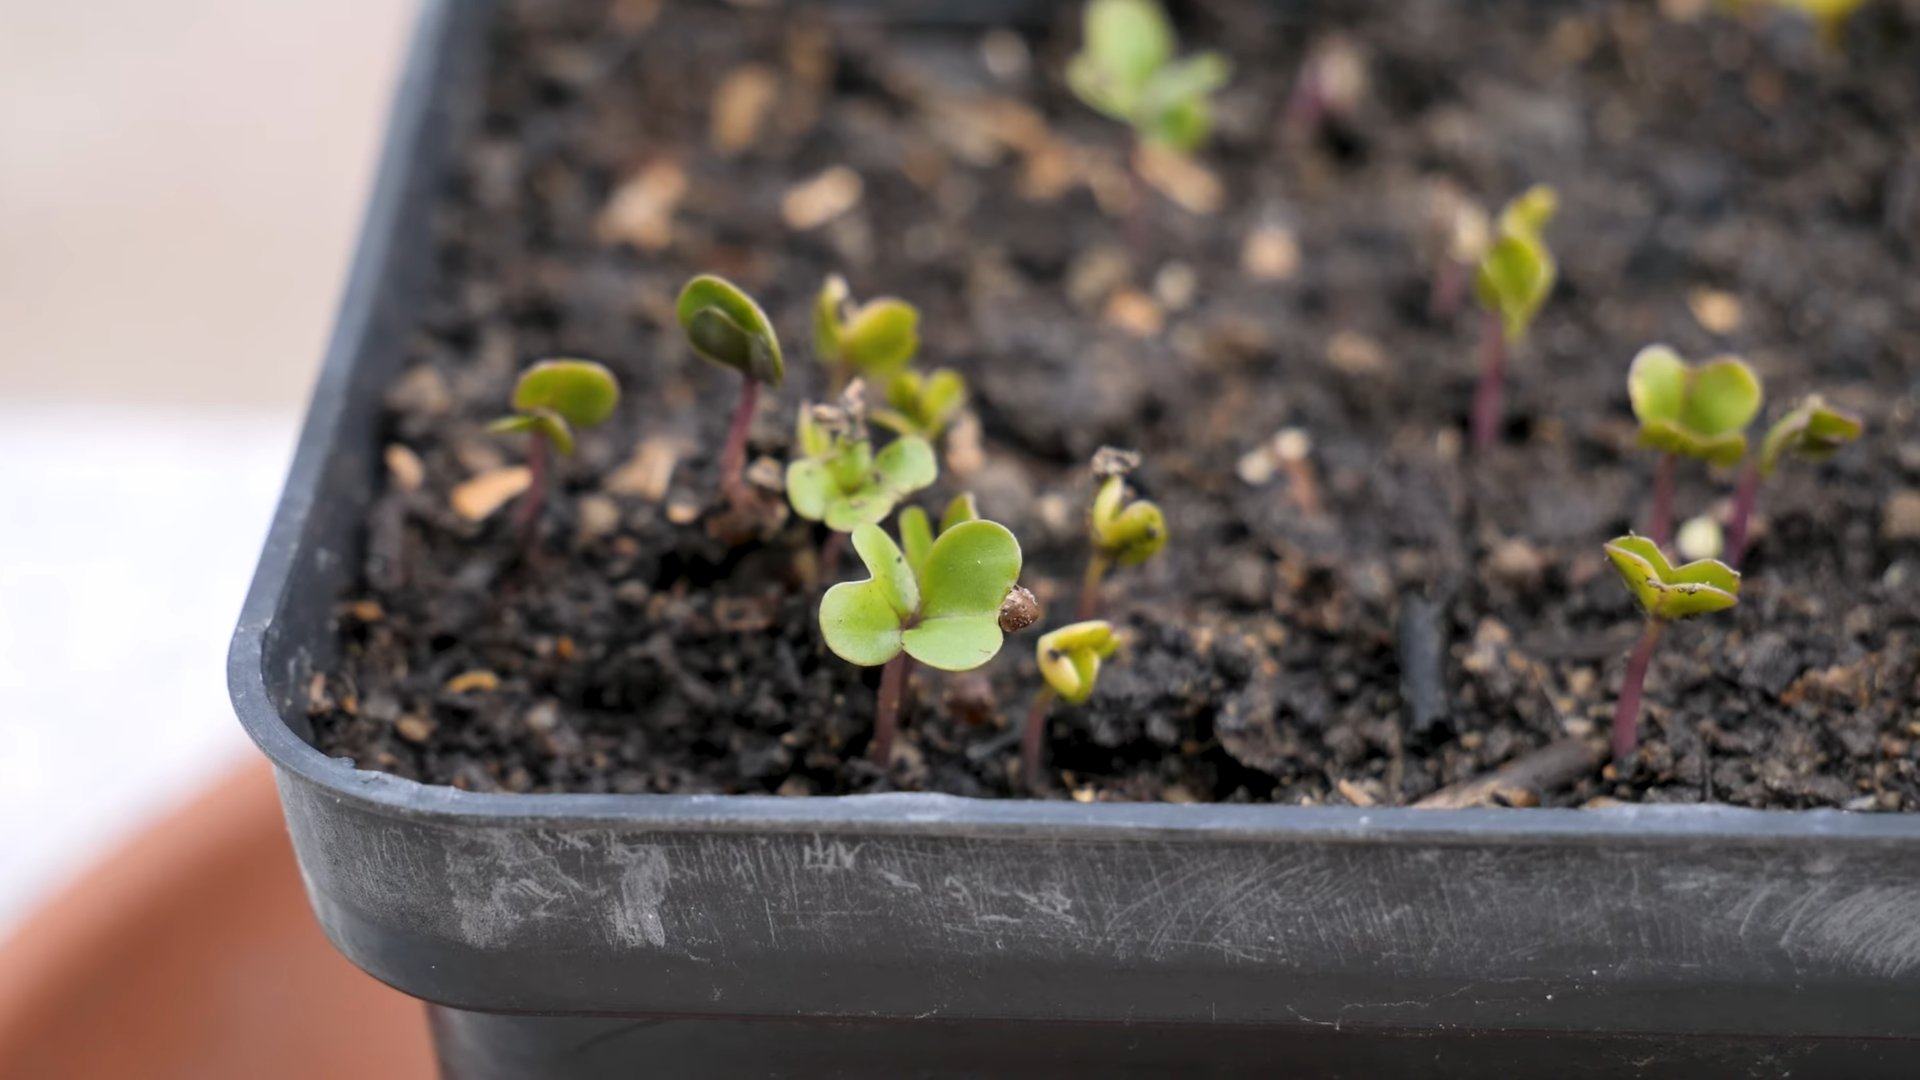
Once the seedlings emerge, you’ll need to thin them to give them enough room to grow into jumbo rutabagas. Weeding is also essential to prevent competition for nutrients and water.
* **Thinning:** When the seedlings are about 2-3 inches tall, thin them to about 6-8 inches apart. This will give the remaining plants plenty of room to develop large roots.
* **Weeding:** Keep the planting area free of weeds by hand-pulling or using a hoe. Be careful not to damage the rutabaga roots.
* **Mulching:** Apply a layer of mulch around the plants to help suppress weeds, retain moisture, and regulate soil temperature. I like to use straw or shredded leaves.
Step-by-Step Thinning and Weeding:
1. **Identify Seedlings:** Locate the rutabaga seedlings that are growing too close together.
2. **Thin Carefully:** Gently pull out the extra seedlings, being careful not to disturb the roots of the remaining plants.
3. **Weed Regularly:** Check the planting area regularly for weeds and remove them promptly.
4. **Apply Mulch:** Spread a layer of mulch around the plants, leaving a small space around the stems to prevent rot.
Watering and Fertilizing: Keeping Them Hydrated and Well-Fed
Rutabagas need consistent moisture and a steady supply of nutrients to reach their full potential.
* **Watering:** Water deeply and regularly, especially during dry periods. Aim for about 1 inch of water per week.
* **Fertilizing:** Side-dress the plants with a balanced fertilizer every 4-6 weeks. Follow the instructions on the package for application rates. I also like to give them a foliar feeding of seaweed extract every few weeks.
Step-by-Step Watering and Fertilizing:
1. **Check Soil Moisture:** Stick your finger into the soil to check the moisture level. If the top inch of soil is dry, it’s time to water.
2. **Water Deeply:** Water the plants slowly and deeply, allowing the water to soak into the soil.
3. **Side-Dress with Fertilizer:** Sprinkle the fertilizer along the sides of the rows, about 6 inches away from the plants.
4. **Water in Fertilizer:** Water the fertilizer into the soil.
5. **Foliar Feeding:** Mix the seaweed extract with water according to the instructions on the package. Spray the solution onto the leaves of the plants.
Pest and Disease Control: Protecting Your Investment
Rutabagas are generally pest-resistant, but they can be susceptible to certain pests and diseases.
* **Common Pests:**
* **Flea Beetles:** These tiny beetles can chew small holes in the leaves. Cover the plants with row covers to prevent infestation.
* **Root Maggots:** These larvae feed on the roots of the plants. Use row covers or apply beneficial nematodes to the soil.
* **Aphids:** These small insects suck the sap from the leaves. Spray the plants with insecticidal soap or neem oil.
* **Common Diseases:**
* **Clubroot:** This fungal disease causes the roots to swell and become distorted. Prevent clubroot by maintaining a soil pH above 7.0 and practicing crop rotation.
* **Downy Mildew:** This fungal disease causes yellow spots on the leaves. Improve air circulation and avoid overhead watering.
Step-by-Step Pest and Disease Control:
1. **Inspect Plants Regularly:** Check the plants regularly for signs of pests or diseases.
2. **Identify the Problem:** Determine the specific pest or disease affecting your plants.
3. **Choose a Treatment:** Select an appropriate treatment method based on the pest or disease.
4. **Apply Treatment:** Follow the instructions on the product label carefully.
5. **Monitor Results

Conclusion
So, there you have it! Growing jumbo rutabagas isn’t just a gardening goal; it’s a testament to patience, proper technique, and a little bit of DIY magic. This method, focusing on soil enrichment and strategic thinning, is a game-changer for anyone who’s ever been disappointed by small, woody rutabagas. Forget those golf ball-sized disappointments – we’re talking rutabagas that could feed a family for days!
Why is this DIY trick a must-try? Because it addresses the core issues that often plague rutabaga growth: nutrient deficiency and overcrowding. By amending your soil with plenty of organic matter and ensuring each plant has ample space to thrive, you’re setting the stage for success. The difference between a standard rutabaga and a jumbo rutabaga grown using this method is truly remarkable. You’ll not only get a larger yield, but you’ll also notice a significant improvement in flavor and texture. The flesh will be sweeter, less bitter, and far more tender.
But don’t stop there! This method is just a starting point. Feel free to experiment with different types of organic amendments. Try adding bone meal for extra phosphorus, or kelp meal for a boost of micronutrients. You can also adjust the thinning schedule based on your local climate and growing conditions. If you live in a particularly hot area, you might want to provide some afternoon shade to prevent the rutabagas from bolting.
Consider these variations to further personalize your **jumbo rutabaga** growing experience:
* **Companion Planting:** Plant your rutabagas alongside beneficial companions like marigolds (to deter nematodes) or nasturtiums (to attract aphids away from your crop).
* **Succession Planting:** Sow seeds every few weeks to ensure a continuous harvest throughout the growing season.
* **Raised Beds:** If you have poor soil drainage, consider growing your rutabagas in raised beds to improve aeration and prevent root rot.
* **Watering Techniques:** Implement a soaker hose or drip irrigation system to deliver water directly to the roots, minimizing water waste and reducing the risk of fungal diseases.
This isn’t just about growing bigger rutabagas; it’s about connecting with your food, understanding the nuances of your garden, and enjoying the satisfaction of harvesting something truly special. The process of nurturing these plants from tiny seeds to massive root vegetables is incredibly rewarding.
We’re confident that this DIY trick will transform your rutabaga growing experience. But we want to hear from you! Give it a try, and let us know how it goes. Share your photos, your tips, and your triumphs in the comments below. What worked well for you? What challenges did you face? Your feedback will help other gardeners learn and grow, and together, we can all cultivate a bumper crop of jumbo rutabagas! So, grab your seeds, prepare your soil, and get ready to witness the magic of this simple yet effective technique. Happy gardening!
Frequently Asked Questions (FAQ)
What exactly makes a rutabaga “jumbo”?
A jumbo rutabaga is generally considered to be significantly larger than the average rutabaga you’d find at the grocery store. While sizes can vary depending on the variety and growing conditions, a jumbo rutabaga typically weighs several pounds and measures several inches in diameter. The key is that it’s noticeably larger and more substantial than a standard rutabaga.
How much organic matter should I add to the soil?
The amount of organic matter you add will depend on the existing quality of your soil. If your soil is already rich and loamy, you may only need to add a few inches of compost or well-rotted manure. However, if your soil is sandy or clayey, you’ll need to add more – perhaps a layer of several inches. The goal is to improve the soil’s drainage, aeration, and nutrient-holding capacity. A good rule of thumb is to aim for a soil composition that is at least 25% organic matter.
When should I start thinning my rutabaga seedlings?
Thinning should begin when the seedlings have developed their first true leaves (the leaves that appear after the initial seed leaves). At this stage, thin the seedlings to about 4-6 inches apart. As the plants continue to grow, thin them again to about 12-18 inches apart. This will give each plant enough space to develop a large, healthy root. Be gentle when thinning to avoid disturbing the roots of the remaining plants.
What are the best organic amendments to use for rutabagas?
Some excellent organic amendments for rutabagas include:
* **Compost:** Provides a wide range of nutrients and improves soil structure.
* **Well-rotted manure:** Adds nitrogen and other essential nutrients.
* **Bone meal:** A good source of phosphorus, which is important for root development.
* **Kelp meal:** Provides micronutrients and helps improve soil fertility.
* **Wood ash:** Adds potassium and lime to the soil.
Choose amendments that are appropriate for your soil type and the specific needs of your plants.
How often should I water my rutabagas?
Rutabagas need consistent moisture to thrive. Water deeply and regularly, especially during dry periods. Aim to keep the soil consistently moist but not waterlogged. A good rule of thumb is to water when the top inch of soil feels dry to the touch. Mulching around the plants can help retain moisture and reduce the need for frequent watering.
What are some common pests and diseases that affect rutabagas, and how can I control them organically?
Some common pests and diseases that can affect rutabagas include:
* **Aphids:** Control with insecticidal soap or neem oil.
* **Flea beetles:** Cover plants with row covers or use diatomaceous earth.
* **Root maggots:** Use row covers or apply beneficial nematodes to the soil.
* **Clubroot:** Prevent by improving soil drainage and pH, and by practicing crop rotation.
* **Downy mildew:** Improve air circulation and avoid overhead watering.
Always choose organic control methods whenever possible to protect the environment and your health.
How do I know when my rutabagas are ready to harvest?
Rutabagas are typically ready to harvest in the fall, after the first frost. The roots should be firm and well-developed, and the tops should be about 4-6 inches in diameter. You can harvest them earlier if you prefer smaller rutabagas, but they will be sweeter and more flavorful if you wait until after a frost. To harvest, simply loosen the soil around the root and gently pull it out of the ground.
Can I store rutabagas after harvesting them?
Yes, rutabagas can be stored for several months if properly stored. To store them, cut off the tops, leaving about an inch of stem. Brush off any excess soil, but do not wash them. Store the rutabagas in a cool, dark, and humid place, such as a root cellar or refrigerator. They can also be stored in a plastic bag in the refrigerator. Check them periodically for signs of spoilage and discard any that are soft or moldy.
What are some ways to use jumbo rutabagas in cooking?
Jumbo rutabagas can be used in a variety of dishes. They can be roasted, mashed, boiled, steamed, or added to soups and stews. They can also be used to make fries, chips, or even rutabaga noodles. Their sweet, earthy flavor pairs well with a variety of herbs and spices, such as thyme, rosemary, and nutmeg. Don’t be afraid to experiment and try new recipes!
Will this DIY method work in all climates?
While this DIY method is generally effective, its success can vary depending on your specific climate. In colder climates, you may need to start your seeds indoors to give them a head start. In hotter climates, you may need to provide some afternoon shade to prevent the rutabagas from bolting. Be sure to adjust your planting and growing schedule to suit your local conditions. Monitoring your plants closely and making adjustments as needed is key to success.


Leave a Comment