
Grow Dill Kitchen: Imagine stepping into your kitchen, not just to cook, but to snip fresh, fragrant dill straight from your own little garden. Sounds dreamy, right? Well, it’s absolutely achievable, even if you think you have a “brown thumb”! For centuries, cultivating herbs indoors has been a cherished practice. From ancient Egyptians using herbs for medicinal purposes to medieval monks tending their monastery gardens, the connection between humans and homegrown herbs is deeply rooted in history.
But why should you bother to grow dill kitchen style? In today’s fast-paced world, having fresh herbs at your fingertips is more than just a convenience; it’s a way to reconnect with nature, enhance your culinary creations, and even boost your well-being. Store-bought dill often lacks the vibrant flavor of freshly picked herbs, and let’s be honest, it can be quite expensive. Plus, knowing exactly where your food comes from is incredibly satisfying.
This DIY guide is your passport to a thriving indoor dill garden. I’m going to share simple, effective tricks and hacks that will transform your kitchen windowsill into a verdant oasis. Whether you’re a seasoned gardener or a complete beginner, I’ll walk you through every step, from choosing the right container to harvesting your first flavorful sprigs. Get ready to unlock the secrets to successfully growing dill in your kitchen and elevate your cooking to a whole new level!
Growing Dill Indoors: A Beginner’s Guide to Fresh Herbs Year-Round
Hey there, fellow herb enthusiasts! Ever dreamt of having fresh, fragrant dill right at your fingertips, no matter the season? Well, you’re in the right place! I’m going to walk you through the surprisingly simple process of growing dill indoors. Forget those sad, wilted bunches from the grocery store – we’re talking vibrant, flavorful dill grown with your own two hands. Let’s get started!
What You’ll Need
Before we dive in, let’s gather our supplies. This is a pretty straightforward project, so you likely have some of these items already.
* **Dill Seeds:** Obviously! Look for varieties specifically suited for container gardening, if possible. ‘Fernleaf’ is a popular choice.
* **Potting Mix:** Use a high-quality, well-draining potting mix. Avoid garden soil, as it can compact and hinder drainage in containers.
* **Container:** Choose a pot that’s at least 6-8 inches in diameter and depth. Dill has a taproot, so adequate depth is important. Make sure it has drainage holes!
* **Grow Lights (Optional but Recommended):** While dill can grow indoors with sufficient natural light, grow lights will ensure consistent growth, especially during the darker months.
* **Watering Can or Spray Bottle:** For gentle watering.
* **Small Shovel or Trowel:** For planting the seeds.
* **Seed Starting Tray (Optional):** If you prefer to start your seeds indoors before transplanting.
* **Plant Food (Optional):** A balanced liquid fertilizer can give your dill a boost.
Choosing the Right Location
Dill loves sunlight! Aim for a spot that receives at least 6 hours of direct sunlight per day. A south-facing window is ideal. If you don’t have enough natural light, don’t worry! That’s where grow lights come in handy. Place the grow lights a few inches above the seedlings.
Planting Your Dill Seeds
This is where the magic happens! We’re going to get those seeds in the soil and watch them sprout into beautiful dill plants.
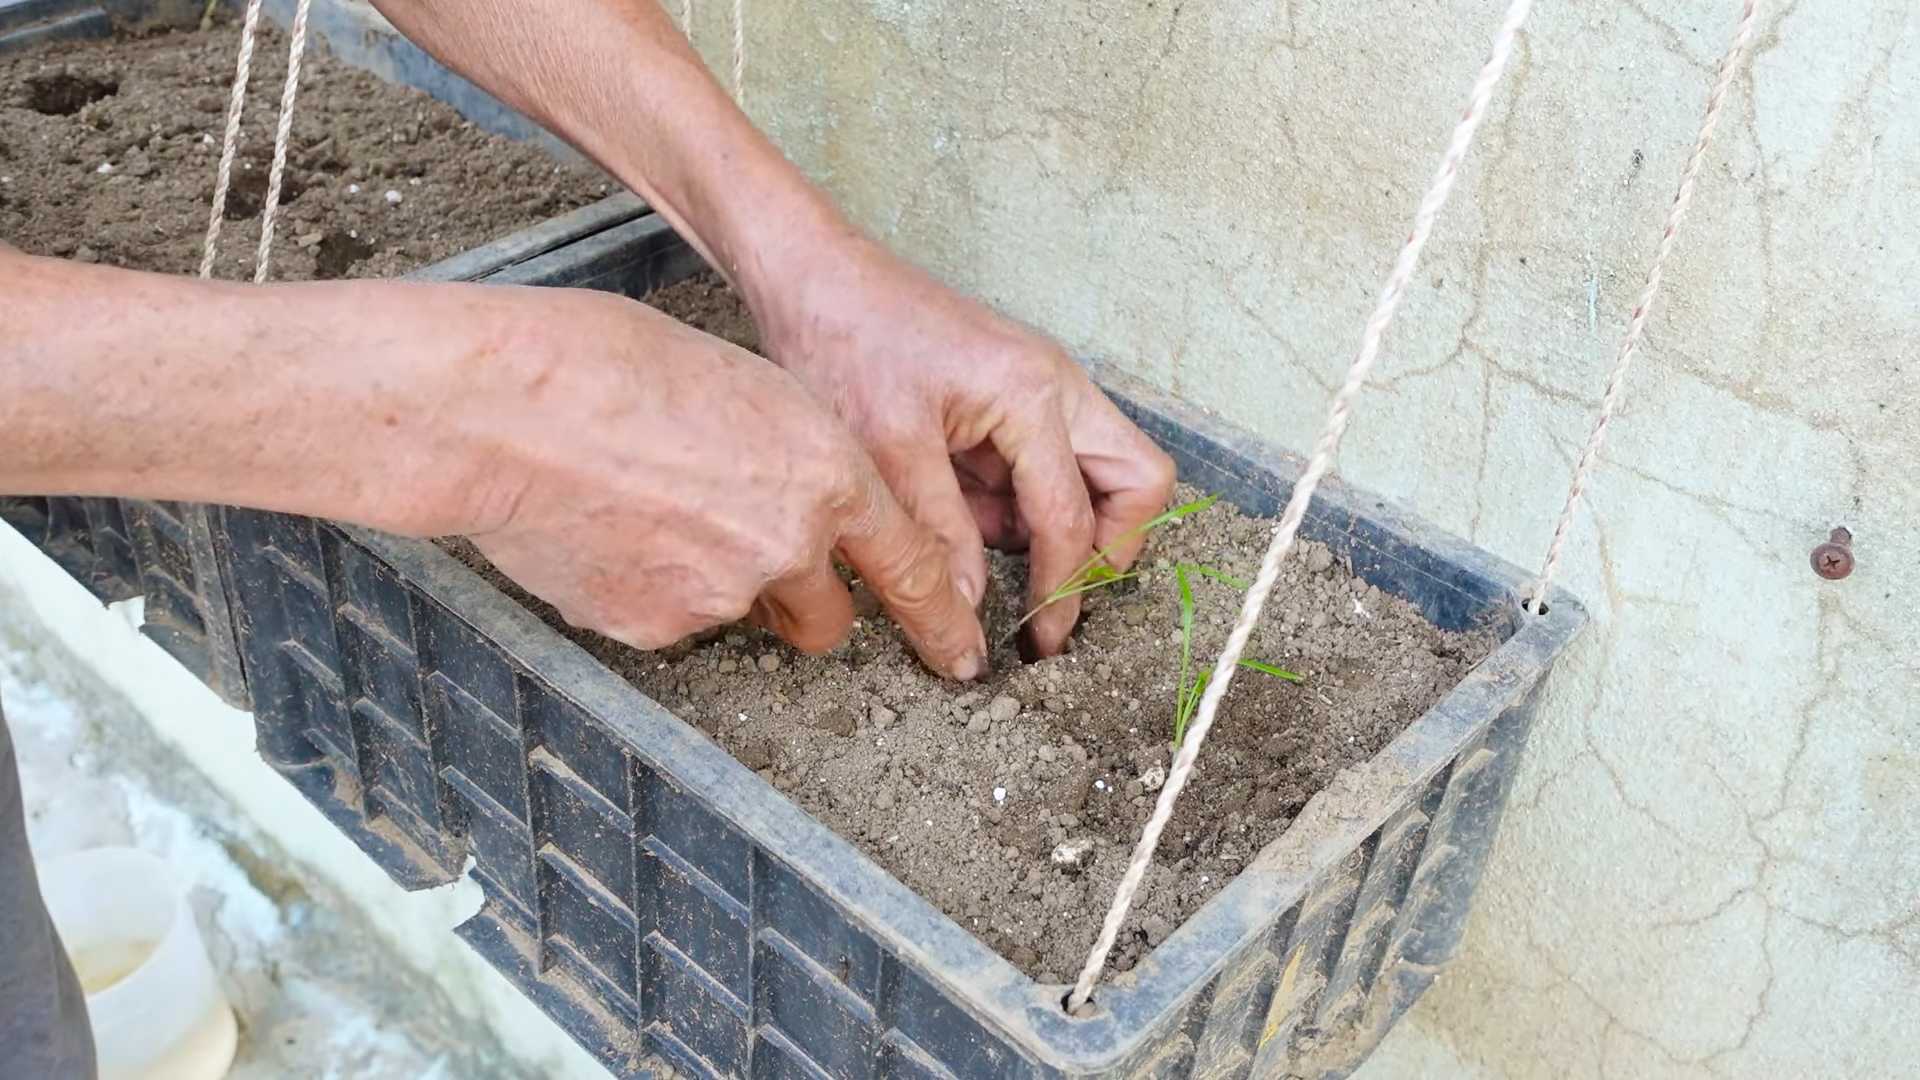
1. **Prepare the Pot:** Fill your chosen container with potting mix, leaving about an inch of space at the top. Gently pat down the soil to remove any large air pockets.
2. **Sow the Seeds:** Dill seeds are small, so you don’t need to plant them too deep. Sprinkle the seeds evenly over the surface of the soil. Aim for about 2-3 seeds per inch.
3. **Cover the Seeds:** Lightly cover the seeds with a thin layer of potting mix (about 1/4 inch).
4. **Water Gently:** Use a watering can or spray bottle to gently moisten the soil. Be careful not to dislodge the seeds. The soil should be consistently moist but not waterlogged.
5. **Provide Warmth:** Dill seeds germinate best in warm temperatures (around 70-75°F). You can place the pot in a warm location or use a heat mat to speed up germination.
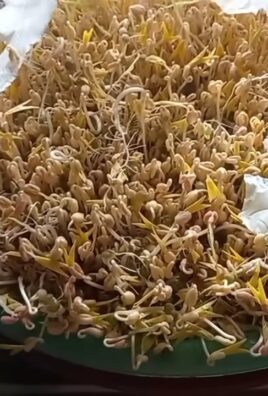
6. **Wait Patiently:** Germination typically takes 7-14 days. Keep the soil consistently moist during this time.
Caring for Your Dill Plants
Once your dill seedlings emerge, it’s time to provide them with the care they need to thrive.
1. **Thinning (If Necessary):** If you planted your seeds close together, you may need to thin the seedlings once they have a few sets of true leaves. Snip off the weaker seedlings at the soil line, leaving the strongest ones to grow. This will prevent overcrowding and ensure that each plant has enough space to develop.
2. **Watering:** Dill needs consistent moisture, but it doesn’t like to be waterlogged. Water when the top inch of soil feels dry to the touch. Avoid overwatering, as this can lead to root rot.
3. **Lighting:** As mentioned earlier, dill needs plenty of light. If you’re not using grow lights, rotate the pot regularly to ensure that all sides of the plant receive equal sunlight. If you are using grow lights, keep them on for about 14-16 hours per day.
4. **Fertilizing (Optional):** If you want to give your dill plants a boost, you can fertilize them every 2-3 weeks with a balanced liquid fertilizer. Follow the instructions on the fertilizer label.
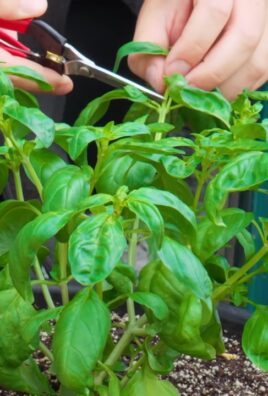
5. **Pinching:** Pinching back the tips of the dill plants encourages bushier growth. Simply snip off the top few leaves with your fingers or scissors.
6. **Support (If Needed):** As dill plants grow taller, they may need some support to prevent them from flopping over. You can use small stakes or a tomato cage to provide support.
Harvesting Your Dill
The best part! Harvesting your own homegrown dill is incredibly rewarding.
1. **When to Harvest:** You can start harvesting dill leaves once the plants are about 6-8 inches tall.
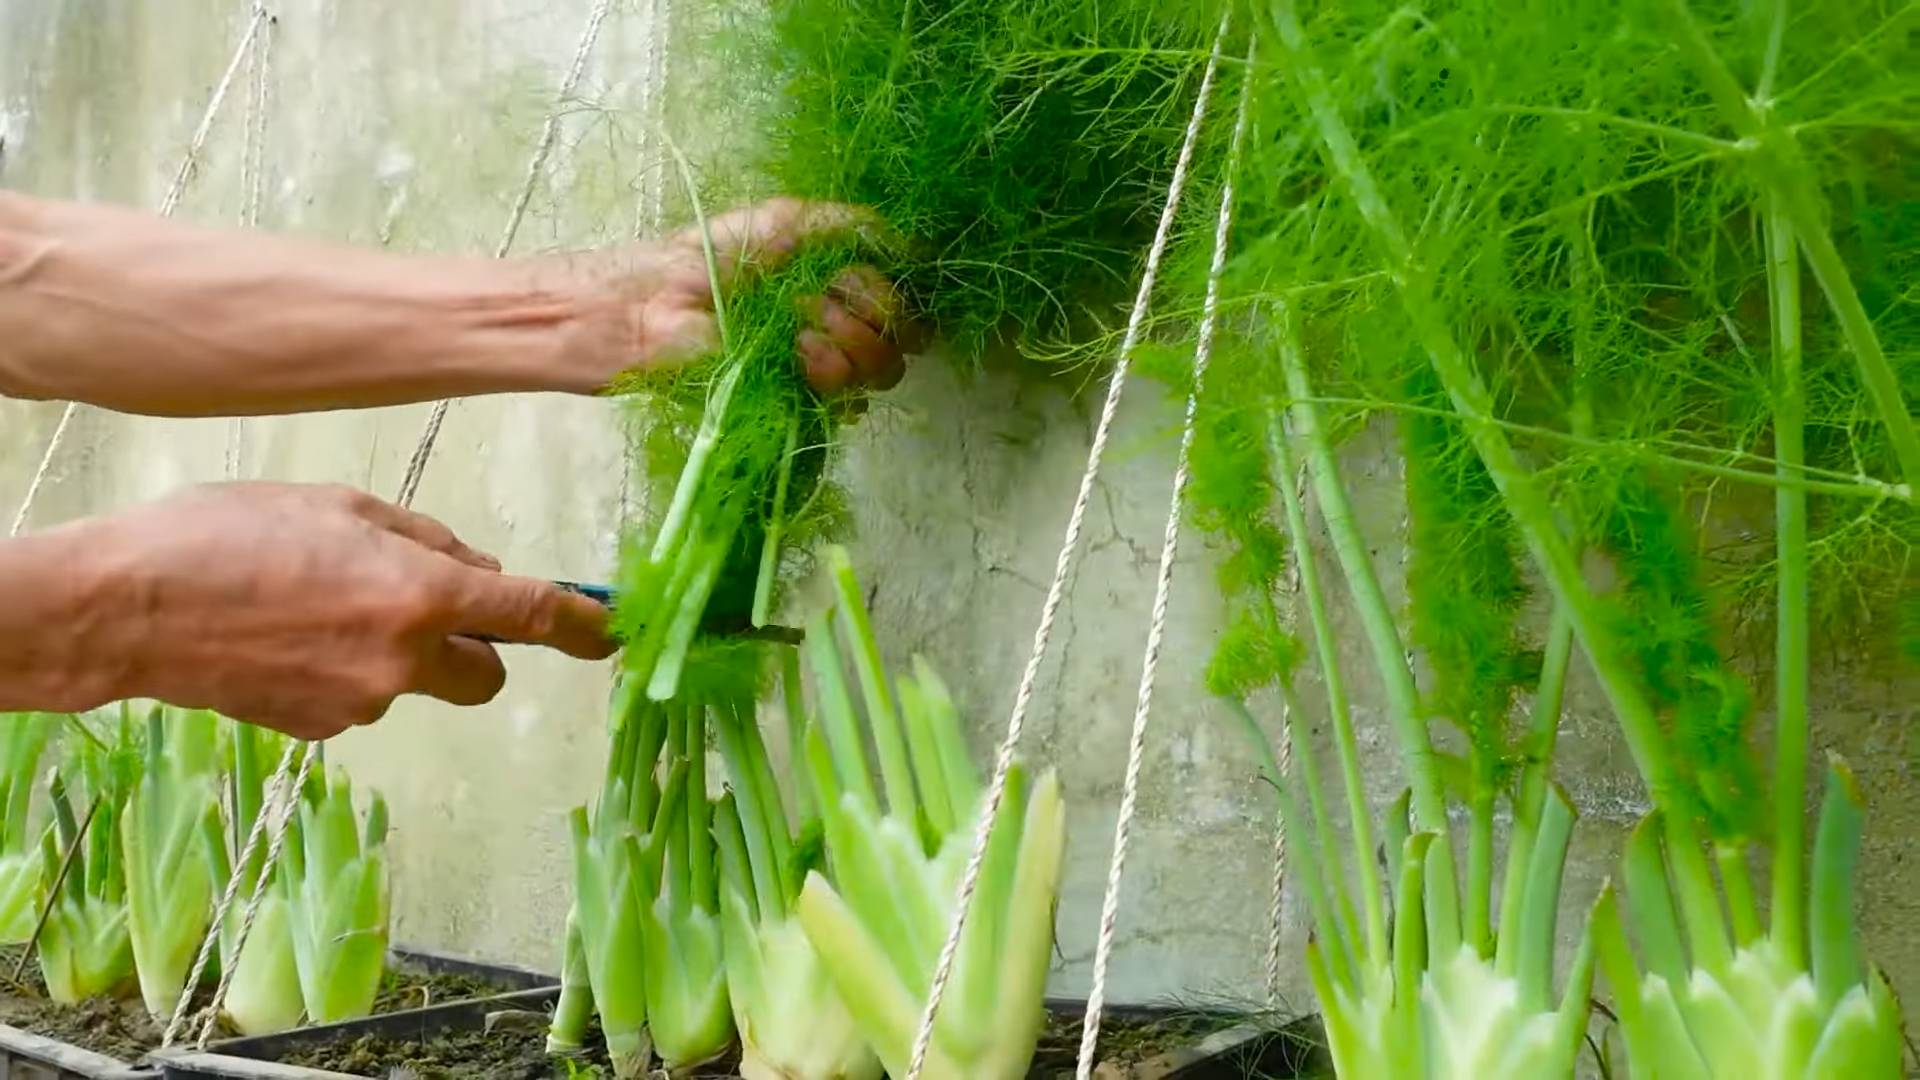
2. **How to Harvest:** Use scissors or your fingers to snip off the leaves as needed. Start with the outer leaves and work your way inwards.
3. **Harvesting for Seeds:** If you want to harvest dill seeds, allow the flower heads to mature and dry on the plant. Once the seeds are brown and dry, you can cut off the flower heads and shake them into a bag or container.
Troubleshooting
Even with the best care, you might encounter a few challenges along the way. Here are some common problems and how to address them:
* **Yellowing Leaves:** This could be a sign of overwatering, underwatering, or nutrient deficiency. Check the soil moisture and adjust your watering accordingly. If the problem persists, try fertilizing with a balanced liquid fertilizer.
* **Leggy Growth:** This is usually caused by insufficient light. Move your dill plants to a sunnier location or use grow lights.
* **Pests:** Dill is generally pest-resistant, but aphids and spider mites can sometimes be a problem. If you notice any pests, try spraying the plants with insecticidal soap.
* **Powdery Mildew:** This fungal disease can cause a white, powdery coating on the leaves. Improve air circulation around the plants and avoid overhead watering. You can also try spraying the plants with a fungicide.
Encouraging Bushier Growth
Dill tends to bolt (go to seed) quickly, especially in warm weather. Bolting can reduce leaf production and affect the flavor of the dill. To encourage bushier growth and delay bolting, try these tips:
* **Pinch Back Regularly:** As mentioned earlier, pinching back the tips of the dill plants encourages bushier growth.
* **Provide Consistent Moisture:** Dill needs consistent moisture to thrive. Avoid letting the soil dry out completely.
* **Keep Temperatures Cool:** Dill prefers cooler temperatures (around 60-70°F). If you live in a warm climate, try to keep your dill plants in a cooler location.
* **Succession Planting:** Plant new dill seeds every few weeks to ensure a continuous supply of fresh dill.
Using Your Fresh Dill
Hey there, fellow herb enthusiasts! Ever dreamt of having fresh, fragrant dill right at your fingertips, no matter the season? Well, you’re in the right place! I’m going to walk you through the surprisingly simple process of growing dill indoors. Forget those sad, wilted bunches from the grocery store – we’re talking vibrant, flavorful dill grown with your own two hands. Let’s get started!
What You’ll Need
Before we dive in, let’s gather our supplies. This is a pretty straightforward project, so you likely have some of these items already.
* **Dill Seeds:** Obviously! Look for varieties specifically suited for container gardening, if possible. ‘Fernleaf’ is a popular choice.
* **Potting Mix:** Use a high-quality, well-draining potting mix. Avoid garden soil, as it can compact and hinder drainage in containers.
* **Container:** Choose a pot that’s at least 6-8 inches in diameter and depth. Dill has a taproot, so adequate depth is important. Make sure it has drainage holes!
* **Grow Lights (Optional but Recommended):** While dill can grow indoors with sufficient natural light, grow lights will ensure consistent growth, especially during the darker months.
* **Watering Can or Spray Bottle:** For gentle watering.
* **Small Shovel or Trowel:** For planting the seeds.
* **Seed Starting Tray (Optional):** If you prefer to start your seeds indoors before transplanting.
* **Plant Food (Optional):** A balanced liquid fertilizer can give your dill a boost.
Choosing the Right Location
Dill loves sunlight! Aim for a spot that receives at least 6 hours of direct sunlight per day. A south-facing window is ideal. If you don’t have enough natural light, don’t worry! That’s where grow lights come in handy. Place the grow lights a few inches above the seedlings.
Planting Your Dill Seeds
This is where the magic happens! We’re going to get those seeds in the soil and watch them sprout into beautiful dill plants.
1. **Prepare the Pot:** Fill your chosen container with potting mix, leaving about an inch of space at the top. Gently pat down the soil to remove any large air pockets.
2. **Sow the Seeds:** Dill seeds are small, so you don’t need to plant them too deep. Sprinkle the seeds evenly over the surface of the soil. Aim for about 2-3 seeds per inch.
3. **Cover the Seeds:** Lightly cover the seeds with a thin layer of potting mix (about 1/4 inch).
4. **Water Gently:** Use a watering can or spray bottle to gently moisten the soil. Be careful not to dislodge the seeds. The soil should be consistently moist but not waterlogged.
5. **Provide Warmth:** Dill seeds germinate best in warm temperatures (around 70-75°F). You can place the pot in a warm location or use a heat mat to speed up germination.
6. **Wait Patiently:** Germination typically takes 7-14 days. Keep the soil consistently moist during this time.
Caring for Your Dill Plants
Once your dill seedlings emerge, it’s time to provide them with the care they need to thrive.
1. **Thinning (If Necessary):** If you planted your seeds close together, you may need to thin the seedlings once they have a few sets of true leaves. Snip off the weaker seedlings at the soil line, leaving the strongest ones to grow. This will prevent overcrowding and ensure that each plant has enough space to develop.
2. **Watering:** Dill needs consistent moisture, but it doesn’t like to be waterlogged. Water when the top inch of soil feels dry to the touch. Avoid overwatering, as this can lead to root rot.
3. **Lighting:** As mentioned earlier, dill needs plenty of light. If you’re not using grow lights, rotate the pot regularly to ensure that all sides of the plant receive equal sunlight. If you are using grow lights, keep them on for about 14-16 hours per day.
4. **Fertilizing (Optional):** If you want to give your dill plants a boost, you can fertilize them every 2-3 weeks with a balanced liquid fertilizer. Follow the instructions on the fertilizer label.
5. **Pinching:** Pinching back the tips of the dill plants encourages bushier growth. Simply snip off the top few leaves with your fingers or scissors.
6. **Support (If Needed):** As dill plants grow taller, they may need some support to prevent them from flopping over. You can use small stakes or a tomato cage to provide support.
Harvesting Your Dill
The best part! Harvesting your own homegrown dill is incredibly rewarding.
1. **When to Harvest:** You can start harvesting dill leaves once the plants are about 6-8 inches tall.
2. **How to Harvest:** Use scissors or your fingers to snip off the leaves as needed. Start with the outer leaves and work your way inwards.
3. **Harvesting for Seeds:** If you want to harvest dill seeds, allow the flower heads to mature and dry on the plant. Once the seeds are brown and dry, you can cut off the flower heads and shake them into a bag or container.
Troubleshooting
Even with the best care, you might encounter a few challenges along the way. Here are some common problems and how to address them:
* **Yellowing Leaves:** This could be a sign of overwatering, underwatering, or nutrient deficiency. Check the soil moisture and adjust your watering accordingly. If the problem persists, try fertilizing with a balanced liquid fertilizer.
* **Leggy Growth:** This is usually caused by insufficient light. Move your dill plants to a sunnier location or use grow lights.
* **Pests:** Dill is generally pest-resistant, but aphids and spider mites can sometimes be a problem. If you notice any pests, try spraying the plants with insecticidal soap.
* **Powdery Mildew:** This fungal disease can cause a white, powdery coating on the leaves. Improve air circulation around the plants and avoid overhead watering. You can also try spraying the plants with a fungicide.
Encouraging Bushier Growth
Dill tends to bolt (go to seed) quickly, especially in warm weather. Bolting can reduce leaf production and affect the flavor of the dill. To encourage bushier growth and delay bolting, try these tips:
* **Pinch Back Regularly:** As mentioned earlier, pinching back the tips of the dill plants encourages bushier growth.
* **Provide Consistent Moisture:** Dill needs consistent moisture to thrive. Avoid letting the soil dry out completely.
* **Keep Temperatures Cool:** Dill prefers cooler temperatures (around 60-70°F). If you live in a warm climate, try to keep your dill plants in a cooler location.
* **Succession Planting:** Plant new dill seeds every few weeks to ensure a continuous supply of fresh dill.
Using Your Fresh Dill
Now that you have a bountiful supply of fresh dill, it’s time to put it to good use! Here are just a few ideas:
* **Add it to dips and sauces:** Dill is a classic addition to creamy dips and sauces.
* **Sprinkle it on salads:** Fresh dill adds a bright, refreshing flavor to salads.
* **Use it to season fish and vegetables:** Dill pairs well with fish, potatoes, cucumbers, and other vegetables.
* **Make dill pickles:** Use your homegrown dill to make homemade dill pickles.
* **Garnish your dishes:** Fresh dill makes a beautiful and flavorful garnish.
Saving Dill Seeds for Next Year
If you want to save dill seeds for next year’s planting, allow the flower heads to mature and dry on the plant. Once the seeds are brown and dry, you can cut off the flower heads and shake them into a bag or container. Store the seeds in a cool, dry place until next spring.
Final Thoughts
Growing dill indoors is a simple and rewarding project that anyone can do. With a little bit of care and attention, you can enjoy fresh, flavorful dill year-round. So go ahead, give it a try! You’ll be amazed at how easy it is to grow your own herbs. Happy gardening!
Conclusion
So, there you have it! Growing your own dill in the kitchen isn’t just a fun project; it’s a game-changer for your culinary creations. Imagine the burst of fresh, aromatic dill elevating your favorite dishes, all thanks to your own green thumb. Forget those sad, wilted bunches from the grocery store – with this simple DIY trick, you’ll have a constant supply of vibrant, flavorful dill right at your fingertips.
Why is this a must-try? Because it’s incredibly easy, cost-effective, and rewarding. You don’t need a sprawling garden or any fancy equipment. A simple pot, some soil, and a sunny windowsill are all you need to embark on this flavorful adventure. Plus, think of the satisfaction of nurturing your own herbs and knowing exactly where your food comes from. It’s a small step towards a more sustainable and delicious lifestyle.
But the fun doesn’t stop there! Feel free to experiment with different varieties of dill. Some are bushier, some have a more intense flavor, and some are even more cold-hardy. You can also try growing dill alongside other herbs like parsley or chives to create a mini kitchen garden. Consider using different types of containers – terracotta pots, repurposed jars, or even a vertical planter to maximize space. If you find yourself with an abundance of dill, consider preserving it by drying, freezing, or making dill-infused vinegar or oil. The possibilities are endless!
We’re confident that once you try this DIY trick, you’ll be hooked. The taste of freshly grown dill is simply incomparable. It’s a small investment of time and effort that yields a huge return in flavor and satisfaction. So, grab your supplies, follow our simple steps, and get ready to enjoy the freshest dill you’ve ever tasted.
Don’t just take our word for it – give it a try and see for yourself! We’re eager to hear about your experiences. Share your photos, tips, and tricks in the comments below. Let’s create a community of kitchen gardeners and inspire each other to grow our own delicious herbs. Happy growing! And remember, mastering how to grow dill kitchen style is easier than you think!
Frequently Asked Questions (FAQ)
1. What kind of soil is best for growing dill indoors?
Dill thrives in well-draining soil that is rich in organic matter. A good potting mix specifically formulated for herbs is ideal. You can also create your own mix by combining equal parts of potting soil, compost, and perlite or vermiculite. This ensures good drainage and provides the necessary nutrients for healthy growth. Avoid using garden soil, as it can be too heavy and may contain pests or diseases.
2. How much sunlight does dill need when grown indoors?
Dill requires at least 6 hours of direct sunlight per day to thrive. Place your dill plant in a sunny windowsill that faces south or west. If you don’t have enough natural light, you can supplement with a grow light. Position the grow light a few inches above the plant and keep it on for 12-14 hours per day. Insufficient sunlight can lead to leggy growth and reduced flavor.
3. How often should I water my indoor dill plant?
Water your dill plant when the top inch of soil feels dry to the touch. Water thoroughly until excess water drains out of the bottom of the pot. Avoid overwatering, as this can lead to root rot. Dill prefers slightly drier conditions, so it’s better to err on the side of underwatering than overwatering. During the winter months, when growth slows down, you may need to water less frequently.
4. How do I harvest dill from my indoor plant?
You can start harvesting dill leaves as soon as the plant is about 6 inches tall. Use scissors or pruning shears to snip off the leaves as needed. Avoid cutting off more than one-third of the plant at a time, as this can stunt its growth. For the strongest flavor, harvest dill in the morning after the dew has dried. You can also harvest the dill seeds once the plant has flowered and the seeds have turned brown.
5. What are some common problems when growing dill indoors, and how can I fix them?
Some common problems include aphids, spider mites, and powdery mildew. Aphids and spider mites can be controlled with insecticidal soap or neem oil. Powdery mildew can be prevented by ensuring good air circulation and avoiding overhead watering. If you notice any signs of disease, remove the affected leaves immediately. Another common issue is leggy growth, which is usually caused by insufficient sunlight. Make sure your dill plant is getting enough light, either from a sunny windowsill or a grow light.
6. Can I grow dill from seed indoors?
Yes, you can easily grow dill from seed indoors. Start by sowing the seeds in a pot filled with well-draining potting mix. Cover the seeds lightly with soil and water gently. Keep the soil moist but not soggy. The seeds should germinate in about 7-14 days. Once the seedlings have developed a few sets of true leaves, you can thin them out, leaving only the strongest plants.
7. How long does it take for dill to grow indoors?
Dill typically takes about 60-70 days to mature from seed to harvest. However, you can start harvesting the leaves as soon as the plant is about 6 inches tall. The growth rate will depend on factors such as sunlight, temperature, and watering. With proper care, you can enjoy a continuous supply of fresh dill from your indoor plant.
8. Can I transplant my indoor dill plant outdoors?
Yes, you can transplant your indoor dill plant outdoors, but it’s important to do it gradually to avoid shocking the plant. Start by hardening off the plant by gradually exposing it to outdoor conditions for a few hours each day over the course of a week. Choose a sunny location with well-draining soil. Dig a hole that is slightly larger than the pot and carefully remove the plant from the pot. Place the plant in the hole and backfill with soil. Water thoroughly and protect the plant from strong winds and direct sunlight for the first few days.
9. How do I encourage my dill plant to produce more leaves?
To encourage your dill plant to produce more leaves, pinch off the flower buds as soon as they appear. This will prevent the plant from putting its energy into seed production and instead encourage it to produce more foliage. You can also fertilize your dill plant with a balanced liquid fertilizer every few weeks.
10. What are some creative ways to use my home-grown dill?
The possibilities are endless! Use fresh dill to flavor dips, sauces, salads, soups, and stews. Add it to omelets, scrambled eggs, or potato salad. Use it to make dill pickles or dill-infused vinegar. Sprinkle it over grilled fish, chicken, or vegetables. You can even use it to make a refreshing dill tea. Get creative and experiment with different ways to incorporate this versatile herb into your cooking.
Leave a Comment