
Grow Chili Peppers Anywhere, even if you think you don’t have the space or a “green thumb”! Have you ever dreamed of adding a fiery kick to your meals with fresh, homegrown chili peppers, but felt limited by your living situation? Maybe you live in an apartment with a tiny balcony, or perhaps your garden soil just isn’t cooperating. Well, I’m here to tell you that those limitations don’t have to hold you back!
For centuries, chili peppers have been a staple in cuisines around the world, adding vibrant flavor and a touch of heat. From the ancient Aztecs using them in rituals to the modern-day chef experimenting with exotic varieties, chili peppers have a rich and fascinating history. But you don’t need to be a culinary expert or a seasoned gardener to enjoy the fruits (or should I say, peppers!) of your own labor.
That’s why I’ve put together this guide packed with easy and effective DIY tricks and hacks to help you grow chili peppers anywhere. Whether you’re a beginner or have some gardening experience, these tips will empower you to cultivate your own thriving chili pepper plants, regardless of your space or soil conditions. Imagine the satisfaction of harvesting your own peppers and adding them to your favorite dishes – the possibilities are endless! So, let’s dive in and unlock the secrets to growing these fiery delights, no matter where you are!
Grow Chili Peppers Anywhere: A DIY Guide to Container Gardening Success
Hey there, fellow chili enthusiasts! Ever dreamed of having a constant supply of fiery peppers right at your fingertips, regardless of whether you have a sprawling garden or just a sunny balcony? Well, you’re in the right place! I’m going to walk you through everything you need to know to grow chili peppers successfully in containers, no matter where you live. Get ready to spice up your life!
Choosing the Right Chili Pepper Variety
Before we dive into the nitty-gritty, let’s talk peppers! The world of chili peppers is vast and exciting, ranging from mild bell peppers to scorching ghost peppers. Choosing the right variety for container gardening is crucial for success.
* Consider your climate: Some peppers thrive in hot, humid conditions, while others prefer cooler temperatures. Research which varieties are best suited for your local climate.
* Think about size: Compact varieties like Thai peppers, habaneros, and jalapeños are generally better suited for containers than larger varieties like bell peppers or Anaheim peppers.
* Spice level matters: Choose peppers that match your heat tolerance. Don’t start with a ghost pepper if you’re new to the chili game!
* Days to maturity: Check the “days to maturity” for each variety. This tells you how long it will take for the peppers to ripen after planting. Shorter maturity times are ideal for shorter growing seasons.
Some of my personal favorites for container gardening include:
* Jalapeños (reliable and versatile)
* Serranos (a bit hotter than jalapeños)
* Thai peppers (small, prolific, and spicy)
* Habaneros (for those who like serious heat)
* Cayenne peppers (great for drying and making chili powder)
Gathering Your Supplies
Okay, now that we’ve picked our peppers, let’s gather the necessary supplies. This is where the fun really begins!
* Containers: Choose containers that are at least 12 inches in diameter and depth. Larger containers are generally better, as they provide more room for the roots to grow. Make sure your containers have drainage holes!
* Potting Mix: Use a high-quality potting mix that is well-draining and lightweight. Avoid using garden soil, as it can become compacted in containers and hinder drainage. I recommend a mix specifically formulated for vegetables.
* Chili Pepper Seeds or Seedlings: You can start your peppers from seed or purchase seedlings from a local nursery. Starting from seed gives you more control over the varieties you grow, but seedlings are a quicker option.
* Fertilizer: Chili peppers are heavy feeders, so you’ll need to fertilize them regularly. Use a balanced fertilizer (e.g., 10-10-10) or a fertilizer specifically formulated for tomatoes and peppers.
* Watering Can or Hose: You’ll need a way to water your plants regularly.
* Optional:
* Plant labels (to keep track of your varieties)
* Gardening gloves (to protect your hands)
* Trowel or small shovel (for planting)
* Stakes or cages (for supporting taller plants)
* Mulch (to help retain moisture and suppress weeds)
Planting Your Chili Peppers
Alright, let’s get our hands dirty! This is the most exciting part – bringing your chili pepper dreams to life.
1. Prepare the Containers: Fill your containers with potting mix, leaving about an inch or two of space at the top.
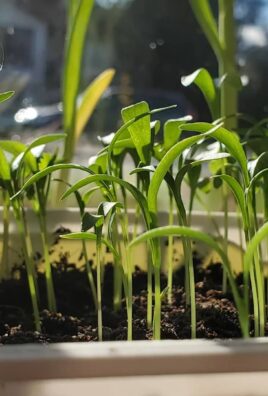
2. Starting from Seed: If you’re starting from seed, sow the seeds about ¼ inch deep in the potting mix. Water gently and keep the soil moist. You can start seeds indoors 6-8 weeks before the last expected frost. Once the seedlings have a few sets of true leaves, you can transplant them into larger containers.
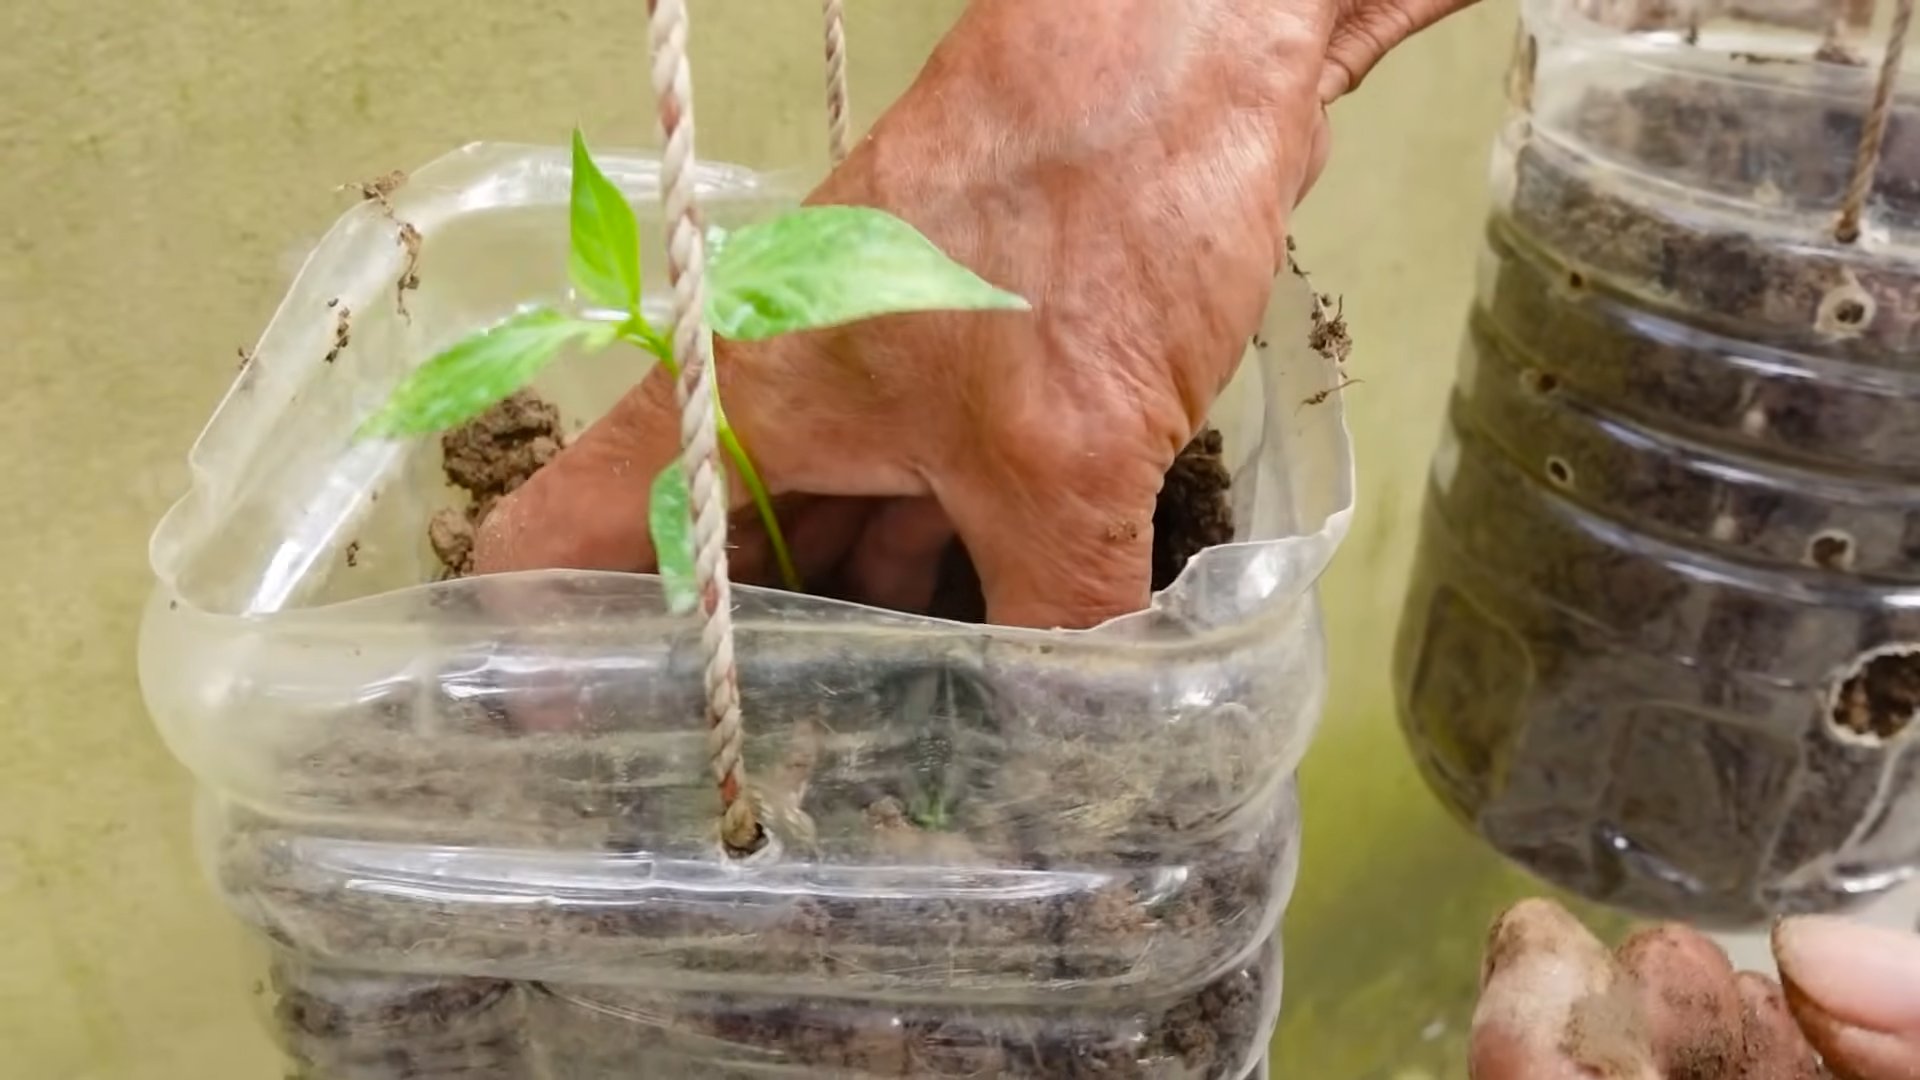
3. Transplanting Seedlings: If you’re using seedlings, gently remove them from their nursery pots. Loosen the roots slightly and plant them in the center of your containers. Make sure the top of the root ball is level with the soil surface.
4. Water Thoroughly: After planting, water your chili peppers thoroughly. This will help settle the soil and encourage root growth.
5. Label Your Plants: Don’t forget to label your plants so you know which variety is which!
Caring for Your Chili Peppers
Now that your chili peppers are planted, it’s time to provide them with the care they need to thrive. This involves watering, fertilizing, providing sunlight, and protecting them from pests and diseases.
1. Watering: Water your chili peppers regularly, especially during hot, dry weather. The soil should be consistently moist, but not soggy. Overwatering can lead to root rot, so be careful not to overdo it. A good rule of thumb is to water when the top inch of soil feels dry to the touch.
2. Fertilizing: Fertilize your chili peppers every 2-3 weeks with a balanced fertilizer or a fertilizer specifically formulated for tomatoes and peppers. Follow the instructions on the fertilizer package.
3. Sunlight: Chili peppers need at least 6-8 hours of sunlight per day. Place your containers in a sunny location where they will receive plenty of direct sunlight. If you don’t have enough sunlight, you can supplement with grow lights.
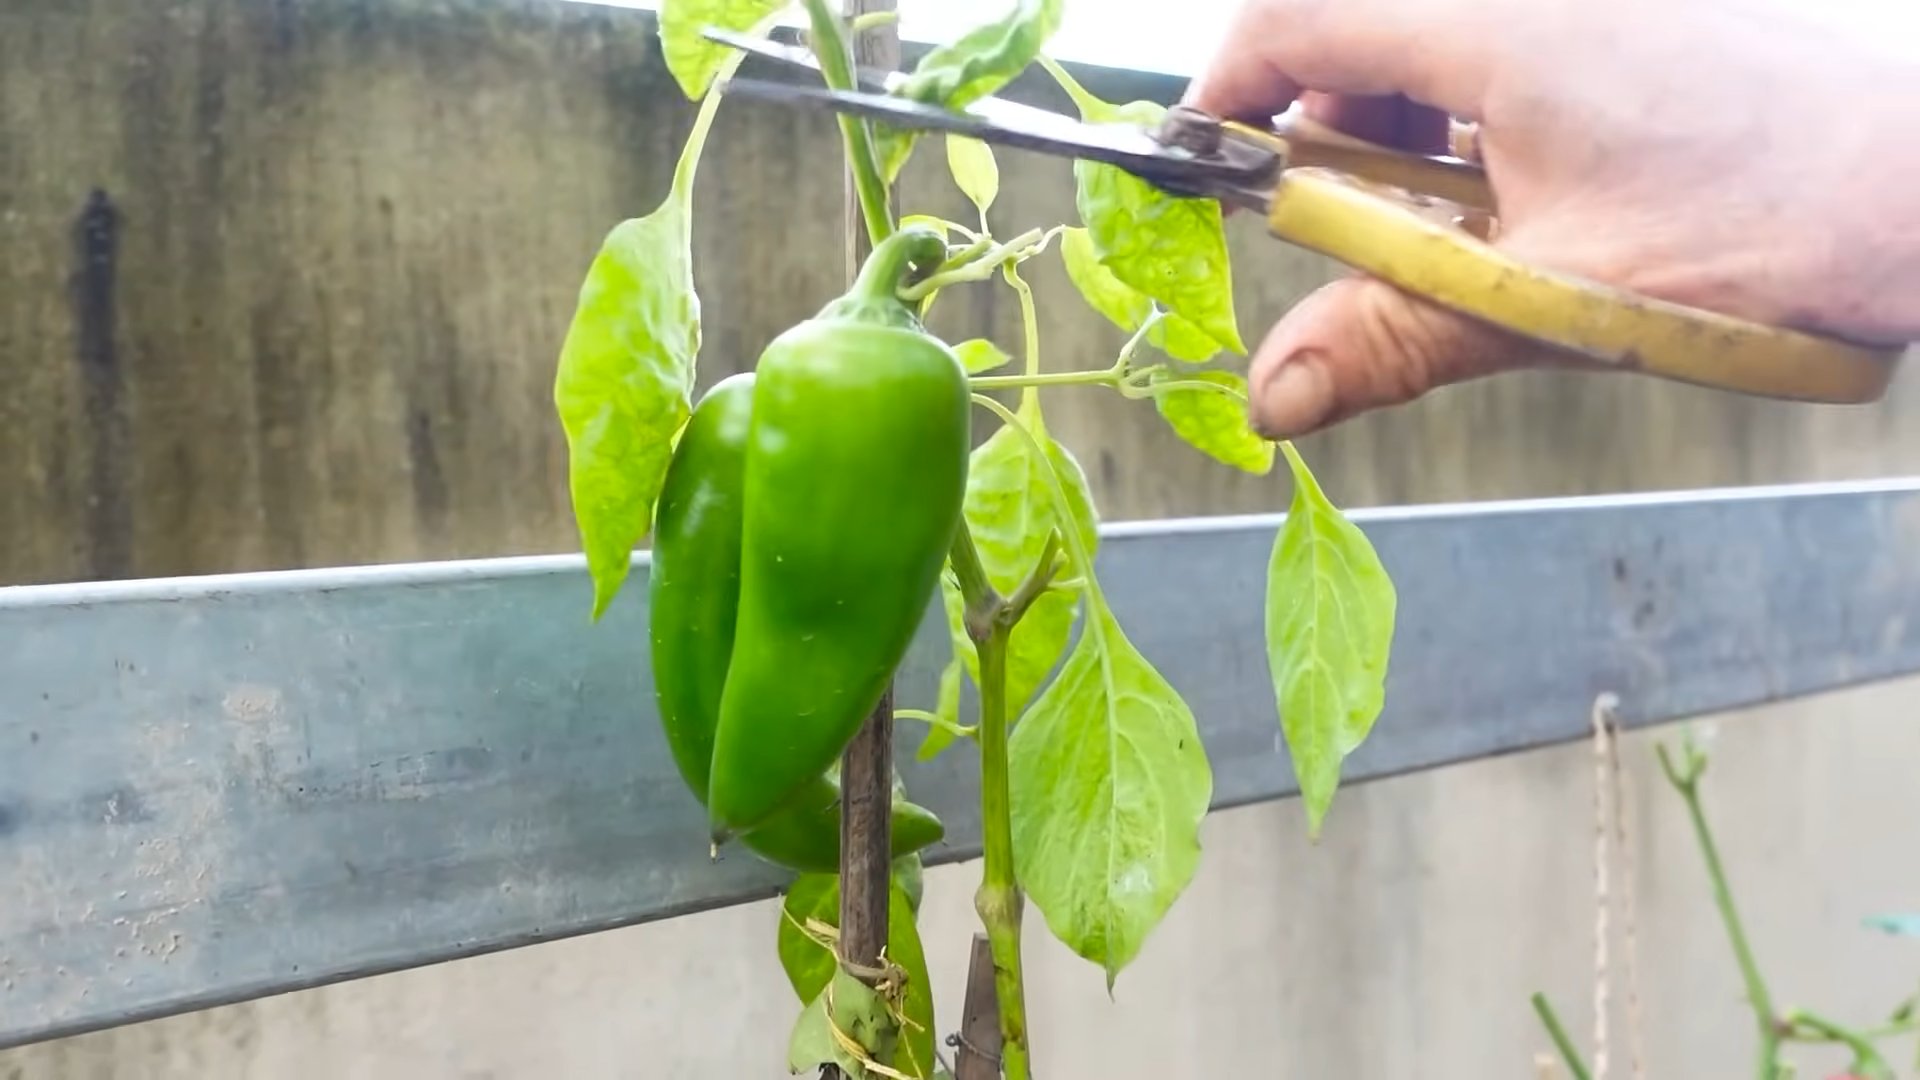
4. Pruning: Pruning can help improve air circulation and encourage bushier growth. Remove any yellowing or dead leaves. You can also pinch off the tips of the branches to encourage more branching.
5. Pest and Disease Control: Keep an eye out for pests and diseases. Common pests that affect chili peppers include aphids, spider mites, and whiteflies. Common diseases include fungal diseases like powdery mildew and blossom end rot. If you notice any problems, take action immediately. You can use insecticidal soap or neem oil to control pests. For fungal diseases, you can use a fungicide. Blossom end rot is caused by a calcium deficiency, so you can add calcium to the soil.
6. Supporting Your Plants: As your chili pepper plants grow, they may need support. Use stakes or cages to support the plants and prevent them from falling over. This is especially important for taller varieties.
7. Pollination: Chili peppers are self-pollinating, but you can help them along by gently shaking the plants or using a small brush to transfer pollen from one flower to another. This is especially important if you’re growing your peppers indoors.
Harvesting Your Chili Peppers
The moment we’ve all been waiting for – harvesting your delicious chili peppers!
1. When to Harvest: The best time to harvest chili peppers is when they have reached their mature color and size. The color will vary depending on the variety. For example, jalapeños are typically harvested when they are dark green, while habaneros are harvested when they are orange or red.
2. How to Harvest: Use a sharp knife or scissors to cut the peppers from the plant. Be careful not to damage the plant.
3. Handling Hot Peppers: If you’re harvesting hot peppers, wear gloves to protect your hands from the capsaicin, the compound that makes peppers hot. Avoid touching your eyes or face after handling hot peppers.
4. Storing Your Peppers: You can store your chili peppers in the refrigerator for up to a week. You can also dry them, freeze them, or pickle them.
Troubleshooting Common Problems
Even with the best care, you may encounter some problems along the way. Here are some common problems and how to fix them:
* Yellowing Leaves: Yellowing leaves can be caused by overwatering, underwatering, nutrient deficiencies, or pests. Check the soil moisture and adjust your watering accordingly. Fertilize your plants regularly. Inspect the plants for pests and treat them if necessary.
* Blossom Drop: Blossom drop is when the flowers fall off the plant without producing fruit. This can be caused by temperature stress, lack of pollination, or nutrient deficiencies. Make sure your plants are getting enough sunlight and water. Hand-pollinate the flowers if necessary. Fertilize your plants regularly.
* Blossom End Rot: Blossom end rot is a condition that causes the bottom of the fruit to rot. This is caused by a calcium deficiency. Add calcium to the soil.
* Pests: Pests can damage your plants and reduce your yield. Inspect your plants regularly for pests and treat them if necessary. Use insecticidal soap or neem oil to control pests.
* Diseases: Diseases can also damage your plants and reduce your yield. Prevent diseases by providing good air circulation and avoiding overwatering. If you notice any signs of disease, treat the plants with a fungicide.
Enjoying Your Harvest
Congratulations! You’ve successfully grown chili peppers in containers. Now it’s time to enjoy your harvest! Use your peppers to spice up your favorite dishes, make hot sauce, or dry them for later use. The possibilities are endless!
Growing chili peppers in containers is a rewarding experience that
Conclusion
So, there you have it! Growing chili peppers anywhere, regardless of your space constraints or perceived “green thumb” limitations, is entirely achievable with this simple, yet effective DIY trick. We’ve shown you how to bypass the need for a sprawling garden and embrace the joy of cultivating your own spicy bounty, even if all you have is a sunny windowsill or a small balcony.
This isn’t just about saving money on store-bought peppers; it’s about connecting with the process of nurturing life, understanding where your food comes from, and experiencing the unparalleled satisfaction of harvesting something you’ve grown yourself. Imagine the pride you’ll feel when you sprinkle your homemade chili flakes, crafted from your own homegrown peppers, onto your favorite dish.
The beauty of this method lies in its adaptability. Feel free to experiment with different types of chili peppers. From the mild Anaheim to the fiery Habanero, the possibilities are endless. Consider using different types of containers, too. Upcycled coffee cans, repurposed plastic tubs, or even hanging baskets can all work wonders. Just ensure adequate drainage and sufficient sunlight.
Don’t be afraid to get creative with your soil mix. While the suggested combination works well, you can tailor it to your specific pepper variety’s needs. Some peppers prefer slightly more acidic soil, while others thrive in a more alkaline environment. A little research can go a long way in optimizing your pepper’s growth.
Furthermore, think about companion planting. Basil, for example, is known to repel pests and improve the flavor of chili peppers. Marigolds are another excellent choice, as they attract beneficial insects and deter nematodes.
This DIY trick isn’t just a one-size-fits-all solution; it’s a starting point for your own chili pepper growing adventure. It’s an invitation to experiment, learn, and discover what works best for you and your specific environment.
We wholeheartedly encourage you to give this method a try. It’s a rewarding experience that will not only provide you with a steady supply of fresh chili peppers but also connect you with the natural world in a meaningful way.
And most importantly, we want to hear about your experiences! Share your successes, your challenges, and your unique variations in the comments below. Let’s build a community of chili pepper enthusiasts, sharing tips and tricks to help each other grow the spiciest, most flavorful peppers possible. Your insights could be invaluable to someone just starting out, and we’re eager to learn from your journey. So, grab your seeds, your soil, and your containers, and let’s get growing! Let’s see how many people we can inspire to grow chili peppers anywhere!
Frequently Asked Questions (FAQ)
What kind of chili peppers are best for growing indoors or in small spaces?
The best chili peppers for indoor or small-space growing are typically compact varieties that don’t require extensive root systems. Some excellent choices include:
* **Thai Chili Peppers:** These are small, prolific producers that are relatively easy to grow and pack a significant punch of heat.
* **Jalapeño Peppers:** A classic choice, jalapeños are relatively compact and produce a good yield.
* **Serrano Peppers:** Similar to jalapeños but with a bit more heat, serranos are also well-suited for container growing.
* **Habanero Peppers:** While they can be a bit more demanding, habaneros can be successfully grown in containers with proper care and attention.
* **Poblano Peppers:** These larger peppers can be grown in larger containers and offer a milder flavor.
* **Ornamental Peppers:** These peppers are bred for their colorful fruits and compact size, making them ideal for adding visual appeal to your indoor garden. Examples include ‘Black Pearl’ and ‘Purple Flash’.
Consider the size of your container and the amount of sunlight available when selecting your pepper variety.
How much sunlight do chili peppers need?
Chili peppers are sun-loving plants and require at least 6-8 hours of direct sunlight per day to thrive. If you’re growing them indoors, place them near a south-facing window where they can receive the most sunlight. If you don’t have enough natural light, you can supplement with grow lights. LED grow lights are a great option as they are energy-efficient and provide the full spectrum of light that plants need.
What kind of soil is best for growing chili peppers?
Chili peppers prefer well-draining soil that is rich in organic matter. A good potting mix for chili peppers should consist of:
* **Potting Soil:** Provides a base for the mix and helps retain moisture.
* **Compost:** Adds nutrients and improves soil structure.
* **Perlite or Vermiculite:** Improves drainage and aeration.
You can also add a slow-release fertilizer to the soil mix to provide a steady supply of nutrients to your plants. Avoid using garden soil, as it can be too heavy and may contain pests or diseases.
How often should I water my chili pepper plants?
Water your chili pepper plants when the top inch of soil feels dry to the touch. Avoid overwatering, as this can lead to root rot. When watering, water deeply until the water drains out of the bottom of the container. During hot weather, you may need to water more frequently.
How do I fertilize my chili pepper plants?
Chili peppers are heavy feeders and require regular fertilization to produce a good yield. Use a balanced fertilizer (e.g., 10-10-10) or a fertilizer specifically formulated for peppers and tomatoes. Fertilize every 2-3 weeks during the growing season. You can also use organic fertilizers such as compost tea or fish emulsion.
How do I prevent pests and diseases on my chili pepper plants?
To prevent pests and diseases, start with healthy plants and provide them with the proper growing conditions. Regularly inspect your plants for signs of pests or diseases. Common pests that affect chili peppers include aphids, spider mites, and whiteflies. You can control these pests with insecticidal soap or neem oil. Common diseases include fungal diseases such as powdery mildew and blossom end rot. You can prevent these diseases by providing good air circulation and avoiding overwatering.
How long does it take for chili peppers to mature?
The time it takes for chili peppers to mature depends on the variety. Some varieties, such as Thai chili peppers, can mature in as little as 60 days, while others, such as habaneros, can take up to 120 days. Check the seed packet or plant label for specific information on the maturity time of your chosen variety.
How do I harvest chili peppers?
Harvest chili peppers when they have reached their mature color and size. Use scissors or pruning shears to cut the peppers from the plant, leaving a small stem attached. Wear gloves when harvesting hot peppers to avoid skin irritation.
Can I overwinter my chili pepper plants?
Yes, you can overwinter your chili pepper plants indoors. Before the first frost, prune the plants back to about 6 inches and transplant them into smaller containers. Bring the plants indoors and place them in a sunny location. Water sparingly during the winter months. In the spring, transplant the plants back into larger containers and move them back outdoors after the last frost.
What if my chili pepper plant isn’t producing peppers?
There are several reasons why your chili pepper plant may not be producing peppers:
* **Lack of Sunlight:** Chili peppers need at least 6-8 hours of direct sunlight per day to produce peppers.
* **Poor Pollination:** Chili peppers are self-pollinating, but they may need help with pollination if grown indoors. You can hand-pollinate the flowers by gently shaking the plant or using a small brush to transfer pollen from one flower to another.
* **Nutrient Deficiency:** Chili peppers need adequate nutrients to produce peppers. Fertilize your plants regularly with a balanced fertilizer.
* **Temperature Stress:** Chili peppers prefer temperatures between 70-85°F. Extreme temperatures can inhibit pepper production.
* **Overwatering or Underwatering:** Both overwatering and underwatering can stress the plant and prevent it from producing peppers.
By addressing these potential issues, you can increase your chances of a successful chili pepper harvest.
Leave a Comment