
Grow Celery Backyard – sounds like a dream, right? Imagine stepping outside your back door and snipping fresh, crisp celery stalks for your salads, soups, or even just a healthy snack. Forget those limp, flavorless bunches from the grocery store! This isn’t just about convenience; it’s about connecting with nature and enjoying the unparalleled taste of homegrown goodness.
For centuries, celery has been more than just a crunchy vegetable. Originating in the Mediterranean, it was initially valued for its medicinal properties before becoming a culinary staple. Ancient Greeks used it to crown victors in athletic games, symbolizing triumph and achievement. Now, you can achieve your own small victory by mastering the art of growing celery right in your backyard!
But let’s be honest, growing celery can seem a little intimidating. It has a reputation for being finicky. That’s where this DIY guide comes in! I’m going to share some simple, effective tricks and hacks that will help you grow celery backyard like a pro, even if you’re a complete beginner. We’ll cover everything from seed starting to harvesting, ensuring you have a thriving celery patch. Why spend money on store-bought celery when you can have a constant supply of fresh, organic celery just steps away? Let’s get our hands dirty and unlock the secrets to a bountiful celery harvest!
Growing Celery From Kitchen Scraps: A Beginner’s Guide
Hey there, fellow garden enthusiasts! Ever wondered if you could regrow celery from that leftover stalk you were about to toss? Well, guess what? You absolutely can! It’s a super easy and rewarding project, perfect for beginners and a fantastic way to reduce food waste. I’m going to walk you through the entire process, step-by-step, so you can have your own little celery patch growing in no time.
Getting Started: What You’ll Need
Before we dive in, let’s gather our supplies. Don’t worry, you probably already have most of these lying around:
* Celery Stalk Base: This is the most important part! Choose a healthy-looking base with about 2-3 inches of stalk attached. Make sure it’s firm and not mushy.
* Shallow Dish or Bowl: Something to hold water and the celery base.
* Water: Tap water is perfectly fine.
* Potting Soil: A good quality potting mix will give your celery the nutrients it needs.
* Pot with Drainage Holes: Choose a pot that’s at least 6 inches in diameter to give the celery roots plenty of room to grow.
* Sunny Location: Celery loves sunshine! Find a spot that gets at least 6 hours of direct sunlight per day.
* Spray Bottle (Optional): For misting the celery leaves.
Phase 1: Regrowing Celery in Water
This is where the magic begins! We’re going to coax those roots back to life.
1. Prepare the Celery Base: Carefully cut the celery stalks about 2-3 inches from the base. You can use the stalks for cooking or snacking!
2. Place in Water: Put the celery base in your shallow dish or bowl. Add enough water to cover the bottom inch or so of the base. Be careful not to submerge the entire base, as this can cause it to rot.
3. Find a Sunny Spot: Place the dish in a sunny windowsill or another location that gets plenty of light.
4. Change the Water Regularly: This is crucial! Change the water every 1-2 days to prevent bacteria growth and keep the water fresh.
5. Observe and Wait: Within a few days, you should start to see small roots emerging from the bottom of the celery base. You might also notice new green shoots sprouting from the top. This is a sign that your celery is happy and healthy!
6. Patience is Key: Let the roots grow for about a week or two, until they are at least an inch long. The more roots, the better the chances of successful transplanting.
Phase 2: Transplanting to Soil
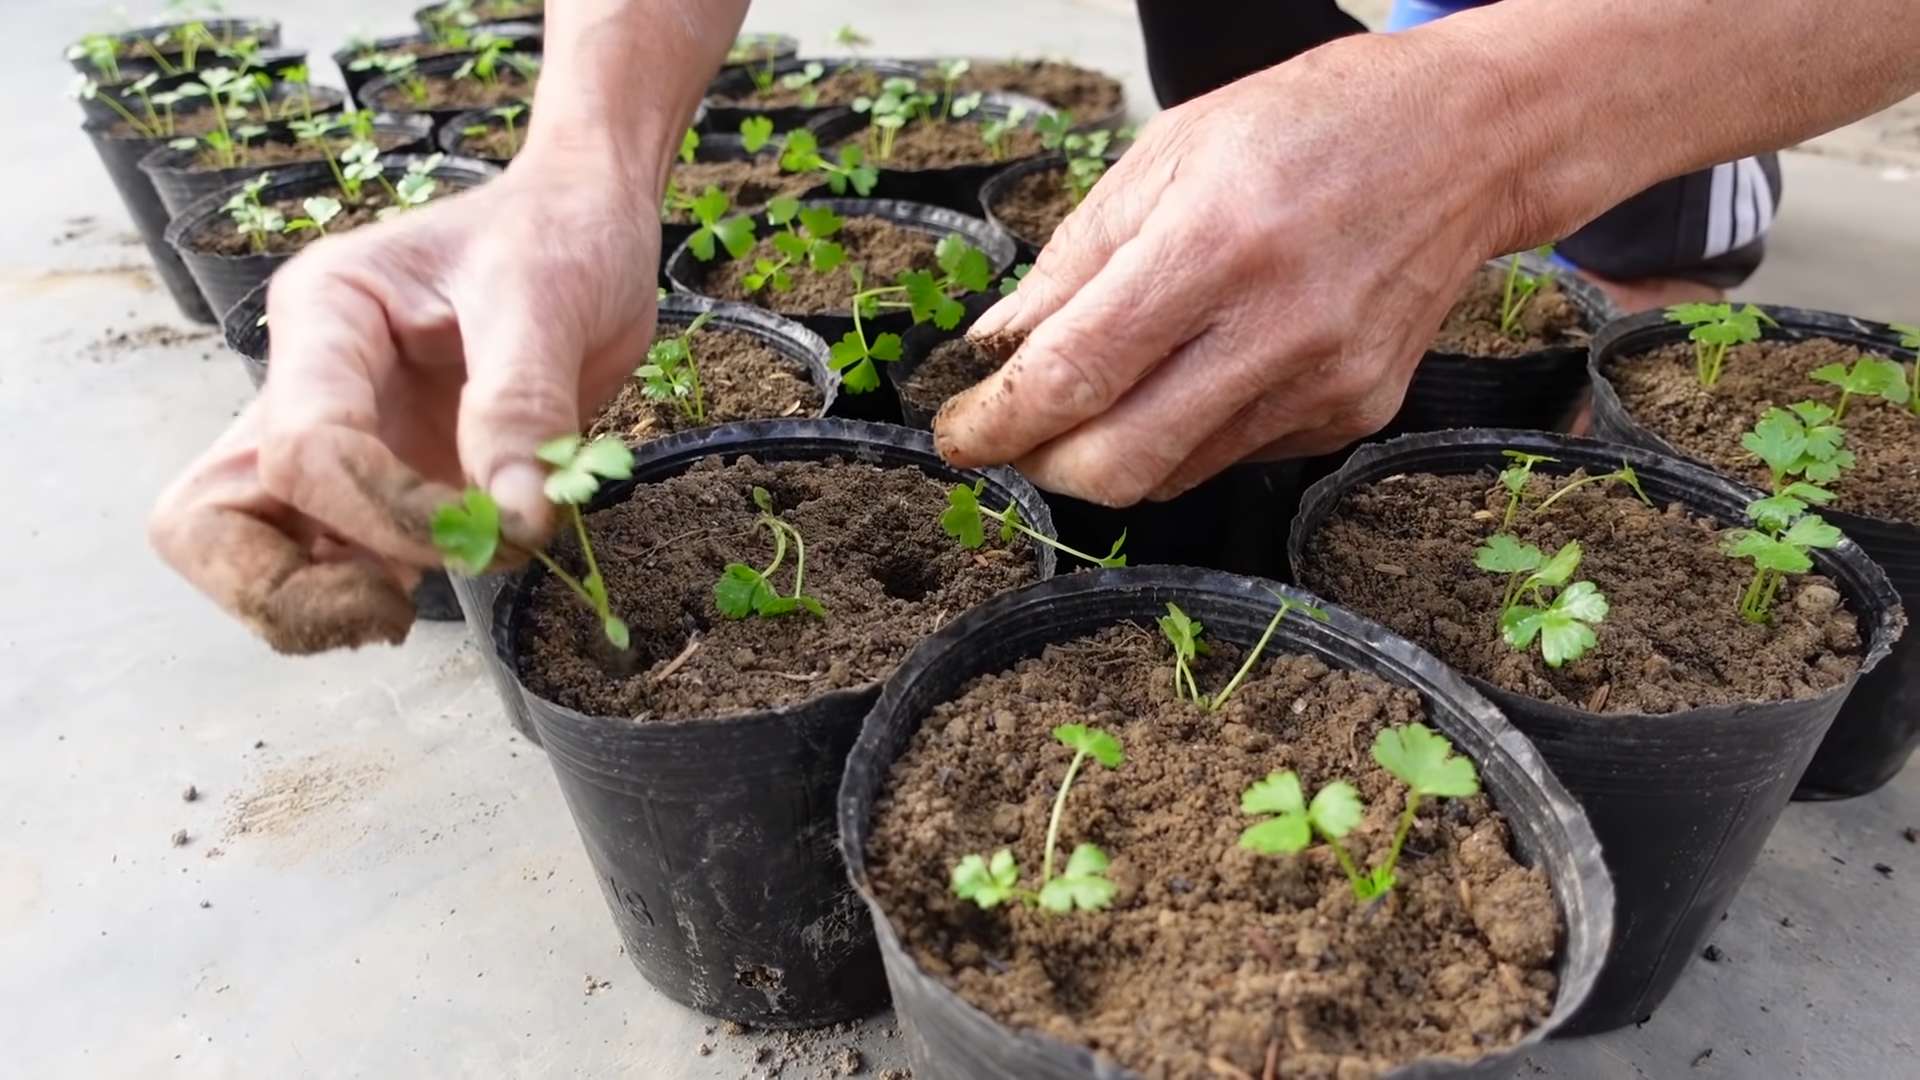
Now that our celery has established some roots, it’s time to move it to its permanent home in a pot.
1. Prepare the Pot: Fill your pot with potting soil, leaving about an inch of space at the top.
2. Make a Hole: Create a hole in the center of the soil that’s large enough to accommodate the celery base and its roots.
3. Carefully Remove from Water: Gently lift the celery base from the water, being careful not to damage the delicate roots.
4. Plant the Celery: Place the celery base in the hole, making sure the roots are spread out. Cover the roots with soil, gently pressing down to secure the plant. The top of the celery base should be just above the soil line.
5. Water Thoroughly: Water the soil until it’s evenly moist, but not soggy.
6. Return to Sunny Location: Place the pot back in your sunny location.
Phase 3: Caring for Your Regrown Celery
Now that your celery is planted, it’s important to provide it with the right care to help it thrive.
1. Watering: Celery needs consistent moisture, but it doesn’t like to be waterlogged. Water the plant whenever the top inch of soil feels dry to the touch.
2. Fertilizing: To give your celery a boost, you can fertilize it every 2-3 weeks with a balanced liquid fertilizer. Follow the instructions on the fertilizer package.
3. Misting (Optional): Celery loves humidity. You can mist the leaves with water every day or two to keep them happy.
4. Pest Control: Keep an eye out for pests like aphids or slugs. If you spot any, you can try spraying the plant with insecticidal soap or hand-picking them off.
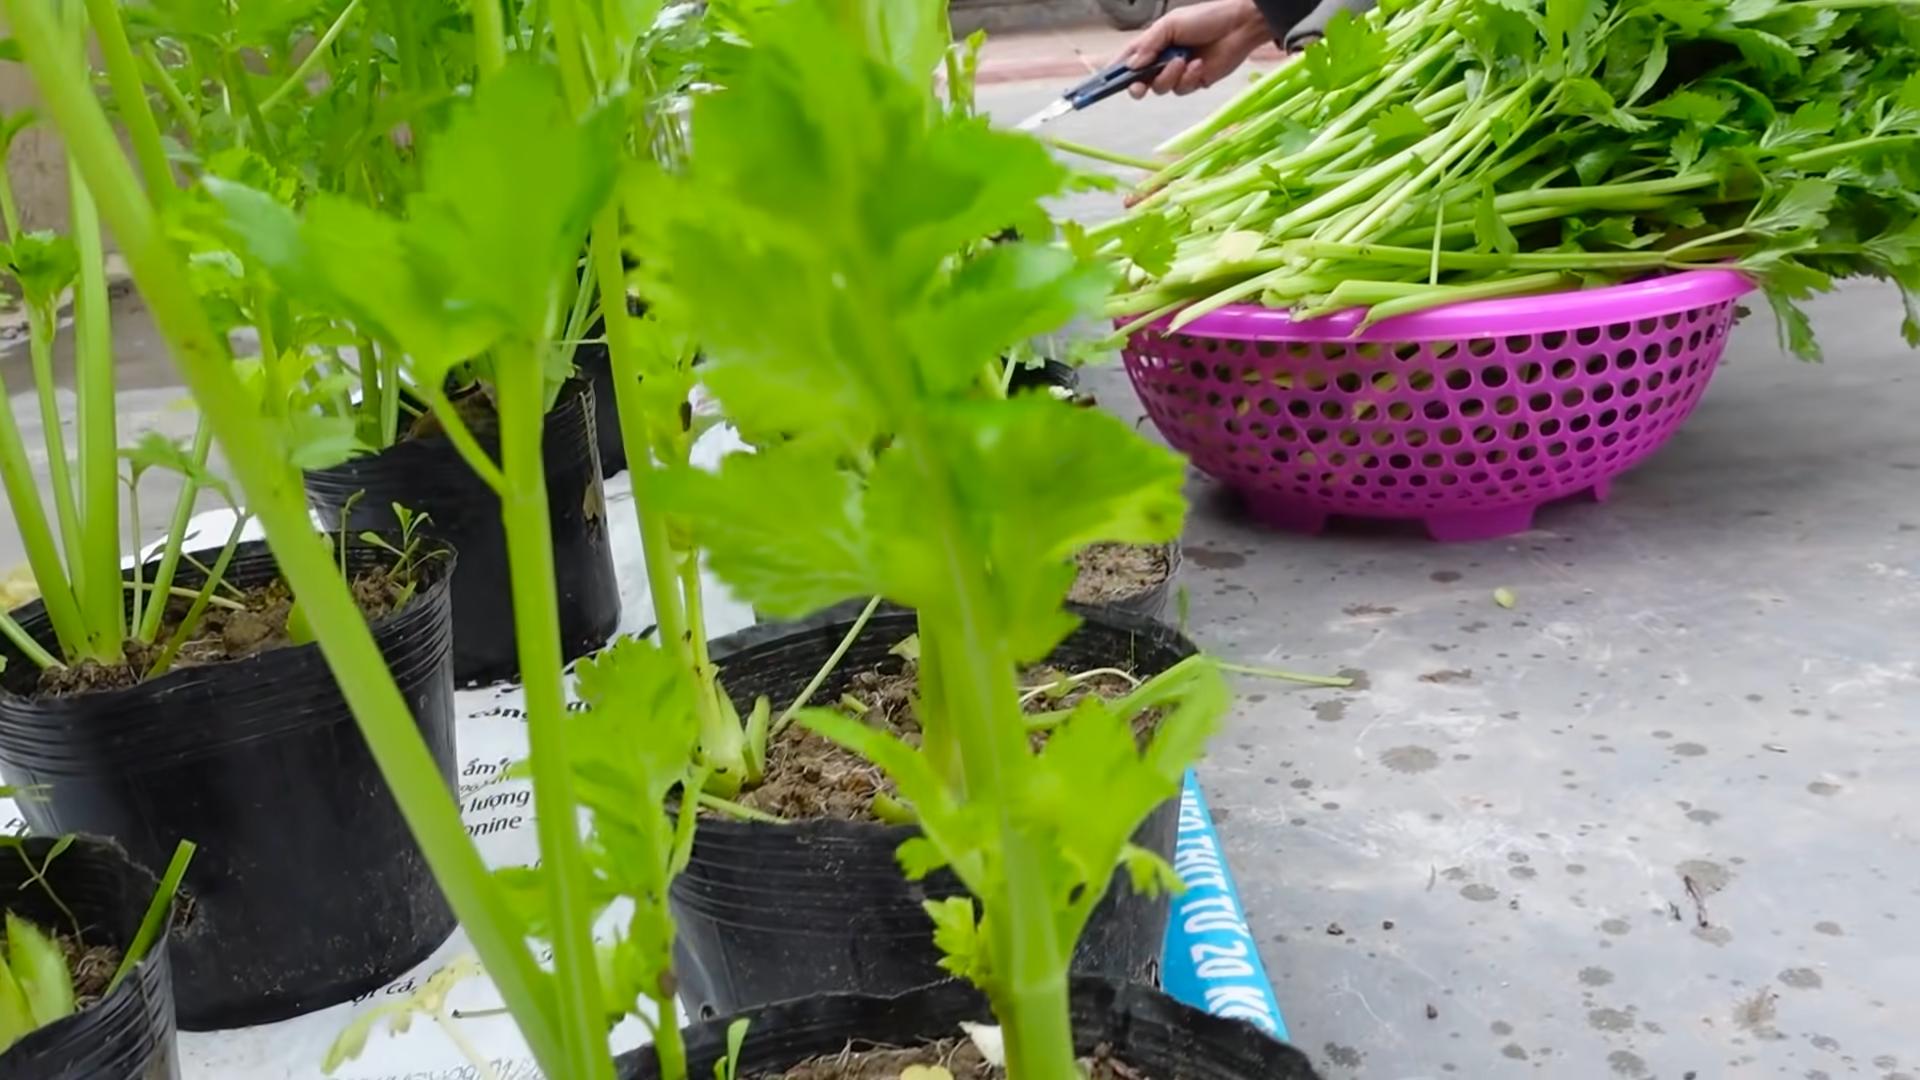
5. Harvesting: As your celery grows, you can harvest individual stalks as needed. Simply cut them off at the base of the plant. The plant will continue to produce new stalks.
6. Consider Moving Outdoors: Once the weather warms up and there’s no longer a risk of frost, you can move your celery plant outdoors to a sunny spot in your garden. Just be sure to gradually acclimate it to the outdoor conditions to avoid shocking the plant.
Troubleshooting: Common Issues and Solutions
Even with the best care, you might encounter a few challenges along the way. Here are some common issues and how to address them:
* Celery Base Rotting: This is usually caused by overwatering or not changing the water frequently enough. Make sure the water is fresh and that the celery base isn’t submerged.
* Yellowing Leaves: This could be a sign of underwatering, nutrient deficiency, or too much direct sunlight. Adjust your watering schedule, fertilize the plant, or move it to a slightly shadier location.
* Slow Growth: Celery needs plenty of sunlight and nutrients to grow. Make sure it’s getting enough light and fertilize it regularly.
* Pests: Inspect your plant regularly for pests and take action as soon as you spot them.
Tips for Success
Here are a few extra tips to help you succeed with your celery regrowing project:
* Start with a Healthy Base: The healthier the celery base, the better the chances of success.
* Use Good Quality Potting Soil: This will provide your celery with the nutrients it needs to grow.
* Don’t Overwater: Celery needs consistent moisture, but it doesn’t like to be waterlogged.
* Be Patient: Regrowing celery takes time and patience. Don’t get discouraged if you don’t see results immediately.
* Experiment: Try regrowing different varieties of celery to see which ones you like best.
Beyond the Basics: Taking Your Celery Growing to the Next Level
Once you’ve mastered the basics of regrowing celery from kitchen scraps, you can start experimenting with more advanced techniques.
* Growing from Seed: You can also grow celery from seed, although this is a bit more challenging. Start the seeds indoors 8-10 weeks before the last frost.
* Succession Planting: To ensure a continuous harvest of celery, plant new seeds or regrow new bases every few weeks.
* Companion Planting: Celery grows well with other plants like onions, garlic, and tomatoes.
* Saving Seeds: If you let your celery plant flower, you can collect the seeds and use them to grow more celery in the future.
Enjoying Your Homegrown Celery
The best part of regrowing celery is being able to enjoy the fruits (or rather, vegetables) of your labor! Here are some ways to use your homegrown celery:
* Snacking: Celery sticks are a healthy and refreshing snack.
* Salads: Add chopped celery to your favorite salads for a crunchy texture and mild flavor.
* Soups and Stews: Celery is a staple ingredient in many soups and stews.
* Juicing: Celery juice is a popular health drink.
* Stir-fries: Add chopped celery to your stir-fries for a bit of crunch.
So there you have it! Everything you need to know to regrow celery from kitchen scraps. It’s a fun, easy, and rewarding project that anyone can do. Give it a try and see for yourself! Happy gardening!
Conclusion
So, there you have it! Growing celery in your backyard isn’t just a whimsical gardening project; it’s a gateway to fresher, more flavorful meals and a deeper connection with the food you consume. This simple DIY trick transforms those often-discarded celery bases into thriving plants, offering a sustainable and rewarding experience for gardeners of all levels. Forget the limp, store-bought celery that wilts within days. Imagine crisp, vibrant stalks, bursting with flavor, ready to be harvested just steps from your kitchen.
This method is a must-try because it’s incredibly cost-effective. You’re essentially recycling food waste into a valuable resource. Plus, it’s a fantastic way to reduce your environmental footprint. Think about all the plastic packaging and transportation involved in getting celery from the farm to your table. By growing your own, you’re minimizing your contribution to that cycle.
But the benefits extend beyond mere economics and environmentalism. Homegrown celery simply tastes better. The flavor is more intense, the texture is crisper, and you have complete control over the growing process, ensuring that your celery is free from harmful pesticides and chemicals.
Don’t be afraid to experiment with different varieties of celery. There are numerous cultivars available, each with its own unique flavor profile and growth characteristics. Try growing ‘Utah Tall’ for its classic celery flavor, or ‘Golden Self-Blanching’ for a sweeter, milder taste. You can also explore different growing mediums. While starting in water is a great way to initiate root growth, consider transplanting your celery into a raised bed or container filled with a rich, well-draining soil mix for optimal growth.
Consider companion planting to further enhance your celery’s growth and deter pests. Marigolds, onions, and garlic are all excellent companions for celery, helping to repel insects and improve soil health. You can also use row covers to protect your young celery plants from frost and pests.
And remember, growing celery is a journey, not a destination. Don’t be discouraged if your first attempt isn’t perfect. Learn from your mistakes, adjust your approach, and keep experimenting. The satisfaction of harvesting your own homegrown celery is well worth the effort.
We wholeheartedly encourage you to give this DIY trick a try. It’s a fun, rewarding, and sustainable way to enjoy fresh, flavorful celery. Once you’ve experienced the joy of growing your own, you’ll never look at a celery stalk the same way again.
We’d love to hear about your experiences! Share your photos, tips, and stories in the comments below. Let’s build a community of backyard celery growers and inspire others to embrace the joys of homegrown food. Let us know what challenges you faced and what worked best for you. Your insights can help others succeed in their own celery-growing adventures. So, grab a celery base, a glass of water, and get ready to embark on a rewarding gardening journey! This simple method for growing celery in your backyard is waiting for you.
Frequently Asked Questions (FAQ)
What kind of celery works best for this DIY trick?
Any commercially available celery stalk will work, as long as the base is intact and healthy. Look for celery with a firm, unblemished base that shows no signs of rot or decay. Organic celery is a great option if you want to avoid pesticides. The variety of celery doesn’t matter much at this stage, as you’re primarily focusing on root development. Once you transplant the celery into soil, you can then consider the specific variety and its growing requirements.
How long does it take for the celery to start growing roots?
You should start to see root growth within 5-7 days. Be patient and ensure the celery base is consistently submerged in water. Change the water every 1-2 days to prevent bacterial growth and keep the water fresh. The roots will initially be small and thin, but they will gradually thicken and lengthen over time. Once the roots are about 2-3 inches long, you can transplant the celery into soil.
What kind of soil is best for growing celery?
Celery thrives in rich, well-draining soil that is high in organic matter. A mixture of compost, potting soil, and perlite is ideal. The soil should be slightly acidic, with a pH between 6.0 and 6.8. Before planting, amend the soil with compost or other organic matter to improve its fertility and drainage. Celery is a heavy feeder, so it’s important to provide it with plenty of nutrients.
How much sunlight does celery need?
Celery needs at least 6 hours of sunlight per day to thrive. Choose a location in your backyard that receives full sun. If you live in a hot climate, provide some afternoon shade to prevent the celery from bolting (going to seed prematurely). Celery can also be grown indoors under grow lights, but you’ll need to provide sufficient light intensity and duration to ensure healthy growth.
How often should I water my celery plants?
Celery needs consistent moisture to thrive. Water your celery plants deeply and regularly, especially during hot, dry weather. The soil should be kept consistently moist, but not waterlogged. Check the soil moisture regularly and water when the top inch of soil feels dry to the touch. Mulching around the plants can help to retain moisture and suppress weeds.
What are some common pests and diseases that affect celery?
Celery can be susceptible to a variety of pests and diseases, including aphids, celery leaf tiers, and fungal diseases like early blight and late blight. Regularly inspect your plants for signs of pests or diseases. If you spot any problems, take action immediately to prevent them from spreading. Organic pest control methods, such as insecticidal soap and neem oil, can be effective against aphids and other pests. Fungicides can be used to control fungal diseases, but it’s important to choose a fungicide that is specifically labeled for use on celery.
Can I grow celery in a container?
Yes, celery can be successfully grown in containers. Choose a container that is at least 12 inches deep and wide to provide enough room for the roots to grow. Use a well-draining potting mix and water regularly. Container-grown celery may need to be fertilized more frequently than celery grown in the ground, as nutrients can leach out of the soil more quickly.
How do I harvest celery?
You can harvest celery when the stalks are at least 6-8 inches long. Cut the stalks at the base of the plant with a sharp knife. You can harvest individual stalks as needed, or you can harvest the entire plant at once. After harvesting, store the celery in the refrigerator to keep it fresh.
Can I regrow celery from the base multiple times?
While you can regrow celery from the base multiple times, the subsequent harvests may be smaller and less vigorous than the first. The plant will gradually deplete its energy reserves, so it’s important to provide it with plenty of nutrients and water to support continued growth. Eventually, the plant will stop producing new stalks, and you’ll need to start with a fresh celery base.
What are some creative ways to use homegrown celery?
Homegrown celery can be used in a variety of dishes, including soups, stews, salads, and stir-fries. It can also be juiced or used as a crudité for dipping. The leaves of the celery plant are also edible and can be used to add flavor to salads and other dishes. Get creative and experiment with different ways to use your homegrown celery! You can even pickle it for a tangy and refreshing snack.

Leave a Comment