
Fruit vinegar rinse: Ever feel like your hair is just… blah? Dull, lifeless, and weighed down, no matter what you do? I know the feeling! We spend so much time and money on shampoos, conditioners, and styling products, but sometimes, the answer to our hair woes is simpler (and cheaper!) than we think.
For centuries, people have turned to natural remedies for beauty and wellness. Think about it – our grandmothers probably didn’t have access to fancy salon treatments, but they had gorgeous hair! Often, their secret weapon was a simple vinegar rinse. While apple cider vinegar is the most well-known, I’m here to tell you about the magic of a fruit vinegar rinse. This isn’t just some trendy TikTok hack; it’s a time-tested method for boosting shine, clarifying your scalp, and balancing your hair’s pH.
Why do you need this DIY trick? Because a fruit vinegar rinse can be a game-changer for anyone struggling with product buildup, oily scalp, or lackluster locks. It gently removes residue, leaving your hair feeling clean, light, and incredibly shiny. Plus, it’s a fantastic way to incorporate natural ingredients into your hair care routine and ditch those harsh chemicals. Ready to unlock the secret to healthier, happier hair? Let’s dive in!
DIY Fruit Vinegar Rinse for Gorgeous Hair
Okay, friends, let’s talk hair! Are you tired of dull, lifeless locks? Do you crave that salon-worthy shine without the salon price tag? Well, I’ve got just the thing for you: a DIY fruit vinegar rinse! Trust me, this simple concoction can work wonders, leaving your hair softer, shinier, and healthier than ever before. Plus, it’s super easy and customizable to your specific hair needs. Let’s dive in!
Why Fruit Vinegar?
You might be thinking, “Vinegar? On my hair?!” I get it. But hear me out! Vinegar, especially fruit vinegar like apple cider vinegar (ACV) or raspberry vinegar, has some amazing benefits for your hair:
* Balances pH: Our hair and scalp thrive in a slightly acidic environment. Shampoos and other products can often disrupt this balance, leading to dryness, frizz, and even dandruff. Vinegar helps restore the natural pH, smoothing the hair cuticle and reducing frizz.
* Removes Buildup: Say goodbye to product buildup! Vinegar gently removes residue from shampoos, conditioners, styling products, and even hard water, leaving your hair feeling clean and refreshed.
* Adds Shine: By smoothing the hair cuticle, vinegar allows light to reflect more evenly, resulting in incredible shine.
* Detangles: The acidity of vinegar helps to loosen knots and tangles, making your hair easier to comb and manage.
* Fights Dandruff: Vinegar has antifungal and antibacterial properties that can help combat dandruff and other scalp issues.
* Promotes Hair Growth: A healthy scalp is essential for hair growth. By improving scalp health and circulation, vinegar can indirectly promote hair growth.
Choosing Your Fruit Vinegar
While apple cider vinegar (ACV) is the most popular choice, you can experiment with other fruit vinegars to find what works best for your hair. Here’s a quick guide:
* Apple Cider Vinegar (ACV): A classic choice for all hair types. It’s readily available, affordable, and packed with beneficial enzymes and nutrients.
* Raspberry Vinegar: Adds a lovely scent and is particularly good for dry or damaged hair. It’s known for its moisturizing properties.
* Strawberry Vinegar: Another great option for dry hair, offering a sweet scent and gentle cleansing action.
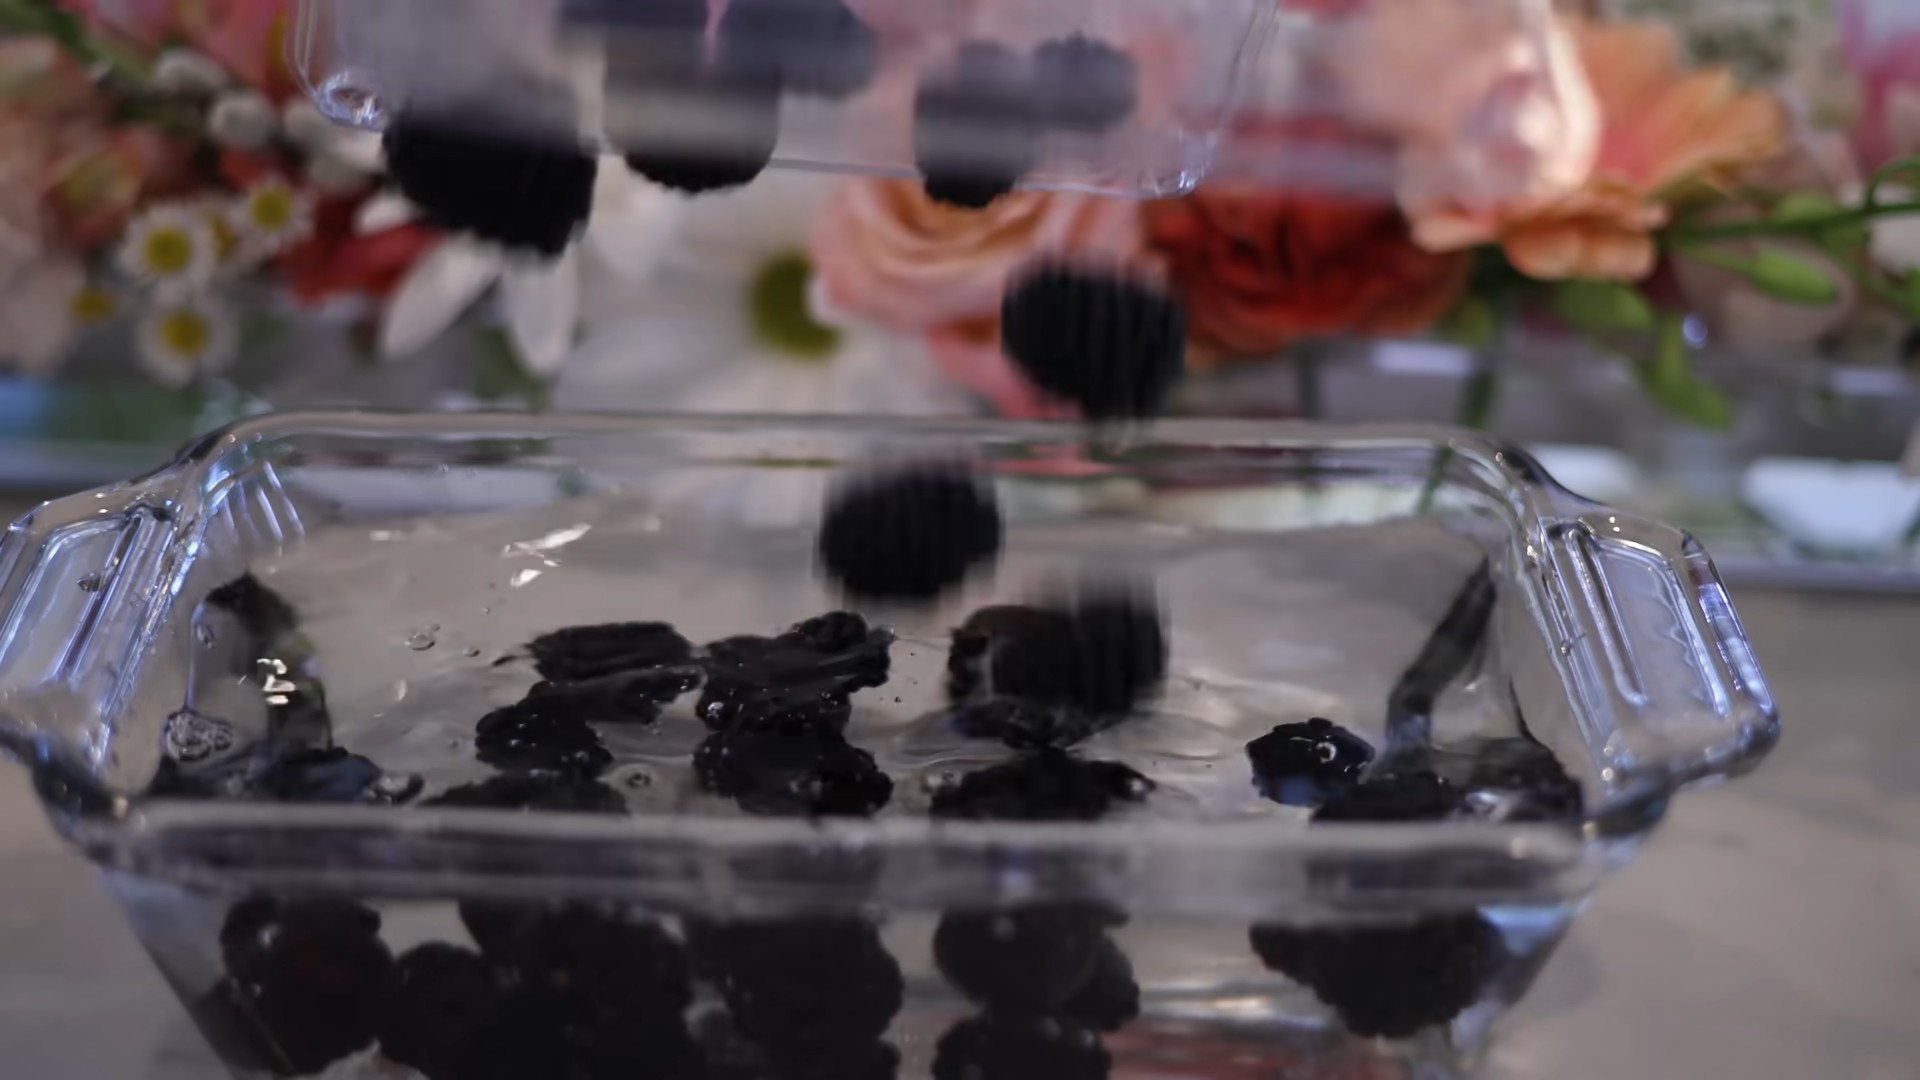
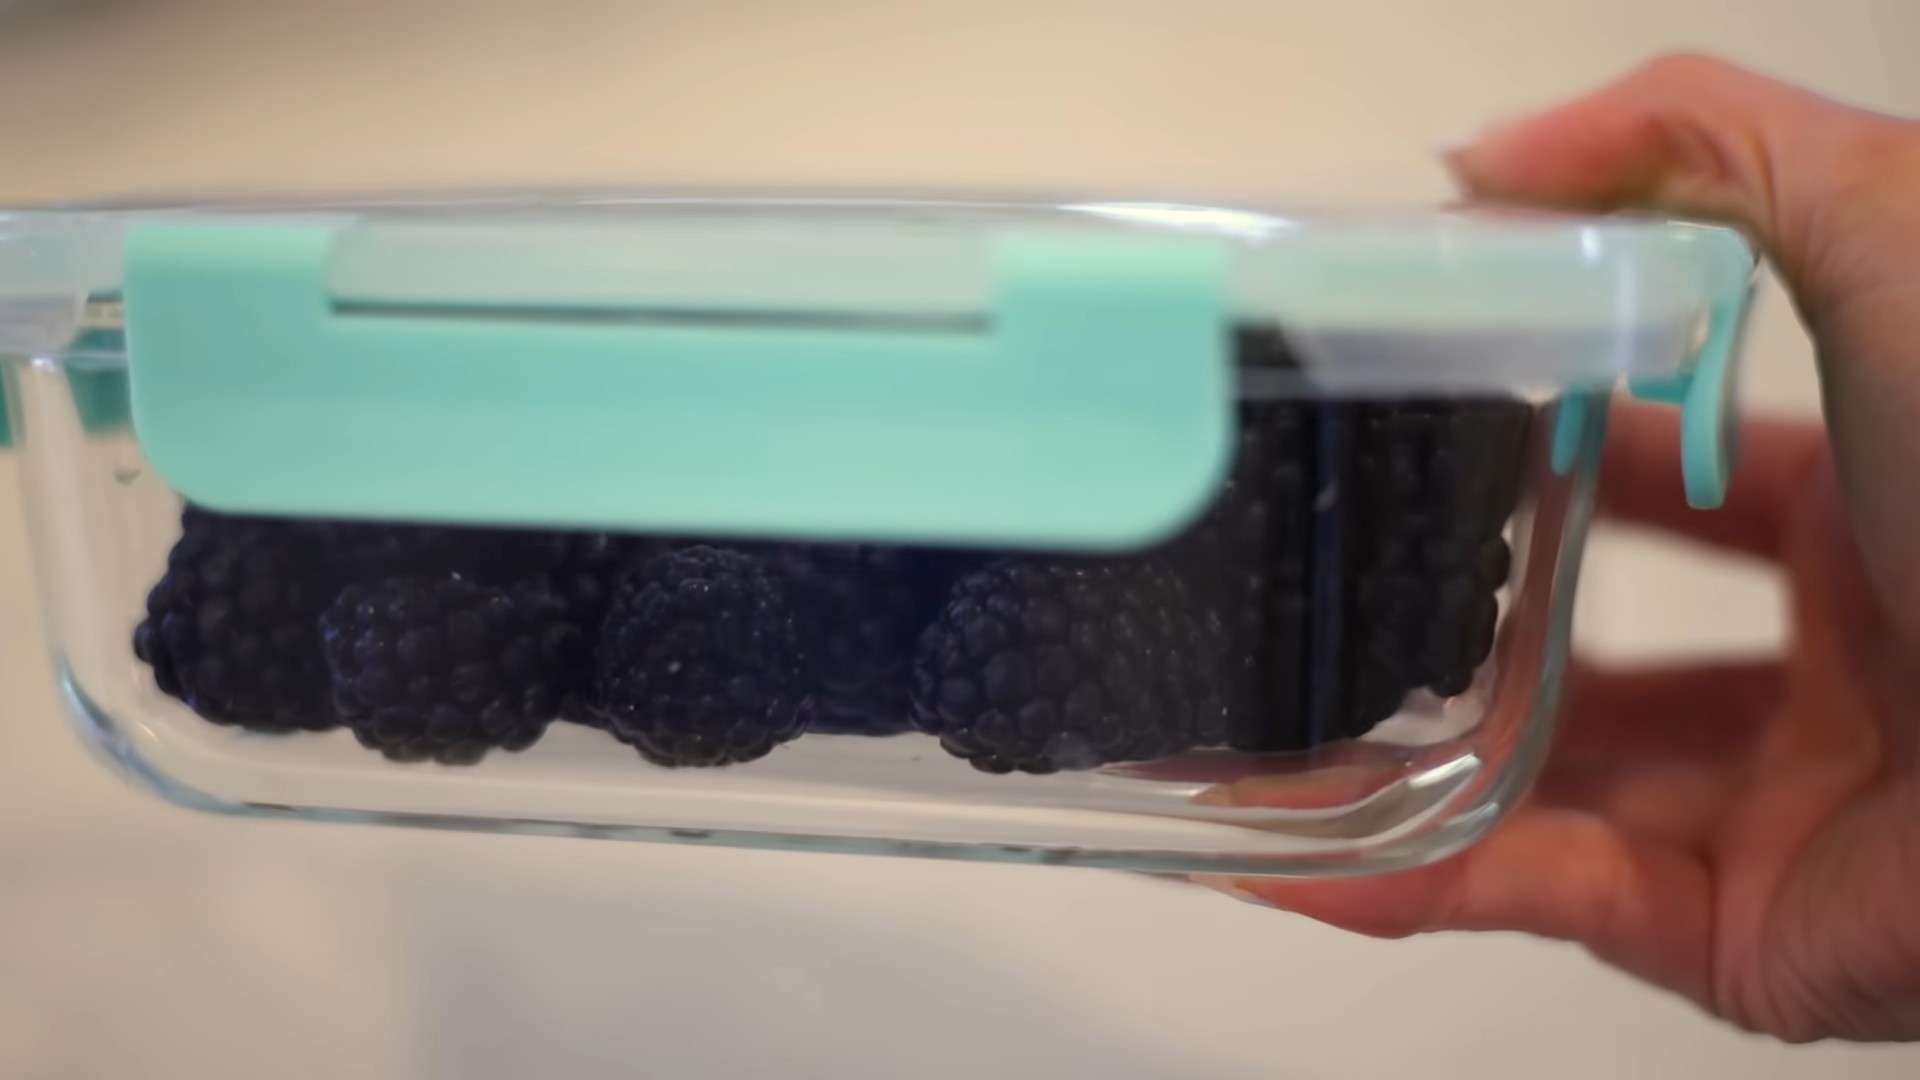
* Blackberry Vinegar: Can help to darken hair slightly over time, making it a good choice for brunettes.
* White Wine Vinegar: While not technically a “fruit” vinegar, it’s a good alternative if you don’t have any fruit vinegar on hand. Just be sure to dilute it well, as it can be more acidic than fruit vinegars.
Important Note: Always use *unfiltered* and *unpasteurized* fruit vinegar, especially ACV, for the best results. This type of vinegar contains “the mother,” a cloudy sediment filled with beneficial enzymes and probiotics.
Gather Your Supplies
Before we get started, let’s make sure you have everything you need:
* Your chosen fruit vinegar (ACV, raspberry, etc.)
* Water (distilled or filtered is best)
* A measuring cup or spoons
* A spray bottle or applicator bottle (optional, but helpful for even distribution)
* Essential oils (optional, for added scent and benefits)
* A towel to protect your clothes
Step-by-Step Instructions: Making and Using Your Fruit Vinegar Rinse
Alright, let’s get down to business! Here’s how to make and use your DIY fruit vinegar rinse:
1. Determine Your Dilution Ratio: This is the most important step! You don’t want to use undiluted vinegar on your hair, as it can be too acidic and potentially damaging. The ideal dilution ratio depends on your hair type and the type of vinegar you’re using. Here’s a general guideline:
* Normal to Oily Hair: 1 tablespoon of vinegar per 1 cup of water.
* Dry or Damaged Hair: 1/2 tablespoon of vinegar per 1 cup of water.
* Sensitive Scalp: Start with an even weaker solution, like 1/4 tablespoon of vinegar per 1 cup of water.
I always recommend starting with a weaker solution and gradually increasing the concentration if needed. You can always add more vinegar, but you can’t take it away!
2. Mix the Vinegar and Water: In a measuring cup or bowl, combine the fruit vinegar and water according to your chosen dilution ratio. Stir well to ensure the vinegar is evenly distributed.
3. Add Essential Oils (Optional): If you want to add a pleasant scent and boost the benefits of your rinse, now’s the time to add a few drops of your favorite essential oils. Here are some suggestions:
* Lavender: Soothing, calming, and promotes hair growth.
* Rosemary: Stimulates hair growth and improves circulation.
* Tea Tree: Antifungal and antibacterial, great for dandruff and scalp issues.
* Peppermint: Invigorating and refreshing, can help with itchy scalp.
* Lemon: Adds shine and helps to remove buildup.
I usually add about 5-10 drops of essential oil per cup of rinse. Be sure to use high-quality, pure essential oils and do a patch test before applying them to your scalp.
4. Transfer to a Spray Bottle or Applicator Bottle (Optional): This step is optional, but I find it makes the application process much easier and more even. Pour the vinegar rinse into a spray bottle or applicator bottle. If you don’t have one, you can simply use a cup or bowl to pour the rinse over your hair.
5. Wash Your Hair as Usual: Shampoo and condition your hair as you normally would. Rinse thoroughly to remove all traces of shampoo and conditioner.
6. Apply the Fruit Vinegar Rinse: This is where the magic happens! With your hair still wet, slowly pour or spray the vinegar rinse over your hair, making sure to saturate your scalp and strands. If you’re using a cup or bowl, tilt your head back and pour the rinse over your hair, working from the roots to the ends.
7. Massage Your Scalp: Gently massage your scalp for a minute or two to stimulate circulation and help the vinegar penetrate the hair follicles. This also feels amazing!
8. Let It Sit (Optional): For a deeper treatment, you can let the vinegar rinse sit on your hair for a few minutes (up to 5 minutes). This allows the vinegar to work its magic and remove even more buildup. However, if you have a sensitive scalp, you may want to skip this step or reduce the sitting time.
9. Rinse Thoroughly: Rinse your hair thoroughly with cool water. This will help to seal the hair cuticle and enhance shine. Don’t worry about the vinegar smell – it will dissipate as your hair dries.
10. Condition (Optional): While the vinegar rinse acts as a natural conditioner, you can follow up with a light conditioner if you feel your hair needs extra moisture.
11. Dry and Style as Usual: Towel dry your hair gently and style as you normally would. You should notice that your hair feels softer, smoother, and shinier than before!
Troubleshooting and Tips
* Vinegar Smell: Don’t worry about the vinegar smell! It will disappear as your hair dries. If you’re still concerned, you can add a few drops of your favorite essential oil to the rinse.
* Dry Hair: If you have dry hair, be sure to use a weaker dilution ratio and avoid leaving the rinse on for too long. You can also follow up with a moisturizing conditioner or hair mask.
* Oily Hair: If you have oily hair, you can use a slightly stronger dilution ratio and leave the rinse on for a few minutes to help remove excess oil.
* Sensitive Scalp: If you have a sensitive scalp, start with a very weak dilution ratio and do a patch test before applying the rinse to your entire head. If you experience any irritation, discontinue use.
* Frequency: How often you use a fruit vinegar rinse depends on your hair type and needs. I usually use it once or twice a week. If you have oily hair, you may want to use it more frequently. If you have dry hair, you may want to use it less frequently.
* Experiment: Don’t be afraid to experiment with different types of fruit vinegar and essential oils to find what works best for your hair.
* Listen to Your Hair: Pay attention to how your hair responds to the vinegar rinse and adjust the dilution ratio and frequency accordingly.
Benefits I’ve Seen
I’ve been using fruit vinegar rinses for years, and I’ve seen some amazing benefits:
* Increased Shine: My hair is noticeably shinier and more vibrant.
* Reduced Frizz: My hair is much smoother and less frizzy, especially in humid
Conclusion
So, there you have it! This simple yet transformative fruit vinegar rinse is more than just a DIY hair treatment; it’s a gateway to healthier, shinier, and more manageable hair. We’ve explored the science behind why it works, the ease with which you can customize it to your specific hair needs, and the incredible benefits it offers compared to harsh chemical alternatives.
Why is this a must-try? Because it’s a natural, affordable, and effective way to revitalize your hair. Commercial hair products often contain sulfates, silicones, and parabens that can strip your hair of its natural oils, leading to dryness, breakage, and scalp irritation. A fruit vinegar rinse, on the other hand, gently clarifies your hair, removing buildup without compromising its natural moisture balance. The acidity of the vinegar helps to smooth the hair cuticle, resulting in increased shine and reduced frizz. Plus, the fruit infusion adds a delightful fragrance and provides additional nutrients that nourish your hair from root to tip.
Think of it as a reset button for your hair. After weeks or months of using conventional shampoos and conditioners, your hair can become weighed down and dull. This rinse gently lifts away all that residue, allowing your hair to breathe and regain its natural bounce.
Variations and Suggestions:
The beauty of this DIY trick lies in its versatility. Feel free to experiment with different fruits to find the perfect blend for your hair type and desired results.
* **For dry hair:** Consider using fruits like avocado, banana, or mango, which are rich in moisturizing oils and vitamins. You can even add a tablespoon of honey to the rinse for extra hydration.
* **For oily hair:** Opt for citrus fruits like lemon, lime, or grapefruit, which have astringent properties that help to control excess oil production.
* **For color-treated hair:** Berries like raspberries, blueberries, and cranberries are packed with antioxidants that can help to protect your hair color from fading.
* **For dandruff:** Apple cider vinegar is a great base, and you can add a few drops of tea tree oil for its antifungal properties.
Don’t be afraid to get creative! You can also add herbs like rosemary, lavender, or chamomile to your fruit vinegar rinse for added benefits and fragrance. Remember to always dilute the vinegar properly to avoid irritation. Start with a weaker concentration and gradually increase it as needed.
We are confident that once you experience the transformative power of a fruit vinegar rinse, you’ll never go back to harsh chemical-laden products. It’s a simple, sustainable, and effective way to achieve healthy, beautiful hair.
So, what are you waiting for? Gather your favorite fruits, grab a bottle of vinegar, and get ready to experience the magic of this DIY hair treatment. We encourage you to try this **fruit vinegar rinse** and share your experience with us! Let us know what fruits you used, what results you achieved, and any tips or tricks you discovered along the way. Your feedback will help us to refine this recipe and make it even better for everyone. Share your photos and stories on social media using #FruitVinegarRinseDIY and let’s create a community of healthy hair enthusiasts! We can’t wait to hear from you!
Frequently Asked Questions (FAQ)
What type of vinegar should I use?
Apple cider vinegar (ACV) is generally recommended for hair rinses due to its lower pH level and beneficial enzymes. However, you can also use white vinegar, but be sure to dilute it more than ACV as it is more acidic. Avoid using balsamic vinegar or other flavored vinegars, as they may contain sugars or additives that can leave your hair sticky.
How much vinegar should I use?
The ideal concentration depends on your hair type and sensitivity. A good starting point is 1-2 tablespoons of vinegar per cup of water. If you have dry or sensitive hair, start with 1 tablespoon. If you have oily hair, you can use up to 3 tablespoons. Always dilute the vinegar properly to avoid irritation.
How often should I use a fruit vinegar rinse?
The frequency of use depends on your hair type and needs. Generally, once or twice a week is sufficient. If you have oily hair, you may use it more frequently. If you have dry hair, you may only need to use it once every two weeks. Pay attention to how your hair responds and adjust the frequency accordingly.
Will my hair smell like vinegar?
Yes, there will be a slight vinegar smell initially, but it will dissipate as your hair dries. The fruit infusion will also help to mask the vinegar scent. If you’re concerned about the smell, you can add a few drops of essential oil to the rinse.
Can I use this rinse on color-treated hair?
Yes, a fruit vinegar rinse can be beneficial for color-treated hair. The acidity of the vinegar helps to seal the hair cuticle, which can prevent color from fading. However, it’s important to use a diluted solution and avoid using it too frequently, as excessive use can potentially strip the color. Berries are a great addition to the rinse for color-treated hair.
Can I use this rinse if I have a sensitive scalp?
If you have a sensitive scalp, it’s important to dilute the vinegar properly and start with a weaker concentration. You can also add soothing ingredients like aloe vera juice or chamomile tea to the rinse. If you experience any irritation, discontinue use immediately.
How long should I leave the rinse on my hair?
Leave the rinse on your hair for 1-3 minutes. Gently massage it into your scalp and hair, then rinse thoroughly with cool water.
Do I still need to use shampoo and conditioner?
A fruit vinegar rinse can be used as a replacement for shampoo and conditioner, or as a supplement to your regular hair care routine. If you’re trying to reduce your reliance on conventional shampoos, you can use the rinse as a co-wash (conditioner-only wash). If you prefer to use shampoo, you can use the rinse as a final rinse after shampooing and conditioning.
Can I use this rinse on all hair types?
Yes, a fruit vinegar rinse can be used on all hair types. However, it’s important to adjust the concentration and frequency of use based on your specific hair needs.
What are the benefits of using a fruit vinegar rinse?
The benefits of using a fruit vinegar rinse include:
* Clarifying the hair and removing buildup
* Balancing the pH of the scalp
* Smoothing the hair cuticle and reducing frizz
* Adding shine and volume
* Promoting hair growth
* Soothing scalp irritation
* Protecting hair color
* Providing nutrients to the hair and scalp
Can I store the leftover fruit vinegar rinse?
Yes, you can store the leftover fruit vinegar rinse in a sealed container in the refrigerator for up to a week. However, it’s best to use it fresh for optimal results.
What fruits are best to use for a fruit vinegar rinse?
The best fruits to use depend on your hair type and desired results. Some popular choices include:
* **Apple:** Adds shine and balances pH.
* **Lemon:** Controls oil and clarifies.
* **Strawberry:** Adds shine and protects color.
* **Raspberry:** Rich in antioxidants and protects color.
* **Banana:** Moisturizes and softens.
* **Avocado:** Deeply moisturizes and nourishes.
Can I add essential oils to the fruit vinegar rinse?
Yes, you can add a few drops of essential oil to the fruit vinegar rinse for added benefits and fragrance. Some popular choices include:
* **Lavender:** Soothes the scalp and promotes relaxation.
* **Rosemary:** Stimulates hair growth and improves circulation.
* **Tea tree:** Antifungal and antibacterial properties.
* **Peppermint:** Invigorates the scalp and promotes hair growth.
Remember to always dilute essential oils properly before applying them to your hair and scalp.


Leave a Comment