
Fresh Herbs at Home – imagine stepping outside your door and snipping fragrant basil for your pasta, or plucking mint leaves for a refreshing summer cocktail. Sounds idyllic, right? Well, it’s totally achievable, even if you don’t have a sprawling garden! For centuries, cultivating herbs has been a cornerstone of cultures worldwide, from ancient Egyptians using them for medicinal purposes to medieval monks tending herb gardens for culinary and healing remedies.
But let’s be honest, the thought of starting a garden, even a small one, can feel overwhelming. Where do you even begin? That’s where this DIY guide comes in! I’m going to share some super simple, beginner-friendly tricks and hacks that will have you growing fresh herbs at home in no time.
In today’s world, where convenience often trumps quality, having access to fresh, homegrown herbs is more important than ever. Not only do they elevate your cooking to a whole new level, bursting with flavor and aroma that dried herbs simply can’t match, but they also offer a fantastic way to connect with nature and reduce your reliance on store-bought produce. Plus, knowing exactly where your food comes from is incredibly empowering. So, ditch the wilted supermarket herbs and let’s get our hands dirty! I promise, with these easy DIY tips, you’ll be enjoying the taste of homegrown goodness in no time.
Frische Kräuter zu Hause ziehen: Mein DIY-Garten für die Fensterbank
Ich liebe frische Kräuter! Der Duft, der Geschmack – einfach unschlagbar. Aber ständig zum Supermarkt rennen, wenn ich nur ein paar Blättchen brauche? Das war mir zu blöd. Also habe ich beschlossen, meinen eigenen kleinen Kräutergarten auf der Fensterbank zu starten. Und ich kann dir sagen, es ist einfacher als du denkst! Hier zeige ich dir, wie du das auch hinbekommst.
Was du brauchst: Die Materialliste
Bevor wir loslegen, hier eine Liste mit allem, was du brauchst. Keine Sorge, vieles hast du wahrscheinlich schon zu Hause!
* Töpfe: Am besten eignen sich Tontöpfe mit Löchern im Boden. Die Größe hängt davon ab, welche Kräuter du pflanzen möchtest. Für Basilikum, Petersilie und Schnittlauch reichen kleinere Töpfe (ca. 10-15 cm Durchmesser). Für Rosmarin oder Thymian würde ich etwas größere Töpfe (ca. 20 cm Durchmesser) empfehlen.
* Untersetzer: Damit das Wasser nicht auf die Fensterbank läuft.
* Pflanzenerde: Spezielle Kräutererde ist ideal, da sie weniger Nährstoffe enthält als normale Blumenerde. Das fördert das Aroma der Kräuter. Du kannst aber auch normale Blumenerde mit etwas Sand mischen.
* Kieselsteine oder Tonscherben: Für die Drainage am Topfboden.
* Kräutersamen oder Jungpflanzen: Je nachdem, ob du deine Kräuter selbst ziehen möchtest oder lieber gleich loslegen willst. Ich habe beides ausprobiert und beides funktioniert gut.
* Gießkanne oder Sprühflasche: Zum Bewässern der Kräuter.
* Etiketten: Damit du nicht vergisst, was du wo gepflanzt hast.
* Optional: Anzuchttöpfe, Anzuchterde, Mini-Gewächshaus (wenn du deine Kräuter selbst ziehen möchtest).
Kräuter aussäen oder Jungpflanzen einsetzen?
Das ist Geschmackssache! Das Aussäen ist etwas zeitaufwendiger, aber es macht Spaß, den Kräutern beim Wachsen zuzusehen. Jungpflanzen sind natürlich schneller einsatzbereit.
Kräuter aussäen: Schritt für Schritt
Wenn du dich für das Aussäen entscheidest, hier eine detaillierte Anleitung:
1. Vorbereitung der Anzuchttöpfe: Fülle die Anzuchttöpfe mit Anzuchterde. Drücke die Erde leicht an.
2. Aussaat der Samen: Verteile die Samen gleichmäßig auf der Erde. Achte darauf, dass du nicht zu viele Samen in einen Topf gibst. Die meisten Kräutersamen sind Lichtkeimer, das heißt, sie brauchen Licht zum Keimen. Bedecke sie also nur leicht mit Erde oder drücke sie einfach an.
3. Bewässerung: Befeuchte die Erde vorsichtig mit einer Sprühflasche. Die Erde sollte feucht, aber nicht nass sein.
4. Abdeckung: Stelle die Anzuchttöpfe in ein Mini-Gewächshaus oder decke sie mit Frischhaltefolie ab. Das sorgt für ein feuchtwarmes Klima, das die Keimung fördert.
5. Standort: Stelle das Mini-Gewächshaus oder die abgedeckten Anzuchttöpfe an einen hellen und warmen Ort. Vermeide direkte Sonneneinstrahlung.
6. Lüften: Lüfte das Mini-Gewächshaus oder die abgedeckten Anzuchttöpfe regelmäßig, um Schimmelbildung zu vermeiden.
7. Gießen: Halte die Erde feucht, aber nicht nass.
8. Pikieren: Sobald die Sämlinge groß genug sind (ca. 5-10 cm), kannst du sie pikieren. Das bedeutet, dass du sie vorsichtig aus den Anzuchttöpfen nimmst und in größere Töpfe umpflanzt. Achte darauf, die Wurzeln nicht zu beschädigen.
Jungpflanzen einsetzen: So geht’s
Wenn du dich für Jungpflanzen entscheidest, ist das Ganze noch einfacher:
1. Vorbereitung der Töpfe: Lege eine Schicht Kieselsteine oder Tonscherben auf den Boden der Töpfe. Das sorgt für eine gute Drainage und verhindert Staunässe.
2. Befüllen der Töpfe: Fülle die Töpfe mit Kräutererde. Lasse oben einen Rand von ca. 2-3 cm frei.
3. Einsetzen der Jungpflanzen: Nimm die Jungpflanzen vorsichtig aus ihren Töpfen. Lockere die Wurzeln etwas auf.
4. Pflanzen: Setze die Jungpflanzen in die Töpfe. Die Oberkante des Wurzelballens sollte mit der Erdoberfläche abschließen.
5. Auffüllen: Fülle die Töpfe mit Erde auf und drücke sie leicht an.
6. Bewässerung: Gieße die Pflanzen gründlich an.
Der richtige Standort: Licht, Luft und Liebe
Kräuter brauchen Licht! Stelle deine Kräutertöpfe an einen hellen Standort, am besten auf eine Fensterbank mit Südausrichtung. Wenn das nicht möglich ist, kannst du auch eine Pflanzenlampe verwenden.
Achte auch auf eine gute Belüftung. Kräuter mögen keine stickige Luft. Lüfte den Raum regelmäßig oder stelle die Kräutertöpfe an einen Ort, wo sie etwas Luftzug bekommen.
Und natürlich brauchen Kräuter Liebe! Sprich mit ihnen, drehe die Töpfe regelmäßig, damit sie gleichmäßig wachsen, und entferne regelmäßig welke Blätter.
Bewässerung: Nicht zu viel, nicht zu wenig
Die richtige Bewässerung ist entscheidend für das Gedeihen deiner Kräuter. Gieße sie regelmäßig, aber nicht zu viel. Die Erde sollte immer leicht feucht sein, aber nicht nass. Staunässe solltest du unbedingt vermeiden, da sie zu Wurzelfäule führen kann.
Am besten testest du mit dem Finger, ob die Erde trocken ist. Wenn sich die Erde trocken anfühlt, ist es Zeit zum Gießen.
Im Sommer brauchen die Kräuter mehr Wasser als im Winter. An heißen Tagen kannst du sie auch zusätzlich mit einer Sprühflasche besprühen.
Ernten: Der Lohn der Mühe
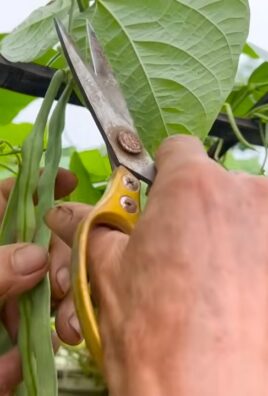
Das Ernten ist das Schönste am Kräutergarten! Du kannst die Kräuter ernten, sobald sie groß genug sind. Schneide die Stiele oder Blätter mit einer Schere ab. Achte darauf, dass du nicht zu viel auf einmal erntest, damit die Pflanze weiterwachsen kann.
Am besten erntest du die Kräuter am Morgen, wenn sie noch voller Aroma sind.
Welche Kräuter eignen sich für den Anbau auf der Fensterbank?
Nicht alle Kräuter sind gleich gut für den Anbau auf der Fensterbank geeignet. Hier eine Liste mit Kräutern, die sich besonders gut eignen:
* Basilikum: Braucht viel Sonne und Wärme.
* Petersilie: Ist relativ pflegeleicht und wächst auch im Halbschatten.
* Schnittlauch: Ist sehr robust und kann auch im Freien überwintern.
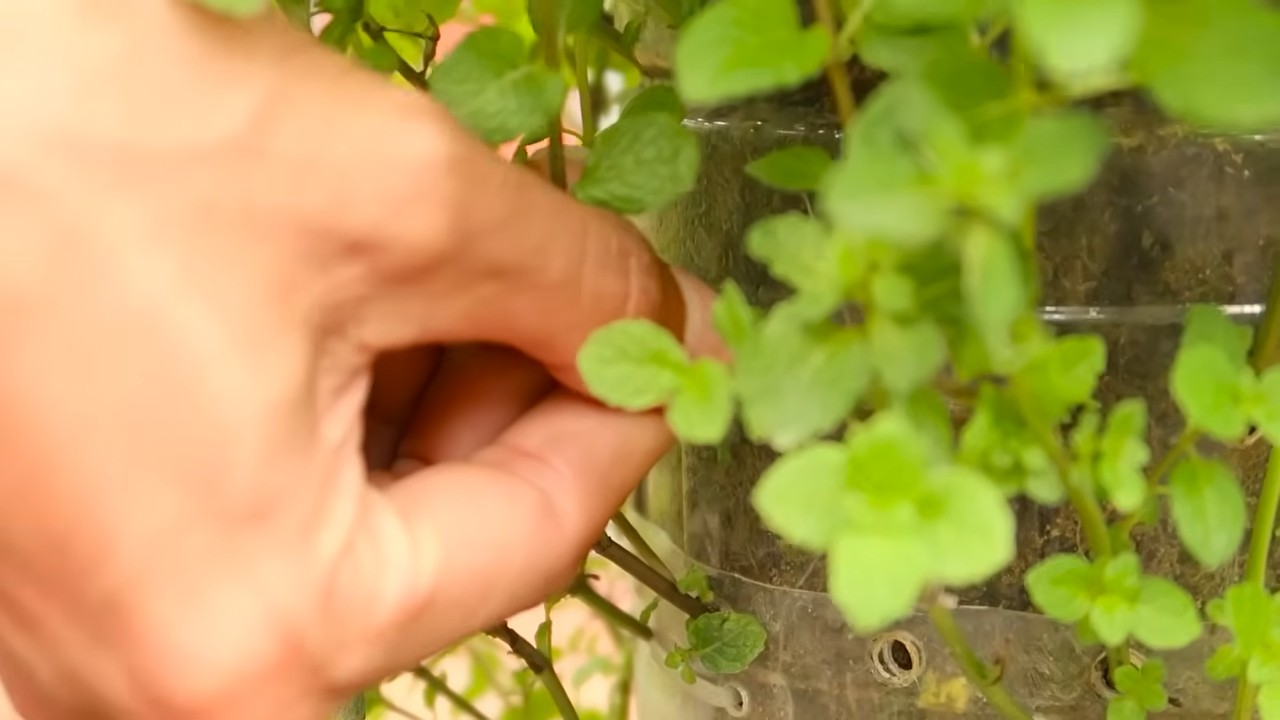
* Minze: Wächst sehr schnell und kann andere Kräuter verdrängen. Am besten in einem separaten Topf pflanzen.
* Thymian: Braucht viel Sonne und trockene Erde.
* Rosmarin: Braucht viel Sonne und trockene Erde.
* Salbei: Braucht viel Sonne und trockene Erde.
* Oregano: Braucht viel Sonne und trockene Erde.
* Koriander: Braucht viel Sonne und feuchte Erde.
Häufige Probleme und Lösungen
Auch beim Kräutergarten auf der Fensterbank können Probleme auftreten. Hier einige häufige Probleme und Lösungen:
* Gelbe Blätter: Können ein Zeichen für zu viel oder zu wenig Wasser sein. Überprüfe die Feuchtigkeit der Erde und passe die Bewässerung entsprechend an.
* Schädlinge: Blattläuse, Spinnmilben oder Weiße Fliegen können deine Kräuter befallen. Besprühe die Pflanzen mit einer Lösung aus Wasser und Schmierseife oder verwende ein biologisches Schädlingsbekämpfungsmittel.
* Pilzkrankheiten: Können durch zu hohe Luftfeuchtigkeit entstehen. Sorge für eine gute Belüftung und entferne befallene Blätter.
* Kräuter wachsen nicht: Können ein Zeichen für zu wenig Licht
Conclusion
So, there you have it! Cultivating fresh herbs at home is not just a gardening project; it’s an investment in flavor, freshness, and a more sustainable lifestyle. We’ve explored a simple yet effective DIY trick that transforms your kitchen windowsill, balcony, or even a small corner of your garden into a thriving herb haven. Forget those wilted, overpriced bunches from the supermarket – imagine stepping outside your door and snipping fragrant basil for your pasta, refreshing mint for your tea, or zesty cilantro for your tacos, all grown with your own two hands.
This DIY approach to fresh herbs at home is a must-try for several compelling reasons. First and foremost, it puts you in control of the quality and origin of your herbs. You know exactly what goes into your plants – no mystery pesticides or questionable growing practices. Secondly, it’s incredibly cost-effective. A packet of seeds or a few starter plants can yield a continuous supply of herbs for months, even years, far surpassing the cost of repeatedly buying them from the store. Thirdly, it’s incredibly rewarding. There’s a unique satisfaction in nurturing a plant from seed to harvest, and the vibrant colors and aromas of fresh herbs will brighten your home and your mood.
But the benefits don’t stop there. Growing your own herbs encourages you to experiment in the kitchen. Suddenly, you’re more likely to try new recipes and flavor combinations, knowing you have a readily available source of fresh ingredients. You might even find yourself gifting your homegrown herbs to friends and family, spreading the joy of fresh, flavorful food.
Looking for variations? Consider these ideas:
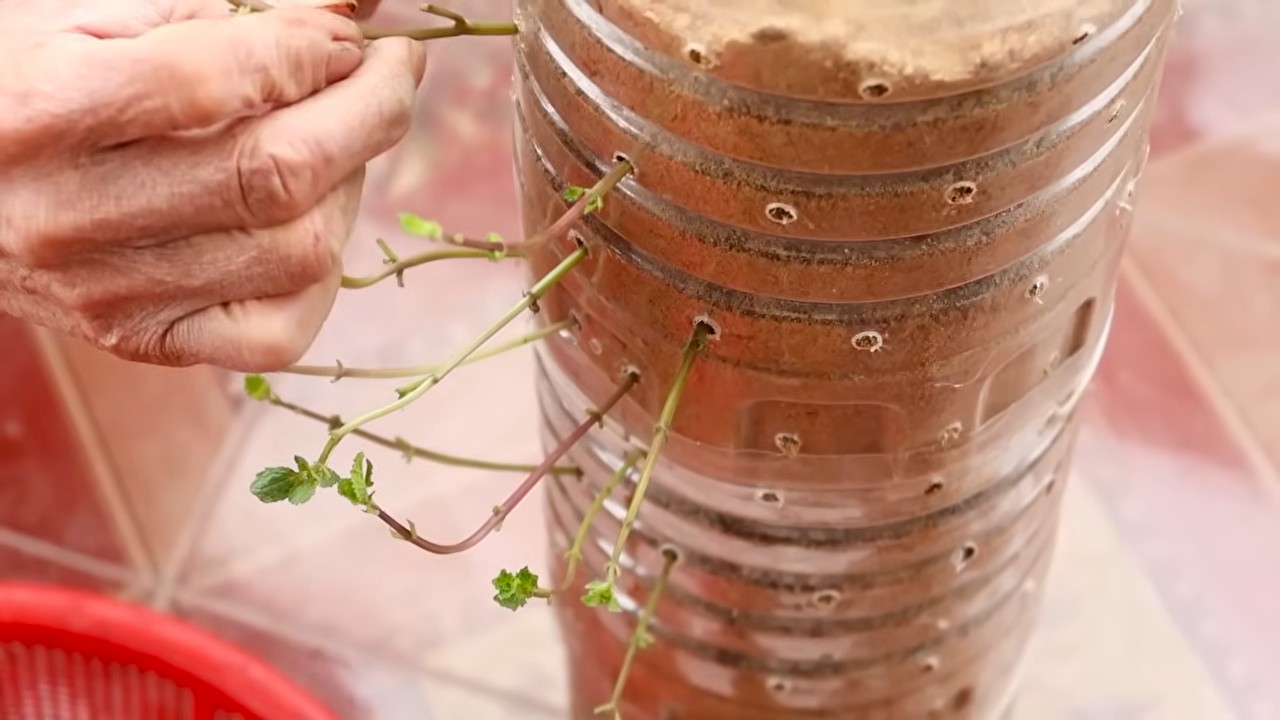
* **Vertical Herb Garden:** If you’re short on space, create a vertical herb garden using stacked planters, hanging baskets, or even repurposed pallets. This is a great way to maximize your growing area and add a touch of visual interest to your space.
* **Hydroponic Herb Garden:** For a more advanced approach, explore hydroponics. This method involves growing herbs in water without soil, using nutrient-rich solutions. It’s a great option for indoor growing and can yield impressive results.
* **Herb Garden Theme:** Create a themed herb garden based on your culinary preferences. For example, a Mediterranean herb garden might include rosemary, thyme, oregano, and sage, while a Mexican herb garden could feature cilantro, epazote, and Mexican oregano.
* Companion Planting: Research which herbs grow well together. Basil, for example, is said to improve the growth of tomatoes. Planting them together can be mutually beneficial.
We’ve provided you with the knowledge and inspiration to embark on your own herb-growing adventure. Now, it’s your turn to get your hands dirty! Don’t be afraid to experiment, make mistakes, and learn along the way. The most important thing is to start.
We are confident that you’ll find this DIY trick for growing fresh herbs at home to be a game-changer. So, grab your seeds, pots, and soil, and get ready to experience the joy of fresh, homegrown flavor.
We’d love to hear about your experiences! Share your photos, tips, and stories in the comments below. Let’s create a community of herb enthusiasts and inspire others to embrace the joys of growing their own food. Happy gardening!
Frequently Asked Questions (FAQ)
What kind of soil should I use for my herb garden?
The best soil for your herb garden is a well-draining potting mix. Avoid using garden soil, as it can be too heavy and compact, which can lead to root rot. Look for a potting mix that contains ingredients like peat moss, perlite, and vermiculite, which will help to improve drainage and aeration. You can also amend your potting mix with compost to add nutrients and improve its overall quality. For specific herbs, some prefer slightly acidic soil, so research your chosen herbs’ preferences.
How much sunlight do my herbs need?
Most herbs need at least 6 hours of sunlight per day to thrive. If you’re growing your herbs indoors, place them near a sunny window or use grow lights to supplement natural light. South-facing windows are typically the best option, as they receive the most sunlight. If you’re growing your herbs outdoors, choose a location that receives full sun for most of the day. Some herbs, like mint and parsley, can tolerate partial shade, but they will generally grow best in full sun.
How often should I water my herbs?
The frequency of watering will depend on several factors, including the type of herb, the size of the pot, the type of soil, and the weather conditions. As a general rule, water your herbs when the top inch of soil feels dry to the touch. Avoid overwatering, as this can lead to root rot. When you water, water deeply, until water drains out of the bottom of the pot. During hot, dry weather, you may need to water your herbs more frequently. Check the soil moisture regularly and adjust your watering schedule accordingly.
What are some common pests and diseases that affect herbs?
Some common pests that can affect herbs include aphids, spider mites, whiteflies, and caterpillars. These pests can damage leaves, stems, and flowers, and can even kill your plants. To prevent pest infestations, inspect your herbs regularly and remove any pests you find. You can also use organic pest control methods, such as insecticidal soap or neem oil. Common diseases that can affect herbs include powdery mildew, root rot, and fungal leaf spots. To prevent diseases, provide good air circulation, avoid overwatering, and remove any infected leaves or stems.
How do I harvest my herbs?
The best time to harvest your herbs is in the morning, after the dew has dried but before the sun gets too hot. This is when the herbs will have the highest concentration of essential oils, which give them their flavor and aroma. To harvest your herbs, use sharp scissors or pruning shears to cut the stems just above a leaf node. This will encourage the plant to produce new growth. Avoid harvesting more than one-third of the plant at a time, as this can stress the plant and reduce its yield.
Can I grow herbs indoors during the winter?
Yes, you can grow herbs indoors during the winter. In fact, many herbs thrive indoors, especially if you provide them with adequate light and warmth. Place your herbs near a sunny window or use grow lights to supplement natural light. Keep the temperature consistent and avoid placing your herbs near drafts or heating vents. Water your herbs regularly and fertilize them as needed. With a little care, you can enjoy fresh herbs all winter long.
How do I propagate herbs?
Many herbs can be easily propagated from cuttings. To propagate herbs from cuttings, take a 4-6 inch cutting from a healthy stem, just below a leaf node. Remove the lower leaves and dip the cut end in rooting hormone. Plant the cutting in a pot filled with well-draining potting mix. Water the cutting regularly and keep the soil moist but not soggy. Place the pot in a warm, bright location, but out of direct sunlight. After a few weeks, the cutting should develop roots and begin to grow. You can also propagate some herbs from seeds or by dividing established plants.
What are the best herbs to grow for beginners?
Some of the easiest herbs to grow for beginners include basil, mint, chives, parsley, and oregano. These herbs are relatively low-maintenance and can tolerate a wide range of growing conditions. They are also readily available at most garden centers and nurseries. Start with a few of these easy-to-grow herbs and gradually expand your herb garden as you gain experience.
How do I dry herbs?
Drying herbs is a great way to preserve them for later use. There are several ways to dry herbs, including air drying, oven drying, and using a dehydrator. To air dry herbs, tie them in small bundles and hang them upside down in a cool, dry, well-ventilated place. To oven dry herbs, spread them in a single layer on a baking sheet and bake them at a low temperature (around 170°F) for several hours, until they are completely dry. To use a dehydrator, follow the manufacturer’s instructions. Once the herbs are dry, store them in airtight containers in a cool, dark place.
How can I use my fresh herbs at home?
The possibilities are endless! Use fresh herbs to flavor your favorite dishes, such as soups, salads, sauces, and marinades. Add them to omelets, frittatas, and other egg dishes. Use them to make herbal teas or infused oils and vinegars. Garnish your cocktails with fresh herbs. You can even use fresh herbs to make homemade beauty products, such as facial toners and bath salts. The only limit is your imagination! Remember that **fresh herbs at home** are a versatile and rewarding addition to any kitchen and garden.
Leave a Comment