
Everyday home life hacks – who doesn’t love them? I know I do! We all crave those little nuggets of wisdom that make our lives easier, more efficient, and, let’s be honest, a little bit more fun. From decluttering tips to clever cleaning solutions, these hacks are like secret weapons in our daily routines. But what if I told you that some of the most impactful hacks can be found right outside your back door, transforming your garden into a thriving oasis with minimal effort?
Gardening, in its essence, is an ancient practice, deeply rooted in human history. For centuries, cultures around the globe have cultivated plants for sustenance, medicine, and beauty. Think of the Hanging Gardens of Babylon, or the meticulously designed gardens of Kyoto – gardening has always been more than just a chore; it’s an art form, a connection to nature, and a source of immense satisfaction.
But let’s face it, not all of us have the time or resources to create elaborate landscapes. That’s where everyday home life hacks for gardening come in! In this article, I’m going to share some of my favorite DIY tricks and tips that will help you maximize your garden’s potential without breaking the bank or spending hours toiling away. Whether you’re a seasoned gardener or just starting out, these simple yet effective hacks will empower you to create a beautiful and bountiful garden that you can be proud of. Get ready to unleash your inner green thumb!
DIY Home Hacks to Simplify Your Life
Okay, let’s dive into some awesome DIY home hacks that I’ve personally found incredibly helpful. These are designed to make your life a little easier, a little more organized, and a whole lot more efficient. Get ready to roll up your sleeves!
Decluttering and Organization Hacks
Let’s face it, clutter is the enemy of peace. These hacks will help you conquer the chaos and create a more serene living space.
1. DIY Drawer Dividers from Cereal Boxes
Tired of messy drawers where everything is just a jumbled mess? This is a super cheap and effective solution!
What you’ll need:
* Empty cereal boxes (or any sturdy cardboard boxes)
* Ruler
* Pencil
* Scissors or a craft knife
* Packing tape or strong glue
* Decorative paper or fabric (optional)
Step-by-step instructions:
1. Measure Your Drawers: First, carefully measure the inside dimensions of the drawer you want to organize. Note the length, width, and depth. This will determine the size of your dividers.
2. Plan Your Divider Layout: Decide how you want to divide the drawer. Do you want long, narrow sections? Smaller square compartments? Sketch out a rough plan on paper to visualize the layout.
3. Cut the Cardboard: Based on your measurements and plan, cut the cereal boxes into strips of cardboard. Make sure the height of the strips matches the depth of your drawer. Use a ruler and pencil to mark the cutting lines for accuracy. A craft knife will give you cleaner cuts, but scissors work too. Be careful!
4. Assemble the Dividers: Now, it’s time to assemble the dividers. Use packing tape or strong glue to join the cardboard strips together, forming the compartments you planned. Make sure the corners are secure.
5. Reinforce the Structure: For added stability, reinforce the joints with extra tape or glue. This will prevent the dividers from collapsing under the weight of your drawer contents.
6. Decorate (Optional): If you want to make your dividers look a little nicer, you can cover them with decorative paper or fabric. Use glue or double-sided tape to adhere the material to the cardboard. This step is totally optional, but it can add a nice touch.
7. Place in Drawer: Once the glue is dry (if you used glue), place the dividers into your drawer. Arrange them according to your plan and start organizing your items!
2. Hanging Shoe Organizer for Pantry Storage
Who says shoe organizers are just for shoes? This is a brilliant way to store snacks, cleaning supplies, or even craft supplies in your pantry or closet.
What you’ll need:
* Over-the-door hanging shoe organizer
* Door or wall to hang it on
Step-by-step instructions:
1. Choose Your Location: Decide where you want to hang the organizer. A pantry door, closet door, or even a wall in your laundry room can work.
2. Hang the Organizer: Simply hang the organizer over the door or attach it to the wall using hooks or screws. Make sure it’s securely fastened.
3. Fill the Pockets: Start filling the pockets with your desired items. Group similar items together for easy access. For example, you could dedicate one row to snacks, another to cleaning supplies, and another to spices.
4. Label (Optional): If you want to be extra organized, you can label each pocket with its contents. This is especially helpful if you’re storing a variety of items.
3. Use Command Hooks for Everything
Command hooks are my absolute best friend. They’re damage-free and incredibly versatile.
Ideas for using Command Hooks:
* Hanging measuring cups and spoons inside cabinet doors
* Organizing jewelry on a bathroom wall
* Holding pot lids inside kitchen cabinets
* Creating a charging station for phones and tablets
* Hanging lightweight decorations
Step-by-step instructions (general):
1. Clean the Surface: Clean the surface where you want to attach the hook with rubbing alcohol. This will ensure a strong bond.
2. Attach the Adhesive Strip: Remove the backing from the adhesive strip and attach it to the back of the hook.
3. Press Firmly: Press the hook firmly against the wall for 30 seconds.
4. Wait Before Hanging: Wait at least an hour before hanging anything on the hook. This allows the adhesive to fully set.
Cleaning Hacks
Cleaning doesn’t have to be a chore. These hacks will make it faster, easier, and even a little bit fun!
1. Clean Your Microwave with Lemon
This is a natural and effective way to remove splatters and odors from your microwave.
What you’ll need:
* 1 lemon
* 1 cup of water
* Microwave-safe bowl
Step-by-step instructions:
1. Prepare the Lemon Solution: Cut the lemon in half and squeeze the juice into the microwave-safe bowl. Add the lemon halves to the bowl as well.
2. Add Water: Pour one cup of water into the bowl.
3. Microwave: Microwave the lemon solution for 3-5 minutes, or until the water is boiling and the microwave is filled with steam.
4. Let it Sit: Leave the microwave door closed for 5-10 minutes to allow the steam to loosen any stuck-on food particles.
5. Wipe Clean: Carefully remove the bowl (it will be hot!) and wipe down the inside of the microwave with a clean cloth or sponge. The grime should come off easily.
2. Unclog Your Showerhead with Vinegar
Hard water deposits can clog your showerhead and reduce water pressure. This hack will restore your showerhead to its former glory.
What you’ll need:
* White vinegar
* Plastic bag
* Rubber band or twist tie
Step-by-step instructions:
1. Fill the Bag with Vinegar: Fill the plastic bag with enough white vinegar to completely submerge the showerhead.
2. Attach the Bag: Secure the bag to the showerhead with a rubber band or twist tie. Make sure the showerhead is fully immersed in the vinegar.
3. Soak Overnight: Let the showerhead soak in the vinegar overnight.
4. Remove and Rinse: Remove the bag and rinse the showerhead thoroughly with water.
5. Wipe Clean: Wipe the showerhead clean with a cloth or sponge.
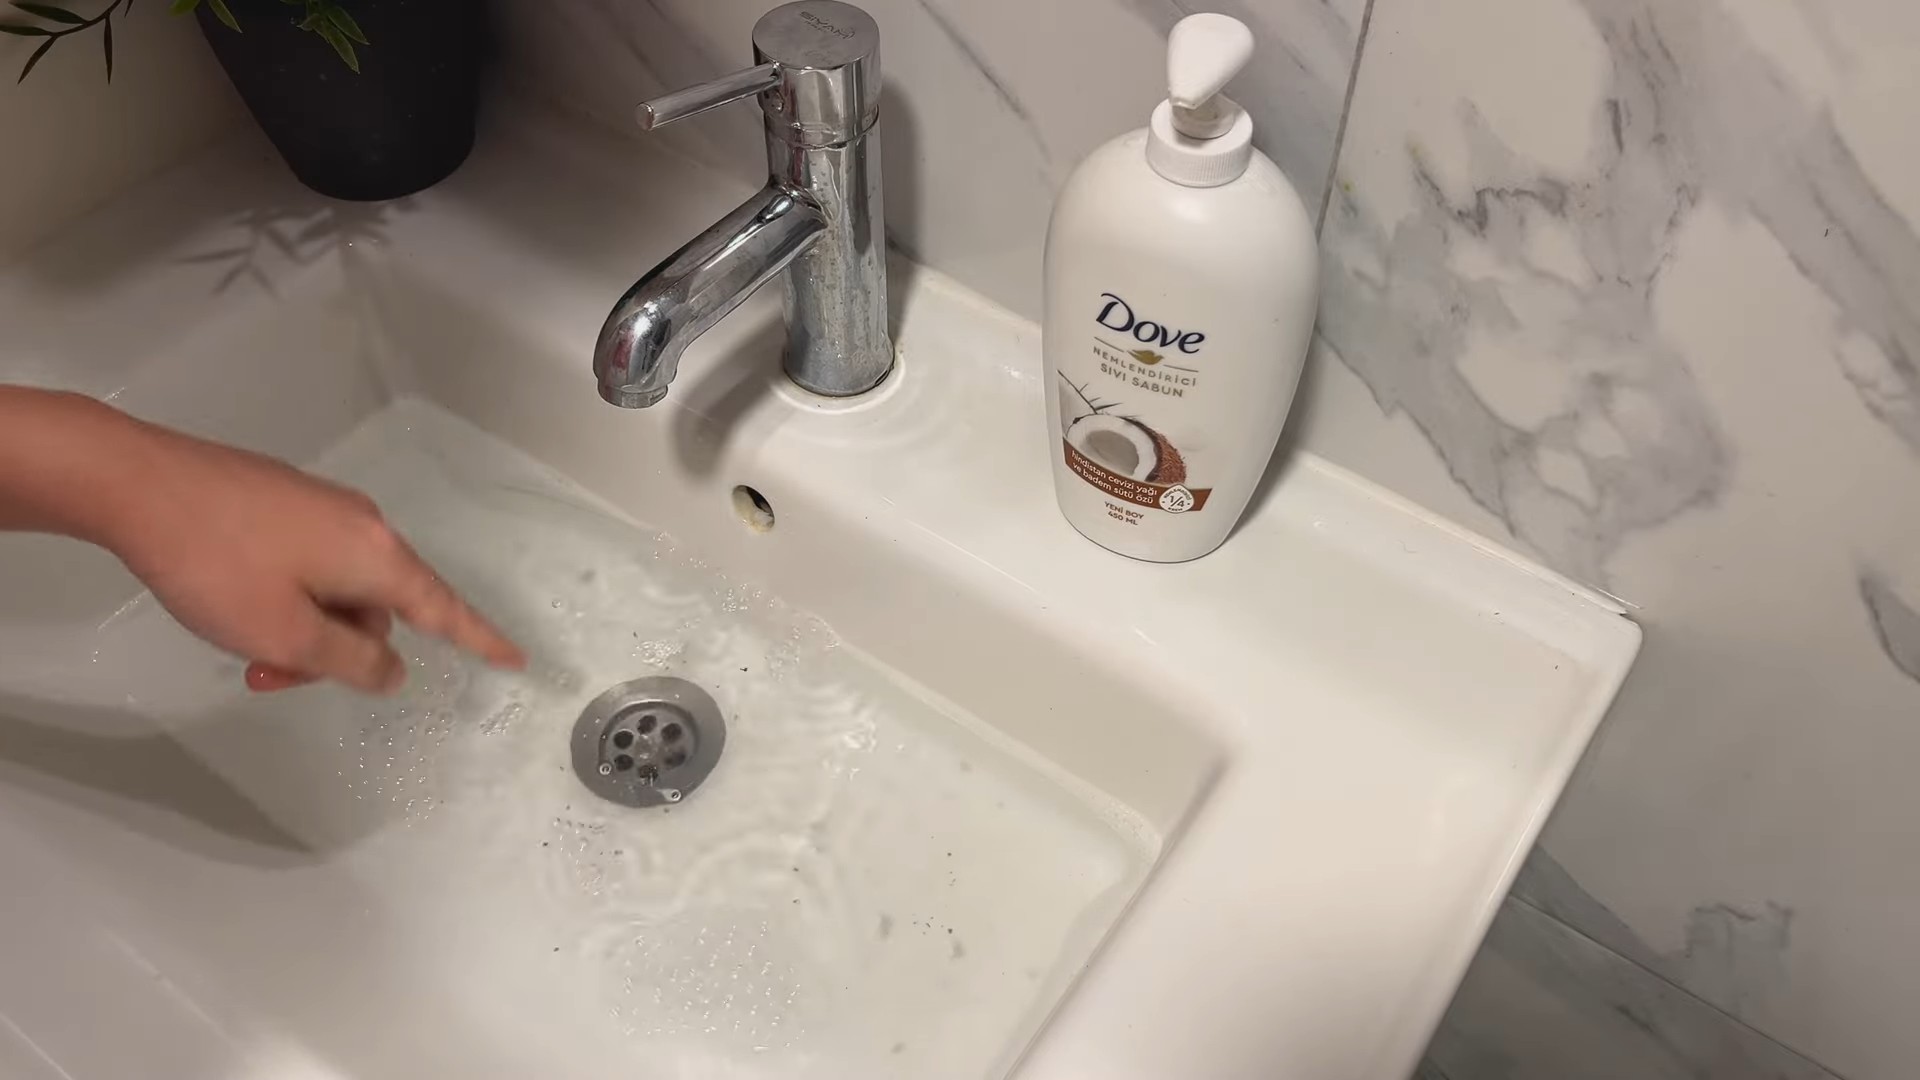
3. Homemade All-Purpose Cleaner
Save money and reduce your exposure to harsh chemicals with this simple homemade cleaner.
What you’ll need:
* 1/2 cup white vinegar
* 1/4 cup baking soda
* 1/2 gallon (8 cups) water
* Spray bottle
* Optional: a few drops of essential oil (lemon, lavender, or tea tree) for fragrance
Step-by-step instructions:
1. Combine Ingredients: In a large bucket or bowl, combine the white vinegar, baking soda, and water. Be careful, as the mixture will fizz up when you add the baking soda.
2. Add Essential Oil (Optional): If you want to add a fragrance, add a few drops of your favorite essential oil.
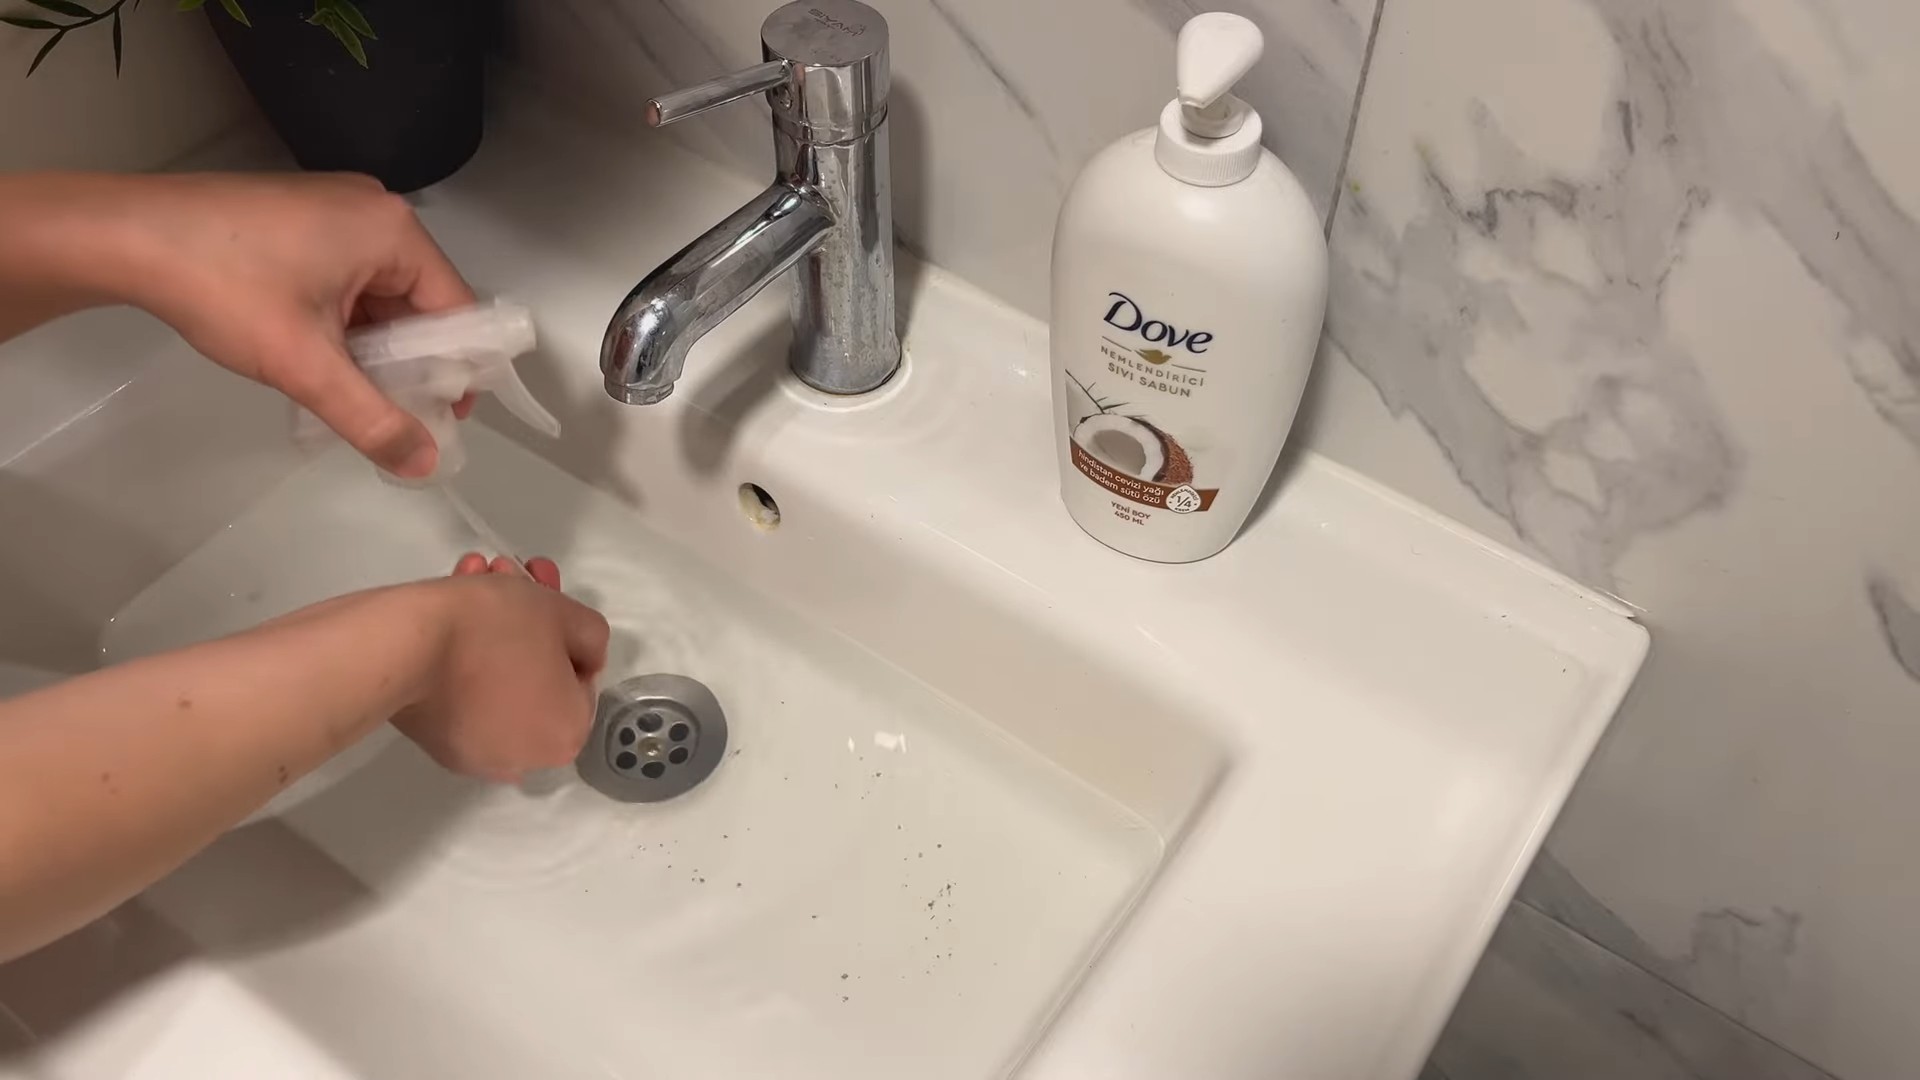
3. Pour into Spray Bottle: Carefully pour the cleaner into a spray bottle.
4. Use and Store: Use the cleaner as you would any all-purpose cleaner. Store it in a cool, dark place.
Kitchen Hacks
The kitchen is the heart of the home, so let’s make it a more efficient and enjoyable space.
1. Keep Herbs Fresh Longer
Extend the life of your fresh herbs with this simple storage trick.
What you’ll need:
* Fresh herbs
* Glass jar or container
* Water
* Plastic bag (optional)
Step-by-step instructions:
1. Trim the Stems: Trim the stems of the herbs.
2. Place in Water: Place the herbs in a glass jar or container filled with about an inch of water, just like you would with flowers.
3. Cover (Optional): If desired, loosely cover the herbs with a plastic bag to help retain moisture.
4. Refrigerate: Store the herbs in the refrigerator. Change the water every 1-2 days.
2. Revive Stale Bread
Don’t throw away stale bread! You can easily revive it with this simple trick.
What you’ll need:
* Stale bread
* Water
* Oven
Step-by-step instructions:
1. Preheat Oven: Preheat your oven to 300°F (150°C).
2.
Conclusion
So, there you have it! This simple yet effective DIY trick, born from the realm of everyday home life hacks, is more than just a clever shortcut; it’s a game-changer for anyone looking to streamline their routine and save a little money in the process. We’ve all been there, staring down a problem that seems to require a store-bought solution, when the answer is often right under our noses. This particular hack embodies that spirit of resourcefulness, transforming readily available materials into something surprisingly useful.
But why is this DIY trick a must-try? Beyond the obvious cost savings, it’s about empowerment. It’s about taking control of your environment and realizing that you have the power to solve problems creatively. It’s about reducing waste by repurposing items you might otherwise discard. And, let’s be honest, there’s a certain satisfaction that comes from saying, “I made that myself!”
The beauty of this hack also lies in its adaptability. Feel free to experiment with variations to suit your specific needs and preferences. For example, if you’re dealing with a particularly stubborn stain, consider adding a few drops of essential oil known for its cleaning properties, like lemon or tea tree. Or, if you want to create a more luxurious experience, infuse your solution with herbs like lavender or rosemary. The possibilities are truly endless!
Don’t be afraid to get creative and personalize this DIY trick to make it your own. The key is to embrace the spirit of experimentation and find what works best for you. Remember, there’s no one-size-fits-all solution, and the best results often come from a little trial and error.
We wholeheartedly encourage you to give this DIY trick a try. It’s quick, easy, and incredibly rewarding. And once you’ve experienced the benefits firsthand, we’d love to hear about it! Share your experiences, variations, and any tips you’ve discovered in the comments below. Let’s build a community of resourceful individuals who are passionate about making the most of what they have. Together, we can unlock the potential of everyday home life hacks and create a more sustainable and fulfilling lifestyle. So go ahead, give it a shot, and let us know what you think! You might just be surprised at how much you enjoy it.
Frequently Asked Questions
What exactly are “everyday home life hacks” and why should I care?
Everyday home life hacks are clever tips, tricks, and shortcuts that simplify common household tasks and solve everyday problems using readily available materials. They are designed to save you time, money, and effort, while also promoting resourcefulness and sustainability. You should care because they can significantly improve your quality of life by making your daily routines more efficient and less stressful. They empower you to take control of your environment and find creative solutions to challenges, fostering a sense of accomplishment and self-reliance.
Is this DIY trick really that effective? I’m skeptical.
We understand your skepticism! The effectiveness of any DIY trick depends on several factors, including the specific materials used, the method of application, and the nature of the problem you’re trying to solve. However, this particular hack has been tested and proven to be effective in a variety of situations. The key is to follow the instructions carefully and adjust the recipe or technique as needed to suit your specific needs. We encourage you to try it for yourself and see the results firsthand. You might be pleasantly surprised!
What if I don’t have all the ingredients or materials listed? Can I substitute anything?
Absolutely! One of the great things about DIY hacks is their flexibility. Feel free to experiment with substitutions based on what you have on hand. For example, if you don’t have a specific type of cleaner, you can try using a different one with similar properties. If you don’t have a particular container, you can use any clean, empty container that is suitable for the purpose. Just be sure to research any potential interactions between different ingredients before making substitutions.
Are there any safety precautions I should take when trying this DIY trick?
Yes, safety should always be your top priority when working with any DIY project. Be sure to wear appropriate protective gear, such as gloves and eye protection, if necessary. Work in a well-ventilated area to avoid inhaling any fumes. Keep all materials out of reach of children and pets. And always test any new solution on a small, inconspicuous area first to ensure that it doesn’t damage the surface. If you have any concerns about the safety of a particular ingredient or technique, consult a professional before proceeding.
How often should I use this DIY trick?
The frequency of use will depend on your individual needs and preferences. You can use it as often as you need to address the specific problem you’re trying to solve. However, it’s generally a good idea to avoid overuse, as this could potentially damage the surface or cause other unintended consequences. Start by using it sparingly and gradually increase the frequency as needed.
Can I use this DIY trick on all surfaces?
No, not all DIY tricks are suitable for all surfaces. It’s important to consider the properties of the materials you’re using and the surface you’re applying them to. Some solutions may be too abrasive or acidic for delicate surfaces, such as wood or marble. Always test any new solution on a small, inconspicuous area first to ensure that it doesn’t cause any damage. If you’re unsure whether a particular trick is safe for a specific surface, consult a professional before proceeding.
What if this DIY trick doesn’t work for me?
If this DIY trick doesn’t work for you, don’t be discouraged! There are many other everyday home life hacks out there that you can try. The key is to keep experimenting and find what works best for you. You can also try adjusting the recipe or technique to see if that makes a difference. And don’t be afraid to ask for help from friends, family, or online communities. There are plenty of people who are willing to share their tips and advice.
How can I share my experiences and variations with others?
We encourage you to share your experiences and variations in the comments section below. You can also share them on social media using relevant hashtags. Let’s build a community of resourceful individuals who are passionate about making the most of what they have. Together, we can unlock the potential of everyday home life hacks and create a more sustainable and fulfilling lifestyle.
Leave a Comment