
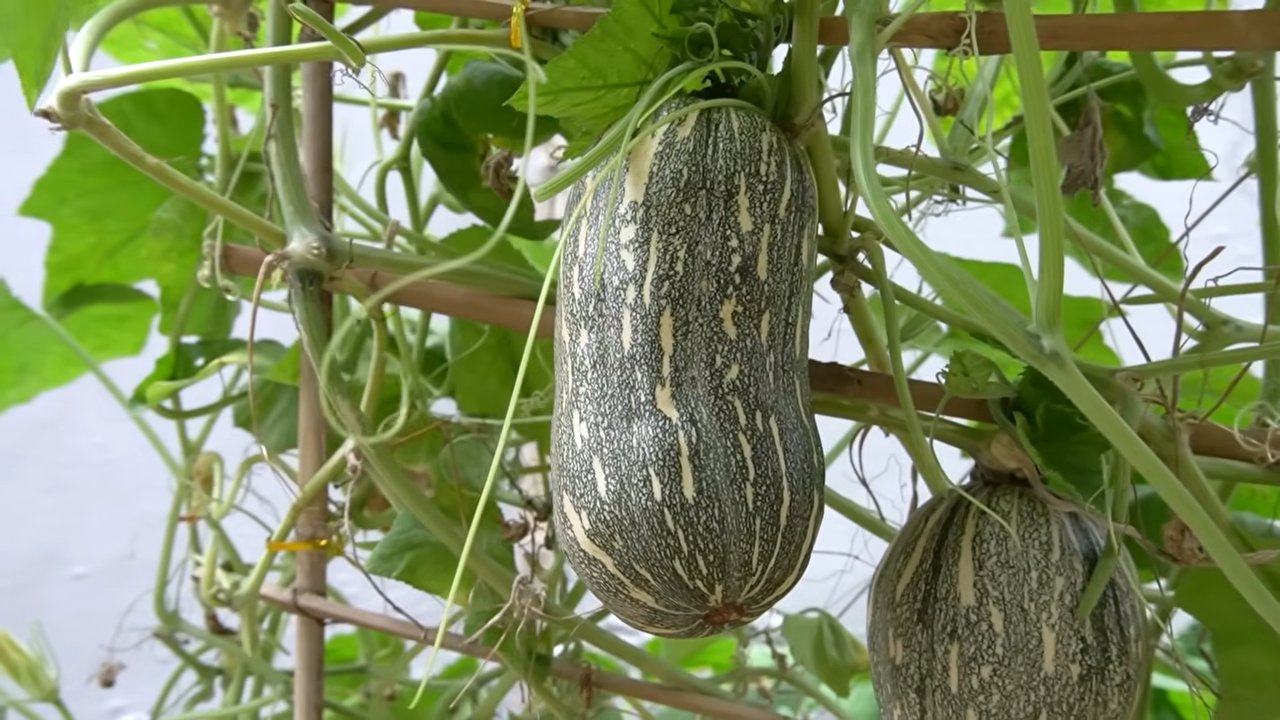
Double Pumpkin Harvest Tips: Imagine a bountiful autumn, your garden overflowing with plump, vibrant pumpkins – twice as many as you ever thought possible! Sounds like a dream, right? Well, it doesn’t have to be! For centuries, pumpkins have been a symbol of abundance, deeply woven into harvest festivals and folklore around the world. From Native American traditions of using every part of the pumpkin for sustenance to the modern-day carving of jack-o’-lanterns, this versatile fruit holds a special place in our hearts and homes.
But let’s be honest, getting a truly impressive pumpkin harvest can sometimes feel like a gamble. Pests, diseases, and unpredictable weather can all conspire to leave you with fewer pumpkins than you hoped for. That’s where these DIY tricks and hacks come in! I’m going to share some simple, yet incredibly effective, techniques that will help you maximize your pumpkin yield and achieve that dream of a truly abundant harvest.
Why do you need these double pumpkin harvest tips? Because who wouldn’t want more pumpkins? Whether you’re planning a spectacular Halloween display, baking delicious pumpkin pies, or simply enjoying the satisfaction of a thriving garden, these tips will empower you to get the most out of your pumpkin patch. Let’s get started and turn your pumpkin dreams into a reality!
Doppelte Kürbisernte: So maximierst du deine Ausbeute!
Hallo liebe Gartenfreunde! Ich liebe Kürbisse – ihre leuchtenden Farben, die köstlichen Gerichte, die man daraus zaubern kann, und natürlich die Freude, sie selbst anzubauen. Aber was, wenn ich dir sage, dass du deine Kürbisernte verdoppeln, vielleicht sogar verdreifachen kannst? Klingt gut, oder? Ich habe ein paar Tricks auf Lager, die ich gerne mit dir teilen möchte. Keine Sorge, es ist nicht kompliziert und du brauchst keine teure Ausrüstung. Lass uns loslegen!
Die Grundlagen: Vorbereitung ist alles!
Bevor wir uns in die fortgeschrittenen Techniken stürzen, müssen wir sicherstellen, dass die Grundlagen stimmen. Ein gesunder Kürbis beginnt mit einem gesunden Start.
* Die richtige Sorte wählen: Nicht alle Kürbisse sind gleich. Einige Sorten sind produktiver als andere. Informiere dich, welche Sorten in deiner Region gut gedeihen und eine hohe Ernte versprechen. Riesenkürbisse sind zwar beeindruckend, aber oft weniger ertragreich als kleinere Sorten wie Butternut oder Hokkaido.
* Der perfekte Standort: Kürbisse lieben die Sonne! Sie brauchen mindestens 6-8 Stunden direkte Sonneneinstrahlung pro Tag. Achte auch darauf, dass der Boden gut entwässert ist. Staunässe ist der Feind jedes Kürbisses.
* Bodenverbesserung: Kürbisse sind Starkzehrer. Das bedeutet, sie brauchen viele Nährstoffe. Arbeite vor dem Pflanzen reichlich Kompost oder gut verrotteten Mist in den Boden ein. Das sorgt für einen nährstoffreichen und lockeren Boden, in dem sich die Wurzeln gut entwickeln können.
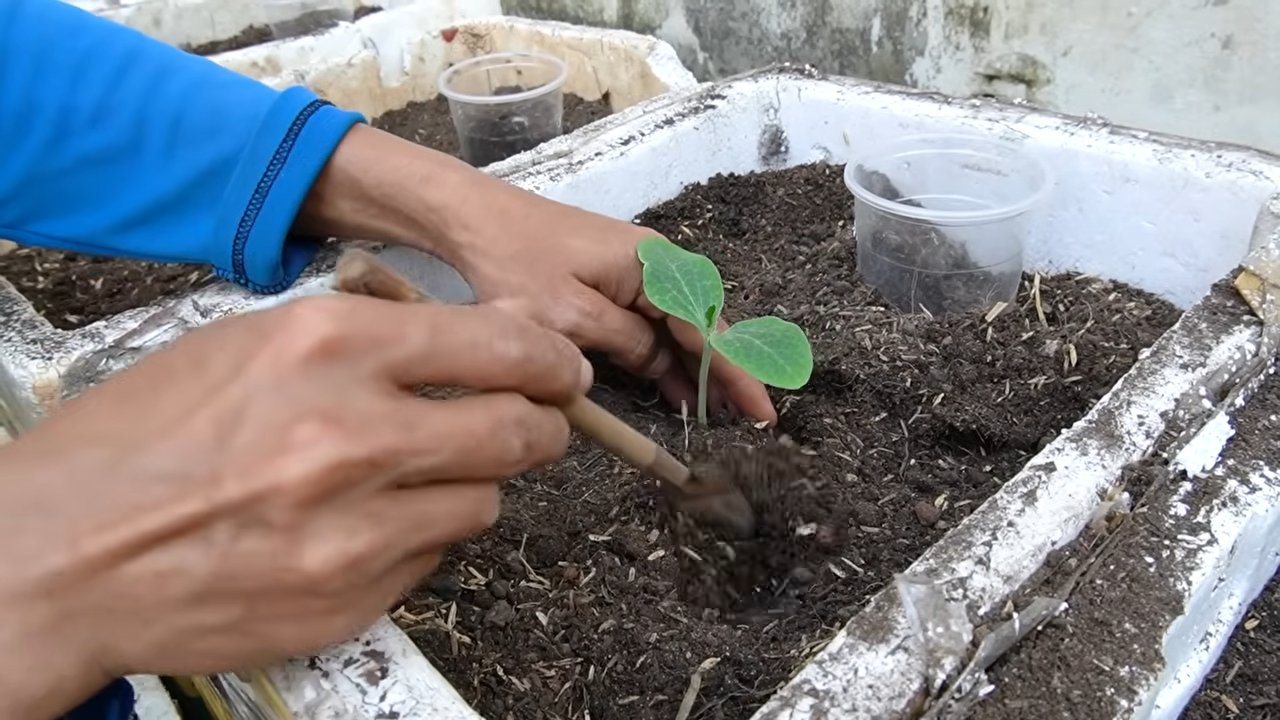
* Der richtige Zeitpunkt: Kürbisse sind frostempfindlich. Warte mit dem Pflanzen, bis keine Frostgefahr mehr besteht. In den meisten Regionen ist das Mitte bis Ende Mai. Du kannst die Samen auch im Haus vorziehen, um den Pflanzen einen Vorsprung zu verschaffen.
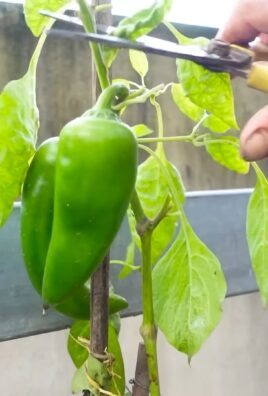
Technik 1: Gezieltes Beschneiden für mehr Ertrag
Das Beschneiden von Kürbispflanzen mag im ersten Moment seltsam erscheinen, aber es ist eine super effektive Methode, um die Energie der Pflanze auf die Fruchtbildung zu lenken. Stell dir vor, die Pflanze verschwendet ihre Kraft auf unnötige Blätter und Ranken, anstatt schöne, große Kürbisse zu produzieren.
So geht’s:
1. Warte, bis die Pflanze groß genug ist: Beginne mit dem Beschneiden, sobald die Pflanze mehrere Seitentriebe entwickelt hat und die ersten Kürbisse zu wachsen beginnen.
2. Entferne unnötige Blätter: Entferne alle Blätter, die gelb oder braun sind oder Anzeichen von Krankheiten aufweisen. Auch Blätter, die die Kürbisse beschatten, können entfernt werden, um die Sonneneinstrahlung zu erhöhen.
3. Beschneide die Seitentriebe: Kürbispflanzen bilden viele Seitentriebe. Beschränke die Anzahl der Triebe pro Pflanze, um die Energie auf die verbleibenden Kürbisse zu konzentrieren. Ich lasse in der Regel 2-3 Triebe pro Pflanze stehen.
4. Kappe die Ranken: Sobald ein Trieb 5-6 Blätter nach einem Kürbisansatz gebildet hat, kannst du ihn kappen. Das stoppt das Wachstum des Triebs und lenkt die Energie in den Kürbis.
5. Regelmäßige Kontrolle: Überprüfe die Pflanzen regelmäßig und entferne neue Seitentriebe oder unnötige Blätter.
Wichtiger Hinweis: Sei vorsichtig beim Beschneiden und verwende immer saubere und scharfe Werkzeuge, um die Pflanzen nicht zu verletzen.
Technik 2: Handbestäubung für sichere Ernte
Kürbisse sind auf die Bestäubung durch Bienen und andere Insekten angewiesen. Manchmal spielt das Wetter aber nicht mit oder es gibt einfach nicht genug Bestäuber in der Nähe. In diesem Fall kannst du selbst Hand anlegen und die Blüten bestäuben.
So geht’s:
1. Identifiziere die weiblichen und männlichen Blüten: Weibliche Blüten haben einen kleinen Kürbisansatz direkt unter der Blüte, während männliche Blüten nur einen Stiel haben.
2. Wähle den richtigen Zeitpunkt: Die beste Zeit für die Handbestäubung ist am frühen Morgen, wenn die Blüten geöffnet sind.
3. Sammle den Pollen: Pflücke eine männliche Blüte ab und entferne die Blütenblätter, um die Staubgefäße freizulegen.
4. Übertrage den Pollen: Tupfe mit den Staubgefäßen der männlichen Blüte auf die Narbe der weiblichen Blüte. Du kannst auch einen kleinen Pinsel verwenden, um den Pollen zu übertragen.
5. Markiere die bestäubte Blüte: Markiere die bestäubte Blüte mit einem kleinen Band oder Etikett, damit du weißt, welche Blüten du bereits bestäubt hast.
Warum Handbestäubung?
* Sicherstellung der Bestäubung: Gerade bei schlechtem Wetter oder wenigen Insekten kannst du so sicherstellen, dass die weiblichen Blüten bestäubt werden.
* Größere Kürbisse: Durch die Handbestäubung kannst du die Chancen auf größere und gesündere Kürbisse erhöhen.
Technik 3: Gezielte Düngung für Wachstumsschübe
Wie bereits erwähnt, sind Kürbisse Starkzehrer. Eine regelmäßige Düngung ist daher unerlässlich, um eine reiche Ernte zu erzielen.
So geht’s:
1. Grunddüngung: Arbeite vor dem Pflanzen reichlich Kompost oder gut verrotteten Mist in den Boden ein.
2. Startdüngung: Sobald die Pflanzen angewachsen sind, kannst du mit einer Startdüngung beginnen. Verwende einen organischen Dünger mit einem hohen Phosphoranteil, um die Wurzelbildung zu fördern.
3. Regelmäßige Düngung: Dünge die Pflanzen alle 2-3 Wochen mit einem ausgewogenen Dünger. Achte darauf, dass der Dünger ausreichend Stickstoff, Phosphor und Kalium enthält.
4. Blattdüngung: Zusätzlich zur Bodendüngung kannst du die Pflanzen auch mit einer Blattdüngung unterstützen. Sprühe die Blätter mit einer verdünnten Düngerlösung ein. Das sorgt für eine schnelle Nährstoffaufnahme.
5. Kalk: Kürbisse bevorzugen einen leicht sauren bis neutralen Boden. Bei Bedarf kannst du den Boden mit Kalk aufbessern.
Welchen Dünger soll ich verwenden?
Es gibt viele verschiedene Dünger auf dem Markt. Ich persönlich bevorzuge organische Dünger, da sie die Bodenstruktur verbessern und die Pflanzen auf natürliche Weise mit Nährstoffen versorgen. Du kannst aber auch mineralische Dünger verwenden, wenn du eine schnellere Wirkung erzielen möchtest.
Technik 4: Schutz vor Schädlingen und Krankheiten
Kürbisse sind leider nicht immun gegen Schädlinge und Krankheiten. Ein Befall kann die Ernte erheblich beeinträchtigen. Daher ist es wichtig, die Pflanzen regelmäßig zu kontrollieren und bei Bedarf Maßnahmen zu ergreifen.
Häufige Schädlinge und Krankheiten:
* Echter Mehltau: Eine Pilzkrankheit, die sich durch einen weißen, mehlartigen Belag auf den Blättern äußert.
* Falscher Mehltau: Eine weitere Pilzkrankheit, die sich durch gelbliche Flecken auf den Blättern äußert.
* Blattläuse: Kleine, saugende Insekten, die sich an den Blättern und Trieben ansiedeln.
* Schnecken: Fressen Löcher in die Blätter und Früchte.
* Kürbisfliegen: Die Larven der Kürbisfliege fressen sich durch die Früchte.
Vorbeugende Maßnahmen:
* Gute Belüftung: Sorge für eine gute Belüftung der Pflanzen, um Pilzkrankheiten vorzubeugen.
* Regelmäßige Kontrolle: Kontrolliere die Pflanzen regelmäßig auf Schädlinge und Krankheiten.
* Nützlinge fördern: Fördere Nützlinge wie Marienkäfer und Florfliegen, die Blattläuse fressen.
* Fruchtfolge: Baue Kürbisse nicht jedes Jahr am selben Standort an, um Krankheiten vorzubeugen.
Bekämpfung von Schädlingen und Krankheiten:
* Biologische Mittel: Verwende biologische Mittel zur Bekämpfung von Sch
Conclusion
So, there you have it! Unlocking a double pumpkin harvest isn’t some mythical gardening feat reserved for professionals. It’s an achievable goal for any gardener, regardless of experience, armed with the right knowledge and a little bit of dedication. We’ve explored the key strategies, from selecting the right varieties and preparing your soil meticulously to mastering pollination techniques and providing consistent care throughout the growing season. Remember, a healthy pumpkin plant is a productive pumpkin plant, so prioritize its needs at every stage.
The beauty of these techniques is their adaptability. Feel free to experiment with different pumpkin varieties to see which ones thrive best in your specific climate and soil conditions. Perhaps you’ll discover a unique combination of fertilizer and watering schedule that yields even more impressive results. Don’t be afraid to try companion planting with beneficial herbs and flowers to deter pests and attract pollinators. Consider vertical gardening techniques if space is limited. The possibilities are endless!
This isn’t just about getting more pumpkins; it’s about deepening your connection with nature, learning new skills, and enjoying the satisfaction of nurturing life from seed to harvest. Imagine the joy of sharing your bountiful harvest with friends and family, creating delicious pumpkin pies, carving spooky jack-o’-lanterns, or even entering your prize-winning pumpkins in local competitions. The rewards extend far beyond the sheer quantity of pumpkins you produce.
Ultimately, achieving a double pumpkin harvest is a testament to your commitment and understanding of the natural world. It’s a journey of learning, experimentation, and ultimately, success. So, grab your gardening gloves, prepare your soil, and get ready to witness the magic unfold.
We wholeheartedly encourage you to try these DIY tricks and embark on your own double pumpkin harvest adventure. We’re confident that with a little effort and attention, you’ll be amazed by the results. And most importantly, we want to hear about your experiences! Share your tips, successes, and even your challenges in the comments below. Let’s create a community of pumpkin-growing enthusiasts, sharing knowledge and inspiring each other to achieve even greater harvests. Your insights could be invaluable to other gardeners striving for the same goal. So, don’t be shy – let us know how it goes! Happy growing!
Frequently Asked Questions (FAQ)
What are the best pumpkin varieties for a double harvest?
Choosing the right pumpkin variety is crucial for maximizing your yield. While many varieties can produce well, some are naturally more prolific than others. Consider varieties like ‘Jack Be Little’ (for smaller, decorative pumpkins), ‘Sugar Pie’ (ideal for baking), and ‘Connecticut Field’ (a classic jack-o’-lantern pumpkin). These varieties tend to be vigorous growers and respond well to the techniques we’ve discussed. Research varieties that are known to thrive in your specific climate and soil conditions. Local nurseries and agricultural extension offices can provide valuable recommendations. Also, look for varieties that are disease-resistant, as healthy plants are more likely to produce a bountiful harvest. Don’t be afraid to experiment with different varieties to find the ones that perform best in your garden.
How important is soil preparation for a double pumpkin harvest?
Soil preparation is absolutely paramount. Pumpkins are heavy feeders, meaning they require a lot of nutrients to fuel their growth and fruit production. Before planting, amend your soil with plenty of organic matter, such as compost, well-rotted manure, or leaf mold. This will improve soil drainage, aeration, and water retention, all of which are essential for healthy pumpkin growth. Conduct a soil test to determine the pH level and nutrient content. Pumpkins prefer a slightly acidic to neutral pH (around 6.0 to 7.0). Based on the soil test results, you may need to add lime to raise the pH or sulfur to lower it. Incorporate a balanced fertilizer into the soil before planting to provide a steady supply of nutrients throughout the growing season. Remember, a well-prepared soil is the foundation for a successful double pumpkin harvest.
What are the best pollination techniques to ensure a good fruit set?
Pumpkins rely on pollinators, primarily bees, to transfer pollen from male flowers to female flowers. If natural pollination is insufficient, you can hand-pollinate your pumpkins. Identify the male and female flowers. Male flowers have a long, thin stem, while female flowers have a small, immature pumpkin at the base. In the early morning, when the pollen is most viable, gently remove a male flower and strip away the petals to expose the pollen-covered stamen. Carefully brush the stamen against the stigma of the female flower, ensuring that pollen is transferred. You can also use a small paintbrush to collect pollen from the male flower and transfer it to the female flower. Hand-pollinate several female flowers to increase your chances of a successful fruit set. Consider planting flowers that attract pollinators near your pumpkin patch to encourage natural pollination.
How often should I water my pumpkin plants?
Pumpkins need consistent moisture, especially during fruit development. Water deeply and regularly, aiming for about 1 inch of water per week. Water at the base of the plants to avoid wetting the foliage, which can lead to fungal diseases. Use a soaker hose or drip irrigation system to deliver water directly to the roots. Monitor the soil moisture regularly and adjust your watering schedule accordingly. During hot, dry weather, you may need to water more frequently. Avoid overwatering, as this can lead to root rot. The key is to maintain consistently moist soil without waterlogging it.
What are some common pests and diseases that affect pumpkins, and how can I prevent them?
Pumpkins are susceptible to various pests and diseases, including squash bugs, squash vine borers, powdery mildew, and downy mildew. Regularly inspect your plants for signs of pests or diseases. Handpick squash bugs and squash vine borer eggs. Use row covers to protect young plants from pests. Apply insecticidal soap or neem oil to control infestations. To prevent powdery mildew and downy mildew, ensure good air circulation around your plants, avoid overhead watering, and apply a fungicide if necessary. Choose disease-resistant varieties whenever possible. Practice crop rotation to prevent the buildup of soilborne diseases. Maintaining healthy plants through proper watering, fertilization, and soil preparation will also make them more resistant to pests and diseases.
Can I use fertilizer to boost my pumpkin harvest? If so, what kind?
Yes, fertilizing your pumpkin plants is essential for maximizing your yield. Use a balanced fertilizer (e.g., 10-10-10) at planting time. Once the plants start to vine, switch to a fertilizer that is higher in phosphorus and potassium (e.g., 5-15-15) to promote fruit development. Apply fertilizer according to the manufacturer’s instructions. You can also supplement with organic fertilizers, such as compost tea or fish emulsion. Avoid over-fertilizing, as this can lead to excessive foliage growth at the expense of fruit production. Monitor your plants for signs of nutrient deficiencies, such as yellowing leaves, and adjust your fertilization schedule accordingly. Remember, a consistent supply of nutrients is crucial for achieving a double pumpkin harvest.
How do I know when my pumpkins are ready to harvest?
Pumpkins are typically ready to harvest in the fall, when the skin has hardened and turned a deep, uniform color. The stem should be dry and corky. Gently tap the pumpkin; it should sound hollow. Use a sharp knife or pruning shears to cut the pumpkin from the vine, leaving a few inches of stem attached. Avoid damaging the pumpkin’s skin, as this can lead to rot. Cure your pumpkins in a warm, dry place for about two weeks to harden the skin and improve their storage life.
Leave a Comment