
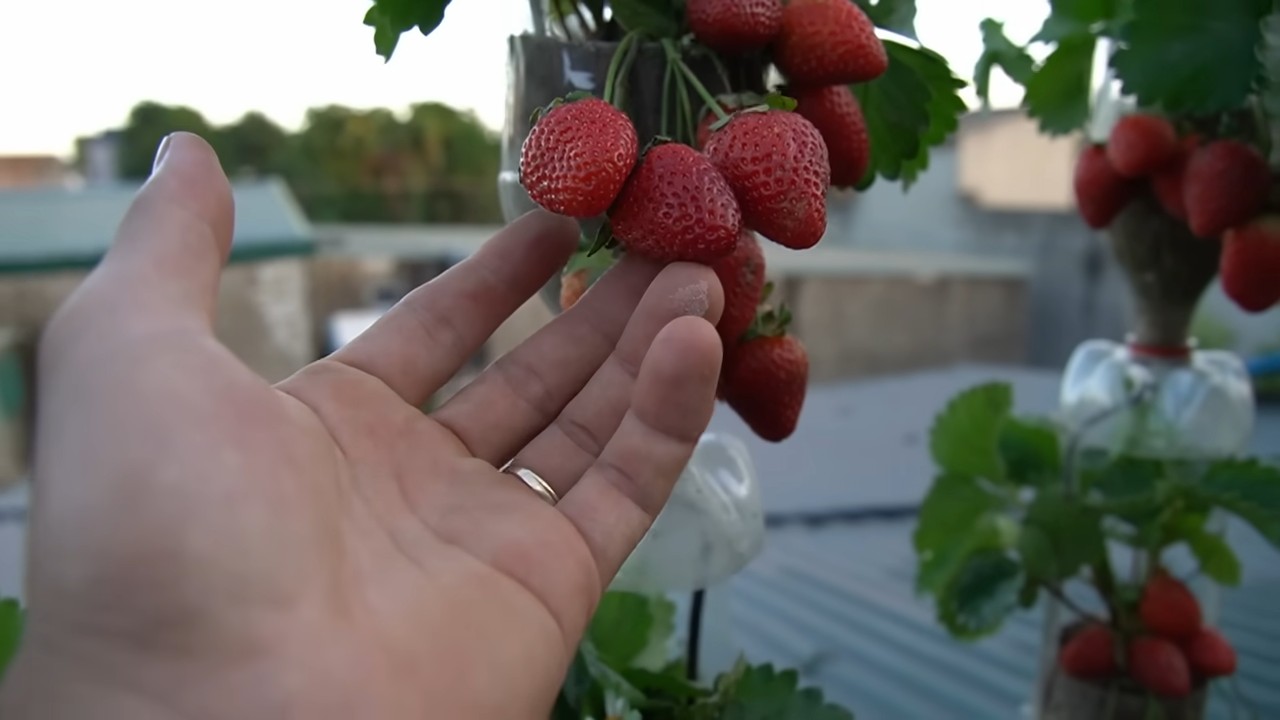
DIY Strawberry Tower: Imagine plucking juicy, sun-ripened strawberries right from your own backyard, even if you’re short on space! That’s the magic of a DIY strawberry tower, and I’m so excited to show you how to build one. Forget those expensive store-bought berries that lack flavor; with this simple project, you’ll be enjoying fresh, homegrown strawberries all season long.
The concept of vertical gardening, which the strawberry tower embodies, has been around for centuries. From the Hanging Gardens of Babylon to the more recent Parisian wall gardens, people have always sought creative ways to cultivate plants in limited spaces. But beyond its historical roots, the strawberry tower is a practical solution for modern gardeners.
Let’s face it, not everyone has acres of land to dedicate to a sprawling strawberry patch. Many of us are working with small balconies, patios, or tiny yards. That’s where this DIY Strawberry Tower comes in! It’s a fantastic way to maximize your growing space, keep your strawberries off the ground (reducing the risk of pests and diseases), and add a beautiful, eye-catching element to your outdoor area. Plus, who doesn’t love a fun and rewarding DIY project? I know I do! So, grab your tools, and let’s get started on building your very own vertical strawberry paradise!
Erdbeerturm selber bauen: Eine Schritt-für-Schritt Anleitung
Hallo liebe Gartenfreunde! Ich zeige euch heute, wie ihr einen wunderschönen und platzsparenden Erdbeerturm selber bauen könnt. So habt ihr eine reiche Erdbeerernte, auch wenn ihr nur einen kleinen Balkon oder Garten habt. Und das Beste daran: Es ist super einfach und macht richtig Spaß!
Was du brauchst:
Hier ist eine Liste aller Materialien und Werkzeuge, die du für deinen Erdbeerturm benötigst:
* Ein großes Pflanzgefäß (ca. 40-50 cm Durchmesser): Das ist die Basis deines Turms. Du kannst einen Terrakotta-Topf, einen Plastiktopf oder sogar einen alten Eimer verwenden. Achte nur darauf, dass er stabil ist und Löcher im Boden hat, damit das Wasser ablaufen kann.
* Ein PVC-Rohr (ca. 10-15 cm Durchmesser und 1,5-2 m Länge): Dieses Rohr wird das Bewässerungssystem deines Turms. Du kannst es im Baumarkt kaufen.
* Bohrmaschine mit Lochsäge (ca. 5-7 cm Durchmesser): Damit bohrst du die Löcher für die Erdbeerpflanzen in das PVC-Rohr.
* Bohrmaschine mit kleinem Bohrer (ca. 5 mm Durchmesser): Damit bohrst du kleine Löcher in das PVC-Rohr für die Bewässerung.
* Gartenvlies oder Jute: Damit verhinderst du, dass Erde in das PVC-Rohr gelangt und das Bewässerungssystem verstopft.
* Kies oder Blähton: Für die Drainage am Boden des Pflanzgefäßes.
* Pflanzerde: Am besten spezielle Erdbeer- oder Gemüseerde.
* Erdbeerpflanzen: Je nach Größe deines Turms brauchst du ca. 15-25 Pflanzen.
* Messer oder Schere: Zum Zuschneiden des Gartenvlieses.
* Maßband oder Zollstock: Zum Abmessen der Abstände für die Löcher.
* Stift: Zum Markieren der Löcher.
* Handschuhe: Zum Schutz deiner Hände.
* Gießkanne oder Schlauch: Zum Bewässern der Erdbeeren.
Vorbereitung des PVC-Rohrs:
Dieser Schritt ist entscheidend für den Erfolg deines Erdbeerturms. Nimm dir Zeit und arbeite sorgfältig.
1. Löcher bohren:
* Markiere mit dem Maßband und dem Stift gleichmäßige Abstände auf dem PVC-Rohr. Ich empfehle einen Abstand von ca. 20-25 cm zwischen den Löchern und versetzte Reihen, damit die Pflanzen genügend Platz haben.
* Bohre mit der Lochsäge die Löcher für die Erdbeerpflanzen. Achte darauf, dass die Löcher groß genug sind, damit die Pflanzen gut hineinpassen, aber nicht zu groß, damit die Erde nicht herausfällt.
* Bohre mit dem kleinen Bohrer viele kleine Löcher (ca. alle 5 cm) über die gesamte Länge des PVC-Rohrs. Diese Löcher dienen der Bewässerung der Erdbeeren.
2. Rohr umwickeln:
* Schneide das Gartenvlies oder die Jute in Streifen, die breit genug sind, um das PVC-Rohr einmal zu umwickeln.
* Wickle das Gartenvlies oder die Jute um das PVC-Rohr und befestige es mit Klebeband oder einer Schnur. Das Vlies verhindert, dass Erde in das Rohr gelangt und die Bewässerungslöcher verstopft.
Der Aufbau des Erdbeerturms:
Jetzt geht es ans Eingemachte! Der Aufbau ist eigentlich ganz einfach.
1. Drainage legen:
* Fülle den Boden des Pflanzgefäßes mit einer Schicht Kies oder Blähton. Das sorgt für eine gute Drainage und verhindert Staunässe.
2. Rohr platzieren:
* Stelle das umwickelte PVC-Rohr mittig in das Pflanzgefäß.
3. Erde einfüllen:
* Fülle das Pflanzgefäß mit Pflanzerde. Achte darauf, dass du die Erde gut andrückst, damit sie nicht zusammensackt. Fülle die Erde bis kurz unter die ersten Löcher im PVC-Rohr.
4. Pflanzen einsetzen:
* Setze die Erdbeerpflanzen vorsichtig in die Löcher im PVC-Rohr. Achte darauf, dass die Wurzeln gut mit Erde bedeckt sind.
5. Weiter befüllen:
* Fülle das Pflanzgefäß weiter mit Erde und setze die restlichen Erdbeerpflanzen ein.
6. Bewässern:
* Gieße den Erdbeerturm gründlich. Gieße das Wasser direkt in das PVC-Rohr, damit die Erde gleichmäßig befeuchtet wird.
Pflege deines Erdbeerturms:
Damit du lange Freude an deinem Erdbeerturm hast, solltest du ihn regelmäßig pflegen.
* Bewässerung: Erdbeeren brauchen viel Wasser, besonders während der Blütezeit und der Fruchtreife. Gieße deinen Erdbeerturm regelmäßig, am besten täglich, besonders an heißen Tagen. Achte darauf, dass die Erde immer feucht, aber nicht nass ist. Gieße das Wasser direkt in das PVC-Rohr, damit die Erde gleichmäßig befeuchtet wird.
* Düngung: Erdbeeren sind Starkzehrer und brauchen regelmäßig Dünger. Dünge deinen Erdbeerturm alle zwei Wochen mit einem speziellen Erdbeerdünger oder einem organischen Dünger.
* Sonneneinstrahlung: Erdbeeren lieben die Sonne. Stelle deinen Erdbeerturm an einen sonnigen Standort, an dem er mindestens 6 Stunden Sonne pro Tag bekommt.
* Schutz vor Schädlingen: Erdbeeren sind anfällig für verschiedene Schädlinge, wie z.B. Schnecken, Blattläuse und Erdbeermilben. Kontrolliere deine Erdbeerpflanzen regelmäßig auf Schädlinge und bekämpfe sie gegebenenfalls mit geeigneten Mitteln. Du kannst auch vorbeugende Maßnahmen treffen, wie z.B. das Ausbringen von Schneckenkorn oder das Besprühen der Pflanzen mit einem natürlichen Insektizid.
* Ausgeizen: Entferne regelmäßig die Ausläufer der Erdbeerpflanzen, damit die Pflanzen ihre Energie in die Fruchtbildung stecken können.
* Ernte: Ernte die Erdbeeren, sobald sie reif sind. Reife Erdbeeren sind leuchtend rot und lassen sich leicht vom Stiel lösen.
Zusätzliche Tipps und Tricks:
Hier sind noch ein paar zusätzliche Tipps, die dir helfen können, deinen Erdbeerturm noch erfolgreicher zu machen:
* Verwende verschiedene Erdbeersorten: Du kannst verschiedene Erdbeersorten in deinem Erdbeerturm anpflanzen, um die Erntezeit zu verlängern. Es gibt frühe, mittlere und späte Sorten.
* Pflanze Begleitpflanzen: Pflanze Begleitpflanzen wie Knoblauch, Zwiebeln oder Ringelblumen in die Nähe deines Erdbeerturms, um Schädlinge abzuhalten.
* Verwende Mulch: Bedecke die Erde um die Erdbeerpflanzen mit Mulch, um die Feuchtigkeit zu speichern und Unkraut zu unterdrücken.
* Überwinterung: Im Winter solltest du deinen Erdbeerturm vor Frost schützen. Du kannst ihn z.B. mit Vlies abdecken oder an einen geschützten Ort stellen.
Ich hoffe, diese Anleitung hilft dir dabei, deinen eigenen Erdbeerturm zu bauen. Viel Spaß beim Gärtnern und eine reiche Erdbeerernte!
Conclusion
So, there you have it! Creating your own DIY Strawberry Tower isn’t just a fun weekend project; it’s a gateway to a season of fresh, delicious strawberries right at your fingertips. We’ve walked you through the steps, from choosing the right materials to planting your precious strawberry starts. But why is this DIY project a must-try?
Firstly, it’s incredibly space-efficient. If you’re limited on garden space, or even just have a balcony or patio, a strawberry tower allows you to grow a surprising amount of fruit in a small footprint. Imagine the joy of stepping outside and plucking ripe, juicy strawberries for your morning cereal, afternoon snack, or a delightful summer dessert.
Secondly, it’s aesthetically pleasing. A well-constructed strawberry tower is a beautiful addition to any outdoor space. It’s a conversation starter, a visual delight, and a testament to your green thumb (even if you’re just starting out!). The cascading foliage and vibrant red berries create a stunning display that will impress your neighbors and bring a touch of rustic charm to your home.
Thirdly, it’s a cost-effective way to enjoy fresh strawberries. While there’s an initial investment in materials, you’ll quickly recoup that cost by avoiding expensive grocery store prices for often-less-flavorful berries. Plus, you’ll know exactly where your strawberries are coming from and what (or, more importantly, what *isn’t*) going into them. You’re in control of the entire growing process, ensuring organic, healthy fruit for you and your family.
But the benefits don’t stop there. Building a DIY Strawberry Tower is also a fantastic learning experience. You’ll gain a deeper understanding of plant care, soil composition, and the joys of nurturing something from seed (or in this case, a starter plant) to harvest. It’s a rewarding process that connects you to nature and provides a sense of accomplishment.
Ready to take your strawberry growing to the next level? Consider these variations to personalize your DIY Strawberry Tower:
* Vertical Herb Garden Hybrid: Alternate layers of strawberries with herbs like basil, mint, or thyme. These companion plants can deter pests and add a fragrant touch to your tower.
* Tiered Terracotta Tower: Use different sizes of terracotta pots stacked on top of each other to create a rustic, visually appealing tower.
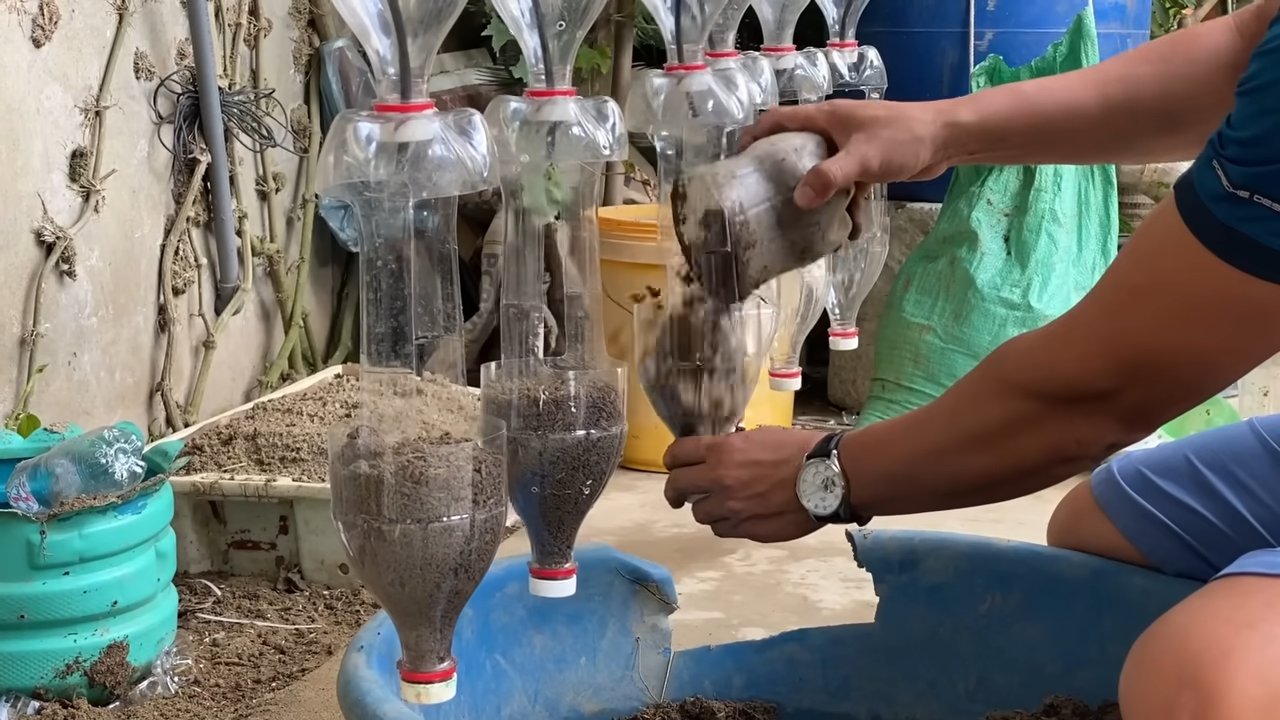
* Upcycled Pallet Tower: Repurpose an old wooden pallet by lining the gaps with landscape fabric and filling them with soil. This is a budget-friendly and eco-conscious option.
* Hydroponic Strawberry Tower: For the tech-savvy gardener, explore building a hydroponic strawberry tower using PVC pipes and a recirculating water system.
No matter which variation you choose, remember to select a sunny location, use well-draining soil, and water regularly. Keep an eye out for pests and diseases, and don’t be afraid to experiment and learn as you go.
We’re confident that you’ll love the experience of building and growing your own DIY Strawberry Tower. It’s a project that’s both fun and rewarding, and it’s sure to bring you a bountiful harvest of delicious strawberries.
So, what are you waiting for? Gather your materials, roll up your sleeves, and get started on your own DIY Strawberry Tower today! We can’t wait to see your creations. Share your photos and experiences with us in the comments below. Let’s build a community of strawberry tower enthusiasts! We want to hear about your successes, your challenges, and any tips and tricks you’ve learned along the way. Happy growing!
Frequently Asked Questions (FAQ)
What type of strawberries are best for a strawberry tower?
The best type of strawberries for a tower are everbearing or day-neutral varieties. These types produce fruit throughout the growing season, rather than just in one large flush. Some popular choices include:
* Albion: Known for its large, flavorful berries and disease resistance.
* Seascape: A reliable producer with good flavor and adaptability.
* Tristan: A beautiful variety with pink flowers and delicious berries.
* Quinault: A hardy and productive variety that’s easy to grow.
Consider your local climate and growing conditions when making your selection. Local nurseries can provide valuable advice on which varieties thrive in your area.
What kind of soil should I use for my strawberry tower?
Strawberries need well-draining soil that’s rich in organic matter. A good mix would be:
* 60% high-quality potting mix
* 20% compost
* 20% perlite or vermiculite (for drainage)
Avoid using garden soil, as it can be too heavy and may contain pests or diseases. The compost provides essential nutrients, while the perlite or vermiculite ensures proper drainage, preventing root rot.
How often should I water my strawberry tower?
Watering frequency depends on the weather, the type of container you’re using, and the soil’s drainage. Generally, you should water your strawberry tower when the top inch of soil feels dry to the touch. During hot, dry weather, you may need to water daily. Be careful not to overwater, as this can lead to root rot. A good rule of thumb is to water deeply until you see water draining from the bottom of the tower.
How much sunlight do strawberries need in a tower?
Strawberries need at least 6-8 hours of direct sunlight per day to produce a good crop of fruit. Choose a location for your strawberry tower that receives plenty of sunlight throughout the day. If you live in a particularly hot climate, some afternoon shade may be beneficial to prevent the plants from scorching.
How do I fertilize my strawberry tower?
Strawberries are heavy feeders and benefit from regular fertilization. Use a balanced fertilizer specifically formulated for strawberries, following the instructions on the package. You can also use organic fertilizers like compost tea or fish emulsion. Fertilize every 2-4 weeks during the growing season. Avoid over-fertilizing, as this can burn the plants.
How do I protect my strawberries from pests and diseases in a tower?
Several pests and diseases can affect strawberries, including:
* Slugs and snails: Handpick them off the plants or use slug bait.
* Birds: Cover the tower with netting to prevent birds from eating the berries.
* Spider mites: Spray the plants with insecticidal soap.
* Powdery mildew: Ensure good air circulation and spray with a fungicide if necessary.
Regularly inspect your plants for signs of pests or diseases and take action promptly to prevent them from spreading.
Can I grow strawberries in a tower indoors?
Yes, you can grow strawberries in a tower indoors, but you’ll need to provide them with adequate light. Use grow lights to supplement natural light, ensuring they receive at least 12-14 hours of light per day. You’ll also need to pollinate the flowers manually, as there won’t be any bees or other pollinators indoors.
How do I overwinter my strawberry tower?
In colder climates, you’ll need to protect your strawberry tower from freezing temperatures. You can:
* Move the tower to a sheltered location, such as a garage or shed.
* Wrap the tower with burlap or blankets to insulate it.
* Mulch around the base of the plants with straw or leaves.
In milder climates, you may not need to take any special precautions. Just ensure the plants are well-watered and mulched.
How long will my strawberry tower last?
With proper care, your strawberry tower can last for several years. However, strawberry plants typically produce the most fruit in their first 2-3 years. After that, their productivity may decline. You can rejuvenate your tower by replacing older plants with new ones.
Can I use other plants in my strawberry tower?
Yes, you can definitely incorporate other plants into your strawberry tower! Companion planting can be beneficial for strawberries. Good choices include:
* Basil: Repels pests and improves strawberry flavor.
* Marigolds: Deters nematodes and other soil pests.
* Thyme: Attracts beneficial insects and repels cabbage moths.
* Lettuce: Provides ground cover and helps retain moisture.
Avoid planting aggressive growers that could compete with the strawberries for resources.
How do I harvest strawberries from a tower?
Harvest strawberries when they are fully red and slightly soft to the touch. Gently twist or snip the berry from the plant, leaving a small piece of the stem attached. Harvest regularly to encourage continued production.
What do I do with the runners that grow from my strawberry plants?
Strawberry plants produce runners, which are stems that grow horizontally and develop new plantlets. You can either remove the runners to encourage the mother plant to produce more fruit, or you can allow them to root and create new strawberry plants. To root the runners, simply place them in small pots filled with soil and keep them moist. Once they develop roots, you can transplant them to new locations in your tower or garden.


Leave a Comment