
DIY Hacks for Handy People: Ever feel like you’re constantly calling a repairman for the simplest things? Or maybe you’re itching to tackle those small home improvement projects but lack the confidence? I get it! We’ve all been there. But what if I told you that you could save money, boost your self-esteem, and impress your friends with a few clever DIY tricks?
From ancient civilizations building their own homes to the “make do and mend” ethos of past generations, the spirit of DIY has always been a part of human ingenuity. It’s about resourcefulness, creativity, and taking pride in your own handiwork.
In today’s fast-paced world, it’s easy to rely on professionals for everything. But learning a few DIY hacks for handy people can be incredibly empowering. Imagine fixing that leaky faucet yourself, building a simple shelf, or even upcycling old furniture into something beautiful and new. Not only will you save money on costly repairs and renovations, but you’ll also gain a valuable skillset and a sense of accomplishment. Plus, you’ll be contributing to a more sustainable lifestyle by reusing and repurposing items instead of throwing them away. So, let’s dive into some easy-to-learn DIY tricks that will transform you from a novice to a confident home improver!
DIY Hacks for Handy People: Level Up Your Home Game!
Okay, folks, gather ’round! I’m about to share some of my favorite DIY hacks that have saved me time, money, and a whole lot of frustration around the house. These aren’t your average Pinterest fails; these are tried-and-true tricks that actually work. Let’s dive in!
Hack 1: The Ultimate Cord Organizer
Tired of that tangled mess of cords behind your TV or desk? Me too! This hack will transform your chaotic cable situation into a thing of beauty (or at least, a thing of order).
What you’ll need:
* Toilet paper rolls (or paper towel rolls cut in half)
* A shoebox or other container
* Scissors or a craft knife
* Markers or paint (optional, for decorating)
* Labels (optional, but highly recommended)
Step-by-step instructions:
1. Prep the Rolls: If you’re using paper towel rolls, cut them in half. Otherwise, you’re good to go with the toilet paper rolls.
2. Decorate (Optional): This is where you can get creative! Paint the rolls, cover them in decorative paper, or just leave them plain. I like to use markers to add a pop of color.
3. Label the Rolls: This is crucial for staying organized. Label each roll with the name of the cord it will hold (e.g., “TV Power,” “Laptop Charger,” “Lamp”). You can write directly on the roll or use adhesive labels.
4. Place Rolls in the Box: Arrange the labeled rolls inside the shoebox or container. Pack them in snugly so they don’t tip over.
5. Organize Your Cords: Unplug your cords (safety first!). Coil each cord neatly and slide it into its corresponding labeled roll.
6. Enjoy the Order: Place the shoebox behind your TV or desk and marvel at your newfound cable management skills! No more tangled messes!
Hack 2: Revive Dried-Out Mascara
Don’t throw away that seemingly dead mascara just yet! This simple trick can bring it back to life and save you a trip to the store.
What you’ll need:
* Eye drops (saline solution is best)
* Mascara tube
* Mascara wand
Step-by-step instructions:
1. Add Eye Drops: Add 2-3 drops of eye drops into the mascara tube. Don’t overdo it, or the mascara will become too watery.
2. Mix it Up: Gently swirl the mascara wand inside the tube to mix the eye drops with the mascara. Avoid pumping the wand, as this can introduce air and dry out the mascara faster.
3. Test it Out: Apply the mascara to your lashes to see if it’s the right consistency. If it’s still too dry, add another drop of eye drops and mix again.
4. Enjoy Your Revived Mascara: Your mascara should now be good as new! This trick works best for mascaras that are only slightly dried out. If your mascara is completely dried up, it’s probably time to replace it.
Hack 3: The Perfect Picture Hanging Hack
Hanging pictures straight and level can be a real pain. This hack uses toothpaste to mark the perfect spot for your nails or screws.
What you’ll need:
* Picture frame
* Toothpaste (any kind will do)
* Painter’s tape
* Level
* Nail or screw
* Hammer or screwdriver
Step-by-step instructions:
1. Tape the Back of the Frame: Place a piece of painter’s tape across the back of the frame, covering the hanging hardware (wire, sawtooth hanger, etc.).
2. Mark the Hanging Point: Gently press the hanging hardware onto the tape, creating a small indentation.
3. Apply Toothpaste: Put a small dab of toothpaste onto the indentation on the tape.
4. Position the Frame: Decide where you want to hang the picture. Use a level to ensure it’s straight.
5. Press the Frame Against the Wall: Carefully press the frame against the wall, making sure the toothpaste-covered tape touches the wall.
6. Remove the Frame: Remove the frame from the wall. You should now have a small toothpaste mark on the wall, indicating where to place your nail or screw.
7. Insert Nail or Screw: Hammer in a nail or screw into the toothpaste mark on the wall.
8. Hang Your Picture: Hang your picture on the nail or screw. Use a level to make sure it’s perfectly straight.
9. Clean Up: Wipe away any remaining toothpaste from the wall.
Hack 4: DIY Phone Stand
Need a quick and easy phone stand? Look no further than your trusty sunglasses!
What you’ll need:
* Sunglasses
Step-by-step instructions:
1. Open the Sunglasses: Open your sunglasses as you normally would.
2. Invert the Sunglasses: Place the sunglasses upside down on a flat surface, with the nose bridge facing up.
3. Rest Your Phone: Rest your phone against the nose bridge of the sunglasses. The arms of the sunglasses will act as a support, holding your phone in place.
This hack works best with sunglasses that have a slightly curved nose bridge. It’s perfect for watching videos or video chatting hands-free.
Hack 5: Unclog a Showerhead with Vinegar
Is your showerhead spraying water in all directions except where you want it? Mineral buildup is likely the culprit. This vinegar soak will dissolve the buildup and restore your showerhead to its former glory.
What you’ll need:
* White vinegar
* Plastic bag (gallon-sized is ideal)
* Rubber band or twist tie
Step-by-step instructions:
1. Fill the Bag with Vinegar: Pour enough white vinegar into the plastic bag to completely submerge the showerhead.
2. Attach the Bag to the Showerhead: Carefully place the bag over the showerhead, ensuring that the showerhead is fully submerged in the vinegar.
3. Secure the Bag: Use a rubber band or twist tie to secure the bag to the showerhead. Make sure the bag is tightly sealed to prevent leaks.
4. Soak Overnight: Let the showerhead soak in the vinegar overnight (or for at least 8 hours). This will give the vinegar enough time to dissolve the mineral buildup.
5. Remove the Bag: Remove the bag from the showerhead and discard the vinegar.
6. Rinse the Showerhead: Turn on the shower and let the water run for a few minutes to flush out any remaining vinegar and mineral deposits.
7. Enjoy Your Clean Showerhead: Your showerhead should now be spraying water evenly and powerfully.
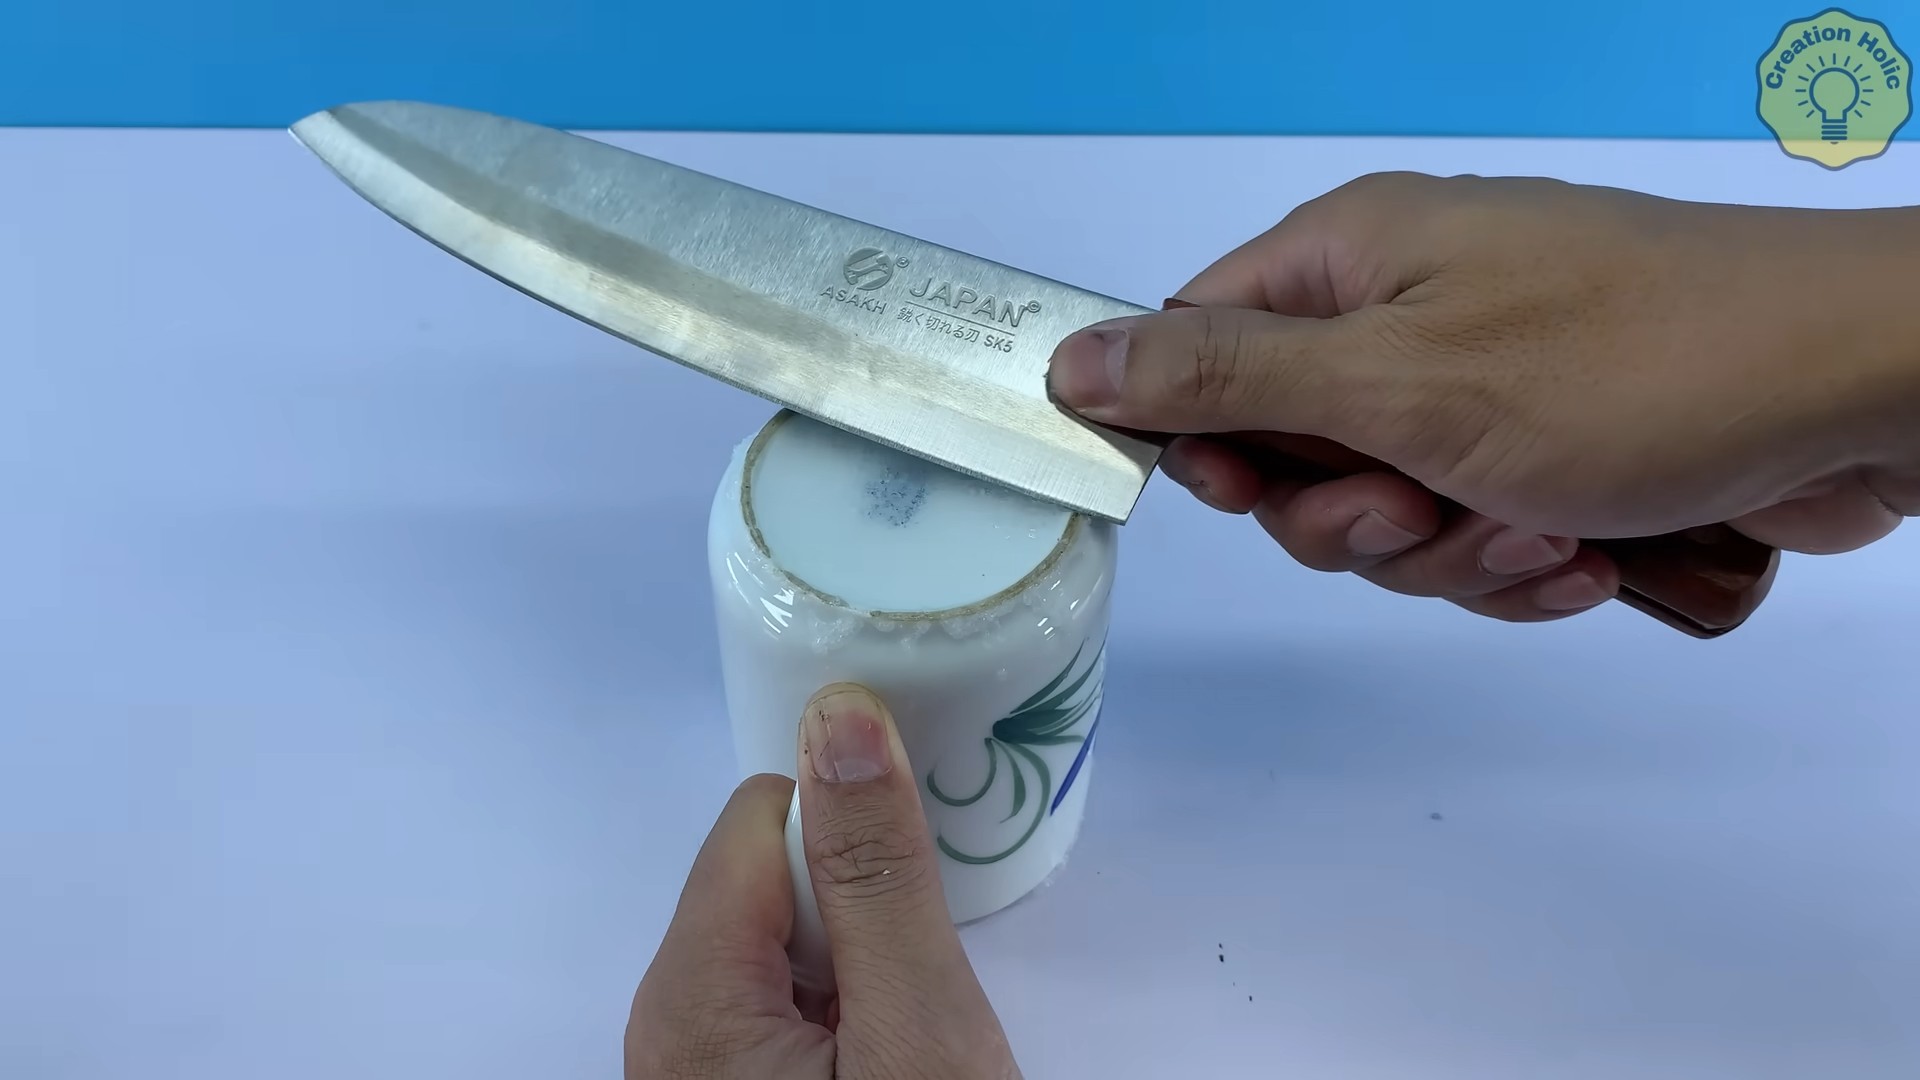
Hack 6: Sharpen Scissors with Aluminum Foil
Dull scissors making your crafting projects a nightmare? This simple trick will sharpen them in seconds.
What you’ll need:
* Aluminum foil
Step-by-step instructions:
1. Fold the Foil: Fold a sheet of aluminum foil several times to create a thick strip.
2. Cut the Foil: Use your dull scissors to cut through the folded aluminum foil several times (around 10-20 cuts).
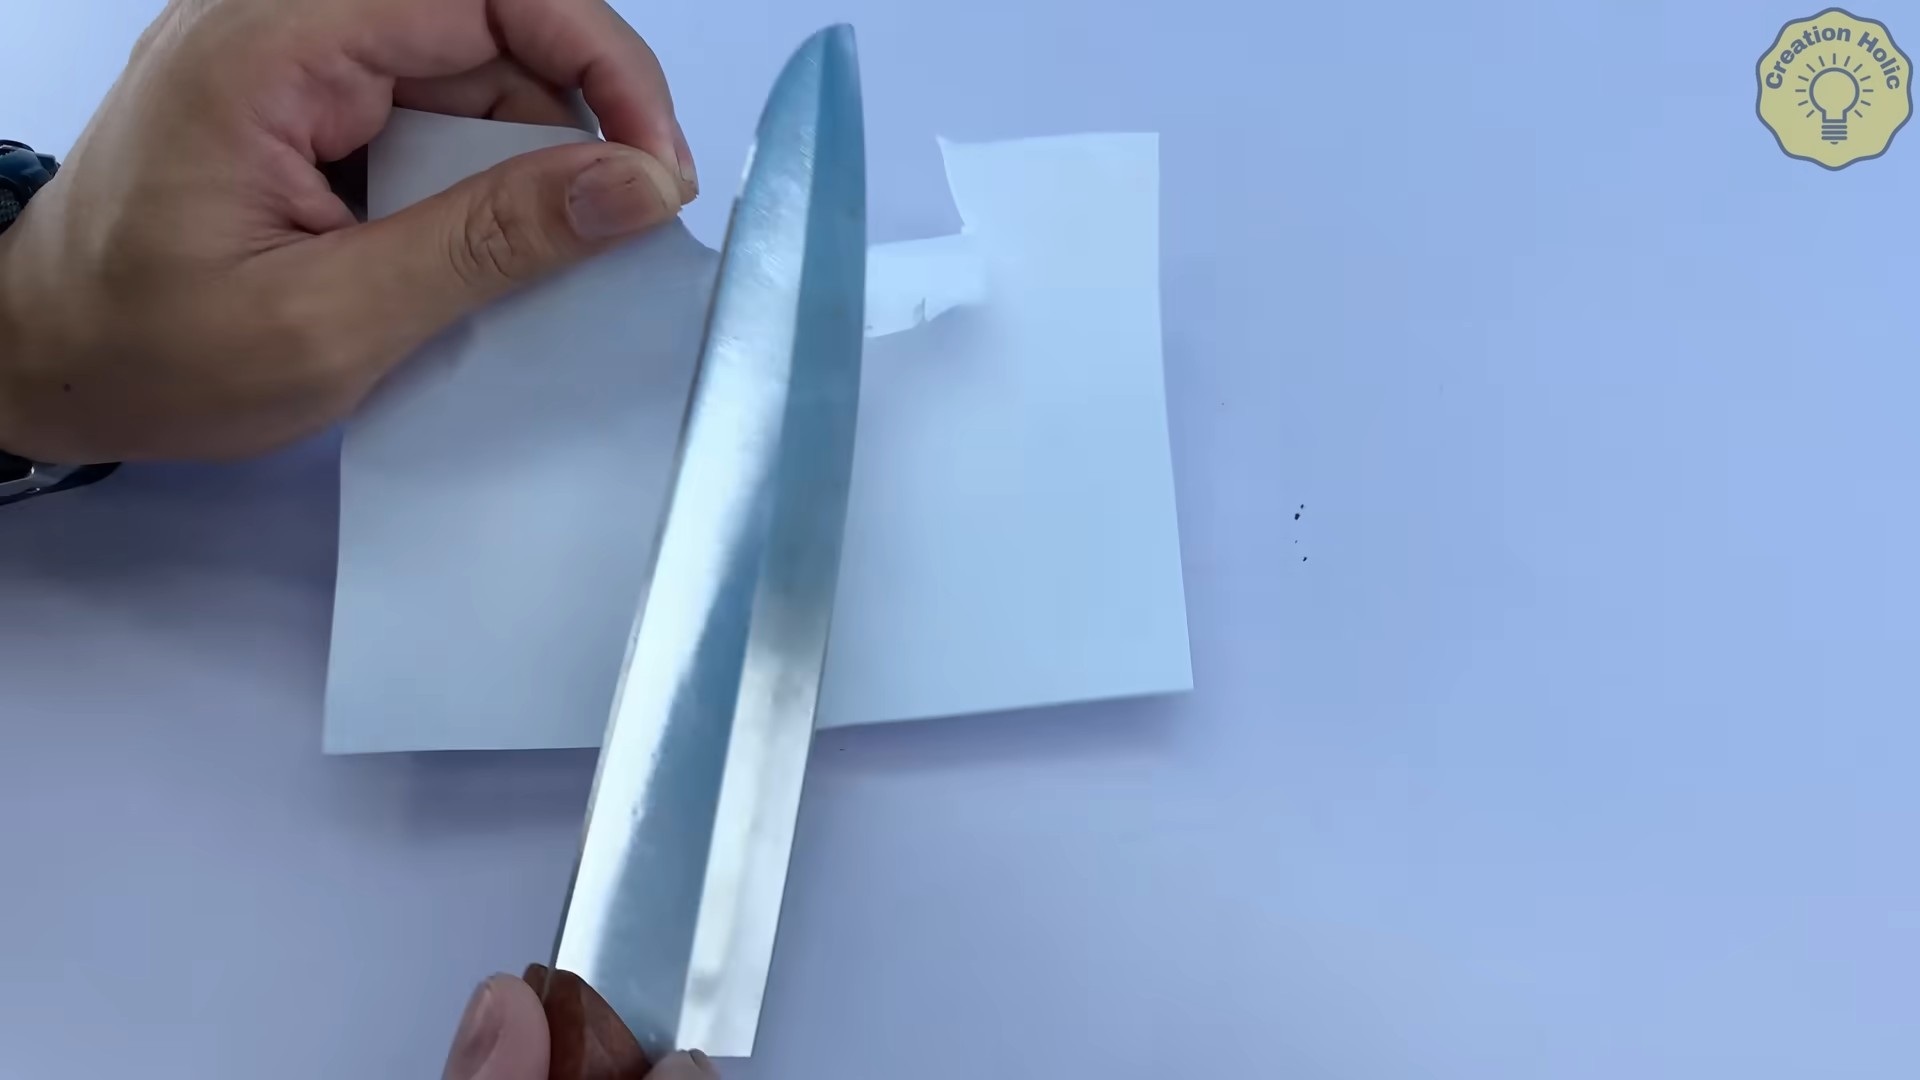
3. Test Your Scissors: Test your scissors on a piece of paper. They should now be sharper and cut more easily.
The aluminum foil acts as an abrasive, sharpening the blades of the scissors as you cut through it.
Hack 7: Remove Stripped Screws
Stripped screws are the bane of every DIYer’s existence. But don’t despair! This rubber band trick can often do the trick.
What you’ll need:
* Wide rubber band
* Screwdriver
Step-by-step instructions:
1. Place the Rubber Band: Place the wide rubber band over the stripped screw head.
2. Insert Screwdriver: Insert the screwdriver into the screw head, pressing down firmly on the rubber band. The rubber band will fill the gap between the screwdriver and the stripped screw head, providing extra grip.
3. Turn the Screwdriver: Slowly and carefully turn the screwdriver to remove the screw. Apply consistent pressure to prevent the screwdriver from slipping.
If the rubber band trick doesn’t work, you can try using a screw extractor tool.
Hack 8: Make a Makeshift Speaker
Need to amplify your phone’s sound without a speaker? This simple trick uses a bowl to create a makeshift amplifier.
What you’ll need:
* Bowl (ceramic or glass works best)
* Phone
Step-by-step instructions:
1. Place the Phone
Conclusion
So, there you have it! These DIY hacks aren’t just clever shortcuts; they’re game-changers for anyone who enjoys tackling projects around the house. From saving money to boosting efficiency, these simple tricks can transform the way you approach everyday tasks. The beauty of these DIY solutions lies in their accessibility. You don’t need to be a seasoned professional or invest in expensive equipment to reap the rewards. With a little creativity and resourcefulness, you can achieve impressive results and take pride in your newfound skills.
But why should you bother trying these DIY hacks? Because they empower you to take control. Instead of relying on expensive services or struggling with frustrating problems, you can confidently address issues yourself. Imagine the satisfaction of fixing a leaky faucet, organizing your cluttered garage, or creating a stunning piece of home decor – all thanks to a simple DIY trick.
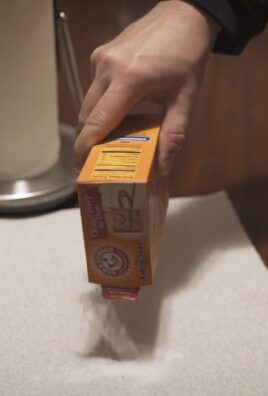
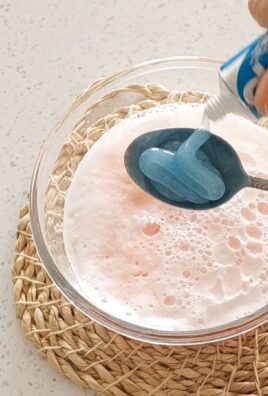
These hacks are also incredibly versatile. Feel free to experiment and adapt them to your specific needs and preferences. For example, if you’re using the vinegar and baking soda cleaning solution, try adding a few drops of your favorite essential oil for a pleasant scent. If you’re repurposing old jars, consider painting them or adding decorative labels to create unique storage containers. The possibilities are endless!
Don’t be afraid to get creative and put your own spin on these DIY hacks. The most important thing is to have fun and learn along the way. And remember, even if your first attempt isn’t perfect, don’t give up! Every mistake is an opportunity to learn and improve.
We truly believe that incorporating these **DIY hacks** into your routine will make your life easier, more efficient, and more rewarding. They are not just about saving time and money; they are about fostering a sense of accomplishment and self-reliance.
So, what are you waiting for? Pick a hack that resonates with you and give it a try. We’re confident that you’ll be amazed by the results. And once you’ve experienced the magic of DIY, we encourage you to share your experiences with us. Tell us which hacks worked best for you, what variations you tried, and any tips or tricks you discovered along the way. Your feedback will help us create even better content and inspire others to embrace the DIY spirit.
We can’t wait to hear your success stories! Happy hacking!
Frequently Asked Questions (FAQs)
What if I don’t have all the materials listed for a particular DIY hack?
Don’t worry! One of the great things about DIY is its adaptability. Consider the listed materials as suggestions rather than strict requirements. Think about what you already have on hand that could serve a similar purpose. For example, if a hack calls for a specific type of glue, you might be able to substitute it with another adhesive that you know works well. Or, if you don’t have the exact size of container recommended, use a slightly larger or smaller one and adjust the other ingredients accordingly. The key is to be resourceful and think outside the box. Just be sure to prioritize safety and choose materials that are appropriate for the task at hand.
Are these DIY hacks safe to use around children and pets?
Safety is paramount, especially when children and pets are involved. Before attempting any DIY hack, carefully consider the potential risks and take appropriate precautions. If the hack involves using chemicals or sharp objects, keep them out of reach of children and pets. Always supervise children when they are participating in DIY projects. When using cleaning solutions, ensure proper ventilation and avoid mixing chemicals that could create harmful fumes. If you’re unsure about the safety of a particular hack, it’s always best to err on the side of caution and seek advice from a professional. Consider using natural and non-toxic alternatives whenever possible.
How do I know if a DIY hack is right for my skill level?
Start with simpler hacks and gradually work your way up to more complex ones. Read the instructions carefully and make sure you understand each step before you begin. If you’re unsure about a particular technique or tool, watch a tutorial video or consult with someone who has experience. Don’t be afraid to ask for help if you need it. Remember, it’s better to start small and build your confidence than to tackle a project that’s beyond your capabilities and risk getting frustrated or injured. Many online resources offer beginner-friendly DIY projects with detailed instructions and helpful tips.
What if a DIY hack doesn’t work as expected?
Don’t be discouraged! Not every DIY project goes according to plan. If a hack doesn’t work as expected, try to identify the cause of the problem. Did you use the wrong materials? Did you skip a step? Did you misinterpret the instructions? Once you’ve identified the issue, try again with the necessary adjustments. If you’re still having trouble, search online for troubleshooting tips or ask for advice from other DIY enthusiasts. Remember, even experienced DIYers encounter setbacks from time to time. The key is to learn from your mistakes and keep trying. Sometimes, a little experimentation and creativity are all it takes to find a solution that works for you.
Can I modify these DIY hacks to suit my specific needs?
Absolutely! These DIY hacks are meant to be a starting point, not a rigid set of rules. Feel free to experiment and adapt them to your specific needs and preferences. For example, if you’re using a DIY cleaning solution, you might want to adjust the proportions of the ingredients to make it stronger or weaker. Or, if you’re repurposing old materials, you might want to use different colors or patterns to match your home decor. The possibilities are endless! The most important thing is to have fun and let your creativity shine. Just be sure to prioritize safety and choose materials that are appropriate for the task at hand.
Where can I find more DIY hack ideas?
The internet is a treasure trove of DIY inspiration! Websites like Pinterest, YouTube, and Instructables are filled with countless DIY projects and tutorials. You can also find DIY ideas in magazines, books, and blogs. Look for resources that focus on your specific interests, such as home improvement, gardening, crafting, or cooking. Don’t be afraid to explore different sources and experiment with new ideas. The more you learn, the more confident and creative you’ll become. And remember, the best DIY ideas often come from unexpected places, so keep your eyes open and be inspired by the world around you.
How can I share my own DIY hack ideas with others?
Sharing your DIY hack ideas is a great way to inspire others and contribute to the DIY community. You can share your ideas on social media platforms like Instagram, Facebook, and Twitter. You can also create a blog or YouTube channel to showcase your projects in more detail. Consider joining online forums or communities dedicated to DIY and share your tips and tricks with other enthusiasts. When sharing your ideas, be sure to provide clear instructions, helpful photos or videos, and any relevant safety information. And don’t forget to give credit to the original source if you’re inspired by someone else’s work. By sharing your knowledge and experiences, you can help others discover the joy of DIY and create a more resourceful and creative world.
Leave a Comment