
Clean Burnt Pan Easily? Absolutely! We’ve all been there – distracted by a phone call, engrossed in a conversation, or simply lost in thought, only to be jolted back to reality by the acrid smell of a burning pan. Ugh! It’s a kitchen nightmare, right? But don’t despair! Before you resign yourself to hours of scrubbing (or worse, tossing that beloved pan), I’m here to share some incredible DIY tricks that will have your burnt cookware sparkling again in no time.
Throughout history, resourceful cooks have developed ingenious methods for tackling kitchen mishaps. From using wood ash in ancient times to the modern-day reliance on baking soda, the quest to clean burnt pan easily has been a constant. These aren’t just cleaning hacks; they’re a testament to human ingenuity and our determination to preserve our precious kitchen tools.
Why do you need these DIY tricks? Because let’s face it, nobody enjoys scrubbing burnt food! These methods save you time, energy, and potentially the life of your favorite pan. Plus, many of these solutions use common household ingredients, making them budget-friendly and readily accessible. I’m excited to show you how to reclaim your cookware and get back to enjoying the art of cooking without the fear of burnt-on messes!
How to Clean a Burnt Pan Like a Pro (Without the Elbow Grease!)
Okay, let’s be honest, we’ve all been there. You’re cooking up a storm, get distracted for a minute (or ten!), and suddenly your pan is sporting a lovely layer of burnt-on gunk. Don’t panic! Before you resign yourself to hours of scrubbing, I’m going to share my tried-and-true methods for cleaning even the most stubbornly burnt pans. These techniques are gentle on your cookware and your sanity.
What You’ll Need: Your Arsenal Against Burnt Food
Before we dive in, let’s gather our supplies. The beauty of these methods is that you probably already have most of these items in your pantry!
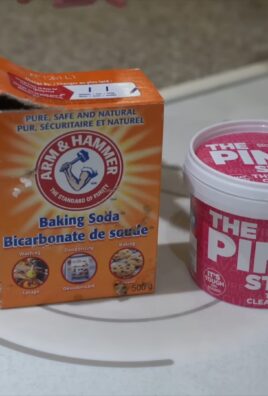
* **Baking Soda:** This is your best friend for tackling burnt messes. It’s a mild abrasive that helps lift the burnt food without scratching your pan.
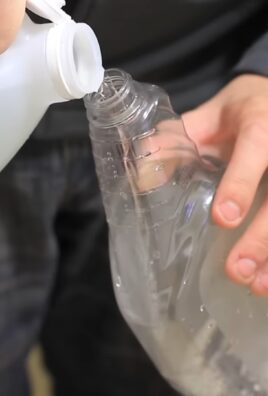
* **White Vinegar:** The acidity of vinegar helps to loosen the burnt residue.
* **Dish Soap:** A good quality dish soap will help cut through any grease and grime.
* **Water:** Essential for all the cleaning solutions.
* **Scrubbing Tools:**
* **Non-Scratch Sponge:** Crucial for protecting the surface of your pan.
* **Nylon Scrubber:** For tougher spots, a nylon scrubber can provide a little extra oomph.
* **Wooden Spoon or Spatula:** To gently scrape off loosened debris.
* **Optional but Helpful:**
* **Paper Towels:** For soaking up excess liquid and wiping away loosened residue.
* **Rubber Gloves:** To protect your hands from harsh chemicals (if you choose to use them) and hot water.
* **Old Toothbrush:** For getting into tight corners and crevices.
Method 1: The Baking Soda and Vinegar Power Couple
This is my go-to method for most burnt pans. It’s effective, gentle, and uses ingredients you likely already have.
1. **Assess the Damage:** Take a good look at your pan. How thick is the burnt layer? This will help you determine how long to let the solution soak.
2. **Coat the Burnt Area:** Generously sprinkle baking soda over the entire burnt area of the pan. You want a good, thick layer.
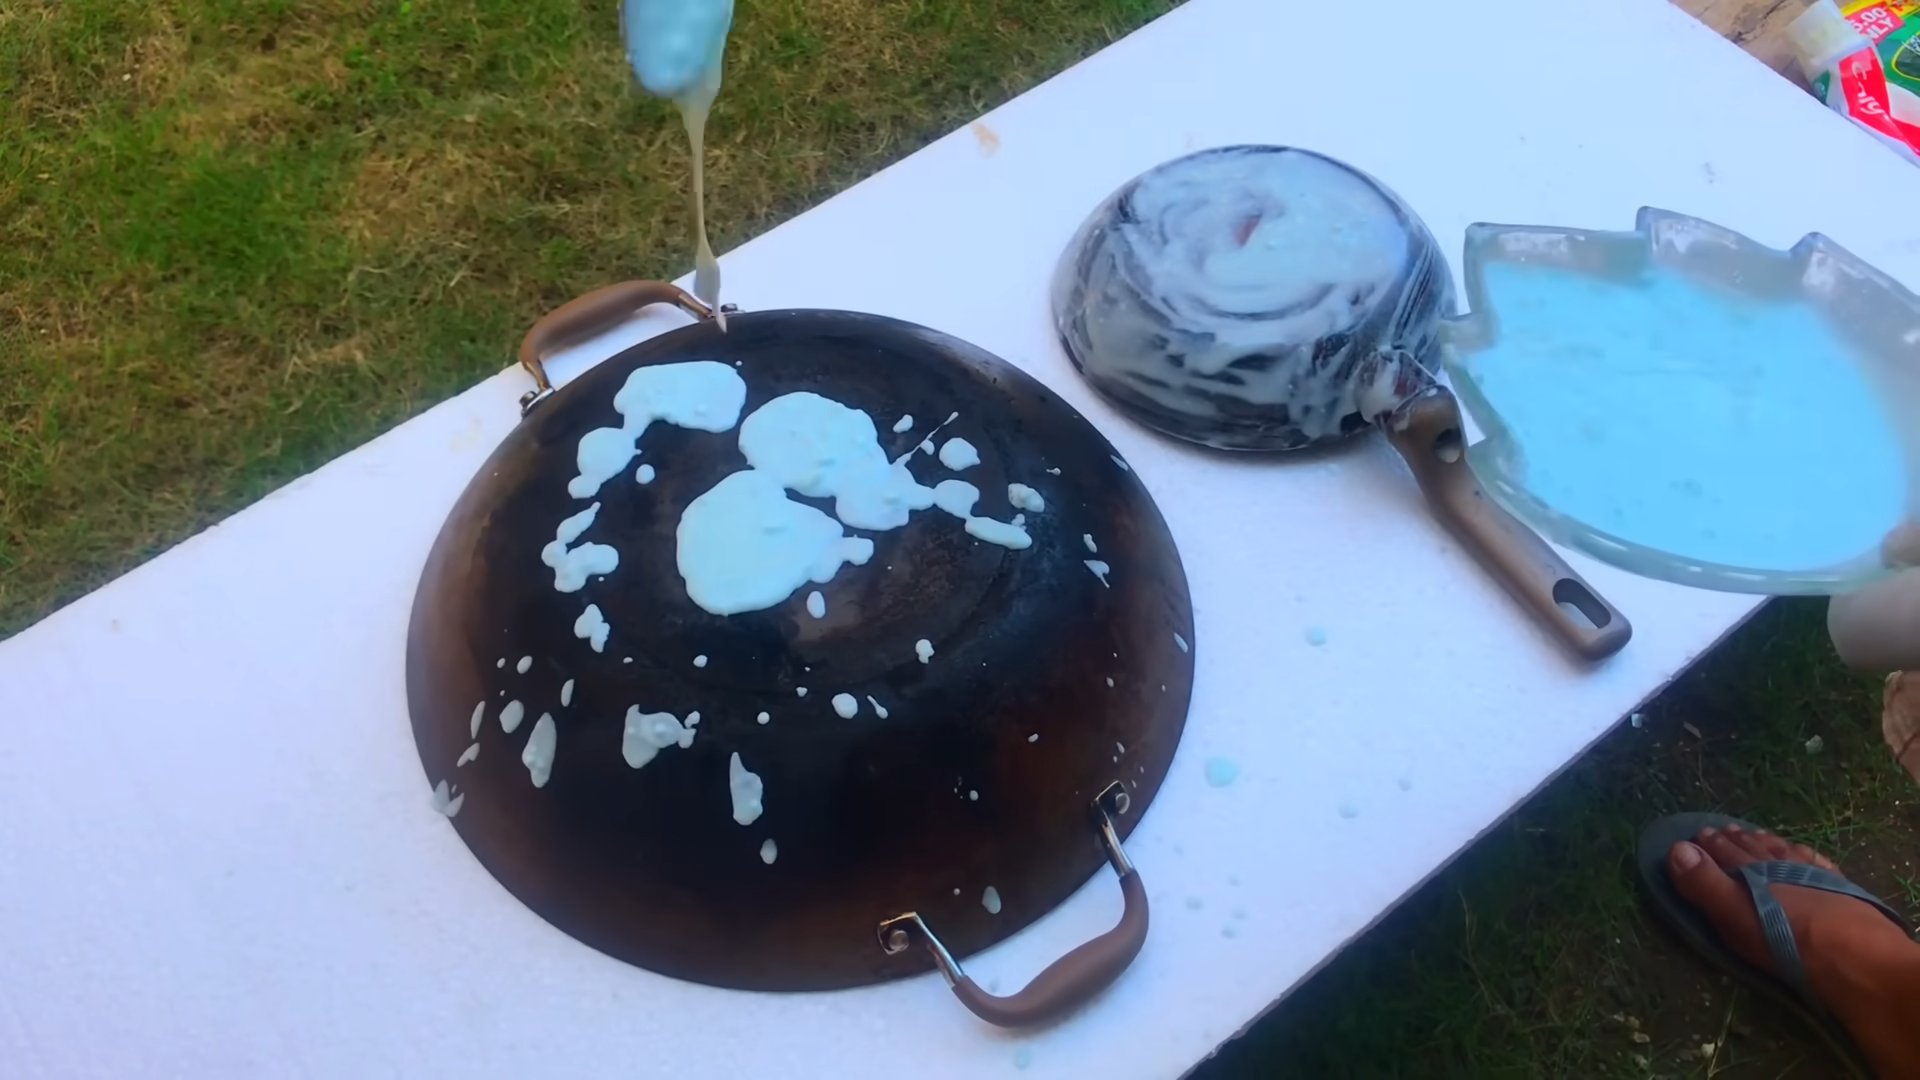
3. **Vinegar Time!:** Slowly pour white vinegar over the baking soda. You’ll see it fizz – that’s the magic happening! Add enough vinegar to cover the baking soda and create a paste.
4. **Let it Soak:** This is the key! Let the baking soda and vinegar mixture sit for at least 30 minutes. For really stubborn burns, you can let it soak for several hours or even overnight. The longer it soaks, the easier the burnt food will lift.
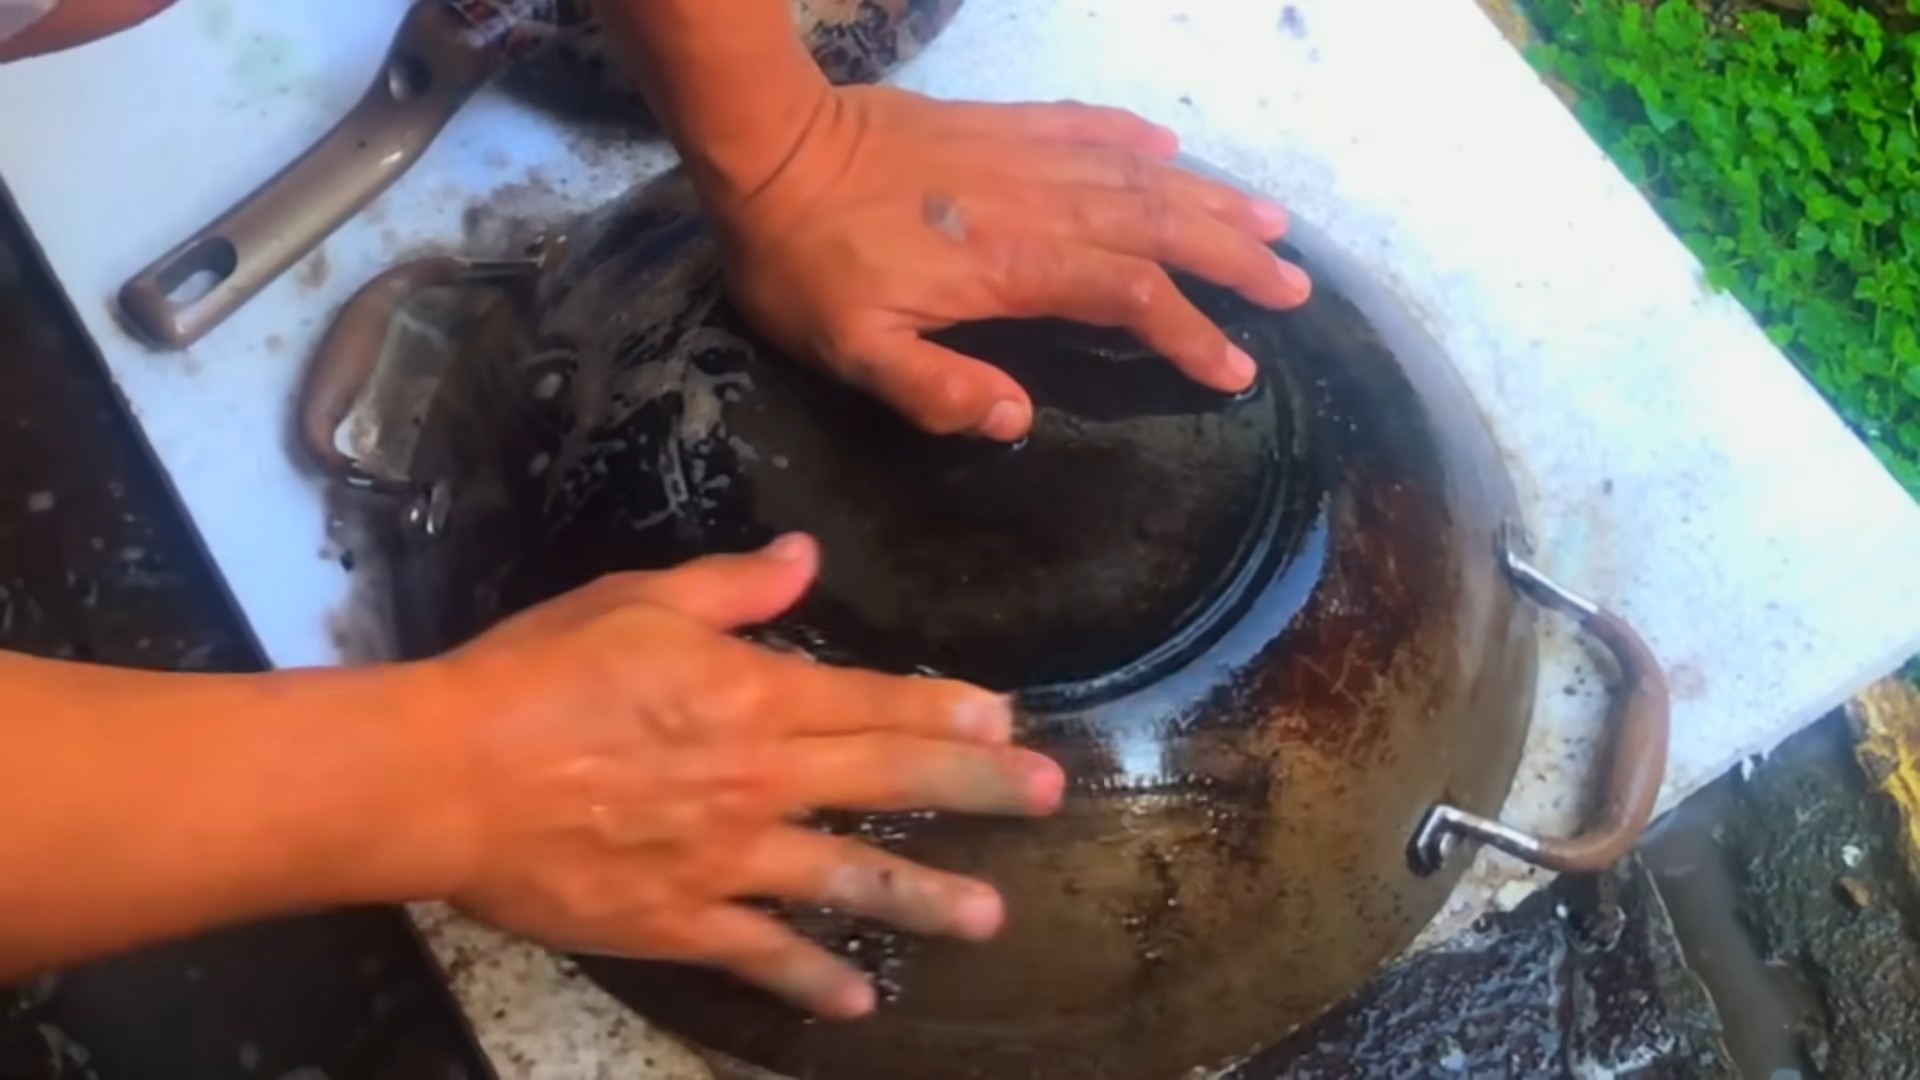
5. **Gentle Scrubbing:** After soaking, use a non-scratch sponge or nylon scrubber to gently scrub the burnt area. You should see the burnt food starting to loosen and lift. Use a circular motion and apply gentle pressure.
6. **Rinse and Repeat (If Necessary):** Rinse the pan with warm water. If there are still some stubborn spots, repeat steps 2-5. Don’t be afraid to give it another go!
7. **Wash with Dish Soap:** Once you’ve removed the majority of the burnt food, wash the pan with dish soap and warm water to remove any remaining residue and baking soda.
8. **Dry Thoroughly:** Dry the pan completely to prevent rust or water spots.
Method 2: The Boiling Water and Baking Soda Solution
This method is great for pans with a thinner layer of burnt food or for pans that can withstand high heat.
1. **Fill the Pan with Water:** Fill the burnt pan with enough water to cover the burnt area.
2. **Add Baking Soda:** Add 2 tablespoons of baking soda per cup of water.
3. **Bring to a Boil:** Place the pan on the stove and bring the water to a boil.
4. **Simmer and Scrape:** Let the mixture simmer for 10-15 minutes, gently scraping the burnt areas with a wooden spoon or spatula as the water boils. You should see the burnt food loosening.
5. **Cool and Scrub:** Remove the pan from the heat and let it cool slightly. Once it’s cool enough to handle, pour out the water and scrub the pan with a non-scratch sponge or nylon scrubber.
6. **Wash with Dish Soap:** Wash the pan with dish soap and warm water to remove any remaining residue.
7. **Dry Thoroughly:** Dry the pan completely.
Method 3: The Dish Soap and Dryer Sheet Trick (Yes, Really!)
This might sound a little strange, but trust me, it works! This method is particularly good for loosening stubborn, stuck-on food.
1. **Place a Dryer Sheet in the Pan:** Put a dryer sheet (used or new) in the burnt pan.
2. **Add Dish Soap and Water:** Squirt a generous amount of dish soap into the pan and fill it with warm water.
3. **Let it Soak (Overnight is Best):** Let the pan soak overnight. The enzymes in the dryer sheet help to break down the burnt food.
4. **Scrub and Rinse:** In the morning, remove the dryer sheet and scrub the pan with a non-scratch sponge. You should find that the burnt food comes off much easier.
5. **Wash with Dish Soap:** Wash the pan with dish soap and warm water to remove any remaining residue.
6. **Dry Thoroughly:** Dry the pan completely.
Method 4: The Ketchup Clean-Up (For Stainless Steel)
This method is surprisingly effective for stainless steel pans with burnt-on food. The acidity in ketchup helps to break down the burnt residue.
1. **Coat the Burnt Area:** Cover the burnt area of the pan with a thick layer of ketchup.
2. **Let it Sit:** Let the ketchup sit for at least 30 minutes, or even longer for tougher burns.
3. **Scrub and Rinse:** Scrub the pan with a non-scratch sponge or nylon scrubber. The burnt food should come off relatively easily.
4. **Wash with Dish Soap:** Wash the pan with dish soap and warm water to remove any remaining ketchup residue.
5. **Dry Thoroughly:** Dry the pan completely.
Important Considerations for Different Types of Pans
* **Non-Stick Pans:** Be extra careful when cleaning non-stick pans. Avoid using abrasive scrubbers or harsh chemicals, as these can damage the non-stick coating. Stick to the baking soda and vinegar method or the dish soap and dryer sheet trick. Always use a non-scratch sponge.
* **Stainless Steel Pans:** Stainless steel pans are more durable and can withstand more aggressive cleaning methods. However, avoid using steel wool, as it can scratch the surface. The baking soda and vinegar method, the boiling water and baking soda solution, and the ketchup method all work well on stainless steel.
* **Cast Iron Pans:** Cleaning burnt food from cast iron pans requires a slightly different approach. Avoid using soap, as it can strip the seasoning. Instead, use a chainmail scrubber or a stiff brush to remove the burnt food. After cleaning, re-season the pan by coating it with a thin layer of oil and baking it in the oven.
* **Enameled Cast Iron Pans:** These pans are more delicate than regular cast iron. Use the baking soda and vinegar method or the boiling water and baking soda solution. Avoid using abrasive scrubbers, as they can scratch the enamel coating.
Preventing Future Burnt Pan Disasters
Prevention is always better than cure! Here are a few tips to help you avoid future burnt pan incidents:
* **Keep a Close Eye on Your Cooking:** This seems obvious, but it’s the most important tip! Don’t get distracted while you’re cooking, especially when using high heat.
* **Use the Right Heat Setting:** Avoid using excessively high heat, as this increases the risk of burning.
* **Stir Frequently:** Stirring your food regularly helps to prevent it from sticking to the bottom of the pan and burning.
* **Add Liquid When Necessary:** If your food starts to dry out, add a little bit of liquid (water, broth, etc.) to prevent it from burning.
* **Clean Your Pans Immediately After Use:** The longer you wait to clean your pans, the harder it will be to remove burnt food.
By following these tips and techniques, you can keep your pans sparkling clean and avoid the dreaded burnt pan blues! Happy cooking (and cleaning!).
Conclusion
So, there you have it! No more dreading the sight of a burnt pan lurking in your sink. This simple, effective, and surprisingly affordable DIY trick to clean burnt pan easily is a game-changer for any home cook. We’ve all been there – distracted by a phone call, engrossed in a conversation, or simply misjudging the heat, resulting in a blackened, seemingly irreparable mess. But before you resign yourself to hours of scrubbing or, worse, tossing the pan altogether, give this method a try.
The beauty of this technique lies in its simplicity. You likely already have the necessary ingredients in your pantry: baking soda, vinegar, and water. These common household staples, when combined in the right way, create a powerful cleaning solution that gently lifts away even the most stubborn burnt-on food particles. No harsh chemicals, no elbow grease required – just a little patience and the magic of science.
But the benefits extend beyond just ease of use. This DIY approach is also environmentally friendly, reducing your reliance on potentially harmful commercial cleaning products. Plus, it’s incredibly cost-effective, saving you money in the long run. Think of all the pans you’ve prematurely discarded due to burnt residue – this trick could extend the life of your cookware significantly!
Looking to customize the process? Consider these variations:
* Lemon Power: For an extra boost of cleaning power and a fresh scent, add a few slices of lemon to the water and vinegar mixture while simmering. The citric acid in lemon acts as a natural degreaser and can help to break down stubborn stains.
* Dish Soap Enhancement: A squirt of dish soap can be added to the baking soda paste for particularly challenging burnt areas. The soap helps to emulsify grease and further loosen the burnt residue.
* Oven Cleaner Alternative: While we advocate for this gentler method, for extremely stubborn cases, a *very small* amount of oven cleaner (following all safety precautions, of course!) can be used as a last resort, but always test a small, inconspicuous area first. However, we strongly recommend trying our DIY method multiple times before resorting to harsh chemicals.
This isn’t just about cleaning a pan; it’s about reclaiming your time, saving money, and reducing your environmental impact. It’s about transforming a frustrating chore into a manageable task. It’s about feeling empowered in your kitchen and confident in your ability to tackle any cooking mishap.
We’re confident that this DIY trick will become your go-to solution for cleaning burnt pans. But don’t just take our word for it – try it yourself! We encourage you to experiment with the variations, adapt the method to your specific needs, and most importantly, share your experience with us. Let us know what worked best for you, any tips or tricks you discovered along the way, and how this DIY solution has transformed your kitchen cleaning routine. Share your before-and-after photos, your success stories, and your creative adaptations. Together, we can build a community of confident cooks who are no longer intimidated by the dreaded burnt pan. So go ahead, give it a try, and let us know what you think! You’ll be amazed at how easy it is to clean burnt pan easily and restore your cookware to its former glory.
Frequently Asked Questions
What kind of pans does this DIY trick work on?
This method is generally safe and effective for most types of cookware, including stainless steel, enamel-coated, and even some non-stick pans. However, it’s always a good idea to test a small, inconspicuous area first, especially with delicate or antique cookware. Avoid using this method on cast iron pans, as the acidity of the vinegar can strip the seasoning. For cast iron, a different cleaning approach is recommended.
How long should I simmer the water, vinegar, and baking soda mixture?
The simmering time depends on the severity of the burnt residue. Start with 10-15 minutes and check the pan periodically. If the burnt food is still clinging stubbornly, continue simmering for another 5-10 minutes. Be sure to keep an eye on the water level and add more if necessary to prevent the pan from drying out.
What if the burnt residue is still stuck after simmering and scrubbing?
For particularly stubborn burnt areas, you can create a paste of baking soda and water (or dish soap) and apply it directly to the affected areas. Let the paste sit for several hours or even overnight before scrubbing again. You can also try using a non-abrasive scouring pad or a plastic scraper to gently lift the burnt residue. Avoid using steel wool or abrasive cleaners, as they can scratch the surface of your pan.
Can I use this method on non-stick pans?
Yes, this method can be used on non-stick pans, but with caution. Avoid using abrasive scrubbing pads or harsh chemicals, as they can damage the non-stick coating. Use a soft sponge or cloth and gently scrub the burnt residue. If the burnt food is particularly stubborn, you may need to repeat the simmering and scrubbing process several times.
Is vinegar safe to use on all types of cookware?
While vinegar is generally safe for most cookware, it’s best to avoid using it on cast iron pans, as the acidity can strip the seasoning. Also, be cautious when using vinegar on aluminum cookware, as it can cause discoloration. Always test a small, inconspicuous area first before applying vinegar to the entire pan.
How often can I use this DIY cleaning trick?
You can use this method as often as needed to keep your pans clean and free of burnt residue. However, it’s important to avoid over-scrubbing, as this can damage the surface of your cookware. If you find yourself constantly dealing with burnt pans, consider adjusting your cooking techniques or using lower heat settings.
What are some preventative measures I can take to avoid burning food in the first place?
Prevention is always better than cure! Here are a few tips to avoid burning food:
* Use the correct heat setting for the type of food you’re cooking.
* Stir food frequently to prevent it from sticking to the bottom of the pan.
* Add liquid (water, broth, or sauce) to the pan to keep food moist.
* Don’t leave food unattended while cooking.
* Use a timer to remind you to check on the food.
* Invest in high-quality cookware that distributes heat evenly.
Can I use this method to clean other burnt items besides pans?
Yes, this method can also be used to clean other burnt items, such as baking sheets, casserole dishes, and even oven racks. Simply adjust the amount of water, vinegar, and baking soda accordingly. For larger items, you may need to soak them in a solution of water, vinegar, and baking soda in a large tub or sink.
What if I don’t have vinegar? Can I use something else?
While vinegar is the most effective ingredient in this DIY cleaning trick, you can try substituting it with lemon juice. Lemon juice contains citric acid, which has similar cleaning properties to vinegar. Use the same amount of lemon juice as you would vinegar in the recipe.
How do I prevent my pans from rusting after cleaning?
After cleaning your pans, be sure to dry them thoroughly with a clean towel. You can also place them in a warm oven for a few minutes to ensure they are completely dry. For stainless steel pans, you can apply a thin layer of cooking oil to prevent rusting. For cast iron pans, it’s essential to re-season them after cleaning to protect them from rust.

Leave a Comment