
Chili plant home gardening tips – are you ready to turn up the heat in your garden and your kitchen? Imagine plucking vibrant, fiery chilies straight from your backyard, ready to spice up your favorite dishes. Forget those bland, store-bought peppers; with a few simple tricks, you can cultivate a thriving chili garden, even if you’re a complete beginner!
For centuries, chilies have been more than just a food source; they’ve been woven into the cultural fabric of civilizations worldwide. From ancient Mesoamerica, where they were first cultivated, to the fiery curries of India and the vibrant salsas of Mexico, chilies have added flavor and zest to countless cuisines. Growing your own is a way to connect with this rich history and bring a touch of global flavor to your table.
But why bother with chili plant home gardening tips? Well, for starters, it’s incredibly rewarding! There’s nothing quite like the satisfaction of nurturing a plant from seed to harvest. Plus, homegrown chilies often taste far superior to anything you can buy in the supermarket. And let’s be honest, who wouldn’t want to impress their friends and family with their green thumb and spicy creations? I’m here to guide you through the process with easy-to-follow DIY hacks that will have you harvesting a bumper crop of chilies in no time. Let’s get started!
Growing Fiery Friends: Your Ultimate Guide to DIY Chili Plant Home Gardening
Hey fellow spice enthusiasts! Ever dreamt of harvesting your own vibrant, flavorful chilies right from your backyard (or balcony!)? Well, dream no more! I’m here to guide you through the exciting journey of growing your own chili plants at home. It’s easier than you think, and the rewards are oh-so-delicious. Let’s get started!
Choosing Your Chili Variety
Before we dive into the nitty-gritty, let’s talk chilies! The world of chili peppers is vast and varied, ranging from mild and sweet to scorching hot. Choosing the right variety is crucial for a successful and enjoyable gardening experience.
* Consider your spice tolerance: Are you a fan of gentle warmth or fiery infernos? This will heavily influence your choice. Jalapeños and poblanos are great for beginners, while habaneros and ghost peppers are for the seasoned spice veterans.
* Think about your climate: Some chili varieties thrive in warmer climates, while others are more tolerant of cooler temperatures. Research which varieties are best suited for your region.
* Space constraints: If you’re gardening in a small space, opt for compact chili varieties that won’t take over your entire garden.
* End use: Are you planning to make hot sauce, chili powder, or simply enjoy fresh chilies in your meals? This can also influence your choice.
Here are a few popular chili varieties to get you started:
* Jalapeño: A classic choice, known for its moderate heat and versatility.
* Serrano: Slightly hotter than jalapeños, with a bright, grassy flavor.
* Cayenne: A popular choice for making chili powder and hot sauce.
* Habanero: Known for its intense heat and fruity flavor.
* Poblano: Mild and flavorful, perfect for stuffing.
* Bell Pepper: While technically not a chili, they are in the same family and a great option for those who don’t like spice.
Getting Started: Seeds vs. Seedlings
You have two main options for starting your chili plants: from seeds or from seedlings. Both have their pros and cons.
* Seeds: Starting from seeds is more economical and allows you to choose from a wider variety of chili types. However, it requires more time and effort, as you’ll need to germinate the seeds and nurture the seedlings until they’re ready to be transplanted.
* Seedlings: Buying seedlings from a nursery is a quicker and easier option. You’ll skip the germination process and have a head start on the growing season. However, you’ll have fewer variety choices and it can be more expensive.
I personally love the satisfaction of starting from seeds, but if you’re short on time or new to gardening, seedlings might be a better choice.
Starting from Seeds: A Step-by-Step Guide
If you’re going the seed route, here’s how to get started:
1. Soaking the Seeds: Soak your chili seeds in warm water for 12-24 hours before planting. This helps to soften the seed coat and speed up germination. I usually use a small bowl or cup and make sure the water covers all the seeds.
2. Preparing the Seed Starting Mix: Use a seed starting mix, which is a lightweight and well-draining soil specifically formulated for seedlings. Avoid using regular garden soil, as it can be too heavy and compact. You can buy seed starting mix at most garden centers, or you can make your own by mixing equal parts peat moss, vermiculite, and perlite.
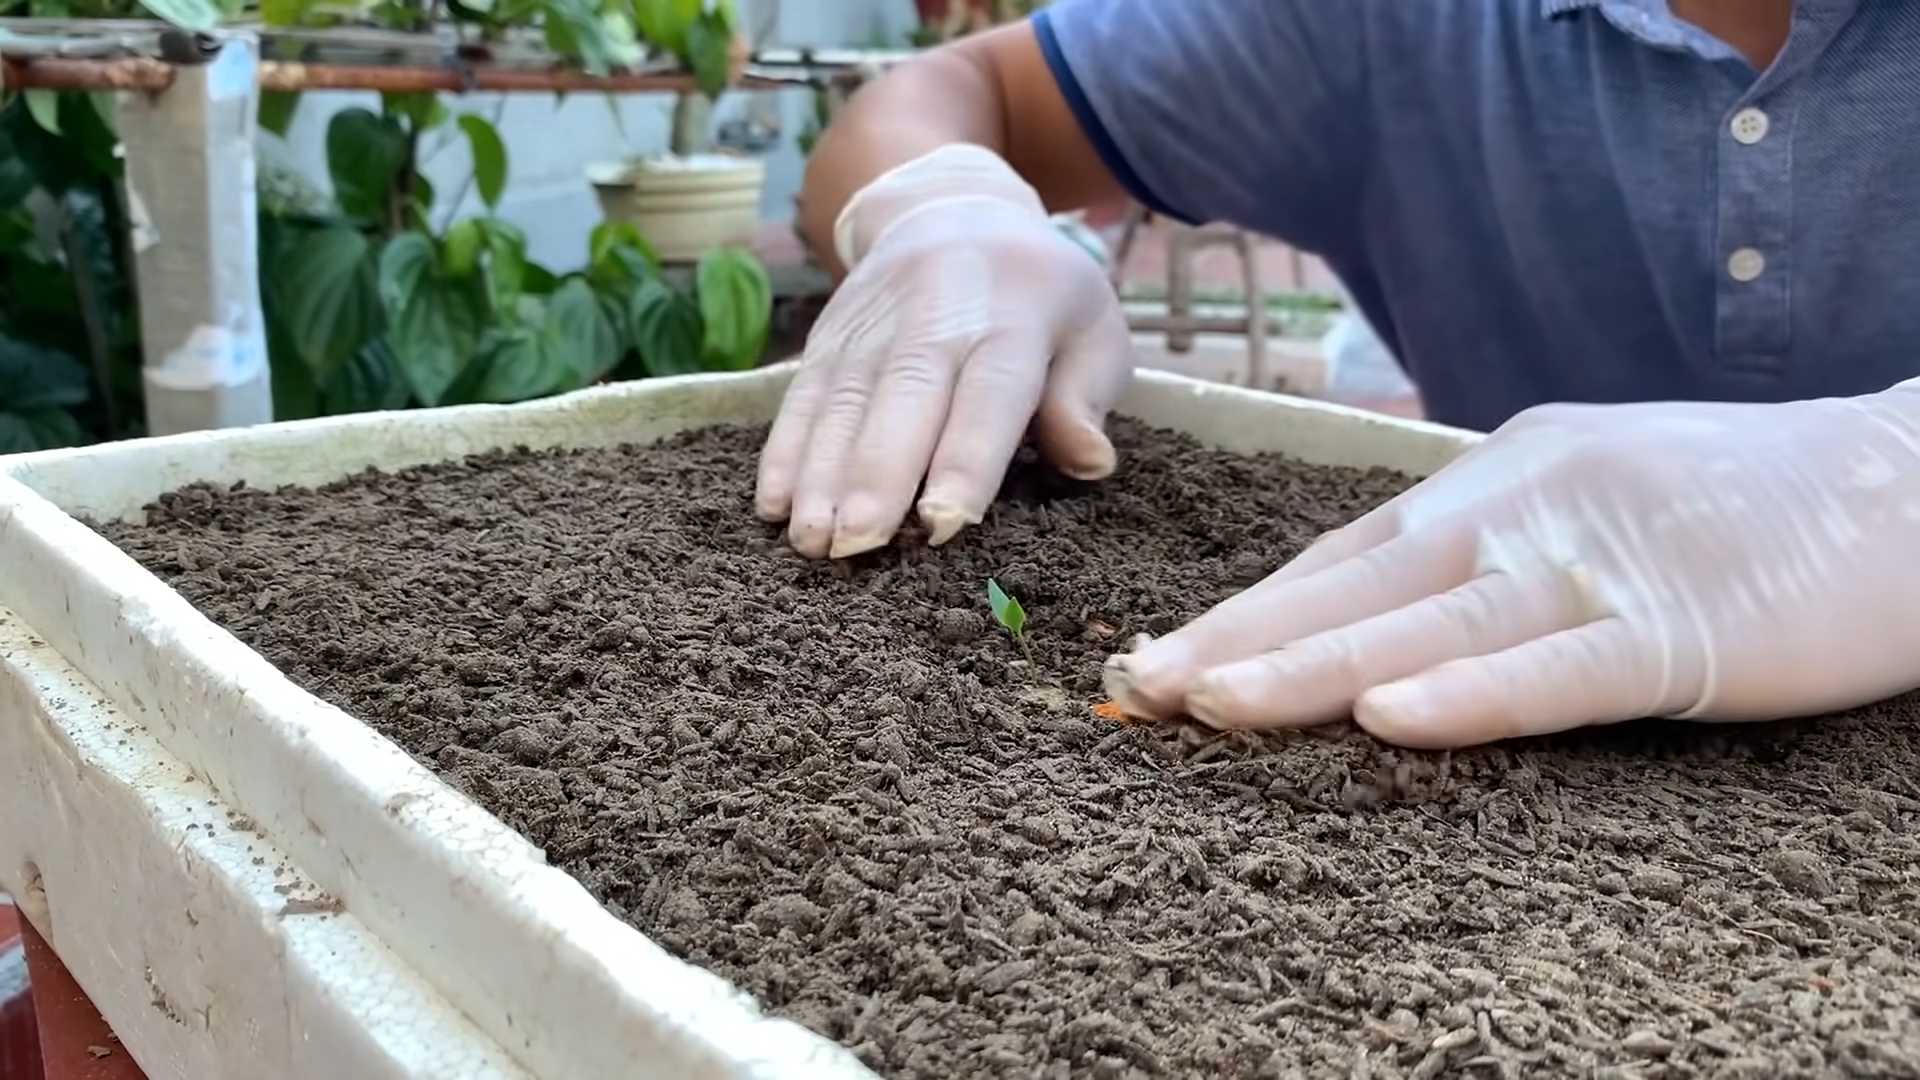
3. Planting the Seeds: Fill small pots or seed trays with the seed starting mix. Make a small indentation (about 1/4 inch deep) in the center of each pot or cell. Place one or two seeds in each indentation and gently cover with soil.
4. Watering: Water the soil gently using a spray bottle or watering can with a fine rose. The soil should be moist but not soggy.
5. Providing Warmth and Light: Chili seeds need warmth to germinate. Place the pots or trays in a warm location, such as a sunny windowsill or a heat mat. You can also cover the pots with a plastic dome or plastic wrap to create a humid environment. Once the seedlings emerge, they’ll need plenty of light. If you don’t have a sunny windowsill, you can use a grow light.
6. Germination Time: Germination can take anywhere from 7 to 21 days, depending on the chili variety and the temperature. Be patient and keep the soil moist.
7. Thinning Seedlings: Once the seedlings have developed their first true leaves (the second set of leaves), thin them out by removing the weaker seedlings, leaving only one strong seedling per pot or cell.
Transplanting Seedlings or Planting Purchased Seedlings
Whether you’ve grown your own seedlings or purchased them from a nursery, it’s time to transplant them into larger pots or directly into your garden.
1. Choosing the Right Pot or Location: Chili plants need plenty of sunlight and well-draining soil. If you’re growing in pots, choose pots that are at least 5 gallons in size. If you’re planting in the garden, choose a location that gets at least 6-8 hours of sunlight per day.
2. Preparing the Soil: Amend the soil with compost or other organic matter to improve drainage and fertility. Chili plants prefer slightly acidic soil with a pH of 6.0-6.8.
3. Transplanting: Gently remove the seedlings from their pots or trays. If the roots are pot-bound (tightly circling the pot), gently loosen them before planting. Dig a hole that is slightly larger than the root ball. Place the seedling in the hole and backfill with soil. Water thoroughly.
4. Spacing: Space chili plants about 18-24 inches apart in the garden. This will allow them to have enough room to grow and prevent overcrowding.
Caring for Your Chili Plants: The Key to a Bountiful Harvest
Now that your chili plants are in their new homes, it’s time to provide them with the care they need to thrive.
1. Watering: Water your chili plants regularly, especially during hot, dry weather. The soil should be moist but not soggy. Avoid overwatering, as this can lead to root rot. I usually check the soil moisture by sticking my finger about an inch deep. If it feels dry, it’s time to water.
2. Fertilizing: Chili plants are heavy feeders and need regular fertilization to produce a good crop. Use a balanced fertilizer (such as 10-10-10) every 2-3 weeks. You can also use a fertilizer specifically formulated for tomatoes and peppers.
3. Sunlight: Chili plants need at least 6-8 hours of sunlight per day. If you’re growing in pots, move them to a sunny location.
4. Pruning: Pruning can help to improve air circulation and encourage bushier growth. Remove any yellowing or dead leaves. You can also pinch off the tips of the branches to encourage more branching.
5. Pest and Disease Control: Chili plants can be susceptible to pests such as aphids, spider mites, and whiteflies. Inspect your plants regularly for signs of infestation. You can control pests with insecticidal soap or neem oil. Chili plants can also be susceptible to diseases such as blossom end rot and fungal infections. Prevent these problems by providing good air circulation, avoiding overwatering, and using a fungicide if necessary.
6. Support: As your chili plants grow, they may need support to prevent them from falling over. Use stakes or cages to support the plants. This is especially important for taller varieties.
Dealing with Common Chili Plant Problems
Even with the best care, you might encounter some problems along the way. Here are a few common issues and how to address them:
* Blossom End Rot: This is a common problem that causes the bottom of the chili to rot. It’s usually caused by a calcium deficiency. To prevent blossom end rot, make sure your soil is rich in calcium and water your plants regularly. You can also add calcium to the soil by using bone meal or eggshells.
* Aphids: These tiny pests can suck the sap from your chili plants, causing them to weaken and yellow. You can control aphids with insecticidal soap or neem oil.
* Spider Mites: These tiny pests can also suck the sap from your chili plants, causing them to develop small, yellow spots. You can control spider mites with insecticidal soap or neem oil.
* Whiteflies: These tiny, white insects can also suck the sap from your chili plants. You can control whiteflies with insecticidal soap or neem oil.
* Fungal Infections: Chili plants can be susceptible to fungal infections such as powdery mildew and leaf spot. Prevent these problems by providing good air circulation, avoiding overwatering, and using a fungicide if
Conclusion
So, there you have it! Mastering the art of growing your own chili plants at home is not only achievable but also incredibly rewarding. This DIY trick, focusing on creating the perfect soil mix and optimizing sunlight exposure, is a game-changer for anyone looking to boost their chili harvest. Forget relying solely on store-bought solutions or generic gardening advice. This method allows you to tailor the growing conditions specifically to your chili plants’ needs, resulting in healthier, more vibrant plants and, of course, a spicier, more abundant yield.
Why is this a must-try? Because it puts you in control. You’re no longer at the mercy of unpredictable weather patterns or the quality of commercially available produce. You’re actively participating in the growth process, nurturing your plants from seed to harvest. The satisfaction of picking your own homegrown chilies, knowing you cultivated them with your own hands, is unparalleled. Plus, you’ll save money in the long run by reducing your reliance on grocery store purchases.
But the beauty of this DIY approach lies in its adaptability. Feel free to experiment with different soil amendments. Try adding bone meal for increased phosphorus, which promotes flowering and fruit development. Or incorporate coffee grounds for a nitrogen boost and improved soil drainage. Consider different varieties of chili plants too! From the mild Anaheim to the fiery Habanero, each variety has its own unique flavor profile and heat level. Don’t be afraid to branch out and discover your favorites. You can even try cross-pollinating different varieties to create your own unique chili hybrids!
Sunlight is key, but remember that too much direct sunlight can scorch the leaves, especially in hotter climates. If you live in a particularly sunny area, consider providing some afternoon shade for your plants. Conversely, if you live in a cooler climate, you might want to invest in a grow light to supplement natural sunlight.
The key takeaway is to observe your plants closely. Pay attention to their leaves, their growth patterns, and the color of their chilies. These are all clues that will tell you whether you’re on the right track. Adjust your watering schedule, your fertilization routine, and your sunlight exposure as needed.
We wholeheartedly encourage you to give this DIY chili plant home gardening trick a try. It’s a fun, educational, and ultimately delicious experience. And once you’ve harvested your first batch of homegrown chilies, don’t forget to share your success (and your favorite chili recipes!) with us in the comments below. We’d love to hear about your experiences, your challenges, and your triumphs. Let’s build a community of chili-growing enthusiasts and learn from each other. Happy growing!
Frequently Asked Questions (FAQ)
What type of soil is best for chili plants?
The ideal soil for chili plants is well-draining, nutrient-rich, and slightly acidic (pH 6.0-6.8). A good starting point is a mix of equal parts potting soil, compost, and perlite or vermiculite. The potting soil provides a base, the compost adds essential nutrients and improves soil structure, and the perlite or vermiculite enhances drainage and aeration. Avoid using garden soil directly, as it can be too heavy and may contain pests or diseases. You can also amend your soil with aged manure or worm castings for an extra boost of nutrients. Remember to test your soil pH regularly and adjust as needed using lime to raise the pH or sulfur to lower it.
How much sunlight do chili plants need?
Chili plants are sun-loving and require at least 6-8 hours of direct sunlight per day to thrive. Insufficient sunlight can lead to leggy growth, reduced flowering, and smaller, less flavorful chilies. If you’re growing your chili plants indoors, place them near a south-facing window or use grow lights to supplement natural sunlight. Rotate your plants regularly to ensure even light exposure on all sides. If you live in a hot climate, providing some afternoon shade can prevent the leaves from scorching.
How often should I water my chili plants?
Water your chili plants deeply and regularly, allowing the soil to dry out slightly between waterings. Overwatering can lead to root rot, while underwatering can stress the plants and reduce their yield. The frequency of watering will depend on factors such as the weather, the type of soil, and the size of the pot. Check the soil moisture by sticking your finger about an inch into the soil. If it feels dry, it’s time to water. Water at the base of the plant to avoid wetting the leaves, which can increase the risk of fungal diseases. During hot, dry weather, you may need to water your plants daily.
What are some common pests and diseases that affect chili plants?
Chili plants are susceptible to a variety of pests and diseases, including aphids, spider mites, whiteflies, blossom-end rot, and fungal diseases. Regularly inspect your plants for signs of infestation or disease. Aphids, spider mites, and whiteflies can be controlled with insecticidal soap or neem oil. Blossom-end rot, a calcium deficiency, can be prevented by adding calcium to the soil or using a calcium-rich fertilizer. Fungal diseases can be prevented by ensuring good air circulation and avoiding overwatering. If you notice any signs of disease, remove the affected leaves or plants immediately to prevent the spread.
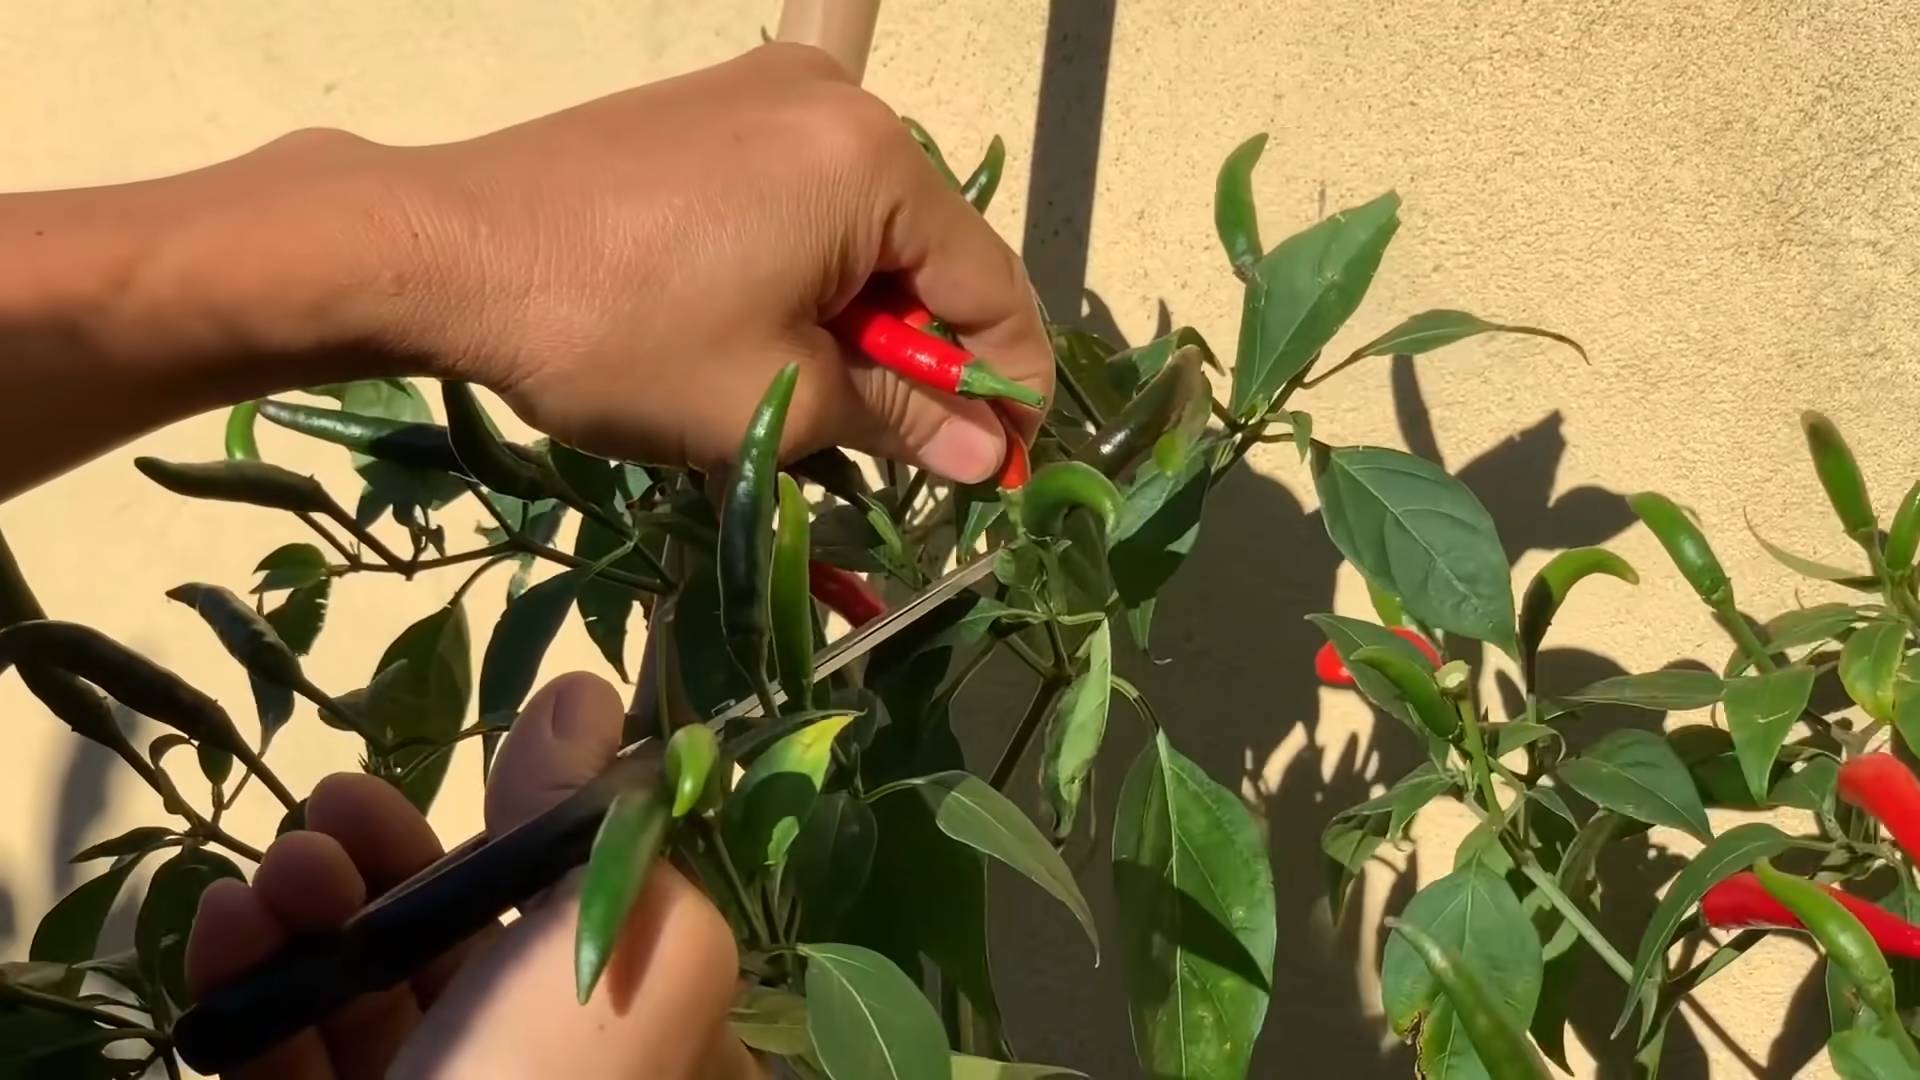
When should I harvest my chilies?
The timing of harvest depends on the variety of chili and your personal preference. Most chilies are ready to harvest when they have reached their mature color and size. Green chilies can be harvested when they are firm and have reached their desired size. Red, yellow, or orange chilies should be allowed to ripen fully on the plant for maximum flavor and heat. Use pruning shears or scissors to cut the chilies from the plant, leaving a small stem attached. Handle the chilies carefully to avoid bruising or damaging them.
Can I grow chili plants indoors?
Yes, you can successfully grow chili plants indoors, provided you provide them with adequate sunlight, warmth, and humidity. Choose a sunny location near a south-facing window or use grow lights to supplement natural sunlight. Maintain a consistent temperature of 70-80°F (21-27°C) during the day and 60-70°F (15-21°C) at night. Increase humidity by misting the plants regularly or placing them on a tray of pebbles filled with water. Use a well-draining potting mix and fertilize regularly with a balanced fertilizer.
What are some good companion plants for chili plants?
Companion planting can benefit chili plants by attracting beneficial insects, repelling pests, and improving soil health. Some good companion plants for chili plants include basil, tomatoes, carrots, onions, and garlic. Basil repels aphids and whiteflies, while tomatoes provide shade and support. Carrots attract beneficial nematodes that control soil pests. Onions and garlic repel a variety of pests, including aphids, spider mites, and whiteflies.
How do I increase the heat of my chilies?
Several factors can influence the heat level of your chilies, including genetics, growing conditions, and stress. To increase the heat, ensure your plants receive plenty of sunlight and warmth. Avoid overwatering or over-fertilizing, as this can dilute the flavor and heat. Stressing the plants slightly by withholding water for short periods can also increase the heat. Remember that the heat level of a chili is determined by its genetics, so choosing a hotter variety is the most reliable way to ensure a fiery harvest.
How do I save seeds from my chili plants?
Saving seeds from your chili plants is a great way to propagate your favorite varieties and ensure a continuous supply of chilies. Choose healthy, fully ripe chilies from disease-free plants. Cut the chilies open and remove the seeds. Spread the seeds out on a paper towel and allow them to dry completely for several days. Once the seeds are dry, store them in an airtight container in a cool, dark, and dry place. Label the container with the variety of chili and the date of harvest. Seeds can remain viable for several years if stored properly.
What fertilizer should I use for my chili plants?
Chili plants benefit from regular fertilization throughout the growing season. Use a balanced fertilizer with a ratio of 10-10-10 or 14-14-14 during the early stages of growth to promote healthy foliage development. Once the plants begin to flower, switch to a fertilizer with a higher phosphorus content (e.g., 5-10-5) to encourage flowering and fruit production. Avoid over-fertilizing, as this can lead to excessive foliage growth and reduced fruit yield. Follow the instructions on the fertilizer label carefully. You can also supplement with organic fertilizers such as compost tea or fish emulsion.

Leave a Comment