
Baking Soda Salt Cleaning: Unlock the secrets to a sparkling home with two ingredients you probably already have in your pantry! Are you tired of harsh chemicals and expensive cleaning products that promise the world but deliver little? Imagine effortlessly banishing grime, stains, and odors with a simple, eco-friendly solution. This DIY guide will show you how to harness the power of baking soda and salt for a cleaning revolution.
The use of natural ingredients for cleaning isn’t new. In fact, our grandmothers relied on simple remedies like baking soda and salt long before commercial cleaners flooded the market. These time-tested methods are not only effective but also gentle on the environment and your wallet. Think of it as reclaiming a bit of that old-fashioned wisdom for a modern, sparkling home.
Why should you embrace this baking soda salt cleaning hack? Because it’s incredibly versatile! From scrubbing stubborn stovetop stains to freshening up your carpets, the possibilities are endless. Plus, it’s a safer alternative for families with children and pets, reducing exposure to harmful chemicals. I’m excited to share these simple yet powerful techniques that will transform your cleaning routine and leave your home feeling fresh and revitalized. Let’s dive in and discover the magic of baking soda and salt!
DIY Power Cleaner: Baking Soda and Salt Scrub for a Sparkling Home
Hey everyone! I’m always on the lookout for natural and effective cleaning solutions, and I’ve stumbled upon a real winner: a baking soda and salt scrub. This stuff is seriously amazing for tackling tough grime, stubborn stains, and even those burnt-on messes in your oven. Plus, it’s super affordable and uses ingredients you probably already have in your pantry! Let’s get started!
What Makes This Scrub So Effective?
Before we dive into the how-to, let’s quickly chat about why this combination works so well:
* Baking Soda: This is your gentle abrasive. It’s alkaline, which helps to neutralize acids and break down grease and dirt. It’s also a mild deodorizer, leaving things smelling fresh.
* Salt: Salt provides a more aggressive abrasive action than baking soda. It’s great for scrubbing away tougher stains and buildup without being too harsh on most surfaces.
* Water (or other liquid): The liquid acts as a binder, creating a paste that’s easy to apply and work with. You can use plain water, but I often like to add a little dish soap or vinegar for extra cleaning power (more on that later!).
What You’ll Need
* Baking Soda
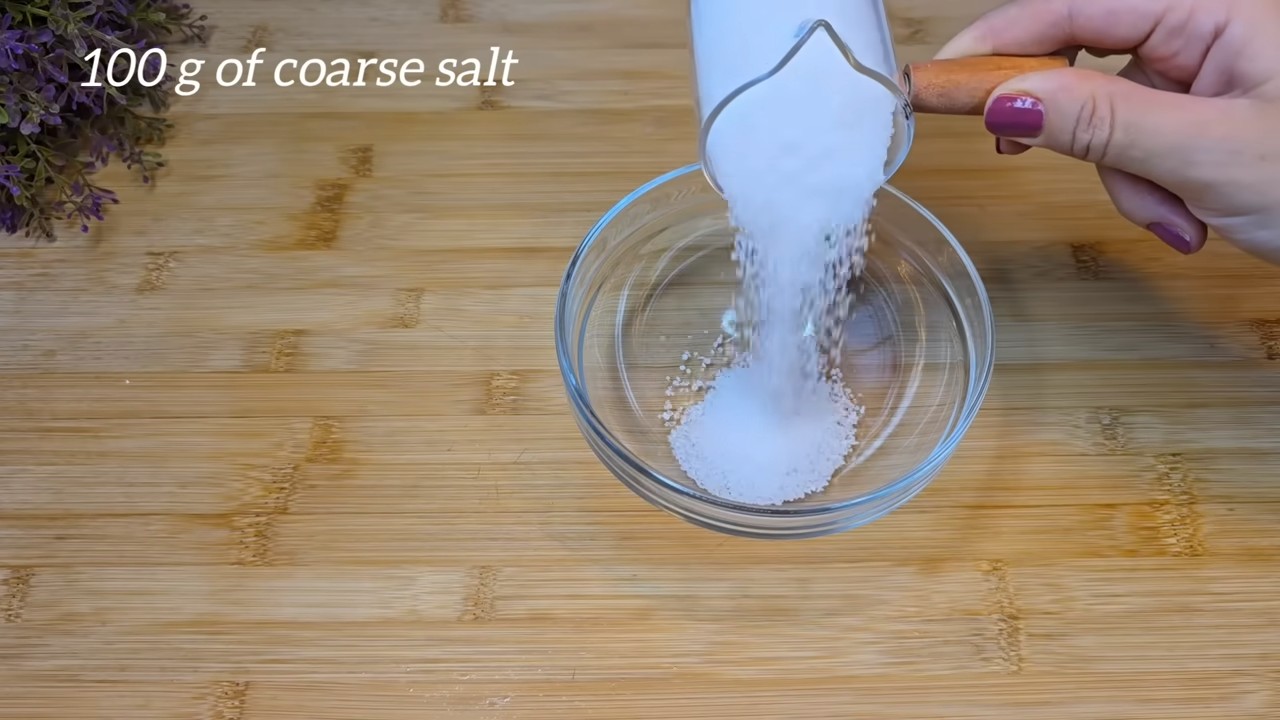
* Salt (Table salt or Kosher salt work fine. I prefer Kosher salt for its larger granules)
* Water (or white vinegar, lemon juice, or dish soap 鈥?your choice!)
* A bowl or container for mixing
* A spoon or spatula for mixing
* A sponge, scrub brush, or cleaning cloth
* Gloves (optional, but recommended, especially if you have sensitive skin)
Step-by-Step Instructions: Making and Using the Scrub
Okay, let’s get down to business! Here’s how to make and use this fantastic cleaning scrub:
1. Gather Your Supplies: Make sure you have everything you need within easy reach. This will make the whole process smoother.
2. Mix the Dry Ingredients: In your bowl or container, combine equal parts baking soda and salt. I usually start with about 1/2 cup of each, but you can adjust the amount depending on the size of the area you’re cleaning.
* For a smaller job, like cleaning a stovetop burner, 1/4 cup of each might be enough.
* For a larger job, like cleaning an oven, you might need a full cup of each.
3. Add Liquid Gradually: Now, slowly add your chosen liquid (water, vinegar, lemon juice, or dish soap) to the dry ingredients. Add it a little at a time, mixing as you go, until you form a thick paste.
* You want the consistency to be like a thick frosting. It should be spreadable but not too runny.
* If you add too much liquid, just add a little more baking soda and salt to thicken it up.
* Important Note: If you’re using vinegar, be prepared for a little fizzing action! This is normal and actually helps to boost the cleaning power.
4. Apply the Scrub: Using your sponge, scrub brush, or cleaning cloth, apply the paste to the surface you want to clean.
* For tough stains or burnt-on messes, apply a generous amount of the paste.
* For general cleaning, a thin layer is usually sufficient.
5. Let it Sit (Optional): For stubborn stains, let the scrub sit on the surface for 10-15 minutes before scrubbing. This gives the baking soda and salt time to work their magic and loosen the grime.
6. Scrub, Scrub, Scrub!: Now comes the fun part! Using your sponge, scrub brush, or cleaning cloth, scrub the surface in a circular motion.
* Apply firm pressure, but be careful not to scratch delicate surfaces.
* For really tough spots, you might need to scrub a little harder or use a more abrasive scrub brush.
7. Rinse Thoroughly: Once you’ve scrubbed away the grime, rinse the surface thoroughly with clean water.
* Make sure to remove all traces of the baking soda and salt paste.
* You might need to rinse multiple times to get everything off.
8. Dry the Surface: Finally, dry the surface with a clean cloth or paper towel.
* This will prevent water spots and leave your surface sparkling clean.
Where to Use This Amazing Scrub
This baking soda and salt scrub is incredibly versatile. Here are some of my favorite places to use it:
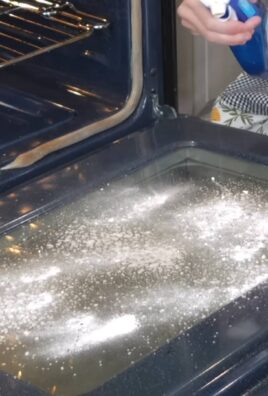
* Oven: This is where this scrub really shines! It’s fantastic for removing burnt-on food and grease from oven walls and racks.
* Stovetop: Say goodbye to greasy stovetop messes! This scrub easily cuts through grease and grime.
* Sink: It’s perfect for cleaning stainless steel or porcelain sinks. It removes water spots, soap scum, and food stains.
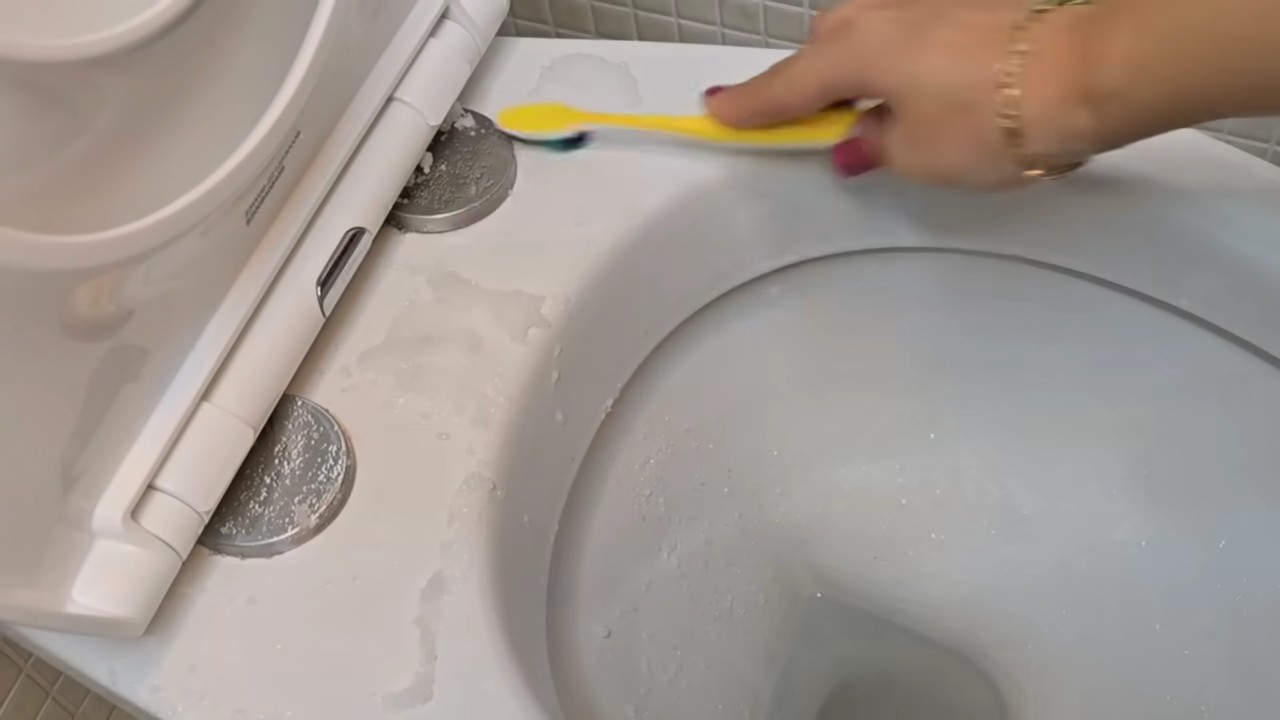
* Tile and Grout: This scrub is great for cleaning tile floors and walls, especially in the bathroom. It helps to remove soap scum and mildew.
* Bathtub and Shower: It’s also effective for cleaning bathtubs and showers. It removes soap scum, hard water stains, and mildew.
* Pots and Pans: Use it to scrub away burnt-on food from pots and pans. Be careful not to use it on non-stick surfaces, as it can scratch them.
* Grills: This scrub works wonders on grill grates! It removes burnt-on food and grease.
* Countertops: It’s safe to use on most countertops, but always test it in an inconspicuous area first. Avoid using it on marble or granite, as it can etch the surface.
Tips and Tricks for Best Results
Here are a few extra tips to help you get the most out of this DIY cleaning scrub:
* Test in an Inconspicuous Area: Before using the scrub on a large or delicate surface, always test it in a small, inconspicuous area first to make sure it doesn’t damage the finish.
* Adjust the Abrasiveness: If you need a more abrasive scrub, use coarser salt, like sea salt. If you need a gentler scrub, use finer salt, like table salt.
* Add Essential Oils: For a pleasant scent, add a few drops of your favorite essential oil to the scrub. Lemon, lavender, and tea tree oil are all great choices.
* Use Warm Water: Warm water helps to dissolve the baking soda and salt and makes the scrub more effective.
* Wear Gloves: Baking soda and salt can be drying to the skin, so it’s a good idea to wear gloves when using this scrub.
* Don’t Use on Delicate Surfaces: Avoid using this scrub on delicate surfaces like marble, granite, or non-stick cookware, as it can scratch them.
* Store Leftover Scrub: You can store leftover scrub in an airtight container for later use. It will last for several weeks.
* Vinegar Power Boost: For extra cleaning power, especially on greasy surfaces, substitute white vinegar for water when making the paste. The fizzing action helps lift grime. Be cautious using vinegar on certain stone surfaces, though.
* Lemon Juice Brightening: Lemon juice adds a natural bleaching effect and a fresh scent. Use it instead of water for extra brightening power, especially on stains.
* Dish Soap Degreasing: A squirt of dish soap in your mixture will help cut through grease and grime even more effectively.
Safety First!
While this scrub is made with natural ingredients, it’s still important to take a few safety precautions:
* Avoid Contact with Eyes: Baking soda and salt can irritate the eyes. If you get any in your eyes, rinse them thoroughly with water.
* Keep Out of Reach of Children: Although the ingredients are natural, this scrub is not meant to be ingested. Keep it out of reach of children and pets.
* Ventilation: When cleaning in enclosed spaces, like an oven, make sure to have adequate ventilation.
I hope you found this DIY cleaning scrub tutorial helpful! It’s a simple, affordable, and effective way to keep your home sparkling clean. Happy cleaning!
Conclusion
So, there you have it! This simple yet incredibly effective DIY cleaning solution using baking soda and salt is a game-changer for anyone looking to ditch harsh chemicals and embrace a more natural and budget-friendly approach to keeping their home sparkling. We’ve explored how the abrasive power of salt combined with the deodorizing and mild alkaline properties of baking soda creates a dynamic duo capable of tackling a wide range of cleaning challenges. From stubborn stovetop stains to grimy grout, this mixture offers a powerful alternative to commercial cleaners, often outperforming them without the lingering chemical smells or potential health concerns.
But why is this DIY trick a must-try? Beyond its effectiveness and cost-effectiveness, it’s about taking control of what you bring into your home. You know exactly what’s in this cleaner 鈥?no hidden ingredients or mysterious chemicals. It’s a simple, transparent solution that aligns with a more conscious and sustainable lifestyle. Plus, the satisfaction of creating something yourself that works so well is an added bonus!
Don’t be afraid to experiment and adapt this basic recipe to suit your specific needs. For example, if you’re dealing with particularly stubborn stains, consider adding a few drops of your favorite essential oil, like lemon or tea tree, for an extra boost of cleaning power and a pleasant scent. For delicate surfaces, reduce the amount of salt or use a finer grain to avoid scratching. You can also create a paste by adding a small amount of water to the baking soda and salt mixture, which is perfect for tackling baked-on food in pots and pans. Another variation is to add a splash of white vinegar to the baking soda and salt paste for an extra fizzy and powerful cleaning action, but remember to use caution and test on an inconspicuous area first, as vinegar can be acidic.
This baking soda salt cleaning method is truly versatile. Think beyond the kitchen and bathroom! Use it to freshen up your garbage disposal, clean your oven, or even scrub your outdoor grill. The possibilities are endless.
We wholeheartedly encourage you to give this DIY cleaning solution a try. It’s easy to make, effective, and environmentally friendly. Once you experience the cleaning power of baking soda and salt, you’ll wonder why you ever relied on those expensive and chemical-laden commercial cleaners.
But don’t just take our word for it! We want to hear about your experiences. Did you find this DIY trick helpful? What surfaces did you use it on? Did you experiment with any variations? Share your tips, tricks, and before-and-after photos in the comments below. Let’s build a community of DIY cleaning enthusiasts and help each other discover new and innovative ways to keep our homes clean and healthy using simple, natural ingredients. Your feedback is invaluable and will help others discover the magic of baking soda and salt cleaning!
Frequently Asked Questions (FAQ)
Is baking soda and salt cleaning safe for all surfaces?
While baking soda and salt are generally safe for many surfaces, it’s always best to test the mixture in an inconspicuous area first, especially on delicate or easily scratched materials. Avoid using it on polished or varnished wood, as the abrasive nature of salt can dull the finish. Similarly, be cautious when using it on certain types of plastic, as it may cause scratching. For stainless steel, always scrub in the direction of the grain to prevent damage. When in doubt, err on the side of caution and test before applying to the entire surface. Remember, the key is to use a gentle touch and avoid excessive scrubbing.
What is the best ratio of baking soda to salt for cleaning?
A good starting point is a 1:1 ratio of baking soda to salt. This provides a balanced combination of abrasive power and deodorizing properties. However, you can adjust the ratio depending on the specific cleaning task. For tougher stains, you might want to increase the amount of salt for extra scrubbing power. For more delicate surfaces, you can increase the amount of baking soda to make the mixture less abrasive. Experiment to find the ratio that works best for your needs.
Can I add other ingredients to the baking soda and salt cleaning mixture?
Absolutely! One of the great things about this DIY cleaner is its versatility. You can customize it by adding other natural ingredients to enhance its cleaning power or scent. As mentioned earlier, essential oils like lemon, tea tree, or lavender can add a pleasant fragrance and provide additional antibacterial properties. A splash of white vinegar can create a fizzy reaction that helps to loosen stubborn grime, but be careful when using vinegar on certain surfaces, such as marble or granite. You can also add a small amount of liquid dish soap for extra degreasing power. Just be sure to use a natural dish soap to avoid introducing harsh chemicals into your cleaning routine.
How do I store the baking soda and salt cleaning mixture?
You can store the dry baking soda and salt mixture in an airtight container in a cool, dry place. This will prevent it from clumping or absorbing moisture. If you’ve added water or other liquid ingredients to create a paste, it’s best to use it immediately. If you need to store the paste, keep it in a sealed container in the refrigerator for up to a few days. However, the paste may lose some of its effectiveness over time, so it’s best to make a fresh batch each time you need it.
Is baking soda and salt cleaning safe for septic systems?
Yes, baking soda and salt are generally considered safe for septic systems. Unlike harsh chemical cleaners, they won’t disrupt the delicate balance of bacteria that are essential for the proper functioning of your septic system. Baking soda is a natural pH regulator and can actually help to maintain a healthy septic environment. Salt, in small amounts, is also unlikely to cause any problems. However, it’s always a good idea to avoid pouring excessive amounts of any cleaning product down the drain, regardless of whether it’s natural or chemical-based.
Can I use this mixture to clean my oven?
Yes, baking soda and salt can be an effective oven cleaner. To use it, create a paste by mixing baking soda, salt, and a small amount of water. Spread the paste evenly over the interior surfaces of your oven, avoiding the heating elements. Let the paste sit for several hours or overnight. Then, scrub the oven with a sponge or scrub brush to remove the loosened grime. Rinse thoroughly with water. For particularly stubborn baked-on food, you can add a splash of white vinegar to the paste.
How often should I use baking soda and salt cleaning?
The frequency of use depends on your cleaning needs and habits. For regular cleaning tasks, such as wiping down countertops or scrubbing sinks, you can use the baking soda and salt mixture as often as needed. For more intensive cleaning tasks, such as cleaning the oven or scrubbing grout, you may only need to use it once a month or as needed. Pay attention to the condition of your surfaces and adjust your cleaning schedule accordingly.
What are the environmental benefits of using baking soda and salt cleaning?
Using baking soda and salt cleaning offers several environmental benefits. First, it reduces your reliance on harsh chemical cleaners, which can pollute waterways and harm aquatic life. Second, it’s a more sustainable option because baking soda and salt are naturally occurring minerals that are readily available and biodegradable. Third, it reduces plastic waste by eliminating the need for disposable cleaning bottles. By choosing this DIY cleaning solution, you’re making a conscious effort to reduce your environmental footprint and create a healthier home for yourself and your family.


Leave a Comment