
DIY all-purpose cleaner recipe: Are you tired of spending a fortune on cleaning products filled with harsh chemicals? Do you dream of a sparkling clean home without the lingering smell of artificial fragrances? Well, you’re in the right place! I’m about to share a game-changing secret that will revolutionize your cleaning routine and save you money in the process.
For generations, resourceful homemakers have relied on simple, natural ingredients to keep their homes clean and fresh. Before the age of mass-produced cleaning solutions, vinegar, baking soda, and essential oils were the go-to powerhouses for tackling dirt and grime. This tradition reflects a deep understanding of the earth’s bounty and a commitment to sustainable living.
In today’s world, many of us are becoming increasingly aware of the potential health risks associated with commercial cleaning products. From skin irritations to respiratory problems, the chemicals in these products can have a negative impact on our well-being. That’s why learning how to create your own DIY all-purpose cleaner recipe is so important. Not only will you be protecting your health and the environment, but you’ll also be amazed at how effective and affordable these homemade solutions can be. Get ready to ditch the store-bought stuff and embrace a cleaner, greener way of living!
DIY All-Purpose Cleaner: A Natural and Effective Solution
Hey there, fellow DIY enthusiasts! I’m so excited to share my go-to recipe for an all-purpose cleaner that’s not only incredibly effective but also completely natural and budget-friendly. Forget those harsh chemicals and overpowering fragrances – this cleaner uses simple ingredients you probably already have in your pantry. Let’s get started!
What You’ll Need: The Ingredient Rundown
Before we dive into the mixing, let’s gather our supplies. This is a super simple recipe, so the list is short and sweet:
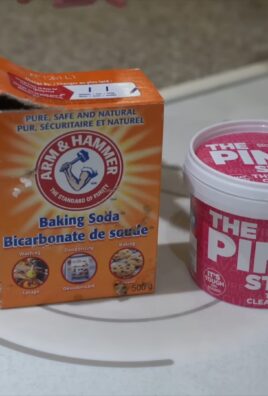
* White Vinegar: This is the star of the show! Vinegar is a natural disinfectant and degreaser. I usually buy a large jug to keep on hand for cleaning.
* Water: Distilled water is best to prevent mineral buildup, but tap water works just fine too.
* Essential Oils (Optional): These add a lovely scent and can boost the cleaning power. My favorites are lemon, tea tree, lavender, and eucalyptus.
* Spray Bottle: A clean, empty spray bottle is essential for dispensing your cleaner. I prefer a sturdy plastic one.
* Measuring Cup and Spoons: For accurate measurements, of course!
* Funnel (Optional): This makes pouring the ingredients into the spray bottle much easier and less messy.
The Magic Ratio: Getting the Proportions Right
The key to a great all-purpose cleaner is getting the ratio of vinegar to water just right. Here’s my tried-and-true formula:
* For General Cleaning: 1 part white vinegar to 1 part water. This is perfect for countertops, sinks, and most surfaces.
* For Stronger Cleaning (Grease and Grime): 1 part white vinegar to 1/2 part water. This is a bit more potent and great for tackling stubborn messes.
Step-by-Step Instructions: Mixing Your Cleaner
Alright, let’s get down to business! Here’s how to whip up your own batch of all-purpose cleaner:
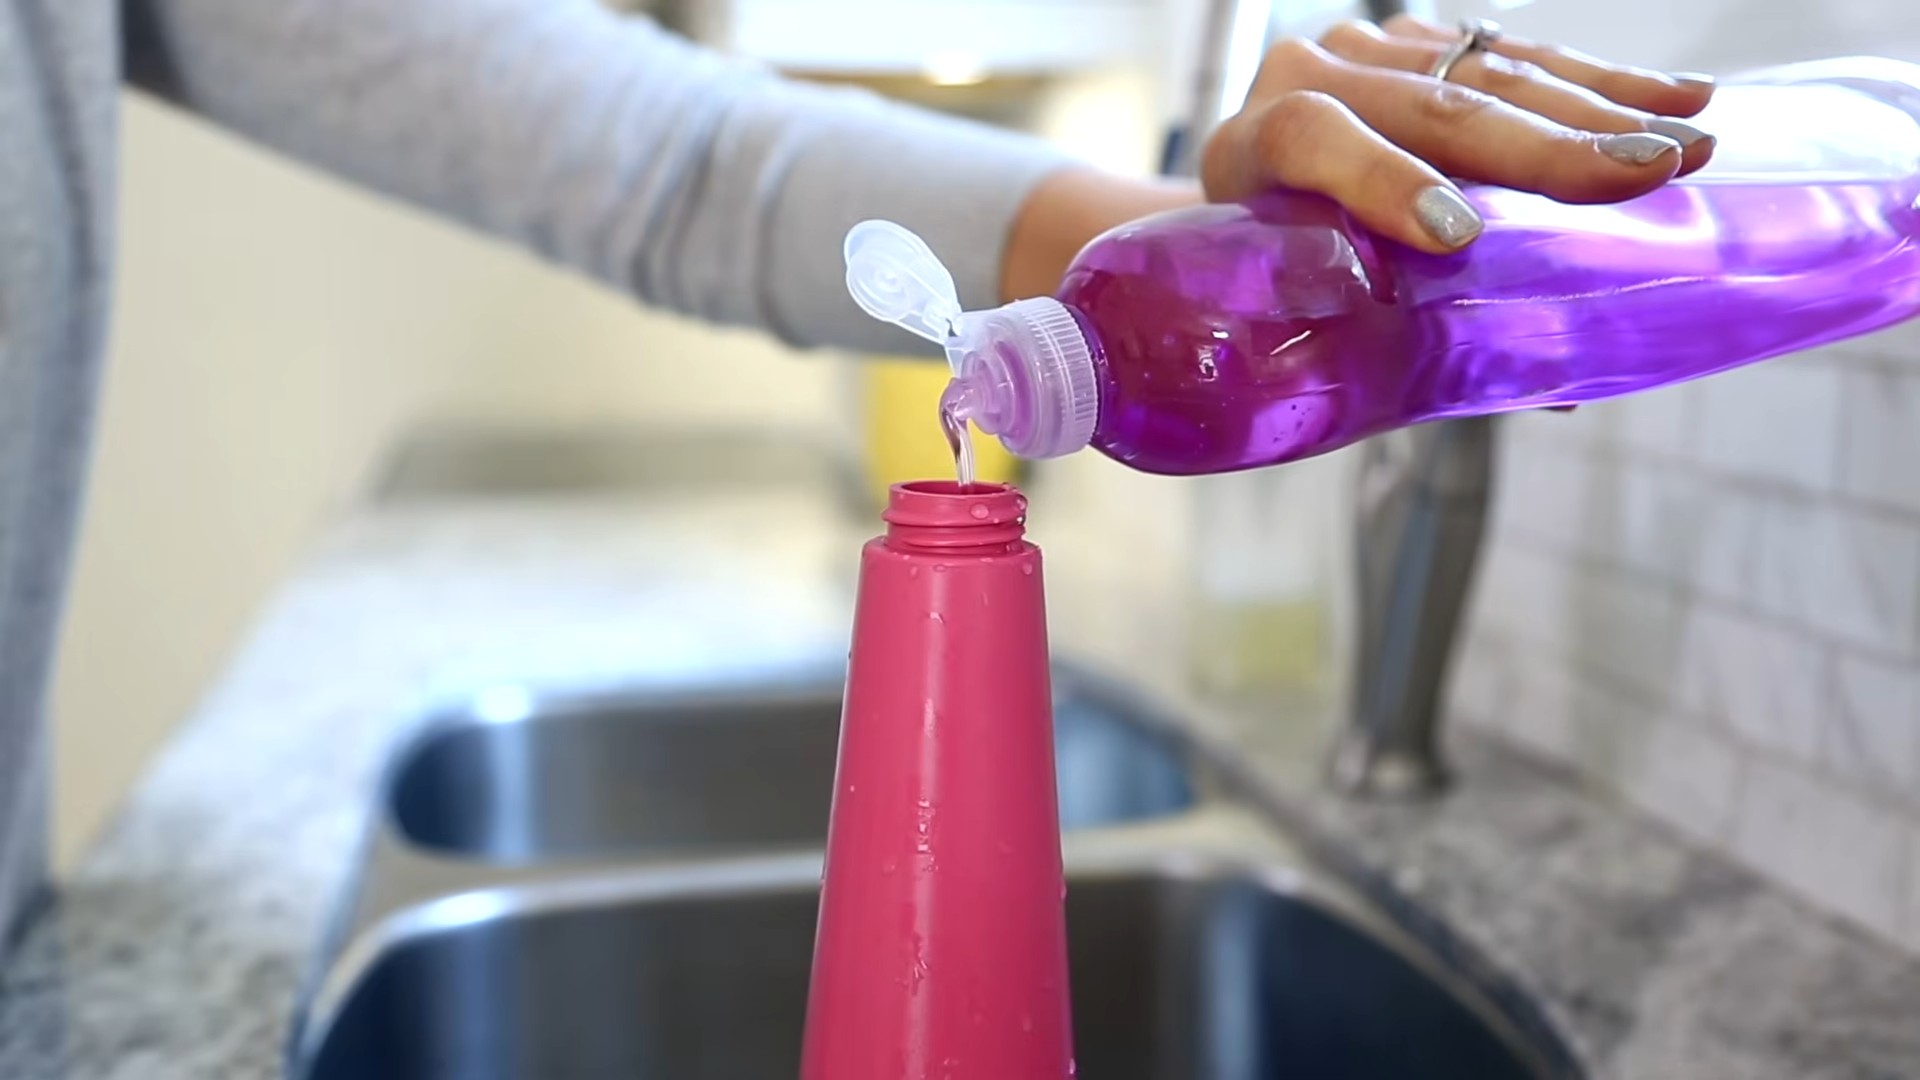
1. Prepare Your Spray Bottle: Make sure your spray bottle is clean and dry. This will prevent any unwanted contamination.
2. Combine Vinegar and Water: Using your measuring cup, pour the desired amount of white vinegar into the spray bottle. Then, add the corresponding amount of water. For example, if you’re making a general cleaning solution, you’d use 1 cup of vinegar and 1 cup of water.
3. Add Essential Oils (Optional): This is where you can customize your cleaner with your favorite scents. I usually add about 10-20 drops of essential oil per cup of solution. Start with a smaller amount and add more if you prefer a stronger scent. Remember, some essential oils have cleaning properties too! Lemon is great for degreasing, tea tree is antibacterial, and lavender is calming.
4. Secure the Lid and Shake Well: Tightly screw the spray nozzle onto the bottle and give it a good shake to thoroughly mix the ingredients.
5. Label Your Bottle: This is important! Clearly label your bottle as “All-Purpose Cleaner” and list the ingredients. This will prevent any confusion, especially if you have kids or other family members who might use it.
Using Your All-Purpose Cleaner: Tips and Tricks
Now that you have your homemade cleaner, let’s talk about how to use it effectively:
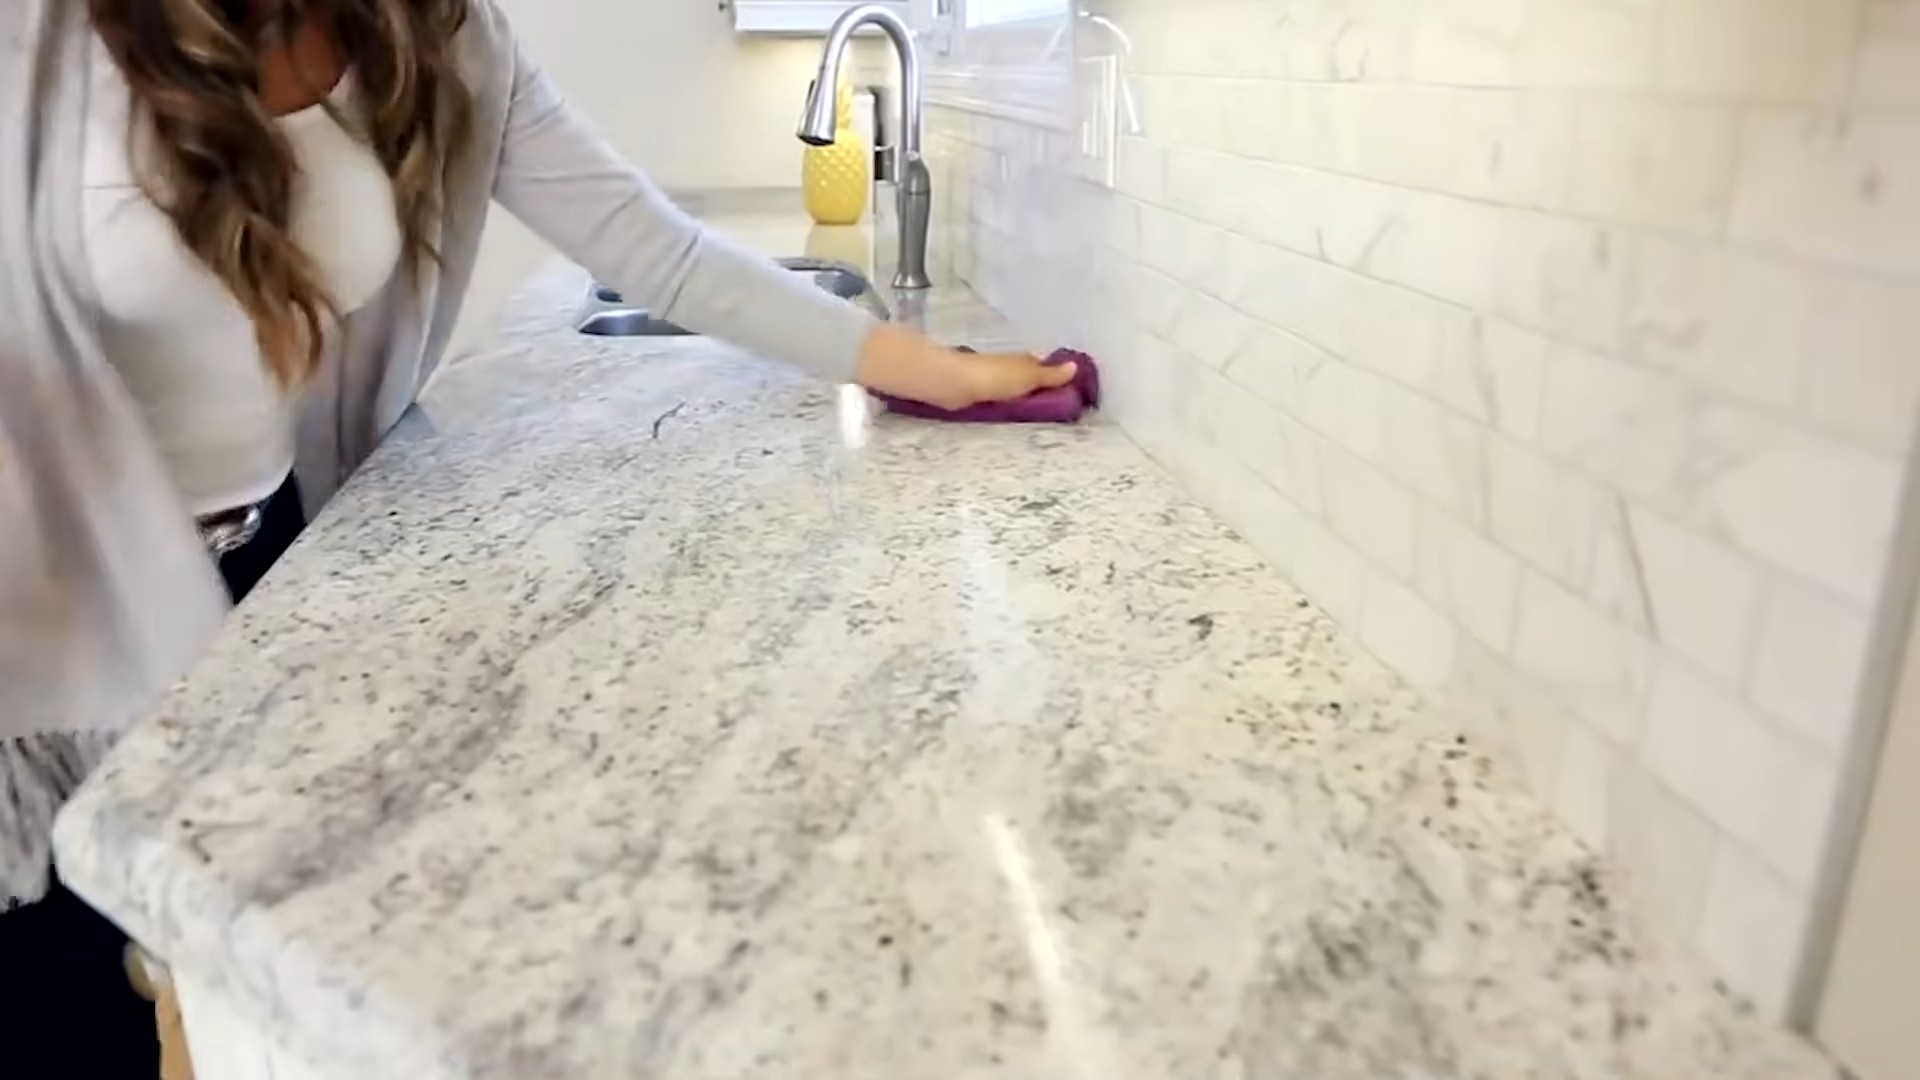
* Spray and Wipe: Simply spray the cleaner onto the surface you want to clean and wipe it down with a clean cloth or sponge.
* Let it Sit for Tough Stains: For stubborn stains or greasy messes, let the cleaner sit for a few minutes before wiping. This will give the vinegar time to break down the grime.
* Rinse if Necessary: On some surfaces, you may want to rinse with water after cleaning. This is especially important for food preparation surfaces.
* Test on a Small Area First: Before using the cleaner on a large or delicate surface, test it on a small, inconspicuous area to make sure it doesn’t cause any damage or discoloration.
* Avoid Certain Surfaces: While this cleaner is generally safe for most surfaces, avoid using it on marble, granite, or other natural stone surfaces, as the vinegar can etch them over time. Also, avoid using it on waxed wood furniture.
Essential Oil Blends: My Favorite Combinations
Want to get creative with your essential oil blends? Here are a few of my favorite combinations:
* Lemon & Tea Tree: This is a classic combination that’s great for disinfecting and degreasing. It has a fresh, clean scent.
* Lavender & Eucalyptus: This blend is calming and refreshing. It’s perfect for cleaning bathrooms and bedrooms.
* Orange & Clove: This combination is warm and spicy. It’s great for cleaning during the fall and winter months.
* Peppermint & Rosemary: This blend is invigorating and energizing. It’s perfect for cleaning kitchens and offices.
Troubleshooting: Addressing Common Issues
Even with the simplest recipes, sometimes things don’t go exactly as planned. Here are a few common issues you might encounter and how to fix them:
* Strong Vinegar Smell: If you find the vinegar smell too strong, try adding more essential oils or diluting the cleaner with more water. The vinegar smell will dissipate quickly after cleaning.
* Cloudy Solution: This is usually caused by hard water. Using distilled water will prevent this. It doesn’t affect the cleaning power.
* Clogged Spray Nozzle: This can happen if you’re using essential oils that are too thick. Try diluting the essential oils with a carrier oil like fractionated coconut oil before adding them to the cleaner.
Storage: Keeping Your Cleaner Fresh
Store your all-purpose cleaner in a cool, dark place away from direct sunlight. It should last for several months. If you notice any changes in color or smell, it’s best to discard it and make a fresh batch.
Why I Love This Cleaner: The Benefits
I’ve been using this all-purpose cleaner for years, and I absolutely love it! Here’s why:
* It’s Natural and Non-Toxic: I feel good knowing that I’m not exposing my family to harmful chemicals.
* It’s Effective: It cleans just as well as, if not better than, store-bought cleaners.
* It’s Budget-Friendly: It’s much cheaper to make your own cleaner than to buy it.
* It’s Customizable: I can adjust the scent and strength to suit my needs.
* It’s Environmentally Friendly: I’m reducing my plastic waste by reusing spray bottles.
Safety First: Important Precautions
While this cleaner is natural, it’s still important to take some precautions:
* Keep Out of Reach of Children and Pets: Although the ingredients are natural, they can still be harmful if ingested.
* Avoid Contact with Eyes: If the cleaner gets in your eyes, rinse immediately with plenty of water.
* Don’t Mix with Other Cleaners: Never mix this cleaner with other cleaning products, especially bleach, as this can create dangerous fumes.
* Test on a Small Area First: As mentioned before, always test the cleaner on a small, inconspicuous area before using it on a large or delicate surface.
Beyond the Basics: Advanced Cleaning Tips
Want to take your cleaning game to the next level? Here are a few advanced tips:
* Use Microfiber Cloths: Microfiber cloths are super absorbent and effective at trapping dirt and grime.
* Clean from Top to Bottom: Start cleaning at the highest point in the room and work your way down. This will prevent dirt and dust from falling onto already cleaned surfaces.
* Don’t Forget the Details: Pay attention to details like light switches, door handles, and baseboards. These areas often get overlooked but can accumulate a lot of dirt and grime.
* Ventilate the Room: Open windows and doors to ventilate the room while you’re cleaning. This will help to remove any lingering odors and improve air quality.
Adapting the Recipe: Variations for Specific Needs
This recipe is a great starting point, but you can easily adapt it to suit your specific needs:
* For a Disinfectant Cleaner: Add a few drops of tea tree oil or hydrogen peroxide to the mixture.
* For a Glass Cleaner: Use a mixture of vinegar and water in a 1:4 ratio.
* For a Floor Cleaner: Add a few tablespoons of castile soap to the mixture.
My Final Thoughts: Embrace the DIY Life!
I hope you’ve enjoyed learning how to make your own all-purpose cleaner. It’s a simple, effective, and eco-friendly way to keep your home clean and healthy. So, ditch those harsh chemicals and embrace the DIY life! You’ll be amazed at how easy and rewarding it is to make your own cleaning products
Conclusion
So, there you have it! A simple, effective, and incredibly budget-friendly way to create your own DIY all purpose cleaner. We’ve walked you through the process, highlighting just how easy it is to ditch those harsh chemicals and embrace a more natural approach to cleaning your home. But why is this DIY trick a must-try?
Firstly, it’s about control. You know exactly what’s going into your cleaner. No more deciphering long lists of unpronounceable ingredients. You’re in charge, using simple, readily available components like vinegar, baking soda, and essential oils. This is especially important for those with sensitivities or allergies to commercial cleaning products.
Secondly, it’s about cost savings. Let’s face it, cleaning supplies can be expensive. By making your own all-purpose cleaner, you’re significantly reducing your household expenses. The ingredients are inexpensive and a little goes a long way, making this a truly economical choice.
Thirdly, it’s about the environment. Commercial cleaners often contain harsh chemicals that can be harmful to the environment. By opting for a DIY solution, you’re reducing your carbon footprint and contributing to a healthier planet. You’re minimizing plastic waste by refilling your own spray bottles and avoiding the disposal of chemical-laden containers.
But the benefits don’t stop there! This DIY all purpose cleaner is incredibly versatile. You can customize it to suit your specific needs and preferences.
Here are a few suggestions and variations to get you started:
* For extra disinfecting power: Add a few drops of tea tree oil or eucalyptus oil. These essential oils have natural antibacterial and antiviral properties.
* For a citrusy scent: Infuse your vinegar with citrus peels (lemon, orange, grapefruit) for a few weeks before using it in the recipe. This will add a refreshing and uplifting aroma to your cleaner.
* For a gentler cleaner: Replace the vinegar with castile soap. This is a great option for delicate surfaces or for those who prefer a less acidic cleaner.
* For a grease-cutting boost: Add a teaspoon of borax to the mixture. Borax is a natural mineral that helps to break down grease and grime.
We truly believe that this DIY all purpose cleaner will revolutionize your cleaning routine. It’s simple, effective, affordable, and environmentally friendly. What’s not to love?
We encourage you to give it a try and see for yourself the amazing results. Don’t be afraid to experiment with different essential oils and variations to find the perfect formula for your home.
And most importantly, we want to hear about your experience! Share your tips, tricks, and feedback in the comments below. Let us know what variations you tried and how they worked for you. Together, we can create a community of DIY cleaning enthusiasts who are committed to a healthier and more sustainable way of life. So, grab your ingredients, mix up a batch, and get ready to experience the magic of homemade cleaning!
Frequently Asked Questions (FAQ)
What surfaces can I use this DIY all purpose cleaner on?
This DIY all purpose cleaner is generally safe for most non-porous surfaces, including countertops, sinks, tiles, appliances, and floors. However, it’s always a good idea to test it on a small, inconspicuous area first, especially on delicate surfaces like marble or granite. Avoid using it on unfinished wood, as the vinegar can damage the finish. For electronics, spray the cleaner onto a cloth and then wipe the surface, rather than spraying directly onto the device.
How long will this DIY all purpose cleaner last?
The shelf life of this DIY all purpose cleaner is generally quite long, especially if you’re using vinegar as the base. Vinegar is a natural preservative, so the cleaner should last for several months. However, it’s best to use it within 3-6 months for optimal effectiveness and scent. If you notice any changes in color, odor, or consistency, it’s best to discard the cleaner and make a fresh batch. Store the cleaner in a cool, dark place to prolong its shelf life.
Can I use different essential oils in this recipe?
Absolutely! One of the best things about making your own DIY all purpose cleaner is the ability to customize the scent with your favorite essential oils. Lavender, lemon, orange, peppermint, and tea tree oil are all popular choices. Experiment with different combinations to find a scent that you enjoy. Just be sure to use pure, high-quality essential oils for the best results. Also, be mindful of potential allergies or sensitivities to certain essential oils. If you’re unsure, it’s always best to do a patch test on a small area of skin before using the cleaner extensively.
Is vinegar safe to use as a cleaner?
Vinegar is a safe and effective natural cleaner for many surfaces. Its acidity helps to break down dirt, grime, and hard water stains. However, it’s important to note that vinegar should not be used on certain surfaces, such as marble, granite, or waxed wood, as it can damage the finish. Always dilute vinegar with water before using it as a cleaner, and test it on a small, inconspicuous area first. If you’re concerned about the smell of vinegar, you can add essential oils to mask the odor.
Can I use this cleaner on my windows and mirrors?
Yes, this DIY all purpose cleaner can be used on windows and mirrors. However, to prevent streaks, it’s important to use a clean microfiber cloth and wipe the surface dry immediately after cleaning. You can also add a small amount of rubbing alcohol to the cleaner to help it evaporate more quickly and prevent streaks. Avoid cleaning windows and mirrors in direct sunlight, as this can also cause streaks.
What if I don’t have essential oils? Can I still make this cleaner?
Yes, you can definitely make this cleaner without essential oils. The vinegar and water mixture alone is an effective cleaner. The essential oils are primarily added for their scent and potential antibacterial properties, but they are not essential for the cleaner to work. If you don’t have essential oils, you can simply omit them from the recipe. You can also add a few drops of lemon juice or other citrus juice for a natural scent.
My cleaner smells too strongly of vinegar. What can I do?
If the vinegar smell is too strong, you can try a few things. First, make sure you’re diluting the vinegar properly with water. You can also try infusing the vinegar with citrus peels for a few weeks before using it in the recipe. This will add a refreshing citrus scent that will help to mask the vinegar odor. Finally, you can add more essential oils to the cleaner to further mask the vinegar smell.
Can I use this cleaner to disinfect?
While this DIY all purpose cleaner has some antibacterial properties, it’s not a substitute for a disinfectant. If you need to disinfect a surface, you’ll need to use a dedicated disinfectant product. However, this cleaner can be used to clean surfaces before disinfecting them. For added disinfecting power, you can add a few drops of tea tree oil or eucalyptus oil to the cleaner.
Is baking soda safe to use with vinegar? I heard it creates a gas.
While baking soda and vinegar do react and create carbon dioxide gas, the amount produced in this recipe is minimal and generally safe. The reaction is more of a fizzing action than an explosive one. However, it’s important to mix the ingredients in a well-ventilated area and avoid storing the cleaner in a sealed container, as the gas could build up and cause the container to burst. If you’re concerned about the reaction, you can omit the baking soda from the recipe.
Can I use this cleaner on my pet’s toys or bedding?
While the ingredients in this DIY all purpose cleaner are generally safe, it’s always best to exercise caution when cleaning items that your pet will come into contact with. Make sure to rinse the items thoroughly with water after cleaning them to remove any residue. You can also use a gentler cleaner, such as castile soap and water, for pet items. If your pet has any sensitivities or allergies, it’s best to consult with your veterinarian before using any cleaning products on their belongings.
Leave a Comment