
No Soil Microgreens Indoor gardening might sound like something out of a sci-fi movie, but trust me, it’s easier than you think! Forget messy soil and complicated setups; we’re diving into the wonderful world of growing nutrient-packed microgreens right in your home, without a speck of dirt.
For centuries, humans have cultivated plants, relying on soil as the primary medium. But innovative techniques, like growing no soil microgreens indoor, are revolutionizing how we access fresh, healthy food. Think of it as a modern twist on ancient practices, bringing the bounty of nature directly to your kitchen countertop.
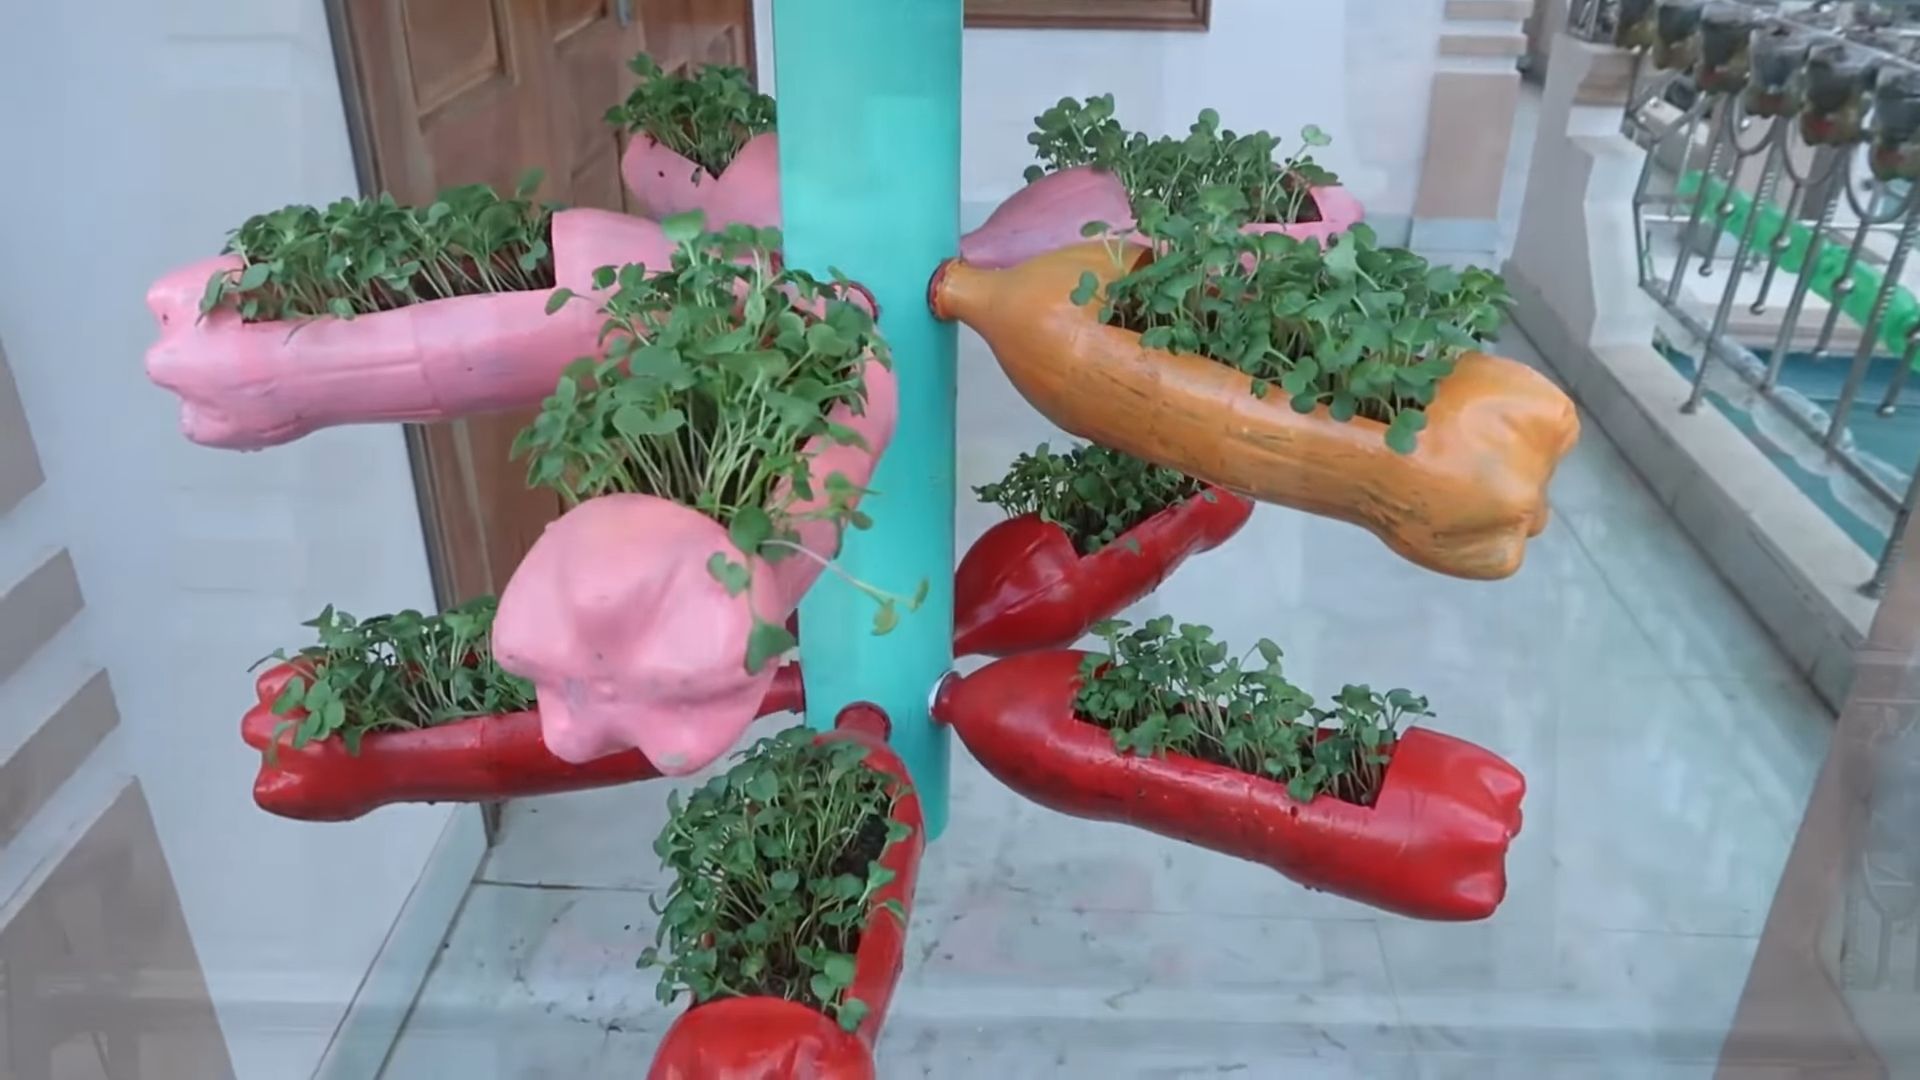
Why should you ditch the dirt and embrace this method? Well, imagine having a constant supply of fresh, flavorful microgreens, bursting with vitamins and minerals, ready to add to your salads, sandwiches, or smoothies. No more trips to the grocery store for wilted greens! Plus, it’s incredibly space-saving, perfect for apartment dwellers or anyone with limited outdoor space. I’m excited to show you how easy and rewarding it is to grow your own microgreens, soil-free, and enjoy the delicious results!
Growing Microgreens Without Soil: A Simple DIY Guide
Hey there, fellow plant enthusiasts! Ever wanted to grow your own fresh, nutrient-packed microgreens but were intimidated by the thought of dealing with soil? Well, I’m here to tell you it’s totally possible (and surprisingly easy!) to cultivate these tiny powerhouses without any soil at all. This method, often called hydroponic microgreens, is clean, efficient, and perfect for indoor gardening, even if you have limited space. Let’s dive in!
What You’ll Need
Before we get started, let’s gather our supplies. The beauty of this method is that you likely already have many of these items at home.
* Seeds: Choose your favorite microgreen seeds! Some popular options include broccoli, radish, sunflower, pea shoots, and mustard. Make sure you’re using seeds specifically intended for microgreens, as they haven’t been treated with chemicals.
* Growing Trays: You’ll need two trays – one with drainage holes (the inner tray) and one without (the outer tray). These can be plastic, metal, or even repurposed containers. The outer tray will hold water, and the inner tray will hold your seeds and growing medium.
* Growing Medium: Instead of soil, we’ll use a soilless medium like:
* Hemp Mats: These are my personal favorite! They’re sustainable, absorbent, and provide excellent support for the roots.
* Coconut Coir: A great alternative that retains moisture well.
* Paper Towels: A budget-friendly option, but they can dry out quickly.
* Burlap: Another natural and biodegradable choice.
* Spray Bottle: For misting the seeds and keeping the growing medium moist.
* Water: Filtered water is best to avoid any unwanted chemicals.
* Weight (Optional): A small weight, like a book or a plate, to help the seeds germinate evenly.
* Light Source: A sunny windowsill or a grow light. Microgreens need plenty of light to thrive.
* Hydrogen Peroxide (Optional): A diluted solution (3% hydrogen peroxide mixed with water at a ratio of 1:10) can help prevent mold growth.
Step-by-Step Instructions: From Seed to Sprout
Okay, let’s get our hands dirty (well, not really, since we’re avoiding soil!). Follow these steps, and you’ll be enjoying your own homegrown microgreens in no time.
1. Prepare Your Growing Trays
* First, clean your growing trays thoroughly with soap and water. This is crucial to prevent any mold or bacteria from affecting your microgreens.
* Place your outer tray on a flat surface. This will act as a reservoir for the water.
* Now, take your inner tray (the one with drainage holes) and line it with your chosen growing medium. If you’re using hemp mats, cut them to fit the tray. For coconut coir, spread a thin, even layer. If you’re using paper towels, layer them several times to create a thick, absorbent base. Burlap should also be cut to fit.
2. Sow Your Seeds
* This is where the magic happens! Sprinkle your microgreen seeds evenly over the prepared growing medium. Don’t overcrowd them; aim for a single layer of seeds. A little space between them will allow for better air circulation and prevent mold.
* Once the seeds are sown, gently mist them with water using your spray bottle. You want to moisten the seeds and the growing medium thoroughly, but avoid overwatering.
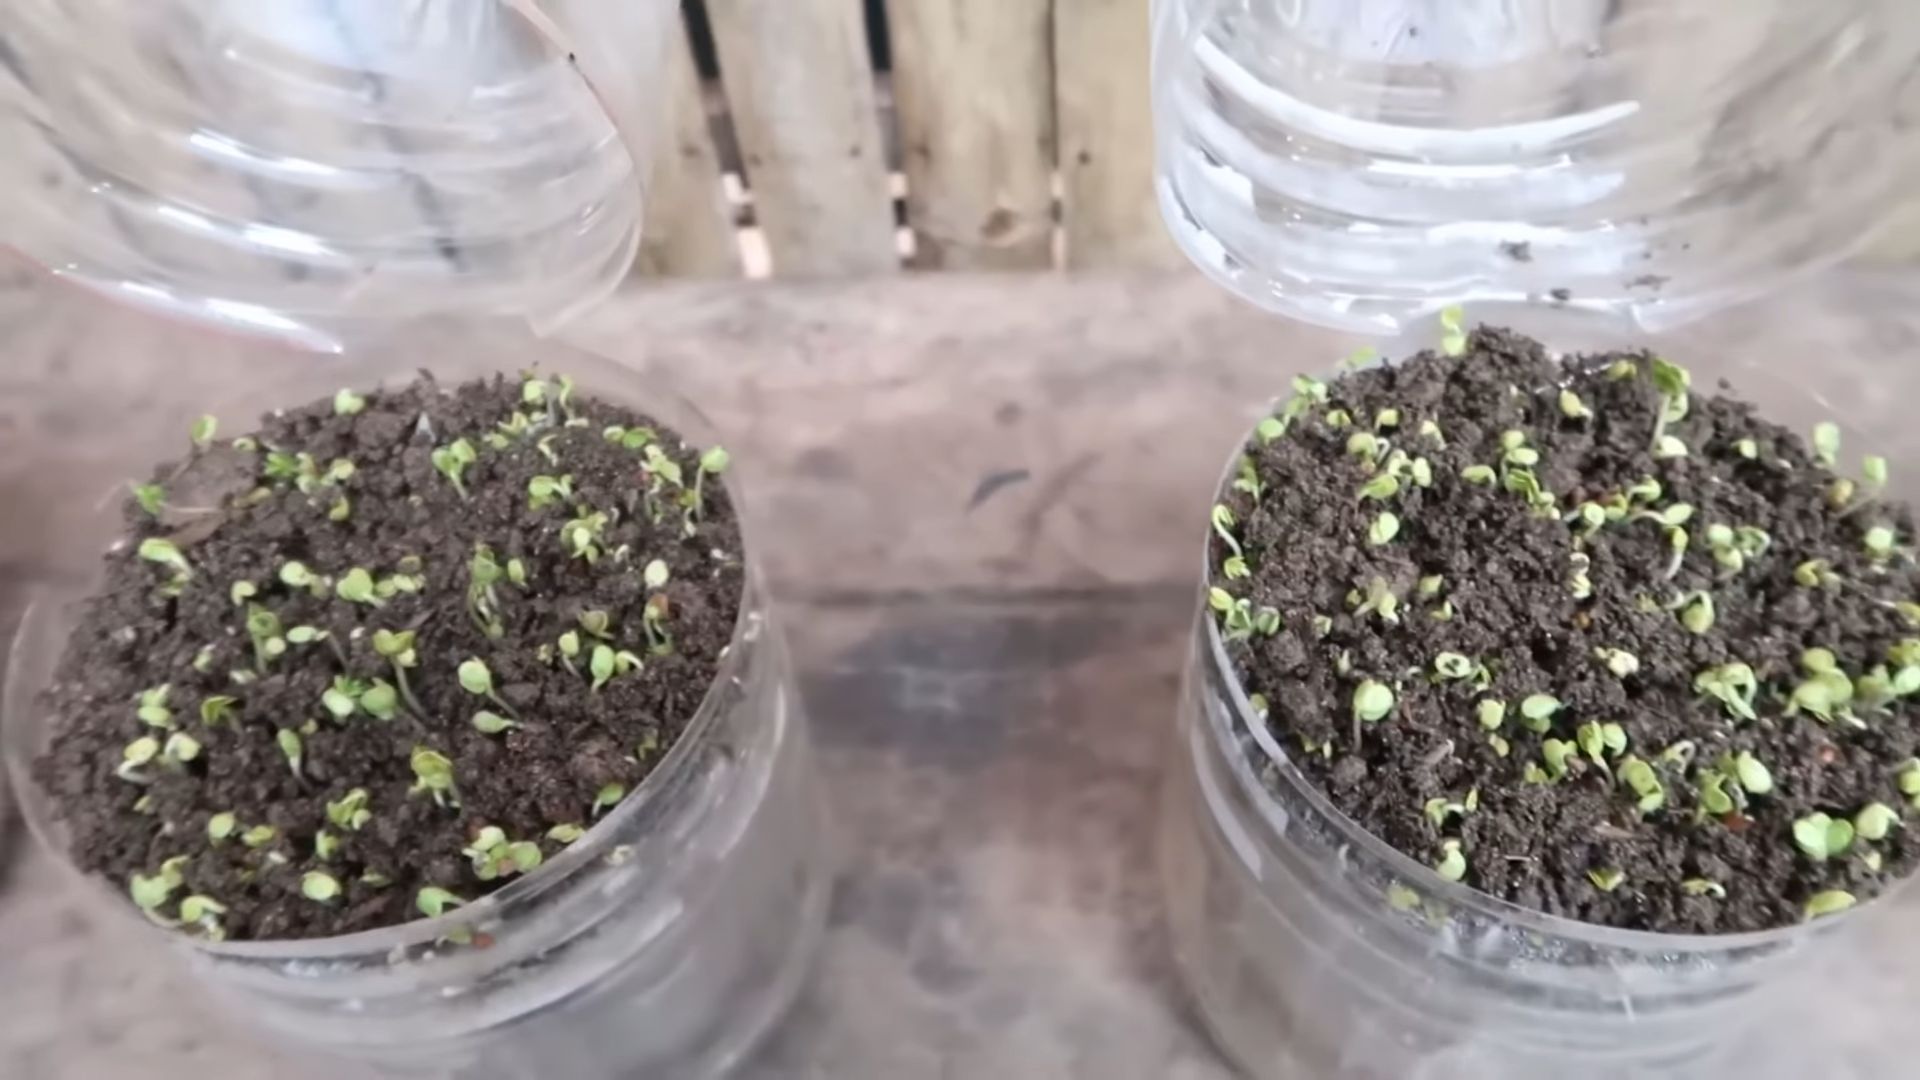
3. The Blackout Period (Germination)
* This is a crucial step for many microgreens. After misting, cover the seeds with a lid or another tray to create a dark, humid environment. This “blackout period” encourages the seeds to germinate quickly and evenly.
* If you want to ensure even germination, place a light weight (like a book wrapped in plastic) on top of the lid or tray. This helps the seeds make good contact with the growing medium.
* Keep the seeds in the dark for 2-3 days, or until you see tiny sprouts emerging. During this time, mist the seeds once or twice a day to keep them moist. Don’t let them dry out!
4. Introducing Light
* Once the seeds have sprouted, it’s time to introduce them to light! Remove the lid or tray and place your microgreens in a sunny windowsill or under a grow light.
* If you’re using a windowsill, rotate the tray regularly to ensure that all the microgreens receive equal light. This will prevent them from becoming leggy and stretching towards the light source.
* If you’re using a grow light, position it a few inches above the microgreens and keep it on for 12-16 hours a day.
5. Watering and Maintenance
* Continue to mist your microgreens with water 1-2 times a day, or as needed to keep the growing medium moist. Be careful not to overwater, as this can lead to mold growth.
* You can also bottom-water your microgreens by pouring water into the outer tray. The growing medium will absorb the water through the drainage holes. This is a great way to ensure that the roots are getting enough moisture.
* If you notice any mold growth, you can spray the affected area with a diluted hydrogen peroxide solution (1 part hydrogen peroxide to 10 parts water).
6. Harvesting Your Microgreens
* Your microgreens will be ready to harvest in about 7-14 days, depending on the variety. They’re ready when they have developed their first set of true leaves (the second set of leaves after the initial cotyledons).
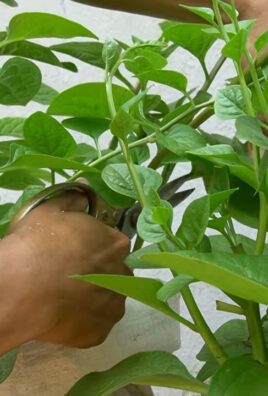
* To harvest, simply snip the microgreens with scissors just above the growing medium.
* Rinse the harvested microgreens with water and enjoy them in salads, sandwiches, smoothies, or as a garnish for your favorite dishes.
Troubleshooting Tips
Even with the best intentions, sometimes things don’t go exactly as planned. Here are a few common issues you might encounter and how to address them:
* Mold Growth: Mold is a common problem when growing microgreens, especially in humid environments. To prevent mold, ensure good air circulation, avoid overwatering, and use a diluted hydrogen peroxide solution if necessary.
* Leggy Microgreens: Leggy microgreens are tall and spindly, with long stems and small leaves. This is usually caused by insufficient light. Make sure your microgreens are getting enough light, either from a sunny windowsill or a grow light.
* Slow Germination: If your seeds are taking a long time to germinate, it could be due to several factors, such as old seeds, low temperatures, or insufficient moisture. Make sure you’re using fresh seeds, keeping the growing environment warm, and keeping the seeds consistently moist.
* Uneven Germination: Uneven germination can be caused by uneven seed distribution, inconsistent moisture levels, or variations in temperature. Try to sow the seeds evenly, keep the growing medium consistently moist, and maintain a stable temperature.
Choosing the Right Seeds
The type of seeds you choose will greatly impact the flavor and texture of your microgreens. Here are a few popular options:
* Broccoli: A classic choice, broccoli microgreens have a mild, slightly peppery flavor and are packed with nutrients.
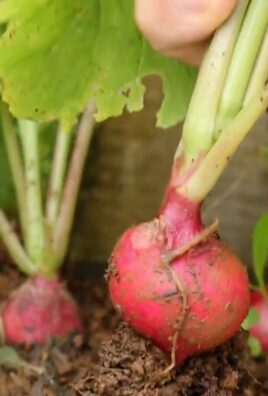
* Radish: Radish microgreens have a spicy, peppery flavor that adds a kick to salads and sandwiches.
* Sunflower: Sunflower microgreens have a nutty, slightly sweet flavor and a crunchy texture.
* Pea Shoots: Pea shoots have a sweet, pea-like flavor and are delicious in salads and stir-fries.
* Mustard: Mustard microgreens have a strong, pungent flavor that adds a bold flavor to dishes.
* Arugula: Arugula microgreens offer a peppery and slightly bitter taste, perfect for adding complexity to salads.
* Cilantro: Cilantro microgreens provide the distinct, fresh flavor of cilantro in a concentrated form.
Experiment with different varieties to find your favorites! You can even create your own custom microgreen mixes.
Benefits of Growing Microgreens
Why bother growing microgreens at all? Here are just a few of the benefits:
* Nutrient-Rich: Microgreens are packed with vitamins, minerals, and antioxidants. They often contain higher concentrations of nutrients than their mature counterparts.
* Easy to Grow: As you’ve seen, growing microgreens is incredibly easy, even without soil.
* Fast Growing: You can harvest your microgreens in just 7-14 days.
* Space-Saving: Microgreens can be grown in small spaces, making them perfect for apartment dwellers.
* Year-Round Harvest: You can grow microgreens indoors year-round, regardless of the weather.
* Delicious and Versatile: Microgreens add flavor, texture, and visual appeal to a wide variety of
Conclusion
So, there you have it! Growing microgreens without soil might seem unconventional, but it’s a game-changer for anyone seeking fresh, nutrient-packed greens right at their fingertips, regardless of space or gardening experience. This method unlocks a world of possibilities, allowing you to enjoy the vibrant flavors and health benefits of microgreens without the mess and potential complications of traditional soil-based gardening.
Why is this a must-try? Because it’s incredibly simple, fast, and efficient. You bypass the need for soil, which eliminates common issues like soilborne diseases and pests. It’s also perfect for urban dwellers or anyone with limited space, as you can easily set up your no-soil microgreen garden on a windowsill, countertop, or even a small shelf. Plus, the visual appeal of watching those tiny sprouts emerge and flourish is incredibly rewarding.
But the beauty of this method lies in its adaptability. Feel free to experiment with different types of seeds. Radish, broccoli, sunflower, and pea shoots are all excellent choices for no-soil microgreens. You can also adjust the humidity levels and lighting to optimize growth for specific varieties. Consider using different containers, from repurposed plastic containers to dedicated microgreen trays, to find what works best for your space and needs.
For a spicy kick, try growing mustard or arugula microgreens. If you prefer a milder flavor, consider clover or alfalfa. And don’t be afraid to get creative with your growing medium. While paper towels and hemp mats are popular choices, you can also experiment with coconut coir or even reusable cloth.
We encourage you to dive in and try this no-soil microgreens method for yourself. It’s a fun, educational, and ultimately delicious experience. Once you’ve harvested your first batch of homegrown goodness, you’ll be amazed at how easy it is to incorporate these nutrient-rich greens into your daily meals. Sprinkle them on salads, sandwiches, soups, or even smoothies for an extra boost of flavor and nutrition.
Don’t just take our word for it – give it a try and see for yourself! We’re confident that you’ll be hooked on the convenience and freshness of growing your own microgreens without soil. And most importantly, we want to hear about your experience! Share your tips, successes, and even challenges in the comments below. Let’s build a community of no-soil microgreen enthusiasts and learn from each other. Your insights could inspire others to embark on their own microgreen growing journey. So, get growing and let us know how it goes! This is a great way to get fresh, healthy food, and it’s a great way to learn about no soil microgreens indoor growing.
Frequently Asked Questions (FAQ)
What exactly are microgreens, and why should I grow them?
Microgreens are young vegetable greens that are typically harvested within 7-14 days after germination, when the first true leaves have emerged. They are packed with nutrients, often containing higher concentrations of vitamins and minerals than their mature counterparts. Growing them yourself ensures freshness, allows you to control the growing environment, and provides a sustainable source of healthy food. Plus, they add a burst of flavor and visual appeal to any dish.
What seeds are best for growing microgreens without soil?
Many different types of seeds can be successfully grown as microgreens without soil. Some popular choices include:
* **Brassicas:** Broccoli, kale, radish, cabbage, arugula, mustard
* **Legumes:** Pea shoots, lentils, chickpeas
* **Grains:** Wheatgrass, barley
* **Herbs:** Basil, cilantro, dill
* **Others:** Sunflower, beets, chard, amaranth, clover, alfalfa
Experiment with different varieties to find your favorites. Consider the flavor profile, growth rate, and nutritional content when making your selection.
What kind of container should I use for growing microgreens without soil?
You can use a variety of containers, as long as they are clean and have adequate drainage. Some popular options include:
* **Shallow trays:** These are specifically designed for growing microgreens and often have drainage holes.
* **Repurposed plastic containers:** Yogurt containers, takeout containers, and other similar items can be reused as microgreen containers. Just make sure to clean them thoroughly and add drainage holes.
* **Seed starting trays:** These trays typically have individual cells, which can be useful for growing different varieties of microgreens in the same container.
* **DIY containers:** Get creative and build your own containers from wood or other materials.
The key is to choose a container that is shallow enough to allow for good air circulation and drainage.
What growing medium should I use for no-soil microgreens?
Several options work well as a growing medium for no-soil microgreens:
* **Paper towels:** These are inexpensive and readily available. Use several layers of paper towels to provide adequate moisture retention.
* **Hemp mats:** These are made from natural hemp fibers and provide excellent drainage and aeration.
* **Coconut coir:** This is a sustainable alternative to peat moss and provides good moisture retention.
* **Reusable cloth:** Clean, absorbent cloths can also be used as a growing medium.
Experiment with different options to see which one works best for you.
How often should I water my microgreens?
Water your microgreens regularly to keep the growing medium moist but not soggy. The frequency of watering will depend on the type of growing medium, the humidity levels, and the temperature. Check the moisture level of the growing medium daily and water as needed. A spray bottle is ideal for gently misting the microgreens.
How much light do microgreens need?
Microgreens need adequate light to grow properly. Indirect sunlight is often sufficient, but if you don’t have access to enough natural light, you can use grow lights. LED grow lights are a good option because they are energy-efficient and don’t produce much heat. Position the lights close to the microgreens to provide optimal illumination.
How long does it take for microgreens to grow?
The growth time for microgreens varies depending on the variety. Some microgreens, like radish and broccoli, can be harvested in as little as 7 days, while others, like sunflower and pea shoots, may take 10-14 days. Monitor the growth of your microgreens and harvest them when the first true leaves have emerged.
How do I harvest microgreens?
Harvest microgreens by cutting them just above the growing medium with scissors or a sharp knife. Wash them gently before using them.
Can I reuse the growing medium?
It’s generally not recommended to reuse the growing medium for no-soil microgreens, as it can harbor bacteria and fungi. It’s best to start with fresh growing medium each time.
Are there any common problems to watch out for when growing microgreens without soil?
Some common problems to watch out for include:
* **Mold:** This can occur if the growing medium is too wet or there is not enough air circulation. Ensure proper drainage and ventilation to prevent mold growth.
* **Damping off:** This is a fungal disease that can kill young seedlings. Use a sterile growing medium and avoid overwatering to prevent damping off.
* **Leggy growth:** This can occur if the microgreens are not getting enough light. Provide adequate light to encourage compact growth.
By following these tips and troubleshooting any problems that arise, you can successfully grow delicious and nutritious microgreens without soil. Remember that growing no soil microgreens indoor is a learning process, so don’t be afraid to experiment and adjust your methods as needed.

Leave a Comment