
Indoor kid friendly garden projects are a fantastic way to bring the joy of nature right into your home, fostering a love for plants and the environment in your little ones. Have you ever dreamed of creating a miniature jungle on your windowsill, bursting with vibrant colors and delicious aromas, all while spending quality time with your children? Well, you’re in the right place! This article is packed with easy-to-follow DIY tricks and hacks that will transform your living space into a thriving green oasis, perfect for curious little hands and budding gardeners.
The concept of indoor gardening has roots stretching back centuries, with evidence of early civilizations cultivating plants within enclosed spaces for both sustenance and aesthetic pleasure. Think of the hanging gardens of Babylon, a testament to humanity’s enduring desire to connect with nature, even within urban environments. Today, the need for indoor gardens is more relevant than ever. In our increasingly urbanized world, access to green spaces can be limited, and introducing an indoor kid friendly garden provides a vital connection to the natural world, offering numerous benefits for both physical and mental well-being.
But why should you embark on this DIY adventure? Because it’s more than just growing plants; it’s about creating lasting memories, teaching valuable life skills, and fostering a sense of responsibility in your children. Imagine the excitement on their faces as they watch tiny seeds sprout into vibrant seedlings, learning about the miracle of life firsthand. Plus, these simple tricks and hacks will save you time and money, ensuring your indoor garden thrives without breaking the bank. Let’s get our hands dirty and create something beautiful together!
Dein eigener Indoor-Kindergarten: Ein DIY-Abenteuer für kleine Gärtner
Hallo liebe Pflanzenfreunde und angehende grüne Daumen! Habt ihr Lust, die Natur ins Haus zu holen und euren Kindern die Freude am Gärtnern näherzubringen? Dann seid ihr hier genau richtig! Ich zeige euch, wie ihr einen kinderfreundlichen Indoor-Garten gestalten könnt, der nicht nur Spaß macht, sondern auch lehrreich ist. Lasst uns gemeinsam loslegen!
Was du für deinen Indoor-Kindergarten brauchst:
* Pflanzgefäße: Hier sind eurer Fantasie keine Grenzen gesetzt! Alte Joghurtbecher, leere Konservendosen (gut gereinigt und ohne scharfe Kanten!), bunte Übertöpfe oder sogar ein alter Schuh – alles ist erlaubt, solange es Löcher für den Wasserabzug hat.
* Erde: Am besten spezielle Anzuchterde oder Blumenerde. Sie ist nährstoffreich und locker, ideal für kleine Pflänzchen.
* Samen oder Jungpflanzen: Kresse, Radieschen, Salat, Kräuter wie Basilikum oder Schnittlauch – wählt Pflanzen, die schnell wachsen und leicht zu pflegen sind. Auch kleine Zimmerpflanzen wie Sukkulenten oder Kakteen sind toll, aber achtet auf stachelige Exemplare!
* Gießkanne oder Sprühflasche: Zum sanften Bewässern der Pflanzen.
* Schaufel oder Löffel: Zum Befüllen der Pflanzgefäße mit Erde.
* Pflanzenschilder: Damit ihr und eure Kinder wisst, was wo wächst. Ihr könnt sie selbst basteln, z.B. aus Eisstielen oder kleinen Steinen.
* Dekoration: Kleine Figuren, bunte Steine, Muscheln – alles, was den Garten verschönert und die Fantasie anregt.
* Ein sonniger Platz: Die meisten Pflanzen brauchen viel Licht, um zu wachsen. Ein Fensterbrett oder ein Platz in der Nähe eines Fensters ist ideal.
* Geduld und Freude: Das Wichtigste ist, dass ihr Spaß an der Sache habt!
Schritt-für-Schritt-Anleitung: So entsteht dein Indoor-Kindergarten
1. Vorbereitung der Pflanzgefäße:
* Sammelt eure Pflanzgefäße und reinigt sie gründlich.
* Wenn die Gefäße keine Löcher haben, bohrt vorsichtig welche hinein (fragt am besten einen Erwachsenen um Hilfe!). Das ist wichtig, damit das Wasser ablaufen kann und die Wurzeln nicht faulen.
* Legt eventuell eine Schicht Kieselsteine oder Tonscherben auf den Boden der Gefäße, um den Wasserabzug zu verbessern.
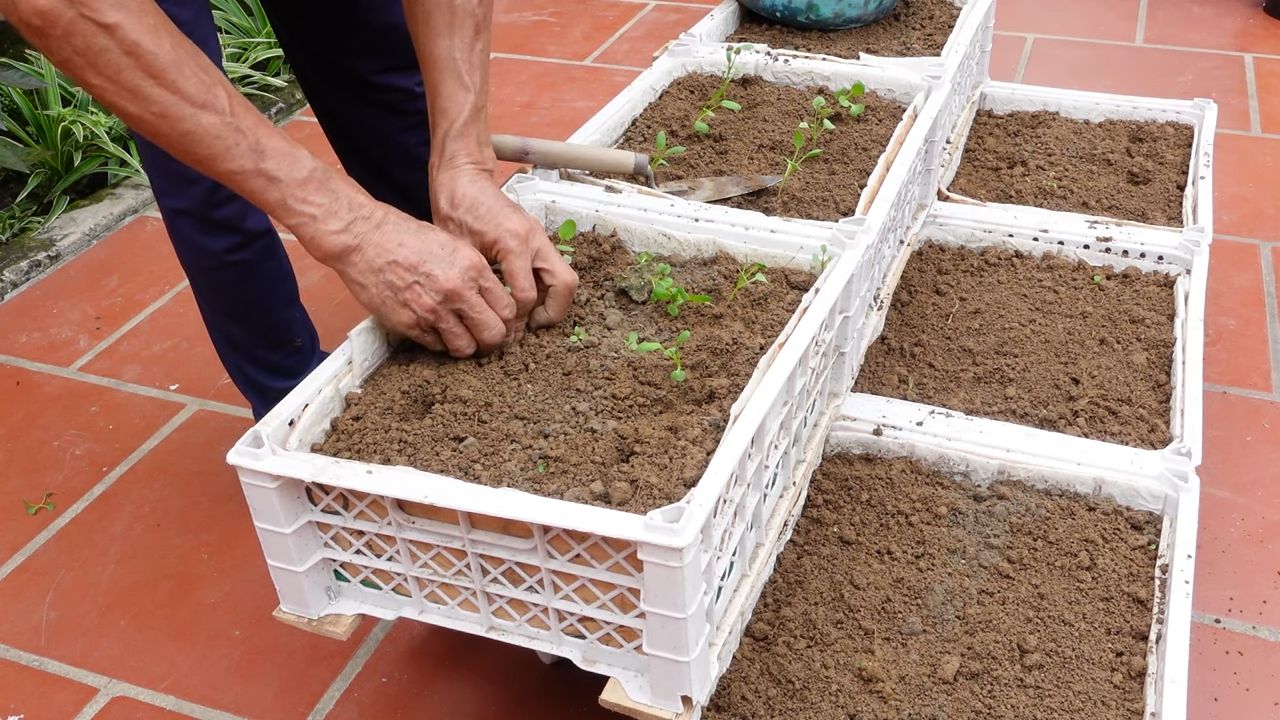
2. Befüllen der Pflanzgefäße mit Erde:
* Füllt die Gefäße mit Erde, aber lasst etwa 2-3 cm Platz bis zum Rand.
* Lockert die Erde etwas auf und entfernt grobe Klumpen.
* Feuchtet die Erde leicht an. Sie sollte nicht tropfnass sein, sondern nur leicht feucht.
3. Aussaat der Samen oder Einpflanzen der Jungpflanzen:
* Aussaat: Lest die Anweisungen auf der Samenpackung. Meistens werden die Samen einfach auf die Erde gestreut und leicht mit Erde bedeckt. Drückt die Erde vorsichtig an.
* Einpflanzen: Macht ein kleines Loch in die Erde, das groß genug für den Wurzelballen der Jungpflanze ist. Setzt die Pflanze hinein und füllt das Loch mit Erde auf. Drückt die Erde vorsichtig an.
* Achtet darauf, dass die Pflanzen genügend Abstand zueinander haben, damit sie genug Platz zum Wachsen haben.
4. Beschriften der Pflanzenschilder:
* Schreibt auf die Pflanzenschilder, welche Pflanzen ihr gesät oder gepflanzt habt.
* Steckt die Schilder in die Erde neben die jeweiligen Pflanzen.
5. Bewässern der Pflanzen:
* Gießt die Pflanzen vorsichtig mit einer Gießkanne oder besprüht sie mit einer Sprühflasche.
* Die Erde sollte immer leicht feucht sein, aber nicht tropfnass.
* Vermeidet Staunässe, da dies zu Wurzelfäule führen kann.
6. Dekorieren des Indoor-Gartens:
* Jetzt kommt der spaßige Teil! Dekoriert euren Garten mit kleinen Figuren, bunten Steinen, Muscheln oder anderen Dingen, die euch gefallen.
* Lasst eurer Fantasie freien Lauf!
7. Platzieren des Indoor-Gartens:
* Stellt euren Indoor-Garten an einen sonnigen Platz, z.B. auf ein Fensterbrett oder in die Nähe eines Fensters.
* Achtet darauf, dass die Pflanzen genügend Licht bekommen.
8. Pflege des Indoor-Gartens:
* Gießt die Pflanzen regelmäßig.
* Entfernt verwelkte Blätter oder Blüten.
* Dreht die Pflanzen regelmäßig, damit sie von allen Seiten Licht bekommen.
* Beobachtet die Pflanzen genau und achtet auf Schädlinge oder Krankheiten.
* Düngt die Pflanzen bei Bedarf mit einem speziellen Pflanzendünger.
Kresse-Anzucht im Eierkarton: Ein schnelles Erfolgserlebnis
Kresse ist super einfach anzubauen und wächst unglaublich schnell. Perfekt für ungeduldige kleine Gärtner!
1. Vorbereitung:
* Halbiert einen Eierkarton.
* Legt die Mulden mit Küchenpapier aus.
* Befeuchtet das Küchenpapier.
2. Aussaat:
* Streut die Kressesamen dicht auf das feuchte Küchenpapier.
* Drückt die Samen leicht an.
3. Pflege:
* Haltet das Küchenpapier immer feucht.
* Stellt den Eierkarton an einen hellen Ort, aber nicht in die pralle Sonne.
4. Ernte:
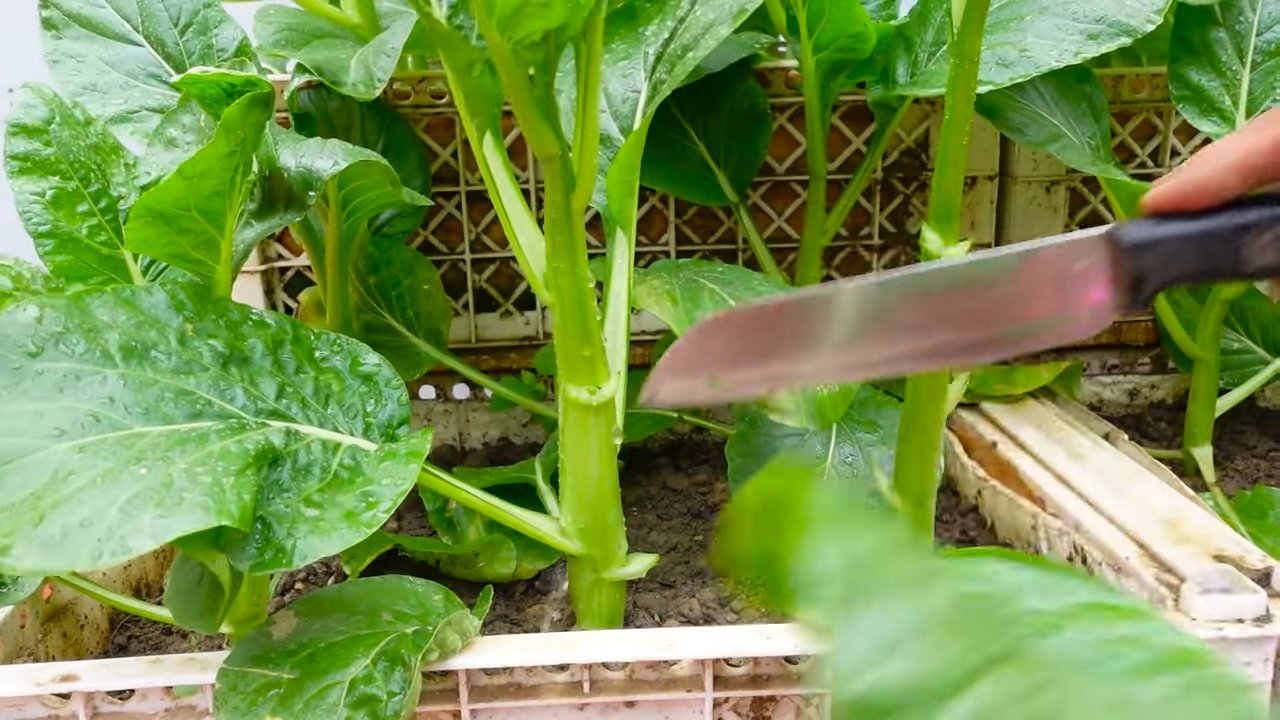
* Nach wenigen Tagen könnt ihr die Kresse ernten! Schneidet sie einfach mit einer Schere ab.
* Kresse schmeckt lecker auf Brot, im Salat oder in Suppen.
Radieschen im Topf: Knackig und selbstgezogen
Radieschen sind ebenfalls schnellwachsend und einfach anzubauen.
1. Vorbereitung:
* Wählt einen Topf mit ausreichend Platz (mindestens 15 cm Durchmesser).
* Füllt den Topf mit Anzuchterde.
2. Aussaat:
* Macht kleine Rillen in die Erde (ca. 1 cm tief).
* Legt die Radieschensamen in die Rillen (ca. 2 cm Abstand).
* Bedeckt die Samen mit Erde und drückt sie leicht an.
3. Pflege:
* Gießt die Erde regelmäßig.
* Stellt den Topf an einen sonnigen Ort.
* Vereinzelt die Pflänzchen, wenn sie zu dicht stehen.
4. Ernte:
* Nach ca. 4-6 Wochen könnt ihr die Radieschen ernten! Zieht sie einfach aus der Erde.
* Radieschen schmecken lecker roh, im Salat oder als Brotbelag.
Kräutergarten am Fenster: Duftende Aromen für die Küche
Kräuter sind nicht nur lecker, sondern auch pflegeleicht und duften herrlich.
1. Vorbereitung:
* Wählt einen länglichen Pflanzkasten oder mehrere kleine Töpfe.
* Füllt die Gefäße mit Kräutererde.
2. Pflanzung:
* Pflanzt verschiedene Kräuter wie Basilikum, Schnittlauch, Petersilie, Minze oder Rosmarin.
* Achtet darauf, dass die Kräuter genügend Abstand zueinander haben.
3. Pflege:
* Gießt die Kräuter regelmäßig.
* Stellt den Pflanzkasten oder die Töpfe an einen sonnigen Ort.
* Schneidet die Kräuter regelmäßig, um das Wachstum anzuregen.
4. Ernte:
* Erntet die Kräuter nach Bedarf.
* Verwendet die
Conclusion
So, there you have it! Transforming your living space into a vibrant, kid-friendly indoor garden is not only achievable but also incredibly rewarding. We’ve explored simple, effective techniques to bring the beauty and benefits of nature right into your home, fostering a love for plants and the environment in your children. This isn’t just about adding greenery; it’s about creating a living, breathing ecosystem that engages the senses, sparks curiosity, and provides valuable learning opportunities.
Why is this DIY trick a must-try? Because it’s more than just a project; it’s an investment in your family’s well-being. An indoor garden purifies the air, reduces stress, and adds a touch of tranquility to your daily life. For children, it offers hands-on experience with science, responsibility, and the wonders of the natural world. They’ll learn about plant life cycles, the importance of sunlight and water, and the satisfaction of nurturing something from seed to sprout. Plus, it’s a fantastic way to disconnect from screens and reconnect with nature, even when the weather outside isn’t cooperating.
Looking for variations to personalize your indoor garden? Consider these ideas:
* **Themed Gardens:** Create a fairy garden with miniature plants and whimsical decorations, a pizza garden with herbs like basil, oregano, and thyme, or a sensory garden with plants that have interesting textures and scents.
* **Vertical Gardening:** Maximize space by using vertical planters, hanging baskets, or repurposed pallets to create a living wall. This is especially useful in smaller apartments or homes.
* **Hydroponics:** Explore the world of hydroponics, a soil-less gardening method that’s perfect for growing herbs and vegetables indoors. It’s a fun and educational project for older children.
* **Terrariums:** Build miniature ecosystems in glass containers. Terrariums are low-maintenance and visually stunning, making them a great addition to any room.
* Edible Flowers: Plant edible flowers like pansies or nasturtiums to add color and flavor to your salads and desserts.
Remember, the key to a successful indoor garden is to choose plants that are well-suited to your home’s light and humidity levels. Start small, experiment with different varieties, and don’t be afraid to get your hands dirty!
We’re confident that you and your children will love creating your own indoor oasis. So, gather your supplies, unleash your creativity, and embark on this exciting gardening adventure. We encourage you to try this indoor kid friendly garden project and share your experiences with us! Post photos of your creations on social media using [Your Hashtag] and let us know what you’ve learned along the way. We can’t wait to see your beautiful indoor gardens bloom! Let’s cultivate a greener, healthier, and happier future, one plant at a time.
FAQ
What are the best plants for an indoor kid-friendly garden?
Choosing the right plants is crucial for a successful and enjoyable indoor garden experience, especially when kids are involved. You’ll want to prioritize plants that are non-toxic, easy to care for, and visually appealing. Some excellent options include:
* **Spider Plants (Chlorophytum comosum):** These are incredibly easy to grow and propagate, making them a great choice for beginners. They also produce “spiderettes” (baby plants) that can be easily repotted, providing a fun and educational activity for children.
* **African Violets (Saintpaulia):** These flowering plants come in a variety of colors and are relatively low-maintenance. They prefer bright, indirect light and consistent moisture.
* **Succulents (Echeveria, Sedum, Haworthia):** Succulents are drought-tolerant and come in a wide range of shapes and sizes. They’re perfect for kids who might forget to water their plants regularly.
* **Herbs (Basil, Mint, Chives):** Growing herbs indoors is a great way to introduce children to the world of cooking and gardening. They can help with watering and harvesting, and then enjoy the fruits (or herbs!) of their labor.
* **Peace Lily (Spathiphyllum):** These elegant plants are known for their air-purifying qualities. However, it’s important to note that they are mildly toxic if ingested, so keep them out of reach of very young children.
* **ZZ Plant (Zamioculcas zamiifolia):** This plant is incredibly tolerant of neglect and low light conditions. It’s a great option for busy families or those with limited gardening experience.
Always double-check the toxicity of any plant before introducing it to your home, especially if you have young children or pets. The ASPCA website is a great resource for information on plant toxicity.
How much sunlight do indoor plants need?
The amount of sunlight your indoor plants need will vary depending on the species. However, as a general rule, most indoor plants prefer bright, indirect light. This means placing them near a window that receives plenty of sunlight, but shielding them from direct sunlight, which can scorch their leaves.
If you don’t have a lot of natural light in your home, you can supplement with artificial grow lights. LED grow lights are energy-efficient and can provide the necessary light spectrum for healthy plant growth.
Observe your plants carefully for signs of too much or too little light. If the leaves are turning yellow or brown, they may be getting too much direct sunlight. If the plants are leggy (long and spindly) and the leaves are pale, they may not be getting enough light.
How often should I water my indoor plants?
Overwatering is one of the most common mistakes that people make when caring for indoor plants. The frequency of watering will depend on the type of plant, the size of the pot, and the humidity levels in your home.
A good rule of thumb is to water your plants when the top inch of soil feels dry to the touch. Use your finger to check the soil moisture before watering. When you do water, water thoroughly until water drains out of the bottom of the pot. Be sure to empty the saucer underneath the pot to prevent the roots from sitting in water, which can lead to root rot.
Succulents and cacti require less frequent watering than other types of plants. Allow the soil to dry out completely between waterings.
How can I involve my kids in the indoor gardening process?
Involving your kids in the indoor gardening process is a fantastic way to teach them about nature, responsibility, and the importance of caring for living things. Here are some ideas:
* **Let them choose the plants:** Take your kids to a local nursery or garden center and let them pick out the plants they want to grow. This will give them a sense of ownership and make them more invested in the project.
* **Involve them in planting:** Let your kids help with planting the seeds or seedlings. They can fill the pots with soil, make holes for the plants, and gently place the plants in the soil.
* **Assign them watering duties:** Give your kids the responsibility of watering the plants on a regular basis. Teach them how to check the soil moisture and how much water to give each plant.
* **Let them help with pruning and fertilizing:** Show your kids how to prune dead or yellowing leaves and how to fertilize the plants.
* **Create plant labels:** Have your kids create plant labels with the names of the plants and any other relevant information.
* **Keep a gardening journal:** Encourage your kids to keep a gardening journal where they can record their observations, track the growth of the plants, and write down any questions they have.
* **Harvest together:** If you’re growing herbs or vegetables, let your kids help with harvesting. They’ll love picking the fresh produce and using it in their meals.
By involving your kids in the indoor gardening process, you’ll not only be teaching them valuable skills but also creating lasting memories together.
What if I don’t have a green thumb?
Don’t worry if you don’t consider yourself to have a green thumb! Indoor gardening is easier than you might think, and there are plenty of resources available to help you succeed. Start with easy-to-care-for plants like spider plants, succulents, or ZZ plants. These plants are very forgiving and can tolerate a bit of neglect.
Do some research online or at your local library to learn about the specific needs of the plants you’re growing. There are also many online communities and forums where you can ask questions and get advice from experienced gardeners.
Don’t be afraid to experiment and learn from your mistakes. Even experienced gardeners lose plants from time to time. The key is to keep trying and to learn from your experiences. With a little patience and effort, you can create a thriving indoor garden, even if you don’t have a natural talent for gardening.
Leave a Comment