
Harvest More Watermelons: Dreaming of juicy, homegrown watermelons bursting with flavor? I know I am! There’s nothing quite like the satisfaction of biting into a watermelon you’ve nurtured from a tiny seed. But let’s be honest, sometimes those vines just don’t seem to produce as many of those sweet summer treats as we’d hoped. That’s where a few clever DIY tricks come in!
Watermelons have a rich history, dating back thousands of years to Africa. They were even found in King Tut’s tomb! Throughout history, they’ve been prized for their refreshing taste and hydrating properties. Today, growing your own watermelons connects us to that history, allowing us to cultivate a piece of the past in our own backyards.
But why struggle with sparse harvests when you can easily boost your watermelon production? This DIY guide is packed with simple, effective hacks to help you harvest more watermelons than ever before. Whether you’re a seasoned gardener or just starting out, these tips will empower you to maximize your yield and enjoy a summer filled with delicious, homegrown goodness. I’m excited to share these secrets with you, so let’s dive in and get those watermelon vines thriving!
Mehr Wassermelonen ernten: Dein DIY-Leitfaden für eine reiche Ernte
Hallo liebe Gartenfreunde! Wer träumt nicht von einer üppigen Wassermelonenernte? Ich zeige dir heute, wie du mit ein paar einfachen Tricks und Kniffen deine Wassermelonenpflanzen so richtig zum Wachsen bringst und am Ende des Sommers mit einer riesigen Ernte belohnt wirst. Keine Angst, es ist einfacher als du denkst!
Die Grundlagen: Was Wassermelonen lieben
Bevor wir loslegen, ist es wichtig zu verstehen, was Wassermelonen wirklich brauchen, um zu gedeihen. Sie sind Sonnenanbeter und brauchen viel Wärme. Außerdem sind sie hungrig und durstig!
* Sonne: Mindestens 6-8 Stunden direkte Sonneneinstrahlung pro Tag sind ein Muss.
* Wärme: Wassermelonen lieben warmes Wetter. Die Bodentemperatur sollte idealerweise über 21°C liegen.
* Boden: Gut durchlässiger, sandiger Lehmboden mit einem pH-Wert zwischen 6,0 und 6,8 ist ideal.
* Wasser: Regelmäßige Bewässerung ist entscheidend, besonders während der Fruchtbildung.
* Nährstoffe: Wassermelonen sind Starkzehrer und benötigen ausreichend Nährstoffe, besonders Kalium und Phosphor.
Phase 1: Die Vorbereitung – Der Grundstein für den Erfolg
Eine gute Vorbereitung ist die halbe Miete! Bevor du überhaupt an die Aussaat denkst, solltest du dir Gedanken über den Standort und die Bodenbeschaffenheit machen.
1. Standortwahl: Suche dir den sonnigsten Platz in deinem Garten aus. Achte darauf, dass die Pflanzen genügend Platz haben, da Wassermelonenranken sich gerne ausbreiten.
2. Bodenverbesserung: Bereite den Boden vor, indem du ihn lockerst und mit Kompost oder gut verrottetem Mist anreicherst. Das verbessert die Drainage und versorgt die Pflanzen mit wichtigen Nährstoffen. Wenn dein Boden sehr lehmig ist, kannst du auch etwas Sand untermischen.
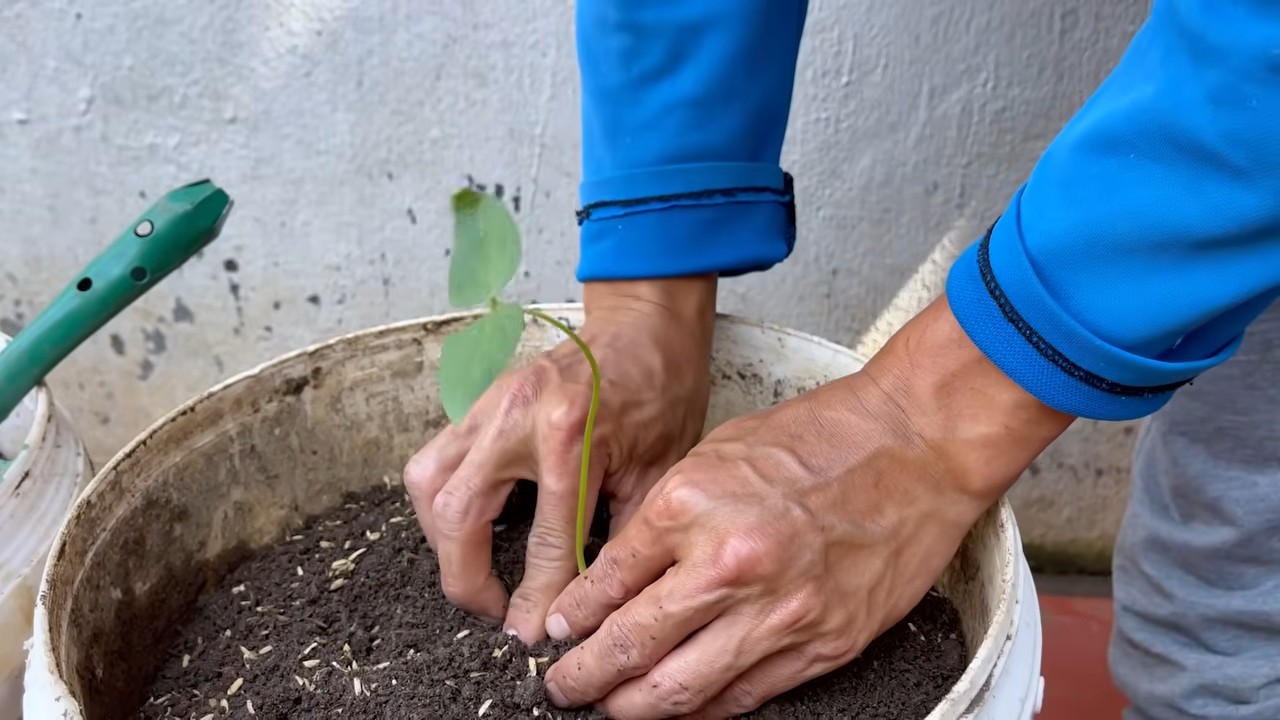
3. Vorkultur (optional): In kühleren Regionen empfiehlt es sich, die Wassermelonen im Haus vorzuziehen. Beginne damit etwa 4-6 Wochen vor dem letzten erwarteten Frost.
* Fülle kleine Töpfe mit Anzuchterde.
* Lege 2-3 Samen pro Topf etwa 2 cm tief in die Erde.
* Gieße die Erde vorsichtig an und stelle die Töpfe an einen warmen, hellen Ort.
* Halte die Erde feucht, aber nicht nass.
* Sobald die Sämlinge gekeimt sind, entferne den schwächsten Trieb pro Topf.
4. Direktsaat (Alternative): Wenn du in einer Region mit warmen Sommern wohnst, kannst du die Wassermelonen auch direkt ins Freiland säen. Warte, bis die Bodentemperatur konstant über 21°C liegt.
* Bereite den Boden wie oben beschrieben vor.
* Säe die Samen etwa 2 cm tief in Hügeln oder Reihen.
* Halte einen Abstand von etwa 90-120 cm zwischen den Pflanzen ein.
* Gieße die Erde vorsichtig an.
Phase 2: Die Pflege – So bringst du deine Wassermelonen zum Wachsen
Sobald die Pflanzen im Boden sind, beginnt die eigentliche Arbeit. Aber keine Sorge, mit ein paar einfachen Pflegetipps kannst du sicherstellen, dass deine Wassermelonen prächtig gedeihen.
1. Bewässerung: Wassermelonen brauchen viel Wasser, besonders während der Fruchtbildung. Gieße die Pflanzen regelmäßig, aber vermeide Staunässe. Am besten gießt du morgens, damit die Blätter über den Tag abtrocknen können. Eine Tröpfchenbewässerung ist ideal, da sie das Wasser direkt an die Wurzeln bringt und die Blätter trocken hält.
2. Düngung: Dünge die Wassermelonen regelmäßig mit einem kalium- und phosphatreichen Dünger. Beginne damit etwa 2-3 Wochen nach dem Auspflanzen oder nach dem Auflaufen der Samen. Wiederhole die Düngung alle 2-3 Wochen. Ich verwende gerne organischen Dünger wie Beinwelljauche oder Komposttee.
3. Mulchen: Eine Mulchschicht aus Stroh oder Grasschnitt hilft, die Feuchtigkeit im Boden zu halten, Unkraut zu unterdrücken und die Bodentemperatur zu regulieren.
4. Unkrautbekämpfung: Halte den Bereich um die Wassermelonenpflanzen unkrautfrei. Unkraut konkurriert mit den Pflanzen um Wasser und Nährstoffe.
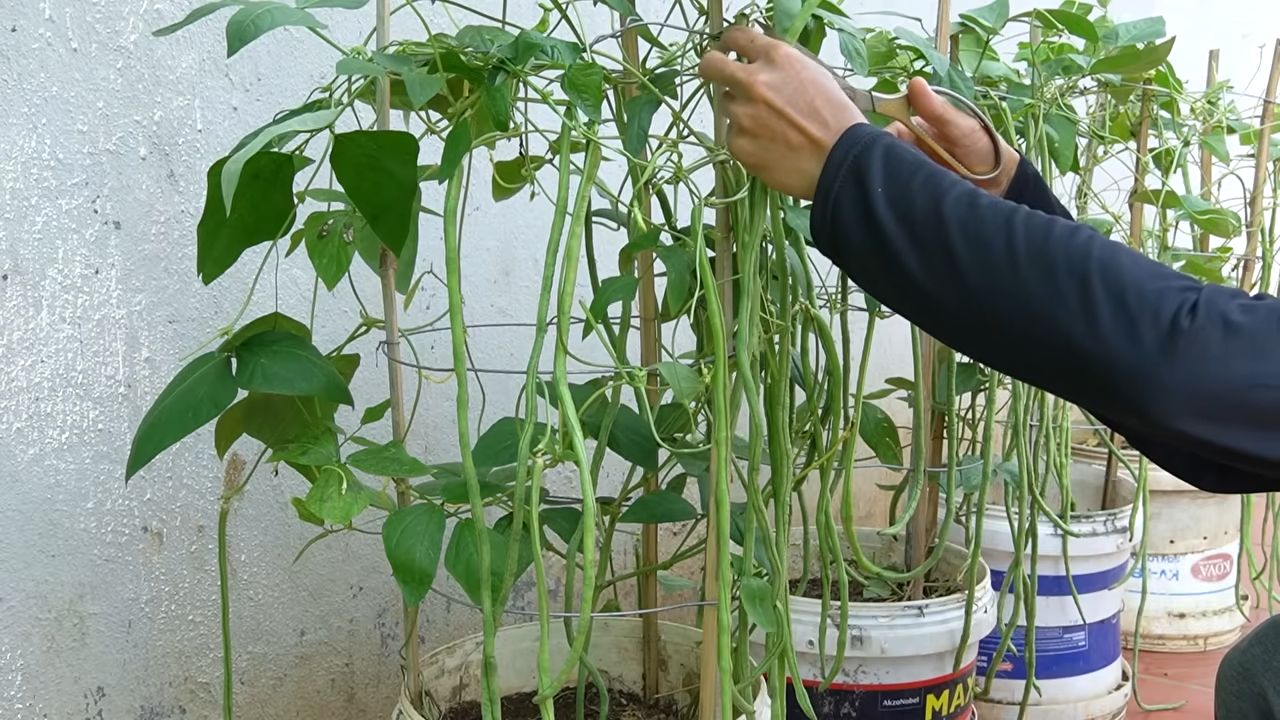
5. Rankenpflege: Wassermelonenranken können sehr lang werden. Du kannst sie entweder frei wachsen lassen oder sie an einem Rankgitter oder Zaun hochleiten. Wenn du sie frei wachsen lässt, achte darauf, dass sie genügend Platz haben.
6. Bestäubung: Wassermelonen sind auf die Bestäubung durch Bienen und andere Insekten angewiesen. Wenn du in einer Gegend mit wenig Insekten wohnst, kannst du die Blüten auch von Hand bestäuben.
* Identifiziere die männlichen und weiblichen Blüten. Die weiblichen Blüten haben einen kleinen Fruchtansatz direkt unter der Blüte.
* Nimm mit einem Pinsel Pollen von einer männlichen Blüte auf.
* Übertrage den Pollen auf die Narbe einer weiblichen Blüte.
* Wiederhole diesen Vorgang für mehrere weibliche Blüten.
7. Fruchtansatz fördern: Um den Fruchtansatz zu fördern, kannst du die ersten Blüten entfernen. Das mag komisch klingen, aber es hilft der Pflanze, ihre Energie auf die späteren Blüten zu konzentrieren.
8. Fruchtpflege: Sobald sich die Früchte gebildet haben, kannst du sie auf Stroh oder Holzbretter legen, um sie vor Fäulnis zu schützen. Drehe die Früchte regelmäßig, damit sie gleichmäßig reifen.
9. Schutz vor Schädlingen und Krankheiten: Achte auf Anzeichen von Schädlingen und Krankheiten. Blattläuse, Gurkenkäfer und Mehltau können Wassermelonen befallen. Bekämpfe Schädlinge und Krankheiten frühzeitig mit geeigneten Mitteln. Ich bevorzuge natürliche Methoden wie Neemöl oder Brennnesseljauche.
Phase 3: Die Ernte – Der Lohn für deine Mühe
Der Moment, auf den du gewartet hast! Die Erntezeit ist gekommen. Aber wie erkennst du, ob eine Wassermelone reif ist?
1. Visuelle Anzeichen:
* Die Farbe der Schale verändert sich von glänzend zu matt.
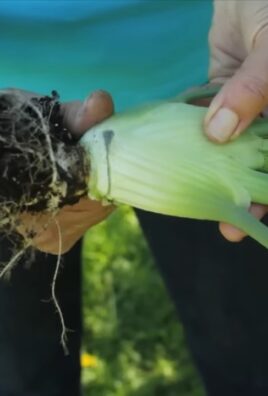
* Die Stelle, an der die Wassermelone auf dem Boden liegt, wird gelb oder cremefarben.
* Die Ranke, die mit der Wassermelone verbunden ist, beginnt zu vertrocknen.
2. Klangprobe: Klopfe auf die Wassermelone. Eine reife Wassermelone klingt hohl und dumpf.
3. Druckprobe: Drücke leicht auf die Schale. Eine reife Wassermelone gibt leicht nach.
4. Ernten: Schneide die Wassermelone mit einem scharfen Messer oder einer Gartenschere von der Ranke ab. Lasse dabei einen kleinen Stiel an der Frucht.
Zusätzliche Tipps für eine noch bessere Ernte
* Sortenwahl: Wähle eine Wassermelonensorte, die für dein Klima geeignet ist. Es gibt viele verschiedene Sorten, die sich in Größe, Geschmack und Reifezeit unterscheiden.
* Fruchtanzahl begrenzen: Wenn du besonders große Wassermelonen ernten möchtest, kannst du die Anzahl der Früchte pro Pflanze begrenzen. Entferne einfach einige der kleineren Früchte, damit die Pflanze ihre Energie auf die verbleibenden Früchte konzentrieren kann.
* Bodenanalyse: Eine Bodenanalyse kann dir helfen, den Nährstoffgehalt deines Bodens zu bestimmen und gezielt zu düngen.
* Komposttee: Gieße deine Wassermelonen regelmäßig mit Komposttee. Das stärkt die Pflanzen und macht sie widerstandsfähiger gegen Krankheiten.
* Beobachtung: Beobachte deine Pflanzen regelmäßig und achte auf Anzeichen von Problemen. Je früher du Probleme erkennst, desto besser kannst du sie beheben.
Ich hoffe, diese Anleitung hilft dir dabei, eine reiche
Conclusion
So, there you have it! This simple, yet effective DIY trick to harvest more watermelons is a game-changer for any gardener, whether you’re a seasoned pro or just starting out. We’ve walked you through the process, highlighting the benefits of increased yield, healthier plants, and ultimately, more delicious watermelons to enjoy.
Why is this a must-try? Because it addresses a fundamental challenge in watermelon cultivation: maximizing pollination and fruit development. By focusing on strategic pruning and targeted feeding, you’re essentially giving your watermelon plants the boost they need to thrive. Imagine biting into a perfectly ripe, juicy watermelon knowing you played a direct role in its abundance. That’s the satisfaction this DIY trick offers.
But don’t stop there! Experiment with variations to tailor the technique to your specific garden conditions and watermelon varieties. For example, if you live in a particularly humid climate, ensure adequate airflow around your plants by pruning more aggressively. If you’re growing a smaller, bush-type watermelon, adjust the feeding schedule accordingly. Consider using different types of organic fertilizers to see which yields the best results for your soil. You could even try companion planting with flowers that attract pollinators to further enhance the pollination process.
This isn’t just about growing more watermelons; it’s about understanding your plants and creating a thriving ecosystem in your garden.
We’re confident that this DIY trick will significantly improve your watermelon harvest. But the real magic happens when you put it into practice and adapt it to your own unique circumstances. So, grab your gardening gloves, get out there, and give it a try!
And most importantly, we want to hear about your experience! Share your results, your variations, and any tips you discover along the way in the comments below. Let’s build a community of watermelon enthusiasts who are passionate about maximizing their harvests and enjoying the fruits (literally!) of their labor. Your insights could be invaluable to other gardeners, and together, we can all learn and grow more watermelons than ever before. Don’t be shy – let us know how this DIY trick helped you harvest more watermelons!
Frequently Asked Questions (FAQ)
Q: How often should I prune my watermelon plants using this DIY trick?
A: The frequency of pruning depends on the growth rate of your watermelon plants and the specific variety you’re growing. Generally, you should aim to prune every 1-2 weeks, removing any suckers (small shoots that grow from the base of the plant) and excess foliage that is shading the developing fruits. The goal is to maintain good airflow and sunlight penetration to the fruits. Regularly inspect your plants and prune as needed to keep them healthy and productive. Over-pruning can stress the plant, so be mindful and avoid removing too much foliage at once.
Q: What type of fertilizer is best for this DIY watermelon growing method?
A: For optimal results, use a balanced fertilizer with a slightly higher phosphorus content during the early stages of growth to promote strong root development. Once the watermelons start to form, switch to a fertilizer with a higher potassium content to encourage fruit development and sweetness. Organic options like compost tea, bone meal, and wood ash are excellent choices. Avoid fertilizers that are too high in nitrogen, as this can lead to excessive foliage growth at the expense of fruit production. Always follow the instructions on the fertilizer packaging and avoid over-fertilizing, which can damage your plants.
Q: Can I use this DIY trick for other types of melons?
A: Yes, the principles of this DIY trick can be applied to other types of melons, such as cantaloupe and honeydew. The key is to adjust the pruning and feeding schedule to suit the specific needs of each melon variety. For example, cantaloupes tend to be more susceptible to fungal diseases, so maintaining good airflow through more aggressive pruning is crucial. Honeydew melons, on the oth
So, there you have it! This simple, yet effective DIY trick to harvest more watermelons is a game-changer for any gardener, whether you’re a seasoned pro or just starting out. We’ve walked you through the process, highlighting the benefits of increased yield, healthier plants, and ultimately, more delicious watermelons to enjoy.
Why is this a must-try? Because it addresses a fundamental challenge in watermelon cultivation: maximizing pollination and fruit development. By focusing on strategic pruning and targeted feeding, you’re essentially giving your watermelon plants the boost they need to thrive. Imagine biting into a perfectly ripe, juicy watermelon knowing you played a direct role in its abundance. That’s the satisfaction this DIY trick offers.
But don’t stop there! Experiment with variations to tailor the technique to your specific garden conditions and watermelon varieties. For example, if you live in a particularly humid climate, ensure adequate airflow around your plants by pruning more aggressively. If you’re growing a smaller, bush-type watermelon, adjust the feeding schedule accordingly. Consider using different types of organic fertilizers to see which yields the best results for your soil. You could even try companion planting with flowers that attract pollinators to further enhance the pollination process.
This isn’t just about growing more watermelons; it’s about understanding your plants and creating a thriving ecosystem in your garden.
We’re confident that this DIY trick will significantly improve your watermelon harvest. But the real magic happens when you put it into practice and adapt it to your own unique circumstances. So, grab your gardening gloves, get out there, and give it a try!
And most importantly, we want to hear about your experience! Share your results, your variations, and any tips you discover along the way in the comments below. Let’s build a community of watermelon enthusiasts who are passionate about maximizing their harvests and enjoying the fruits (literally!) of their labor. Your insights could be invaluable to other gardeners, and together, we can all learn and grow more watermelons than ever before. Don’t be shy – let us know how this DIY trick helped you harvest more watermelons!
Frequently Asked Questions (FAQ)
Q: How often should I prune my watermelon plants using this DIY trick?
A: The frequency of pruning depends on the growth rate of your watermelon plants and the specific variety you’re growing. Generally, you should aim to prune every 1-2 weeks, removing any suckers (small shoots that grow from the base of the plant) and excess foliage that is shading the developing fruits. The goal is to maintain good airflow and sunlight penetration to the fruits. Regularly inspect your plants and prune as needed to keep them healthy and productive. Over-pruning can stress the plant, so be mindful and avoid removing too much foliage at once.
Q: What type of fertilizer is best for this DIY watermelon growing method?
A: For optimal results, use a balanced fertilizer with a slightly higher phosphorus content during the early stages of growth to promote strong root development. Once the watermelons start to form, switch to a fertilizer with a higher potassium content to encourage fruit development and sweetness. Organic options like compost tea, bone meal, and wood ash are excellent choices. Avoid fertilizers that are too high in nitrogen, as this can lead to excessive foliage growth at the expense of fruit production. Always follow the instructions on the fertilizer packaging and avoid over-fertilizing, which can damage your plants.
Q: Can I use this DIY trick for other types of melons?
A: Yes, the principles of this DIY trick can be applied to other types of melons, such as cantaloupe and honeydew. The key is to adjust the pruning and feeding schedule to suit the specific needs of each melon variety. For example, cantaloupes tend to be more susceptible to fungal diseases, so maintaining good airflow through more aggressive pruning is crucial. Honeydew melons, on the other hand, may benefit from a slightly higher nitrogen fertilizer during the early stages of growth. Research the specific requirements of the melon variety you’re growing and adapt the DIY trick accordingly.
Q: How do I know when my watermelons are ripe and ready to harvest?
A: Determining watermelon ripeness can be tricky, but there are several indicators to look for. First, check the tendril closest to the watermelon stem. When this tendril turns brown and dries out, it’s a good sign that the watermelon is nearing maturity. Second, examine the underside of the watermelon where it rests on the ground. This spot, known as the ground spot, should turn from white to a creamy yellow color. Finally, give the watermelon a gentle thump. A ripe watermelon will produce a deep, hollow sound. If the sound is dull or high-pitched, the watermelon is likely not yet ripe.
Q: What if I don’t have a lot of space for growing watermelons?
A: Even if you have limited space, you can still grow watermelons using this DIY trick. Consider growing bush-type watermelon varieties, which are more compact and require less space than traditional vining varieties. You can also train your watermelon vines to grow vertically on a trellis or fence. This will not only save space but also improve airflow and sunlight penetration. When growing watermelons in containers, choose a large pot (at least 20 gallons) and use a well-draining potting mix. Be sure to provide adequate support for the developing fruits, as they can become quite heavy.
Q: My watermelon plants are attracting pests. What should I do?
A: Pests can be a common problem when growing watermelons, but there are several steps you can take to protect your plants. Regularly inspect your plants for signs of pests, such as aphids, squash bugs, and cucumber beetles. Hand-picking pests off your plants is an effective way to control small infestations. You can also use insecticidal soap or neem oil to treat larger infestations. Companion planting with herbs like basil and marigolds can help repel pests naturally. Additionally, covering your watermelon plants with row covers can provide a physical barrier against pests.
Q: How important is watering for this DIY method?
A: Consistent and adequate watering is absolutely crucial for successfully implementing this DIY method and achieving a bountiful watermelon harvest. Watermelons are thirsty plants, especially during fruit development. Aim to water deeply and regularly, ensuring the soil remains consistently moist but not waterlogged. Drip irrigation is an excellent way to deliver water directly to the roots, minimizing water waste and reducing the risk of fungal diseases. During hot, dry weather, you may need to water your watermelon plants daily. Mulching around the base of the plants can help retain moisture in the soil. Inconsistent watering can lead to blossom end rot and other problems, so pay close attention to your plants’ watering needs.

Leave a Comment