
Vinegar Soap Cleaning: Your Secret Weapon for a Sparkling Home
I’ve always loved the feeling of a truly clean home, but let’s be honest, harsh chemical cleaners can be expensive, and frankly, a little scary. That’s why I’m so excited to share my favorite vinegar soap cleaning trick with you – a simple, effective, and eco-friendly way to tackle grime and leave your home sparkling. This isn’t just about cleaning; it’s about reclaiming control over your home environment and creating a space that’s both beautiful and healthy.
The idea of using vinegar for cleaning isn’t new; in fact, it’s a time-honored tradition passed down through generations. Our grandmothers knew the power of this humble ingredient, using it for everything from preserving food to cleaning their homes. But in today’s world of heavily marketed cleaning products, this simple, yet powerful solution has often been overlooked.
Why do you need this vinegar soap cleaning hack in your life? Because it’s incredibly versatile! It’s perfect for tackling tough stains on countertops, cutting through grease in the kitchen, and even brightening up your bathroom tiles. Plus, it’s gentle enough for most surfaces, making it a safe and effective option for families with young children or pets. You’ll save money on expensive commercial cleaners, reduce your environmental impact, and enjoy the satisfaction of knowing you’re cleaning your home with natural, non-toxic ingredients.
So, are you ready to discover the amazing power of vinegar soap cleaning? Let’s dive in and unlock the secrets to a sparkling clean home, naturally!
Cleaning Your Home with Homemade Vinegar Soap: A Deep Clean on a Budget
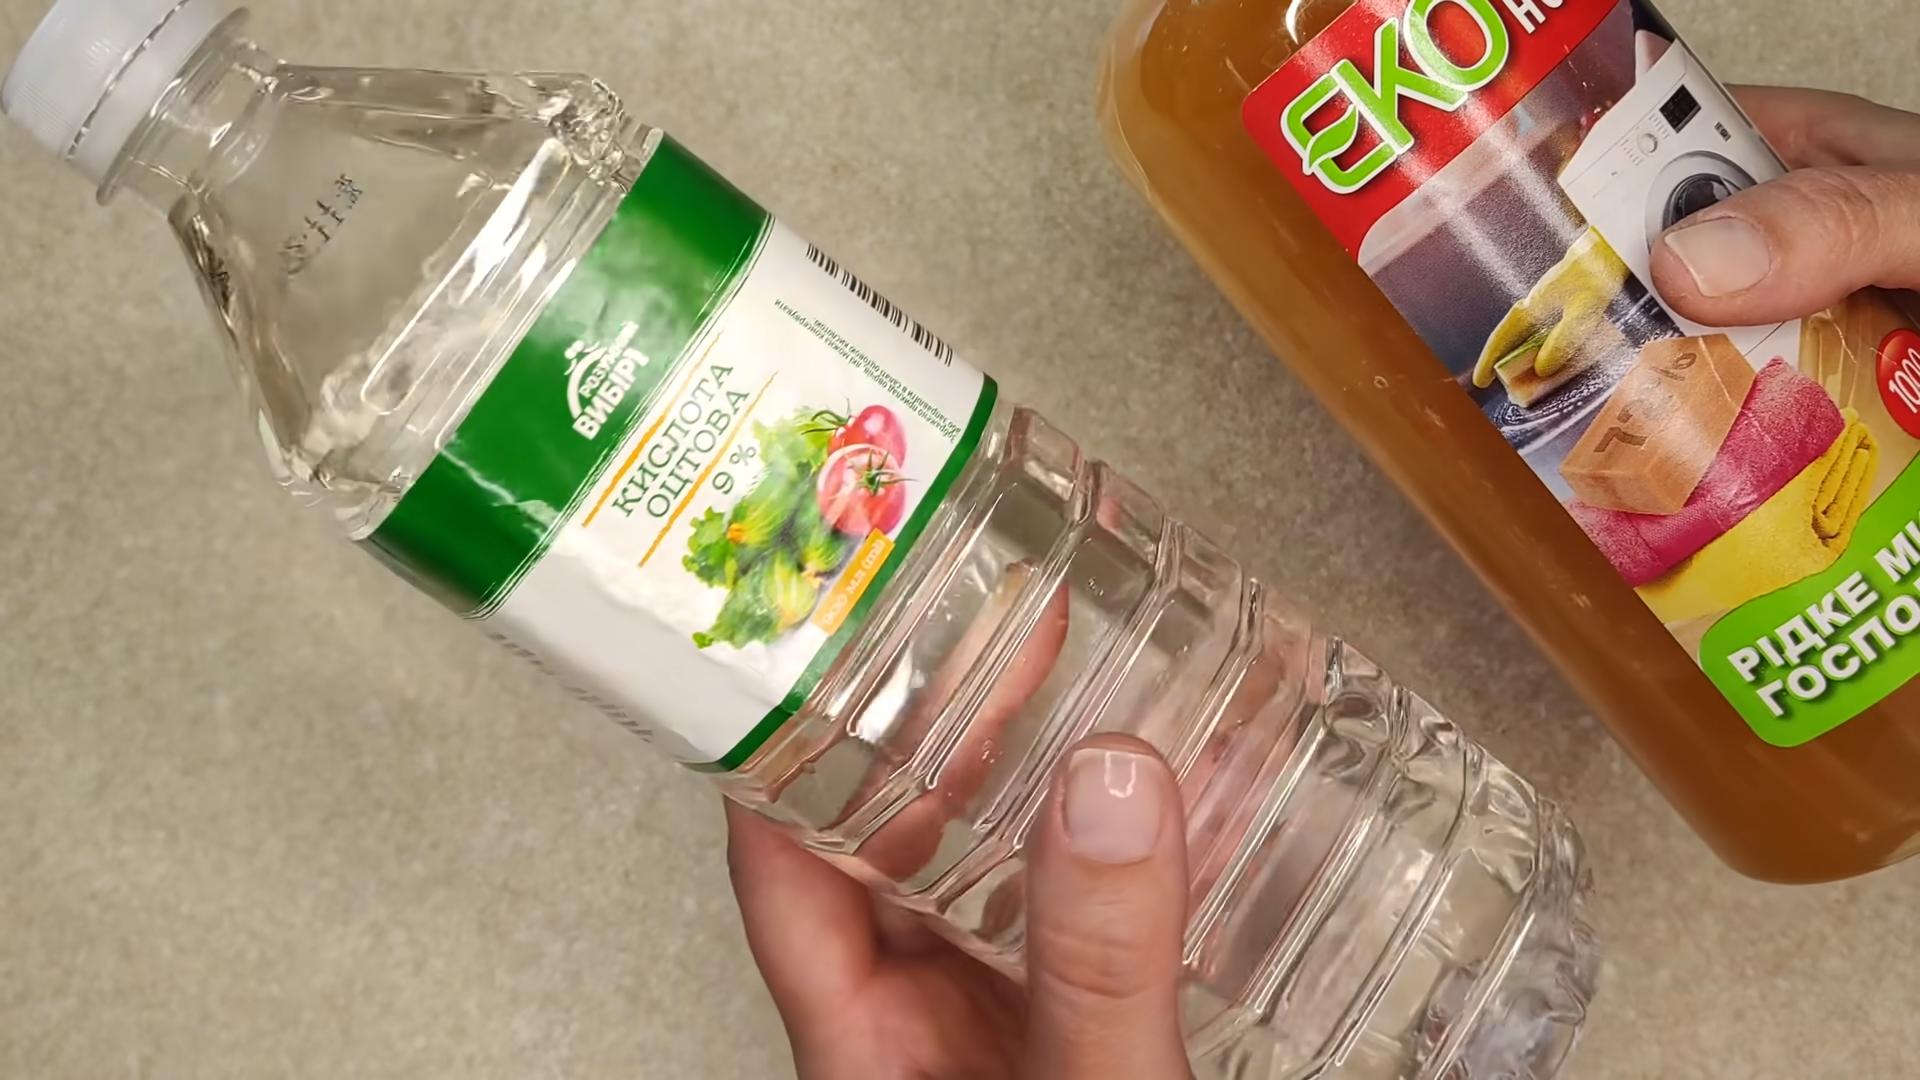
I’ve always been a fan of natural cleaning solutions, and nothing beats the power and affordability of vinegar. But sometimes, vinegar alone just isn’t enough for those really grimy jobs. That’s where this amazing vinegar soap cleaning solution comes in! It’s super easy to make, incredibly effective, and gentle on most surfaces. Let’s get started!
Gathering Your Supplies
- 1 cup white vinegar (distilled is best)
- 1/2 cup liquid castile soap (I prefer Dr. Bronner’s, but any unscented variety will work)
- 1/4 cup water (filtered is ideal)
- 10-15 drops of your favorite essential oil (optional, for scent. Tea tree oil is great for disinfecting, lavender is calming, lemon is uplifting)
- A clean spray bottle (at least 16 oz)
- Measuring cups and spoons
- Funnel (optional, but helpful)
Mixing Your Vinegar Soap Solution: A Step-by-Step Guide
- Measure your ingredients carefully. Accuracy is key here to ensure the right cleaning power and consistency. Use your measuring cups and spoons to get the precise amounts of vinegar, castile soap, and water.
- Combine the liquids. In your spray bottle, carefully pour in the vinegar first. Then, add the castile soap. Finally, add the water. If using a funnel, this step will be much easier and less messy.
- Add essential oils (optional). If you’re using essential oils, add them now. Remember a little goes a long way! Start with the lower end of the recommended drops and add more if needed after you’ve tested the solution.
- Close the spray bottle tightly. Make sure the lid is securely fastened to prevent leaks. Give the bottle a good shake to thoroughly mix all the ingredients.
- Shake well before each use. The ingredients might separate slightly over time, so always give the bottle a good shake before spraying.
Using Your Homemade Vinegar Soap Cleaner
This versatile cleaner works wonders on a variety of surfaces. However, always test it on an inconspicuous area first to ensure it doesn’t damage the finish. Here are some of my favorite uses:
- Countertops: Spray generously onto your countertops, let it sit for a minute or two, then wipe clean with a microfiber cloth. This solution is great for cutting grease and removing stubborn stains.
- Stovetop: For a lightly soiled stovetop, this cleaner works beautifully. Spray, let it sit, and wipe clean. For heavily baked-on spills, you might need to let it sit longer or use a little extra elbow grease.
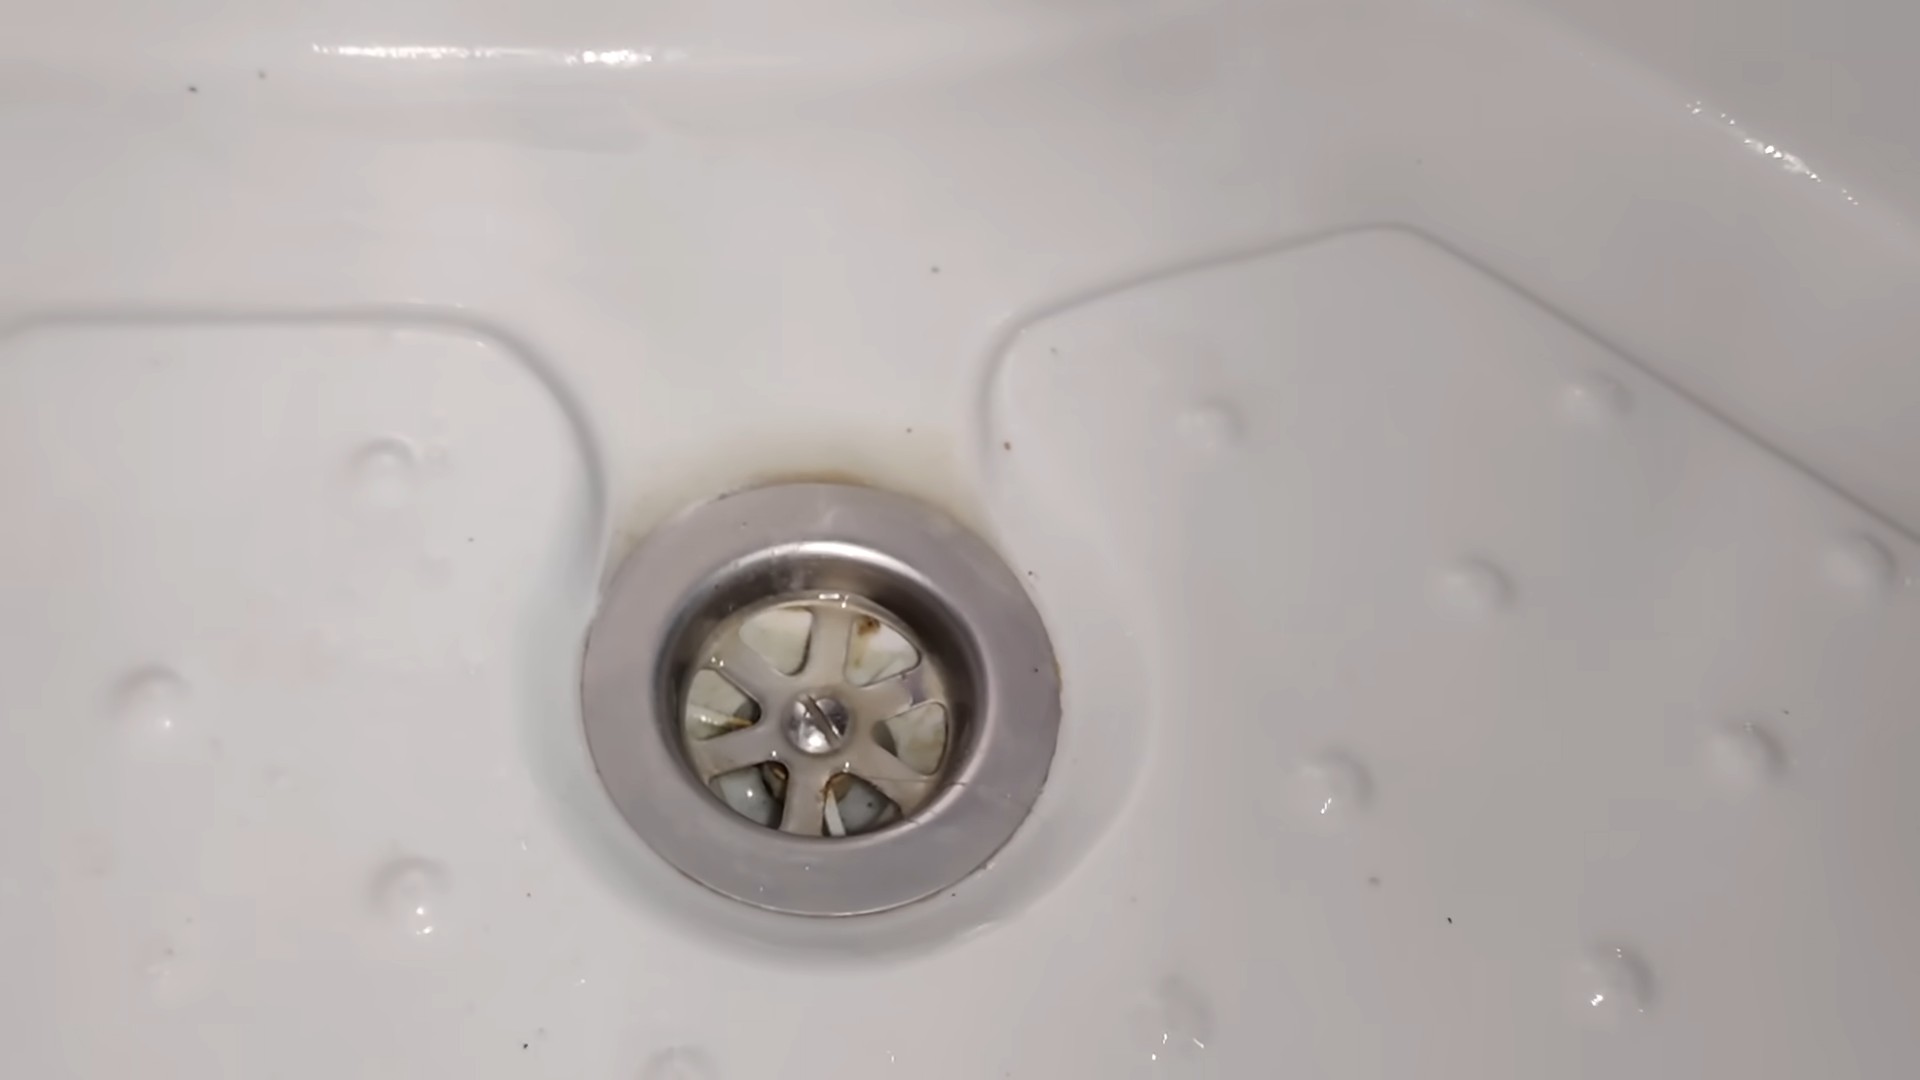
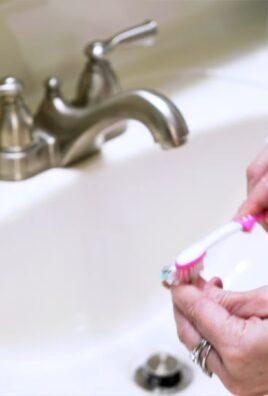
- Bathroom Surfaces: Spray on sinks, tubs, and shower walls. Let it sit for a few minutes to allow the vinegar to work its magic, then scrub with a sponge or brush and rinse thoroughly. This is particularly effective at removing soap scum and mildew.
- Mirrors and Windows: This cleaner leaves windows and mirrors sparkling clean. Spray onto the surface, wipe with a clean microfiber cloth, and buff to a streak-free shine. I find that using a separate cloth for rinsing isn’t necessary with this solution.
- Floors (tile and linoleum): Dilute the solution with equal parts water for use on floors. Test a small area first to ensure it doesn’t damage the floor finish. Spray onto the floor, let it sit briefly, and mop clean. Always rinse thoroughly.
Tips and Tricks for Success
- Avoid using on marble or granite. The acidity of the vinegar can damage these delicate surfaces. Stick to other natural stone cleaners for these materials.
- Don’t use on polished wood. The vinegar can dull the finish of polished wood. Use a wood-specific cleaner instead.
- Store in a cool, dark place. This will help to extend the shelf life of your homemade cleaner.
- Experiment with essential oils. Find your favorite scent combinations to make cleaning a more enjoyable experience.
- Make it in batches. This recipe is easily doubled or tripled to make larger quantities for your cleaning needs.
- Consider adding a touch of baking soda for extra scrubbing power. For really stubborn stains, add a small amount of baking soda directly to the affected area before spraying with the vinegar soap solution. The fizzing action helps to lift dirt and grime.
- Always test in an inconspicuous area first. This is crucial to avoid damaging any surfaces.
Troubleshooting Common Issues
If you find your solution isn’t working as well as expected, here are a few things to check:
- Ensure you used the correct proportions of ingredients. Incorrect measurements can affect the cleaning power.
- Make sure your spray bottle is clean. Residue from previous cleaning solutions can interfere with the effectiveness of your homemade cleaner.
- Try letting the solution sit longer. For stubborn stains, allow the cleaner to dwell on the surface for a longer period before wiping.
- Consider using a stronger scrubbing tool. A stiff-bristled brush might be necessary for heavily soiled areas.
Beyond Basic Cleaning: Advanced Uses for Vinegar Soap
This versatile cleaner isn’t just for everyday cleaning. Here are a few more advanced applications:
- Laundry Pre-Treatment: Spray directly onto stains before washing to help lift them out.
- Pet Stain Remover: Works well on many pet stains (always test a hidden area first!).
- Deodorizer: Spray lightly in smelly areas like garbage cans or pet beds to neutralize odors.
Conclusion
So there you have it – a simple, effective, and surprisingly versatile vinegar soap cleaning solution that can tackle a multitude of household grime. This DIY trick isn’t just about saving money; it’s about embracing a more sustainable and eco-friendly approach to cleaning. By harnessing the natural cleaning power of vinegar and the emulsifying properties of soap, you create a powerful cleaning agent that’s gentle enough for most surfaces yet tough enough to cut through grease, soap scum, and other stubborn messes. Forget harsh chemicals and their potentially harmful effects on your family and the environment; this vinegar soap cleaning method offers a safe and effective alternative that leaves your home sparkling clean without the guilt.
The beauty of this method lies in its adaptability. Feel free to experiment with different types of vinegar – apple cider vinegar adds a pleasant aroma, while white vinegar provides a more potent cleaning action. You can also adjust the soap-to-vinegar ratio depending on the task at hand. For heavily soiled areas, a slightly stronger vinegar solution might be beneficial. For delicate surfaces, a more diluted mixture is recommended. Consider adding a few drops of your favorite essential oil for a personalized scent, transforming your cleaning routine into a more pleasant experience. Perhaps a touch of lavender for a calming effect, or lemon for a fresh, invigorating clean. The possibilities are endless!
Beyond the kitchen and bathroom, this vinegar soap cleaning solution can be used on a variety of surfaces, from countertops and sinks to floors and windows. Remember to always test a small, inconspicuous area first to ensure compatibility with the material. This simple precaution will prevent any unwanted damage and allow you to confidently tackle even the most challenging cleaning tasks. This DIY cleaning solution is a true game-changer, offering a powerful, affordable, and environmentally conscious way to keep your home spotless.
We strongly encourage you to try this vinegar soap cleaning method and experience the difference for yourself. Share your results with us! Let us know which surfaces you tackled, what variations you experimented with, and most importantly, how impressed you are with the cleaning power of this simple yet effective solution. Your feedback will inspire others to embrace a greener, cleaner, and more affordable approach to household cleaning. Join the conversation and let’s build a community of eco-conscious cleaners!
Frequently Asked Questions
What types of soap can I use in this vinegar soap cleaning solution?
You can use a variety of soaps, including liquid dish soap, castile soap, or even a gentle hand soap. Avoid using harsh, abrasive soaps that could scratch surfaces. The key is to choose a soap that readily dissolves in water and creates a good lather.
Is this vinegar soap cleaning solution safe for all surfaces?
While generally safe, it’s crucial to test this solution on an inconspicuous area of any surface before applying it liberally. Certain materials, such as polished wood or certain types of stone, may be sensitive to vinegar. Always err on the side of caution and perform a spot test to avoid any potential damage.
How do I store the vinegar soap cleaning solution?
Store your homemade cleaner in a clearly labeled spray bottle in a cool, dry place. It should remain effective for several weeks, but it’s always a good idea to check for any signs of spoilage or unusual odor before each use. If you notice any changes, it’s best to discard the solution and make a fresh batch.
Can I use this solution on my floors?
Yes, you can use this solution on many types of floors, but always test a small, inconspicuous area first. Hardwood floors, especially those that are finished or sealed, may be sensitive to vinegar. For tile, linoleum, and other durable flooring, this solution can be a great alternative to harsh commercial cleaners. Always rinse thoroughly after cleaning.
What are the benefits of using vinegar soap cleaning over commercial cleaners?
Vinegar soap cleaning offers several key advantages: it’s significantly more affordable, it’s environmentally friendly, it’s generally safer for your family and pets, and it’s surprisingly effective at tackling a wide range of cleaning tasks. Commercial cleaners often contain harsh chemicals that can be harmful to both your health and the environment. This DIY solution provides a healthier and more sustainable alternative.
Can I make a larger batch of this vinegar soap cleaning solution?
Absolutely! You can easily scale up the recipe to make a larger batch. Just maintain the same ratio of vinegar to soap. Storing a larger quantity in a suitable container will save you time and effort in the long run. Remember to label the container clearly with the contents and date of preparation.
What if my vinegar soap cleaning solution doesn’t seem to be working?
If your solution isn’t effectively cleaning a particular surface, consider increasing the concentration of vinegar slightly. You can also try pre-treating stubborn stains or grime with a paste of baking soda and water before applying the vinegar soap solution. If the problem persists, the surface may require a more specialized cleaning method.
Is this vinegar soap cleaning solution suitable for cleaning windows?
Yes, this solution can be used to clean windows, leaving them streak-free and sparkling. For best results, use a microfiber cloth for wiping and ensure the solution is well-diluted to avoid leaving any residue. Remember to test a small area first to ensure compatibility with your window frames and seals.

Leave a Comment