
Grow Taro at Home: Your Guide to a Thriving Tropical Harvest
Growing taro at home might sound daunting, but I’m here to tell you it’s surprisingly achievable! This isn’t just about adding a unique plant to your garden; it’s about connecting with a rich agricultural history and enjoying the delicious, versatile rewards of your own homegrown taro. For centuries, taro has been a staple crop in many cultures across the globe, representing sustenance and cultural significance. From the Polynesian islands where it holds deep spiritual meaning to modern kitchens where it’s used in countless dishes, taro’s journey is fascinating.
Why bother with growing taro at home? Well, imagine the satisfaction of harvesting your own vibrant taro corms, knowing exactly where they came from and how they were grown. Beyond the personal fulfillment, homegrown taro offers unparalleled freshness and flavor, far surpassing anything you’ll find in the supermarket. Plus, it’s a rewarding experience for the whole family, especially if you have children who can participate in the planting and care process. This article will guide you through the simple yet effective techniques for growing taro at home, ensuring a bountiful harvest of this incredible root vegetable.
Unlocking the Secrets to a Successful Taro Harvest
This DIY guide will equip you with the knowledge and confidence to cultivate your own taro patch, no matter your gardening experience. We’ll cover everything from selecting the right corms and preparing the soil to managing pests and harvesting your delicious crop. Get ready to embark on this exciting journey and discover the joy of growing your own taro!
Growing Taro at Home: A Complete Guide
I’ve always loved the unique flavor and versatility of taro, and I’ve found that growing it at home is surprisingly rewarding! This guide will walk you through the entire process, from selecting the right corms to harvesting your delicious crop. Let’s get started!
Phase 1: Preparation and Planting
- Choosing your Taro Corms: Select healthy, firm corms with no signs of rot or damage. Look for “eyes” – small buds – which indicate growth points. Larger corms will generally produce more plants, but smaller ones are perfectly fine for starting.
- Selecting a Location: Taro thrives in warm, humid environments. Choose a spot that receives at least six hours of sunlight per day, but also offers some shade during the hottest part of the day. A partially shaded area is ideal. Consider the space you have available – taro plants can grow quite large.
- Soil Preparation: Taro prefers well-drained, fertile soil that’s rich in organic matter. Amend your soil with compost or other organic materials to improve drainage and fertility. The soil pH should ideally be slightly acidic, between 5.5 and 6.5. You can test your soil’s pH using a home testing kit available at most garden centers.
- Planting Your Corms: Plant your taro corms about 4-6 inches deep and 12-18 inches apart, depending on the size of your corms and the space you have available. Plant the corms with the eyes facing upwards. Gently cover the corms with soil and water thoroughly.
- Begin by selecting your taro corms. Examine them carefully for any signs of disease or damage. Discard any that appear unhealthy.
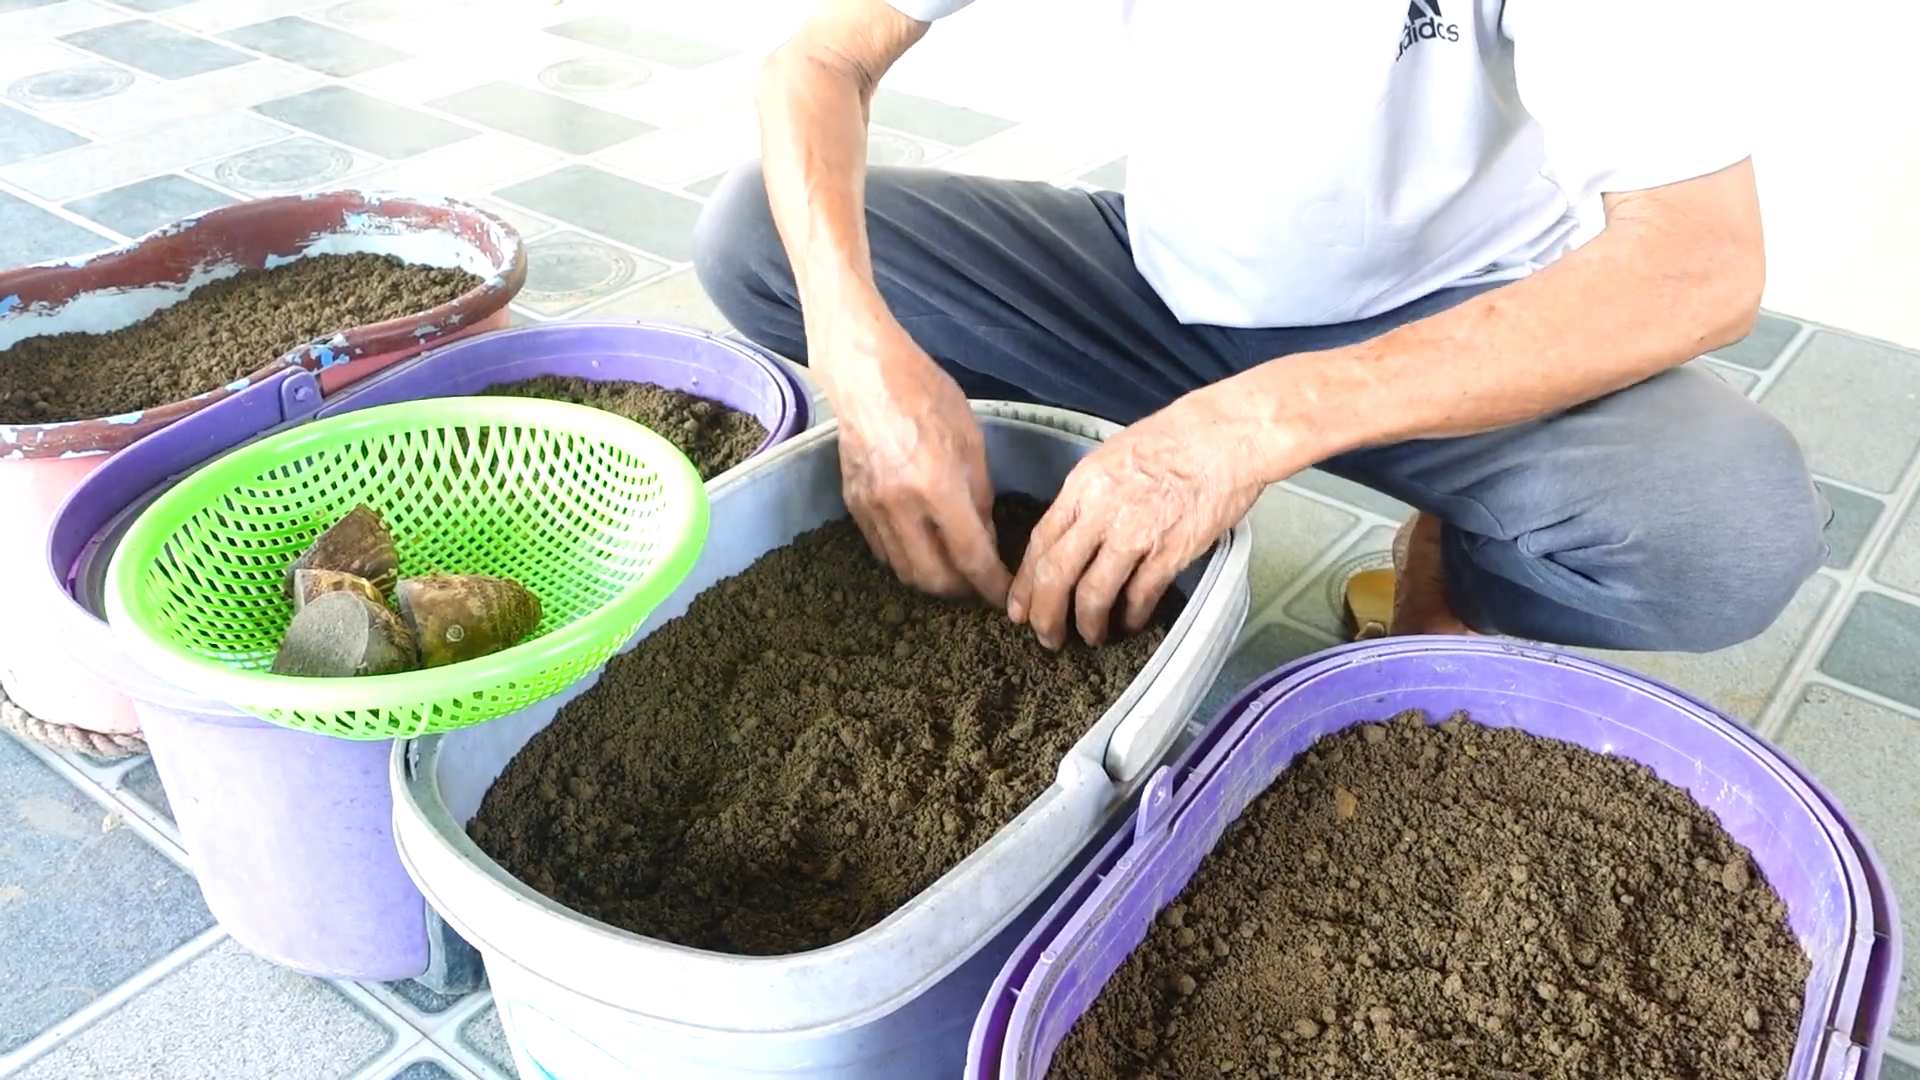
- Prepare your planting area. If you’re planting directly into the ground, loosen the soil to a depth of at least 6 inches and incorporate plenty of compost or other organic matter. If you’re using containers, ensure they have adequate drainage holes and are filled with a well-draining potting mix.
- Dig holes approximately 4-6 inches deep and space them 12-18 inches apart. The spacing will depend on the size of your corms and the ultimate size of the mature plants. Larger corms will need more space.
- Place the taro corms in the holes, ensuring the eyes (the small buds) are facing upwards. This is crucial for successful germination.
- Gently cover the corms with soil, firming it gently around the base of each corm. Avoid compacting the soil too tightly, as this can hinder root development.
- Water the newly planted corms thoroughly, ensuring the soil is evenly moistened. Avoid overwatering, which can lead to root rot.
Phase 2: Ongoing Care and Maintenance
- Watering: Taro needs consistent moisture, especially during dry periods. Water regularly, keeping the soil moist but not waterlogged. The frequency of watering will depend on your climate and soil conditions. Observe the soil moisture level and adjust your watering schedule accordingly.
- Fertilizing: Feed your taro plants regularly with a balanced fertilizer, following the manufacturer’s instructions. A slow-release fertilizer is a good option, as it provides a consistent supply of nutrients over time. You can also use organic fertilizers such as compost tea or fish emulsion.
- Weeding: Keep the area around your taro plants free of weeds, as they compete for nutrients and water. Regular weeding will help your taro plants thrive.
- Pest and Disease Control: Taro is relatively pest-resistant, but it can be susceptible to certain diseases, such as taro leaf blight. Monitor your plants regularly for signs of pests or diseases and take appropriate action if necessary. Consider using organic pest control methods whenever possible.
- Mulching: Applying a layer of mulch around your taro plants can help retain soil moisture, suppress weeds, and regulate soil temperature. Use organic mulch such as straw or shredded leaves.
- Water your taro plants regularly, aiming for consistently moist soil. Check the soil moisture by sticking your finger a couple of inches into the soil. If it feels dry, it’s time to water.
- Fertilize your taro plants every 4-6 weeks with a balanced, slow-release fertilizer. Follow the instructions on the fertilizer packaging carefully. Over-fertilizing can be harmful.
- Remove any weeds that appear around your taro plants. Weeds compete for resources and can hinder the growth of your taro.
- Inspect your taro plants regularly for any signs of pests or diseases. Look for unusual spots, discoloration, or insect activity. Address any issues promptly using appropriate organic or chemical controls.
- Apply a layer of organic mulch, such as straw or shredded leaves, around your taro plants. This will help retain moisture, suppress weeds, and regulate soil temperature.
Phase 3: Harvesting
- Harvesting Time: Taro corms are typically ready for harvest 8-12 months after planting, depending on the variety and growing conditions. The corms are ready when the leaves begin to yellow and die back. You can gently dig around a corm to check its size and maturity.
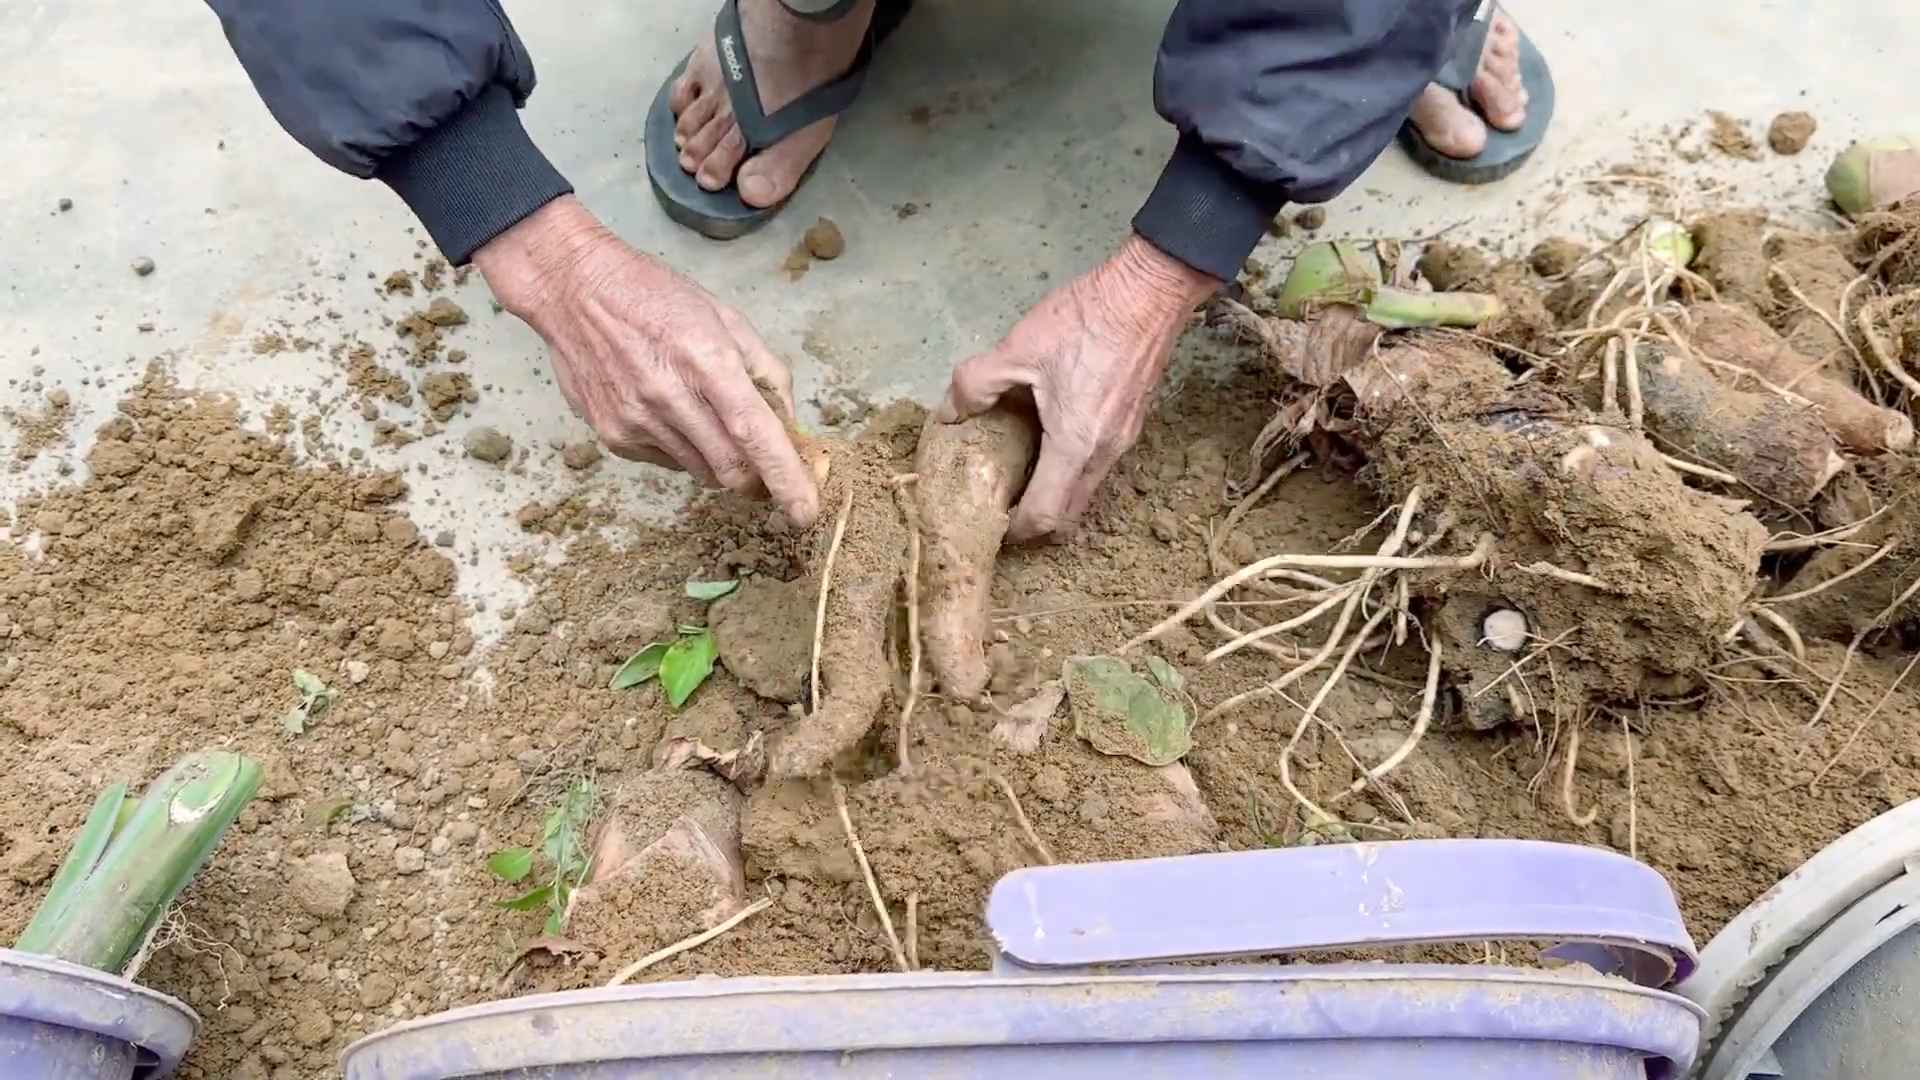
- Harvesting Technique: Carefully dig up the corms using a garden fork or trowel. Be gentle to avoid damaging the corms. Shake off excess soil and remove any small roots.
- Cleaning and Storage: Wash the harvested corms thoroughly to remove any remaining soil. Allow them to dry completely before storing. Taro corms can be stored in a cool, dry place for several weeks or months.
- Observe your taro plants for signs of maturity. The leaves will typically begin to yellow and die back as the corms mature. This is a good indication that it’s time to harvest.
- Use a garden fork or trowel to carefully dig up the corms. Be gentle to avoid damaging them. Work around the perimeter of the plant to loosen the soil before lifting the corms.
- Once you’ve unearthed the corms, gently brush off any excess soil. Remove any small roots or damaged portions of the corms.
- Wash the harvested corms thoroughly under running water to remove any remaining soil. Allow them to air dry completely in a cool, shaded area before storing.
- Store the dried corms in a cool, dry, and well-ventilated area. They can be stored for several weeks or even months if kept properly.
Important Note:
Always wear gloves when handling taro corms and leaves, as the sap can cause skin irritation in some people.
Conclusion
Growing your own taro at home is a surprisingly rewarding experience, offering a unique connection to your food and a chance to enjoy the freshest, most flavorful taro imaginable. This DIY trick isn’t just about saving money; it’s about cultivating a deeper appreciation for the plant and its culinary versatility. The process, while requiring some patience and attention, is remarkably straightforward, making it accessible to even novice gardeners. You’ll be amazed at the satisfaction of harvesting your own homegrown taro, knowing exactly where it came from and how it was nurtured. The taste difference compared to store-bought taro is undeniable – a testament to the power of home cultivation.
Beyond the simple satisfaction, growing taro offers a fantastic opportunity for experimentation. Try different planting methods, exploring variations in soil composition and watering techniques to optimize your yield. Consider growing different taro varieties, each boasting unique flavors and textures, to diversify your culinary repertoire. You can even experiment with companion planting, introducing other plants that complement taro’s growth and potentially deter pests. The possibilities are endless, making this a truly engaging and enriching gardening project.
We strongly encourage you to embark on this exciting journey of growing taro at home. Share your experiences with us – whether it’s a bountiful harvest or a valuable lesson learned. Your feedback and insights will inspire and help other aspiring taro growers. Post your photos on social media using #GrowTaroAtHome and tag us! Let’s build a thriving community of home taro growers, sharing tips, tricks, and the joy of harvesting our own delicious, homegrown taro.
Don’t hesitate to get started. The rewards of this simple yet fulfilling endeavor far outweigh the effort. The taste of freshly harvested taro, the pride of nurturing a plant from start to finish, and the connection to nature it fosters are invaluable. So, grab some taro corms, prepare your soil, and get ready to experience the magic of growing your own taro. You won’t regret it!
Frequently Asked Questions
Q: What type of soil is best for growing taro?
Taro thrives in rich, well-draining soil that retains moisture. A loam soil mix, amended with compost or other organic matter, is ideal. Ensure the soil pH is slightly acidic to neutral (around 6.0-7.0). Poor drainage can lead to root rot, so proper soil preparation is crucial.
Q: How much sunlight does taro need?
Taro prefers partial shade to full sun. While it can tolerate full sun in cooler climates, in hotter regions, afternoon shade is beneficial to prevent leaf scorch. Aim for at least 6 hours of sunlight per day, but protect the plants from intense midday sun.
Q: How often should I water my taro plants?
Consistent moisture is key for healthy taro growth. Water regularly, keeping the soil evenly moist but not waterlogged. The frequency will depend on your climate and soil type. Check the soil moisture regularly, and water when the top inch or two feels dry. During dry spells, you may need to water more frequently.
Q: How long does it take for taro to mature?
The time it takes for taro to mature depends on the variety and growing conditions. Generally, it takes 6-12 months for the corms to reach a harvestable size. Warmer temperatures and optimal growing conditions will shorten the growing period.
Q: What are some common pests and diseases that affect taro?
Taro can be susceptible to various pests and diseases, including taro leaf blight, nematodes, and aphids. Regularly inspect your plants for signs of infestation or disease. Good sanitation practices, such as removing infected leaves and providing proper air circulation, can help prevent problems. In case of severe infestations, consider using organic pest control methods.
Q: Can I grow taro in containers?
Yes, taro can be successfully grown in containers, making it suitable for patios, balconies, or smaller gardens. Choose a large container with drainage holes to prevent waterlogging. Use a high-quality potting mix that retains moisture but drains well.
Q: When is the best time to harvest taro?
Taro corms are typically ready for harvest after 6-12 months, depending on the variety and growing conditions. The corms are mature when they are firm and have reached the desired size. You can harvest individual corms as needed, leaving others to continue growing.
Q: What are some ways to use homegrown taro?
Homegrown taro is incredibly versatile! You can boil, steam, fry, or roast the corms. They can be mashed, used in soups, stews, or as a base for various dishes. The leaves are also edible and can be cooked like spinach. Experiment with different recipes to discover your favorite ways to enjoy your homegrown taro.
Q: What should I do if my taro plants aren’t growing well?
If your taro plants aren’t thriving, consider factors like soil drainage, sunlight exposure, watering frequency, and potential pests or diseases. Adjust your growing practices accordingly. If the problem persists, consult a local gardening expert or agricultural extension office for further assistance. Remember that patience is key – sometimes, plants just need a little extra time to establish themselves.

Leave a Comment