
Grow Turnips Backyard Easy? Absolutely! Imagine stepping outside your back door and harvesting fresh, crisp turnips for your dinner table. It’s not just a dream; it’s an achievable reality with a few simple tricks and a little DIY spirit. For centuries, turnips have been a staple crop, providing sustenance and versatility in cuisines around the globe. From hearty stews in medieval Europe to pickled delicacies in Asia, the humble turnip boasts a rich history.
But why should you bother to grow turnips backyard easy? In today’s world, where we’re increasingly conscious of where our food comes from, growing your own produce offers unparalleled benefits. You control the pesticides, you reduce your carbon footprint, and you get the satisfaction of nurturing something from seed to table. Plus, let’s be honest, store-bought turnips just don’t compare to the vibrant flavor of freshly harvested ones. This article is your guide to unlocking the secrets of successful backyard turnip cultivation. I’ll share easy-to-follow DIY hacks that will have you enjoying a bountiful harvest in no time, even if you’re a complete beginner!
Growing Turnips in Your Backyard: A Beginner’s Guide
Hey there, fellow gardening enthusiasts! Ever thought about growing your own turnips? They’re surprisingly easy to cultivate, packed with nutrients, and offer a delicious two-for-one deal – you get both the root and the greens! I’m going to walk you through everything you need to know to successfully grow turnips right in your backyard. Let’s get started!
Choosing the Right Turnip Variety
First things first, you need to decide which type of turnip you want to grow. There are tons of varieties, each with its own unique flavor and growing characteristics. Here are a few popular choices:
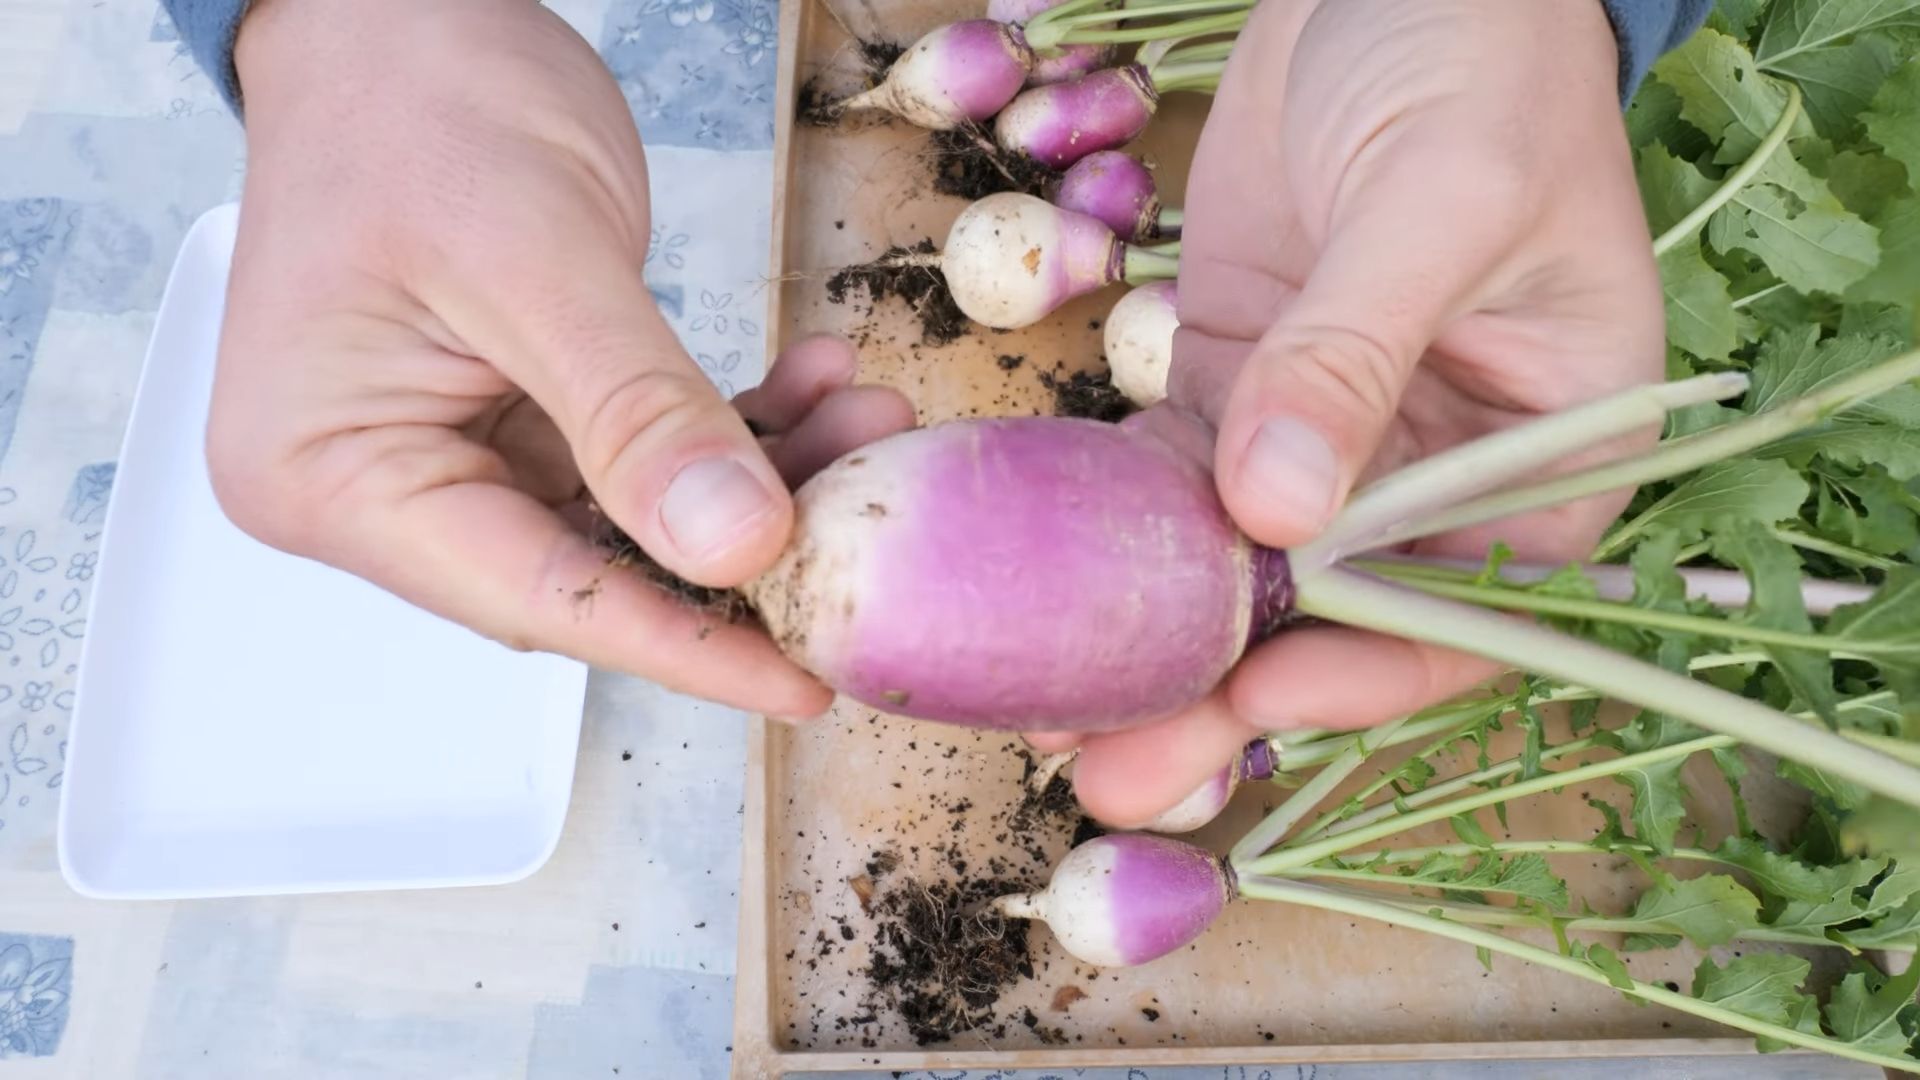
* Purple Top White Globe: This is a classic, reliable variety known for its mild flavor and smooth, white flesh with a purple top. It’s a great all-around choice.
* Tokyo Cross: If you’re looking for a quick harvest, Tokyo Cross is your best bet. It matures incredibly fast, producing small, tender roots and delicious greens.
* Golden Ball: As the name suggests, this variety produces round, golden-yellow roots with a sweet and delicate flavor.
* Hakurei: This Japanese turnip is prized for its crisp, sweet flavor and tender texture. It’s delicious raw or cooked.
Consider your climate, soil conditions, and personal preferences when making your selection. I personally love the Purple Top White Globe for its versatility and ease of growth.
Preparing Your Garden Bed
Turnips thrive in well-drained, fertile soil with a slightly acidic pH (around 6.0 to 6.5). Here’s how to prepare your garden bed:
* Choose a Sunny Location: Turnips need at least 6 hours of sunlight per day. Pick a spot in your backyard that gets plenty of sunshine.
* Clear the Area: Remove any weeds, rocks, and debris from the planting area.
* Loosen the Soil: Use a garden fork or tiller to loosen the soil to a depth of at least 12 inches. This will allow the turnip roots to grow easily.
* Amend the Soil: Incorporate plenty of organic matter, such as compost or well-rotted manure, into the soil. This will improve drainage, fertility, and water retention. I usually add a generous layer of compost to my turnip bed.
* Check the pH: Use a soil testing kit to check the pH of your soil. If it’s too alkaline, you can lower it by adding sulfur or peat moss. If it’s too acidic, you can raise it by adding lime.
Planting Turnip Seeds
Turnips are a cool-season crop, meaning they grow best in the spring or fall. Here’s how to plant them:
1. Timing is Key: For a spring crop, sow seeds 2-4 weeks before the last expected frost. For a fall crop, sow seeds 6-8 weeks before the first expected frost. I usually aim for late summer for a fall harvest.
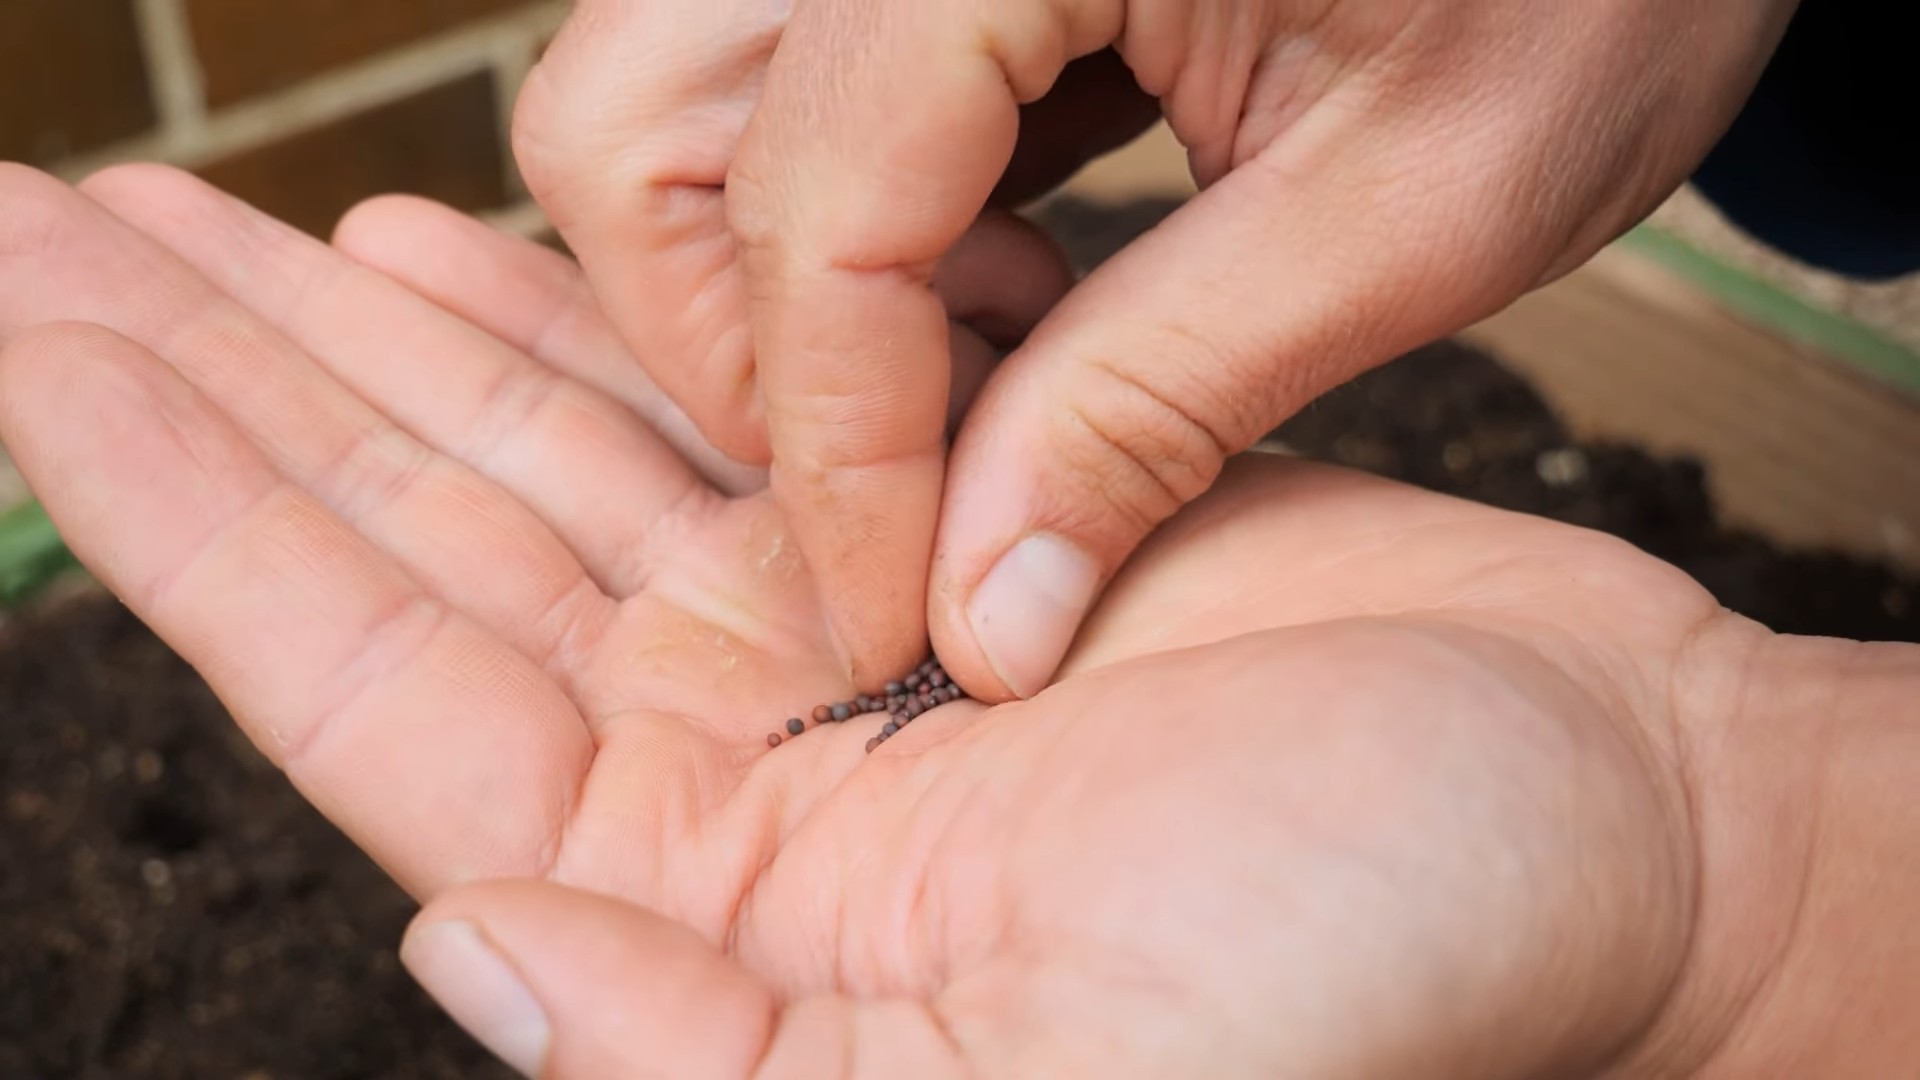
2. Sowing the Seeds: Sow the seeds directly into the prepared garden bed. Plant them about ½ inch deep and 1 inch apart in rows that are 12-18 inches apart.
3. Cover and Water: Gently cover the seeds with soil and water thoroughly. Keep the soil consistently moist until the seeds germinate.
4. Thinning Seedlings: Once the seedlings emerge (usually in 5-7 days), thin them to about 3-4 inches apart. This will give the turnips enough space to grow. Don’t be afraid to thin them aggressively!
Caring for Your Turnip Plants
Once your turnip seedlings are established, it’s important to provide them with proper care to ensure a bountiful harvest.
* Watering: Turnips need consistent moisture to thrive. Water them regularly, especially during dry spells. Aim for about 1 inch of water per week.
* Weeding: Keep the garden bed free of weeds, which can compete with the turnips for nutrients and water. Hand-pull weeds carefully to avoid disturbing the turnip roots.
* Fertilizing: Turnips are not heavy feeders, but they will benefit from a light feeding of fertilizer. Apply a balanced fertilizer (such as 10-10-10) according to the package directions. I prefer using a liquid seaweed fertilizer for a gentle boost.
* Pest Control: Turnips can be susceptible to certain pests, such as aphids, flea beetles, and cabbage loopers. Inspect your plants regularly for signs of infestation. You can control these pests with insecticidal soap or neem oil.
* Row Covers: Consider using row covers to protect your turnip plants from pests and frost. Row covers are lightweight fabric covers that you can place over your plants.
Harvesting Your Turnips
The best part of growing turnips is, of course, harvesting them! Here’s how to know when your turnips are ready to pick:
1. Check the Size: Turnips are typically ready to harvest when the roots are 2-3 inches in diameter. You can gently dig around the base of a plant to check the size of the root.
2. Harvesting the Roots: To harvest the roots, gently loosen the soil around the plant with a garden fork. Then, carefully pull the turnip out of the ground.
3. Harvesting the Greens: You can harvest the turnip greens at any time during the growing season. Simply cut off the outer leaves, leaving the inner leaves to continue growing.
4. Storage: Store turnip roots in a cool, dark place, such as a refrigerator or root cellar. They will keep for several weeks. Turnip greens should be stored in the refrigerator and used within a few days.
Troubleshooting Common Turnip Problems
Even with the best care, you may encounter some problems when growing turnips. Here are a few common issues and how to address them:
* Bolting: Bolting is when the turnip plants prematurely flower and go to seed. This can happen if the plants are exposed to hot weather or stress. To prevent bolting, plant turnips in the spring or fall, and provide them with consistent moisture.
* Root Maggots: Root maggots are small, white larvae that feed on the roots of turnips. They can cause the roots to become stunted and deformed. To prevent root maggots, use row covers to protect your plants, and practice crop rotation.
* Clubroot: Clubroot is a fungal disease that causes the roots of turnips to become swollen and distorted. To prevent clubroot, plant turnips in well-drained soil, and avoid planting them in the same location year after year.
Enjoying Your Homegrown Turnips
Now that you’ve harvested your delicious homegrown turnips, it’s time to enjoy them! Here are a few ideas:
* Roasted Turnips: Toss turnip roots with olive oil, salt, and pepper, and roast them in the oven until tender.
* Mashed Turnips: Boil turnip roots until tender, then mash them with butter, milk, and seasonings.
* Turnip Greens: Sauté turnip greens with garlic and olive oil for a simple and healthy side dish.
* Turnip Soup: Add turnip roots and greens to your favorite soup recipe.
* Raw Turnips: Thinly slice Hakurei turnips and enjoy them raw in salads or as a snack.
Growing turnips in your backyard is a rewarding experience that provides you with fresh, healthy produce. With a little planning and care, you can enjoy a bountiful harvest of turnips all season long. Happy gardening!
Conclusion
So, there you have it! Growing turnips in your backyard is not only easier than you might think, but it’s also incredibly rewarding. Imagine stepping outside your back door and harvesting fresh, crisp turnips for your next meal. No more relying on supermarket produce that may have traveled hundreds of miles and lost its peak flavor. With this simple DIY trick, you can enjoy the unparalleled taste and nutritional benefits of homegrown turnips.
This isn’t just about saving money; it’s about connecting with your food source and experiencing the satisfaction of nurturing something from seed to table. Plus, the vibrant green tops are edible too, offering a peppery addition to salads or stir-fries. Don’t let the perceived difficulty of gardening deter you. This method is designed for simplicity and success, even for beginners.
Why is this DIY trick a must-try? Because it empowers you to take control of your food supply, enjoy fresher, healthier produce, and connect with nature in a meaningful way. It’s a sustainable practice that benefits both you and the environment. And let’s be honest, there’s a certain pride that comes with saying, “I grew these myself!”
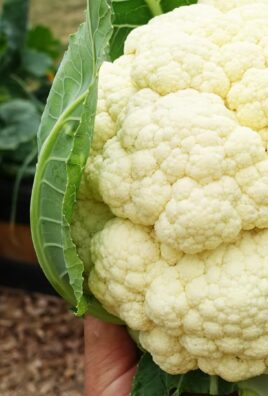
Looking for variations? Consider companion planting your turnips with other vegetables like radishes or lettuce. These fast-growing crops can help deter pests and improve soil health. You can also experiment with different varieties of turnips, from the classic purple-top white globe to the sweeter Japanese turnips. Each variety offers a unique flavor profile and texture, allowing you to customize your harvest to your preferences. For a spicier kick, try growing turnips alongside mustard greens.
Don’t be afraid to get your hands dirty and experiment. Gardening is a journey of learning and discovery. The most important thing is to start! So, grab some seeds, prepare your soil, and get ready to experience the joy of growing turnips in your backyard.
We’re confident that you’ll be amazed by how easy and rewarding this DIY project can be. Once you’ve harvested your first batch of homegrown turnips, we encourage you to share your experience with us! Post photos of your garden, share your favorite turnip recipes, and let us know what you learned along the way. Your insights can inspire others to embark on their own gardening adventures. Let’s build a community of backyard gardeners, one turnip at a time!
Remember, the key to success is consistent care and attention. Check your plants regularly for pests or diseases, water them adequately, and provide them with the nutrients they need to thrive. With a little effort, you’ll be enjoying a bountiful harvest of delicious, homegrown turnips in no time. So, what are you waiting for? Get growing!
FAQ
What is the best time of year to plant turnips?
Turnips are a cool-season crop, meaning they thrive in cooler temperatures. The best time to plant turnips is typically in the spring or fall. For a spring crop, sow seeds 2-4 weeks before the last expected frost. For a fall crop, sow seeds 6-8 weeks before the first expected frost. This timing allows the turnips to mature before the weather becomes too hot or too cold. In regions with mild winters, you may even be able to grow turnips throughout the winter months.
How much sunlight do turnips need?
Turnips require at least 6 hours of direct sunlight per day to grow properly. Choose a location in your backyard that receives ample sunlight throughout the day. If you live in a particularly hot climate, some afternoon shade can be beneficial to prevent the turnips from bolting (going to seed prematurely).
What kind of soil is best for growing turnips?
Turnips prefer well-drained, fertile soil with a pH between 6.0 and 6.8. Before planting, amend your soil with compost or other organic matter to improve its drainage and fertility. Avoid soils that are heavy clay or prone to waterlogging, as these can lead to root rot. A slightly sandy loam is ideal.
How often should I water my turnips?
Turnips need consistent moisture to grow properly. Water them regularly, especially during dry periods. Aim to keep the soil consistently moist but not waterlogged. A good rule of thumb is to water deeply once or twice a week, depending on the weather conditions. Mulching around the plants can help retain moisture in the soil.
How do I know when my turnips are ready to harvest?
Turnips are typically ready to harvest 6-8 weeks after planting. The size of the turnip will depend on the variety, but most are ready when they are about 2-3 inches in diameter. You can gently pull back the soil around the base of the turnip to check its size. The greens can be harvested at any time, but they are most tender when they are young.
Are turnip greens edible?
Yes, turnip greens are absolutely edible and highly nutritious! They have a slightly peppery flavor and can be used in salads, stir-fries, soups, and stews. Harvest the greens when they are young and tender for the best flavor. You can also sauté them with garlic and olive oil for a simple and delicious side dish.
What are some common pests and diseases that affect turnips?
Some common pests that can affect turnips include aphids, flea beetles, and root maggots. Diseases that can affect turnips include clubroot and powdery mildew. To prevent pest and disease problems, practice good garden hygiene, such as removing weeds and debris from around your plants. You can also use organic pest control methods, such as insecticidal soap or neem oil. Crop rotation can also help prevent soilborne diseases.
Can I grow turnips in containers?
Yes, you can grow turnips in containers, especially if you have limited space in your backyard. Choose a container that is at least 12 inches deep and wide to allow the turnips to develop properly. Use a well-draining potting mix and water regularly. Container-grown turnips may need to be fertilized more frequently than those grown in the ground.
How do I store turnips after harvesting?
After harvesting, remove the greens from the turnips and store them separately. The greens can be stored in the refrigerator for up to a week. The turnips can be stored in a cool, dark, and humid place, such as a root cellar or refrigerator, for several months. To prevent them from drying out, store them in a plastic bag or container with a damp cloth.
What are some delicious ways to cook turnips?
Turnips can be cooked in a variety of ways, including roasting, boiling, steaming, and mashing. They can be used in soups, stews, and casseroles. Roasted turnips are a delicious and healthy side dish. Mashed turnips can be used as a substitute for mashed potatoes. Turnip greens can be sautéed, steamed, or added to salads. Experiment with different recipes and find your favorite way to enjoy this versatile vegetable.
Leave a Comment