
Dish Soap and Vinegar Cleaner: Your secret weapon for a sparkling home, naturally! Are you tired of harsh chemicals and sky-high prices for cleaning products? I know I was! That’s why I dove headfirst into the world of DIY cleaning solutions, and let me tell you, the results have been amazing. For generations, resourceful homemakers have turned to simple, readily available ingredients to keep their homes clean and fresh. Think back to your grandmother’s cleaning rituals – chances are, vinegar and soap played a starring role!
But why is this simple combination so effective? Well, vinegar’s acidity cuts through grease and grime, while dish soap helps to lift dirt and break down stains. Together, they create a powerful cleaning duo that’s safe for your family, your pets, and the environment. Plus, making your own dish soap and vinegar cleaner is incredibly budget-friendly. In this article, I’m going to share my favorite recipes and tips for using this dynamic duo all around your house. Get ready to ditch the chemicals and embrace a cleaner, greener way of living!
DIY Dish Soap and Vinegar All-Purpose Cleaner: Sparkling Clean, Naturally!
Okay, friends, let’s ditch those harsh chemicals and whip up a fantastic all-purpose cleaner using just two ingredients you probably already have: dish soap and vinegar! I’ve been using this concoction for ages, and I swear, it works wonders on everything from countertops to shower doors. Plus, it’s super affordable and eco-friendly. Let’s get started!
What You’ll Need:
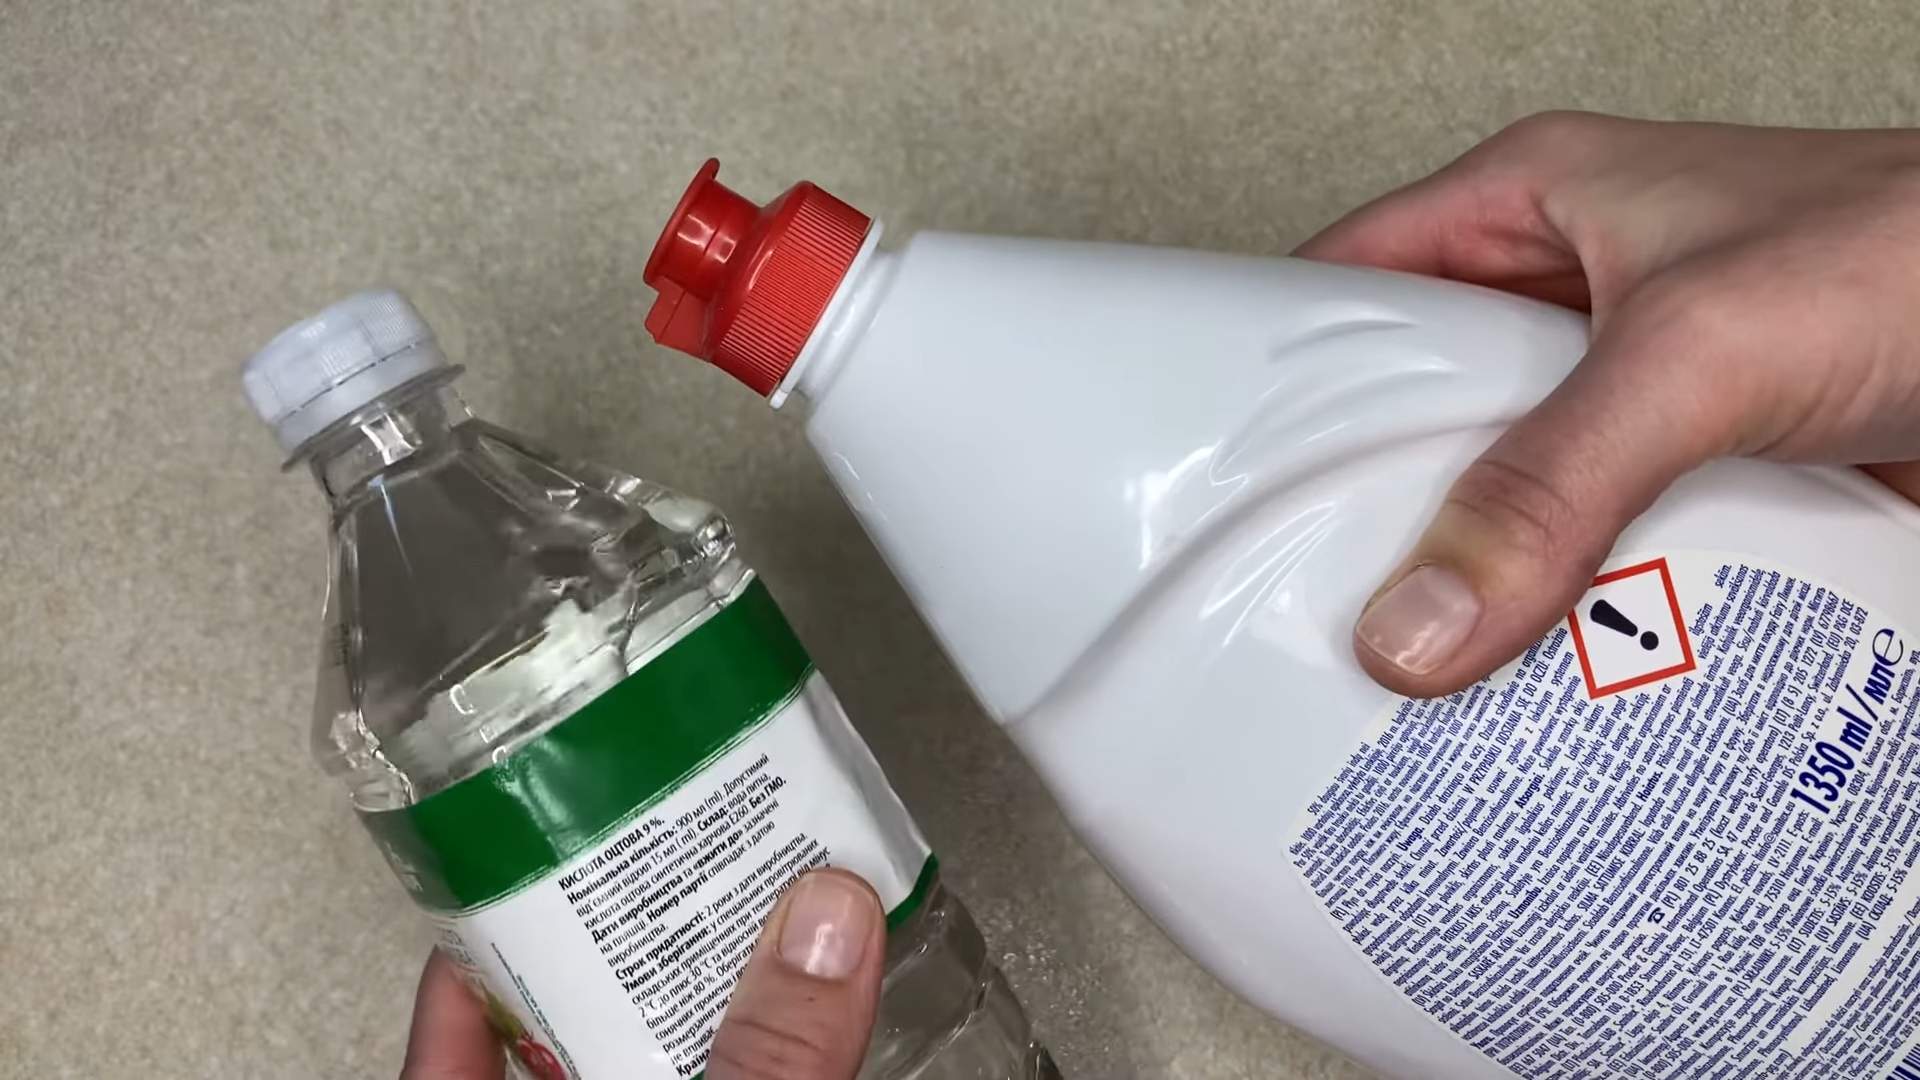
* White Vinegar (the cleaning kind is best, but regular works too!)
* Dish Soap (I prefer a clear, unscented variety to avoid any weird color combinations or overpowering smells, but use what you like!)
* Spray Bottle (a clean, empty one, of course!)
* Measuring Cup or Spoons (for accurate mixing)
* Funnel (optional, but it makes pouring easier!)
* Water (optional, for diluting the vinegar)
Why This Works (The Science-y Stuff, Briefly!)
Vinegar is a natural disinfectant and degreaser, thanks to its acetic acid. It’s great at cutting through grime, soap scum, and hard water stains. Dish soap helps to lift dirt and grease, making it easier to wipe away. Together, they create a powerful cleaning duo!
Mixing Your Magic Potion: Step-by-Step Instructions
1. Choose Your Vinegar Strength: This is where you decide how potent you want your cleaner to be. Undiluted vinegar is stronger and better for tough jobs like soap scum in the bathroom. For everyday cleaning, you can dilute it with water. I usually go for a 50/50 mix of vinegar and water for general use.
2. Prepare Your Spray Bottle: Make sure your spray bottle is clean and dry. Any residue from previous cleaners could react with the vinegar and dish soap, which we definitely want to avoid.
3. Add the Vinegar (and Water, if Diluting): Using your measuring cup, pour the vinegar into the spray bottle. If you’re diluting, add the water now. For example, if you’re using a 16-ounce spray bottle and want a 50/50 mix, add 8 ounces of vinegar and 8 ounces of water.
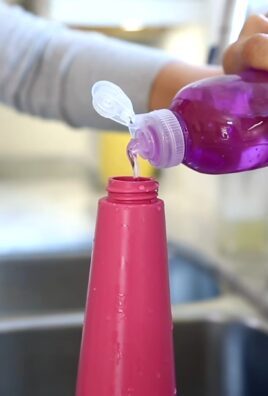
4. Add the Dish Soap: This is the tricky part! You only need a small amount of dish soap. Too much, and you’ll end up with a bubbly mess that’s hard to rinse. I recommend starting with 1-2 tablespoons of dish soap per 16-ounce bottle. You can always add a little more if needed, but it’s easier to start small.
5. Gently Mix: Close the spray bottle tightly and gently swirl the mixture. Avoid shaking vigorously, as this will create excessive bubbles. You just want to combine the ingredients.
6. Test Your Cleaner: Before you go wild spraying everything, test your cleaner on a small, inconspicuous area first. This is especially important if you’re using it on delicate surfaces like wood or painted walls. Spray a little bit on the area, let it sit for a minute or two, and then wipe it clean. Check for any discoloration or damage.
7. Adjust as Needed: If your cleaner is too soapy, add more vinegar or water to dilute it. If it’s not cleaning effectively, add a tiny bit more dish soap. Remember, a little goes a long way!
Using Your All-Purpose Cleaner: Tips and Tricks
* Countertops: This cleaner works great on most countertops, including granite, quartz, and laminate. Just spray, let it sit for a few seconds, and wipe clean with a damp cloth. For granite, some people prefer to avoid vinegar altogether, so always test a small area first.
* Sinks and Faucets: Say goodbye to water spots and soap scum! Spray your sinks and faucets, let it sit for a minute, and then scrub with a sponge or brush. Rinse thoroughly with water.
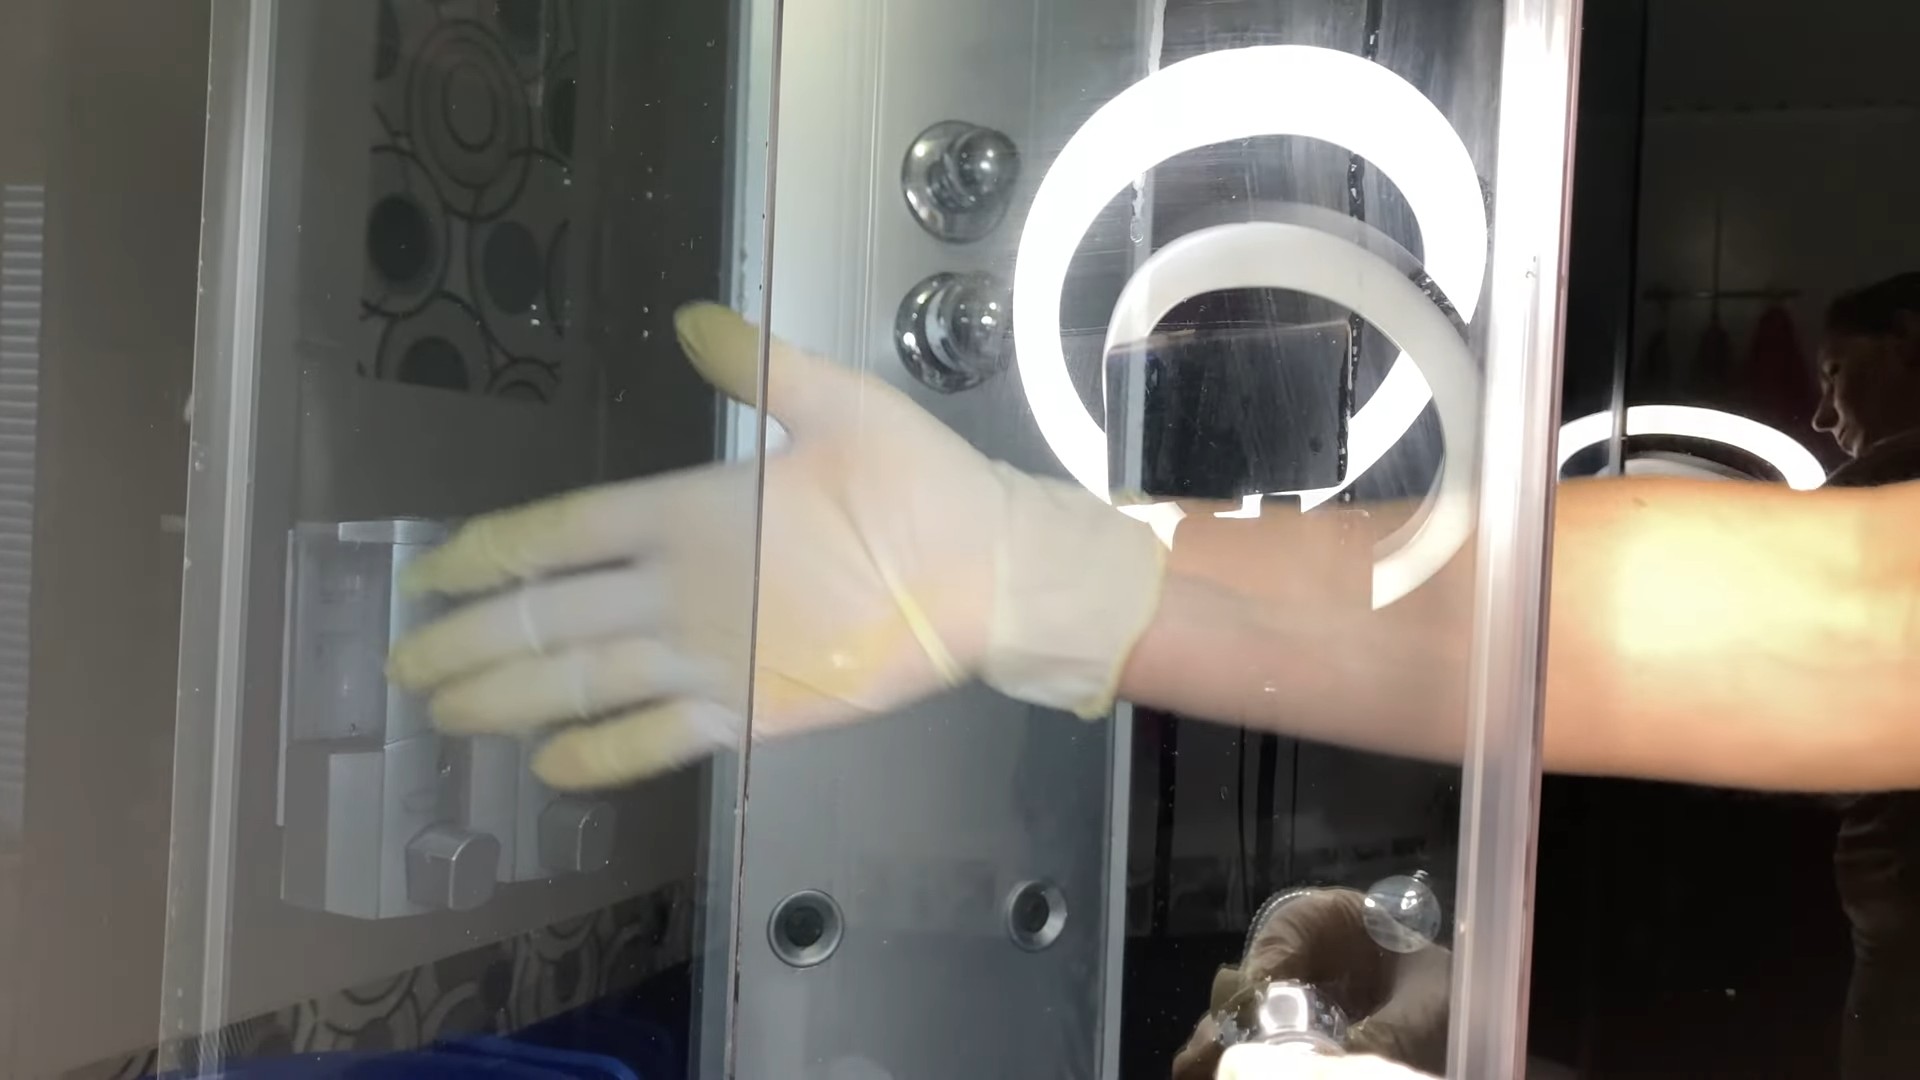
* Shower Doors and Walls: This is where this cleaner really shines! Spray your shower doors and walls after each shower to prevent soap scum buildup. For existing soap scum, spray generously, let it sit for 10-15 minutes, and then scrub with a sponge or brush. Rinse well.
* Toilets: You can use this cleaner to clean the outside of your toilet. Spray, wipe, and you’re done! I don’t recommend using it inside the toilet bowl, as it might not be strong enough to kill all the germs.
* Floors: This cleaner can be used on some floors, but it’s important to test it first. Avoid using it on hardwood floors, as the vinegar can damage the finish. For tile or linoleum floors, dilute the cleaner even further with water.
* Microwave: Spray the inside of your microwave with the cleaner, let it sit for a few minutes, and then wipe clean. This will help to loosen any stuck-on food.
* Windows and Mirrors: While some people swear by vinegar for cleaning windows and mirrors, I find that it can sometimes leave streaks. If you want to try it, dilute the cleaner with even more water and use a microfiber cloth to wipe it clean.
Important Considerations and Safety Tips
* Don’t Mix with Bleach: This is a big one! Never, ever mix vinegar with bleach. The combination creates toxic chlorine gas, which can be very dangerous.
* Avoid Certain Surfaces: As mentioned earlier, avoid using this cleaner on hardwood floors, marble, and some natural stone surfaces. Always test a small area first to be safe.
* Storage: Store your cleaner in a cool, dark place. It should last for several months.
* Label Your Bottle: Clearly label your spray bottle so you don’t accidentally mistake it for something else.
* Ventilation: When using this cleaner, especially in enclosed spaces like bathrooms, make sure you have good ventilation.
Troubleshooting: Common Issues and Solutions
* Streaky Surfaces: If you’re getting streaks, try diluting the cleaner with more water or using a microfiber cloth. You might also be using too much dish soap.
* Strong Vinegar Smell: The vinegar smell will dissipate quickly. If you’re bothered by it, add a few drops of your favorite essential oil to the cleaner. Lavender, lemon, and tea tree oil are all good choices.
* Clogged Sprayer: If your sprayer gets clogged, try running hot water through it to clear any blockages. You might also need to clean the sprayer nozzle.
* Cleaner Not Working: If your cleaner isn’t working as well as you’d like, try using undiluted vinegar or adding a tiny bit more dish soap. You might also need to scrub a little harder.
Variations and Enhancements: Level Up Your Cleaner!
* Essential Oils: As I mentioned before, adding essential oils can give your cleaner a pleasant scent and boost its cleaning power. Tea tree oil is a natural disinfectant, while lemon oil is a great degreaser.
* Citrus Peels: Infuse your vinegar with citrus peels for a natural, citrusy scent. Simply add the peels to a jar of vinegar and let it sit for a few weeks. Then, strain the vinegar and use it to make your cleaner.
* Baking Soda: For extra cleaning power, you can add a small amount of baking soda to your cleaner. Baking soda is a mild abrasive that can help to scrub away stubborn stains. However, be careful not to add too much, as it can react with the vinegar and create a fizzy mess.
My Favorite Uses for This Cleaner
Honestly, I use this cleaner for almost everything! Here are some of my favorite applications:
* Cleaning my kitchen countertops after cooking.
* Wiping down my bathroom sink and shower.
* Cleaning up spills on the floor.
* De-greasing my stovetop.
* Cleaning my microwave.
* Freshening up my garbage disposal (just spray some down the drain!).
I hope you enjoy making and using this DIY all-purpose cleaner as much as I do! It’s a simple, affordable, and effective way to keep your home clean and healthy. Happy cleaning!
Conclusion
So, there you have it! This simple yet incredibly effective DIY dish soap and vinegar cleaner is more than just a cleaning solution; it’s a game-changer for your home. We’ve explored how combining the degreasing power of dish soap with the disinfecting properties of vinegar creates a potent, all-purpose cleaner that rivals many store-bought options, without the harsh chemicals and hefty price tag.
But why is this DIY trick a must-try? Firstly, it’s incredibly cost-effective. You likely already have these ingredients in your pantry, making it a budget-friendly alternative to expensive commercial cleaners. Secondly, it’s environmentally conscious. By reducing your reliance on chemical-laden products, you’re contributing to a healthier planet. Thirdly, it’s surprisingly versatile. From tackling greasy stovetops to shining bathroom tiles, this cleaner can handle a wide range of household messes. And finally, it’s incredibly easy to make! The simple recipe requires minimal effort and time, making it a convenient solution for busy individuals.
This DIY dish soap and vinegar cleaner is a win-win for your wallet, your health, and the environment.
Looking to customize your cleaning experience? Here are a few suggestions and variations to consider:
* Essential Oil Boost: Add a few drops of your favorite essential oil, such as lemon, lavender, or tea tree, for a pleasant scent and added antibacterial properties. Be mindful of the essential oils you choose, as some may not be suitable for all surfaces.
* Citrus Infusion: Infuse your vinegar with citrus peels (lemon, orange, grapefruit) for a natural, refreshing scent and enhanced cleaning power. Simply add the peels to a jar of vinegar and let it sit for a week or two before straining and using.
* Baking Soda Power: For extra stubborn stains, pre-treat the area with a paste of baking soda and water before applying the dish soap and vinegar cleaner. The baking soda will act as a gentle abrasive, helping to lift the stain.
* Adjusting the Ratio: While the 1:1 ratio of dish soap and vinegar works well for most cleaning tasks, you can adjust it to suit your specific needs. For heavily soiled areas, try using a slightly higher concentration of vinegar. For delicate surfaces, dilute the cleaner with more water.
We are confident that once you try this DIY dish soap and vinegar cleaner, you’ll be amazed by its effectiveness and simplicity. It’s a fantastic way to keep your home clean and fresh without exposing yourself and your family to harsh chemicals.
So, what are you waiting for? Gather your dish soap and vinegar, mix up a batch of this amazing cleaner, and experience the difference for yourself! We encourage you to try this DIY trick and share your experiences with us. Let us know what surfaces you’ve cleaned, what variations you’ve tried, and any tips or tricks you’ve discovered along the way. Your feedback will help us refine this recipe and make it even better for everyone. Share your stories and photos on our social media channels using #DIYCleaner or leave a comment below. We can’t wait to hear from you!
Frequently Asked Questions (FAQ)
Is it safe to mix dish soap and vinegar?
Yes, it is generally safe to mix dish soap and vinegar for cleaning purposes. However, it’s crucial to use *only* dish soap and vinegar. Never mix vinegar with bleach or ammonia, as this can create toxic and dangerous fumes. The combination of dish soap and vinegar is a safe and effective cleaning solution for many household surfaces.
What types of dish soap should I use?
It’s best to use a clear, non-antibacterial dish soap for this DIY cleaner. Avoid using dish soaps that contain bleach or other harsh chemicals, as these can react negatively with the vinegar. A simple, basic dish soap will work perfectly.
What kind of vinegar is best for cleaning?
White distilled vinegar is the best choice for cleaning due to its high acidity and lack of color. It’s also the most readily available and affordable option. Apple cider vinegar can also be used, but it may leave a slight residue due to its color and sediment.
Can I use this cleaner on all surfaces?
While this DIY cleaner is generally safe for most surfaces, it’s always a good idea to test it in an inconspicuous area first, especially on delicate or porous materials like marble, granite, or wood. Avoid using it on waxed furniture, as the vinegar can strip the wax.
Will the vinegar smell linger after cleaning?
The vinegar smell will dissipate quickly after cleaning. If you’re sensitive to the smell of vinegar, you can add a few drops of essential oil to the cleaner to mask the odor. Citrus essential oils, such as lemon or orange, are particularly effective at neutralizing the vinegar smell.
How long will the cleaner last?
This DIY cleaner doesn’t have a long shelf life due to the natural ingredients. It’s best to mix up a fresh batch each time you need it. However, if stored in a cool, dark place, it can last for up to a month.
Can I use this cleaner to clean my oven?
Yes, you can use this cleaner to clean your oven. However, for heavily soiled ovens, you may need to pre-treat the area with a paste of baking soda and water. Apply the paste to the oven walls and let it sit for several hours or overnight before wiping it clean. Then, spray the oven with the dish soap and vinegar cleaner and wipe it down again.
Is this cleaner safe for pets and children?
This DIY cleaner is generally safer than commercial cleaners that contain harsh chemicals. However, it’s still important to keep it out of reach of children and pets. While the ingredients are non-toxic, ingestion can cause stomach upset.
Can I use this cleaner in a spray bottle?
Yes, this cleaner works perfectly in a spray bottle. Make sure to use a clean spray bottle that hasn’t been used for other cleaning products, especially those containing bleach or ammonia.
How do I clean my shower with this DIY cleaner?
To clean your shower with this cleaner, simply spray it on the shower walls, floor, and fixtures. Let it sit for a few minutes to allow the cleaner to penetrate the grime and soap scum. Then, scrub the surfaces with a sponge or brush and rinse thoroughly with water. For stubborn stains, you can pre-treat the area with a paste of baking soda and water.
Leave a Comment